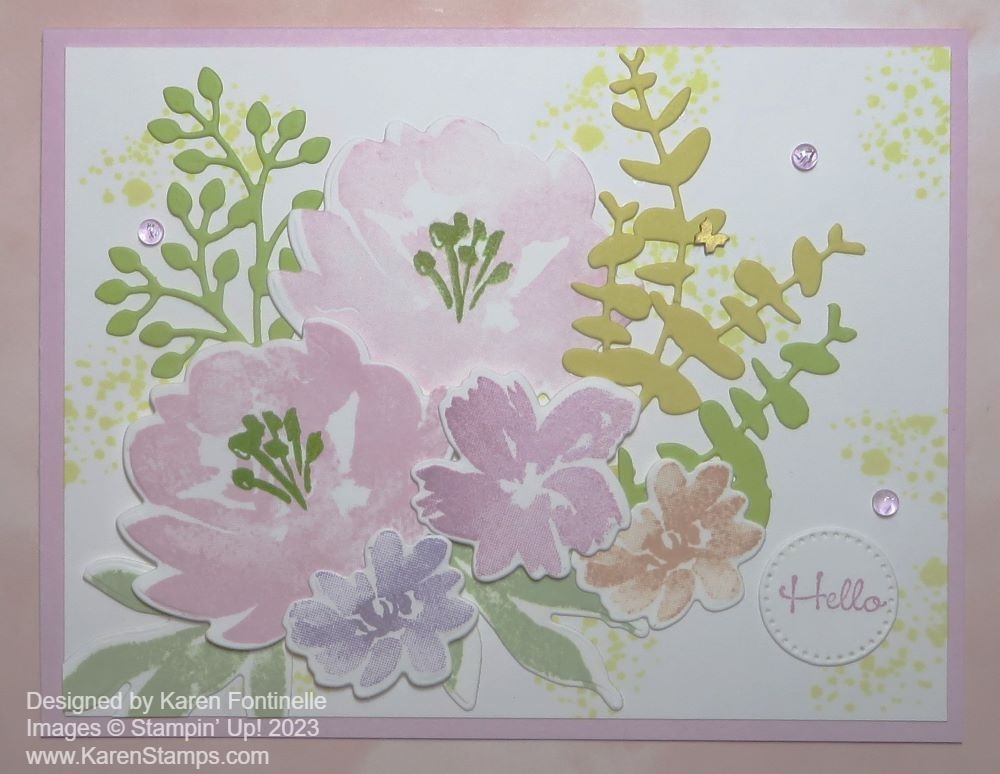
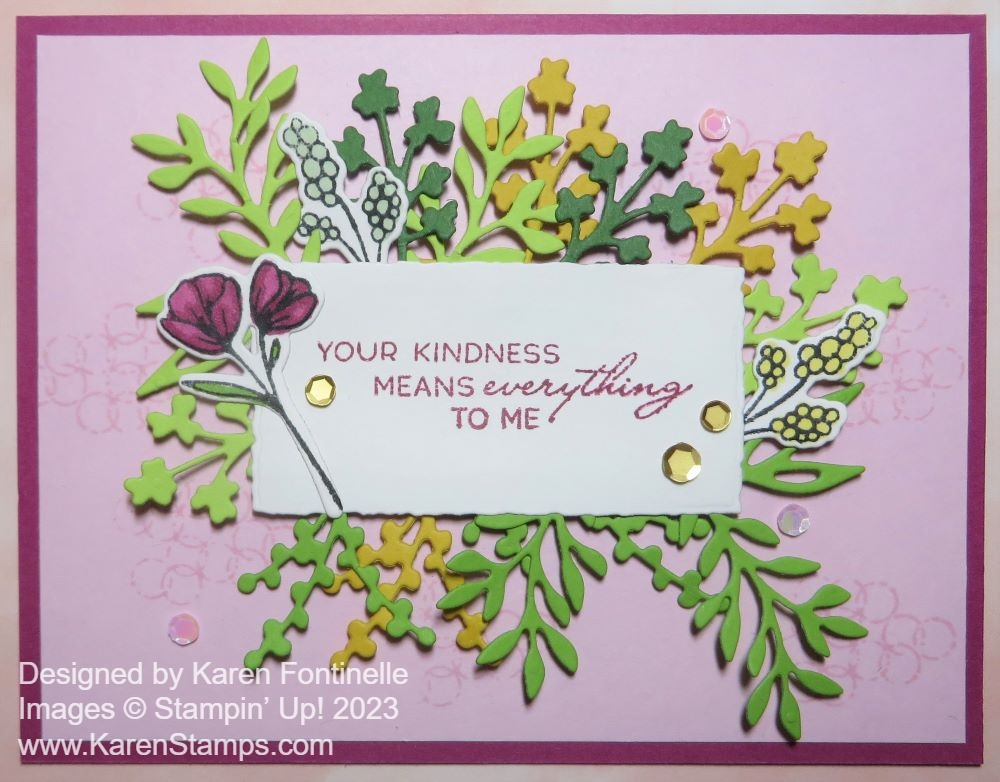
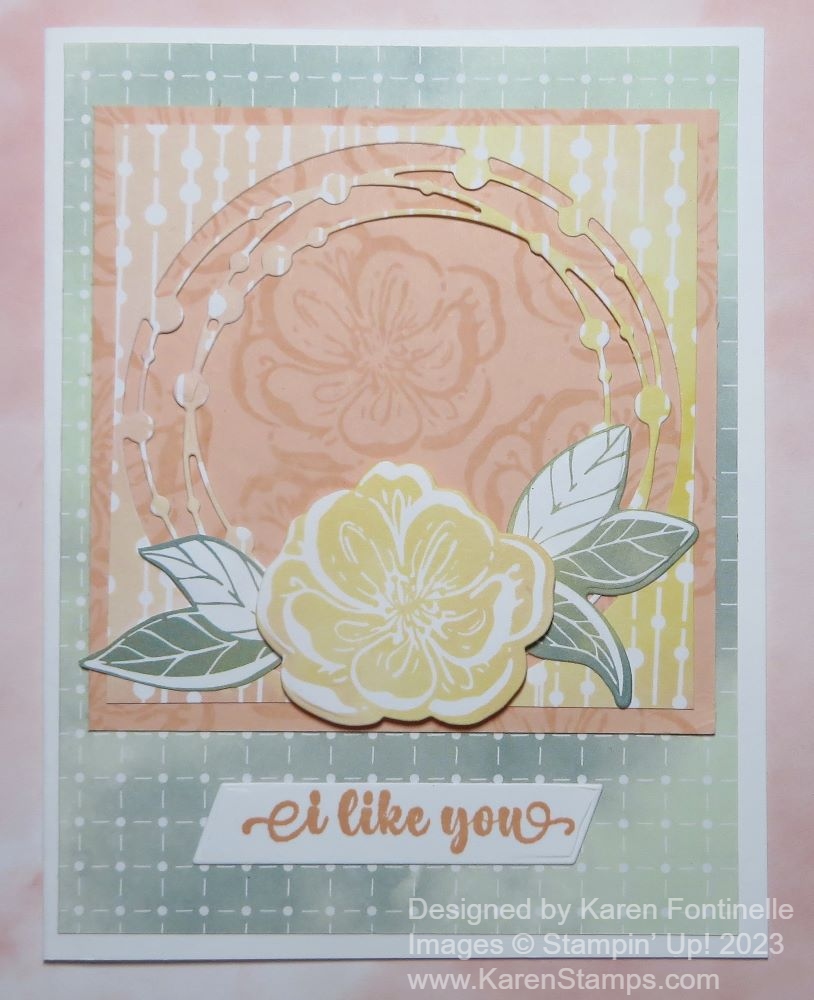
Although I started out planning to make a different card with some extra diecut flowers I had lying on the table, I changed my mind and decided I wanted to color with the new Stampin’ Blends in the In Colors. And something pretty to color would be the floral stamp in this Layers of Beauty Celebrate Card. This would make a pretty Mother’s Day card (Sunday!) or a card for almost any occasion. It’s great to use the one big die to cut out the flowers!
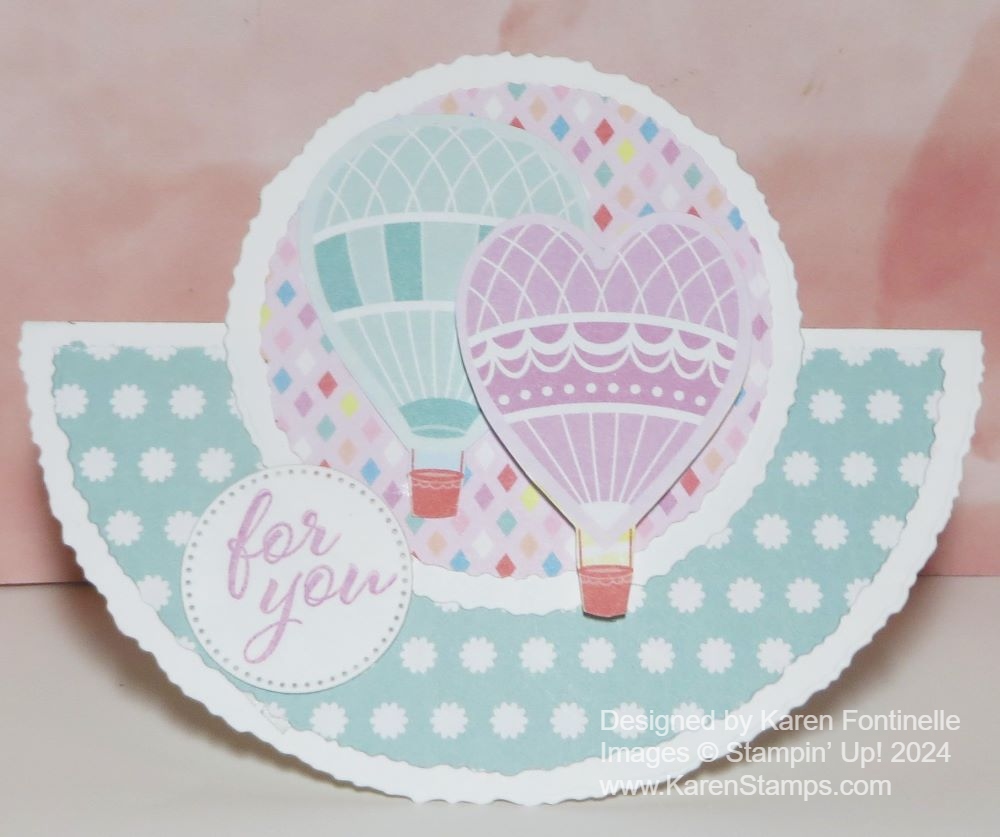
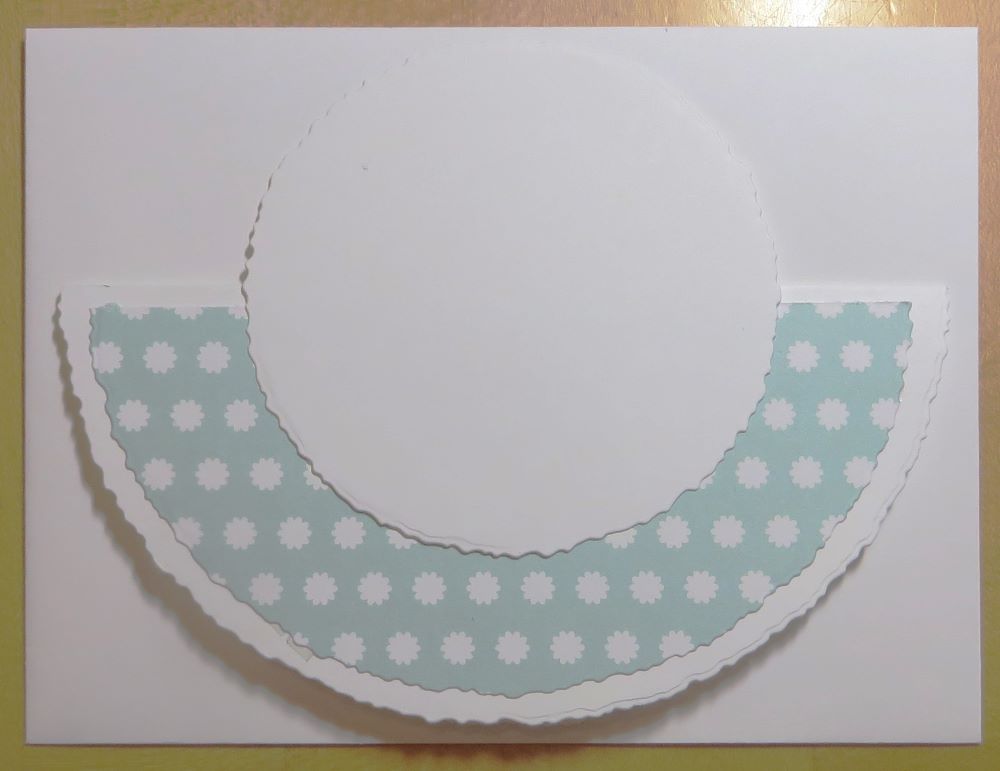
This card starts with a card base of Summer Splash Cardstock. (I sure wish they wouldn’t have picked two colors so close together in tone that I can’t tell them apart!) I added a layer of Basic White to set off the designer paper I picked for the top layer. This is in the Unbounded Beauty Designer Series Paper and is the paper that is a wash of Pretty in Pink, white, and Peach Pie. It makes a fairly solid background but with just a subtle “wash” of colors.
The big grouping of flowers is in the Layers of Beauty Stamp Set. As I mentioned, the Layers of Beauty Dies are great to have to cut out this large floral piece. If you purchase the Bundle, you will save 10%…PLUS this Bundle includes the Decorative Masks! You will find the Bundle on page 57 of the new Annual Catalog. The Bundle price is listed in the bottom pink border around the samples at the top of the page. (This new catalog is a bit of a scavenger hunt!). The Layers of Beauty Bundle (163519) is priced at $56.50 instead of the full price for all three products at $63.00.
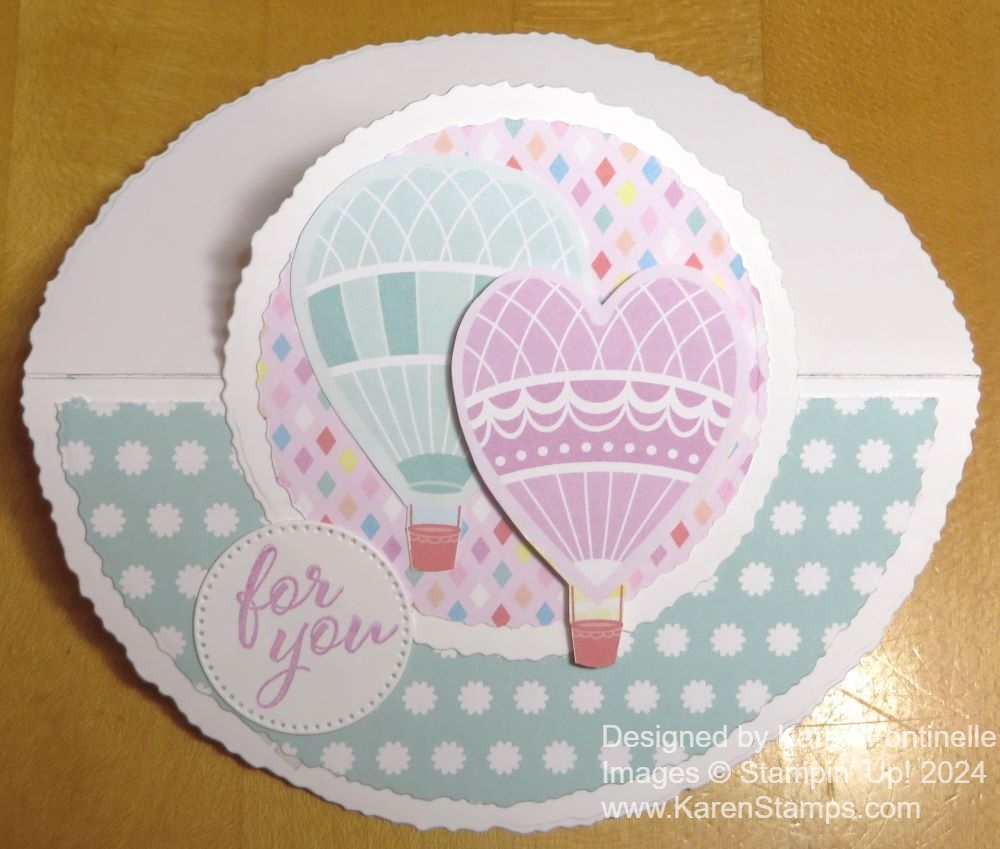
The flowers are stamped with Memento Ink and then colored in with some new In Color Stampin’ Blends. I used Pretty in Pink Light on the roses plus a few daisies and added a few scribbles of Peach Pie as well to the roses. Then I even added a little more of the Dark Pretty in Pink on the roses. The purple daisies are Petunia Pop and the leaves are Shy Shamrock, both Dark and Light. I colored in the whole piece, then diecut and figured out which way the flowers would fit on the card. I just glued it flat but you could pop it up on Stampin’ Dimensionals.
The greeting is in the Simply Said Stamp Set. The stamp says “Let’s Celebrate” but I inked up only the Celebrate word with Pretty in Pink. After I had it cut to the length I wanted the greeting to be, I inked up the edges just a little bit by placing each edge on the ink pad to pick up a little ink. This helps it to stand out a little bit on the card. I popped this up with two Stampin’ Dimensionals.
For some optional bling, I added three Iridescent Foil Gems on the card. Change the greeting to whichever one you like for your recipient or occasion. With a little coloring, this is an easy card for anyone to make!