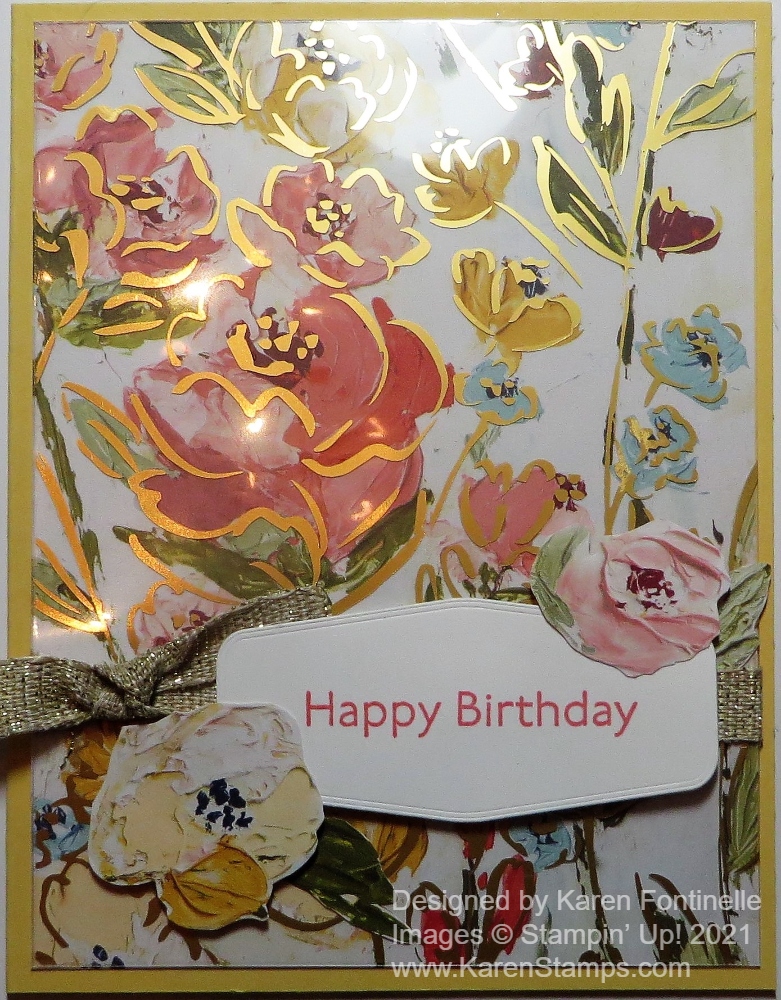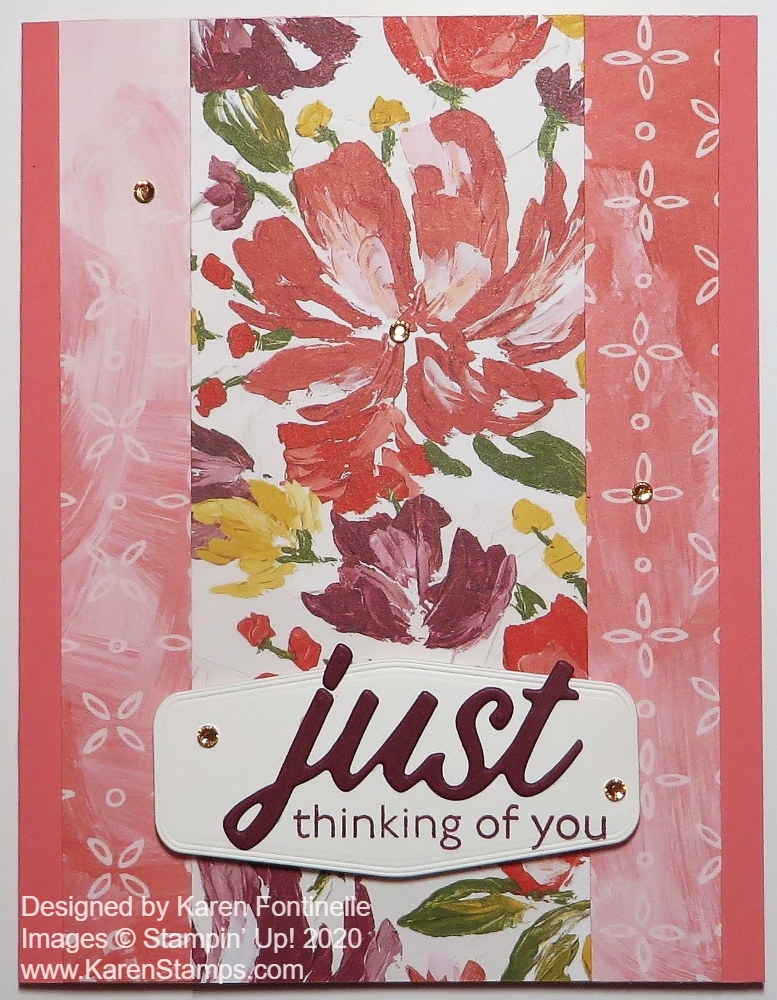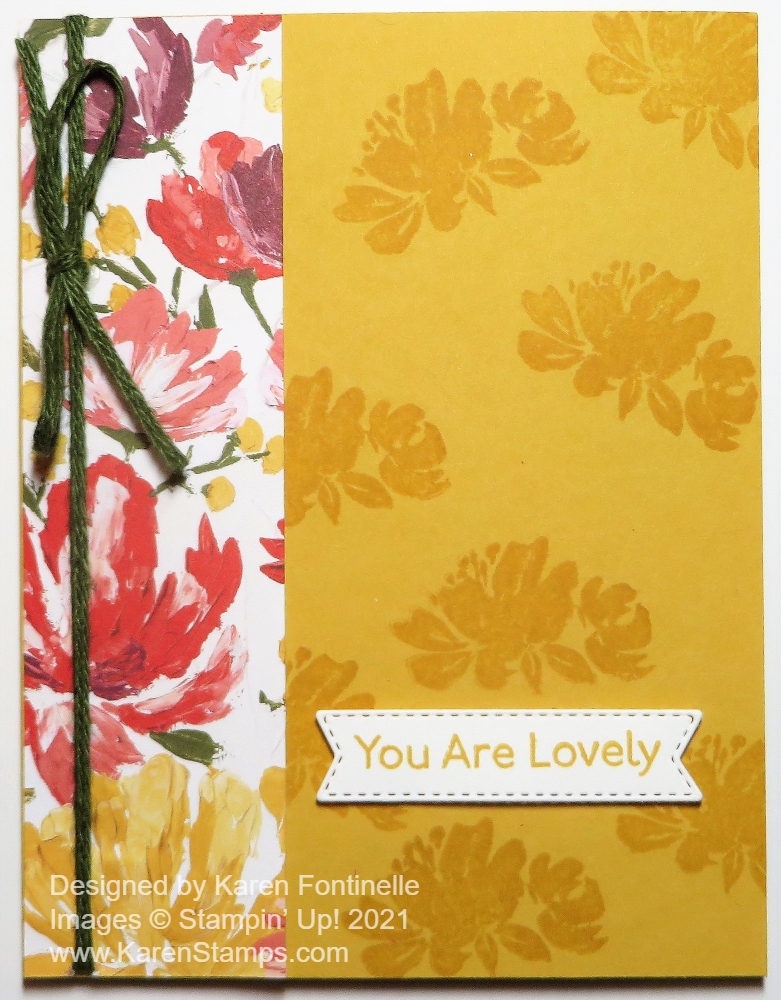
Here is a quick and easy card for you to make, my Art Gallery Floral You Are Lovely Card, with new products in the Stampin’ Up! January-June 2021 Mini Catalog. This is from the Fine Art Floral Suite of products on pages 32-34.
This Suite has a lot of products in it allowing you to make the fanciest of cards and projects if you would like to. You can do two-step stamping, you can add gold leafing with the Gilded Leafing Embellishment, you can add gold foiling with the Golden Garden Designer Specialty Acetate, you can die-cut images, add texture with a dramatic embossing folder, Painted Texture. You can use all those things, but if you want a simple card you can make one like my card today. This is an easy card design all of us use a lot in various ways.
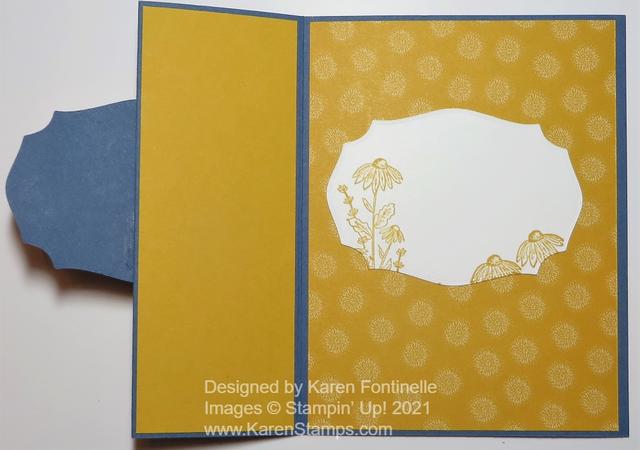
The card base is Bumblebee, one of our new In Colors, and one of the MANY coordinating colors with this designer paper. First, I randomly stamped one of the flower images from the Art Gallery Stamp Set on the card front in Versamark Ink. I also could have used Bumblebee Ink for the same type of watermark look. After using the Versamark Ink I could have used Clear Embossing Powder on the flowers if I wanted, but I was keeping this card simple.
The beautiful designer paper is the Fine Art Floral Designer Series Paper. I cut a narrow strip of it to adhere along the side of the card. My strip is 5 1/2″ x 1 1/2″. You could make the strip a little wider if you wanted to or even allowed a slight margin along the fold showing the card base rather than right up against the fold. Before adhering the designer paper to the card front, I added a bit of Mossy Meadow 3/16″ Braided Linen Trim on page 59 of the Spring catalog. I tied a separate bow and adhered it with Mini Glue Dots.
The greeting is stamped in Bumblebee Ink from the same stamp set and then die cut with the small banner die in the Tasteful Labels Dies. It is then popped up with Stampin’ Dimensionals.
That’s all there is to making this card. Randomly stamp the flowers on the card front, add a strip of designer paper along the side with some linen trim for embellishment, stamp and die-cut a greeting and you are done. You could even skip the dee-cutting, just cut a small rectangle for the greeting.
It’s fine and it’s fun to make more involved, fancier cards and projects, but if you are in a hurry or you are a beginner with not as many supplies, it is perfectly fine to go simple with a card design like this Art Gallery Floral You Are Lovely Card.