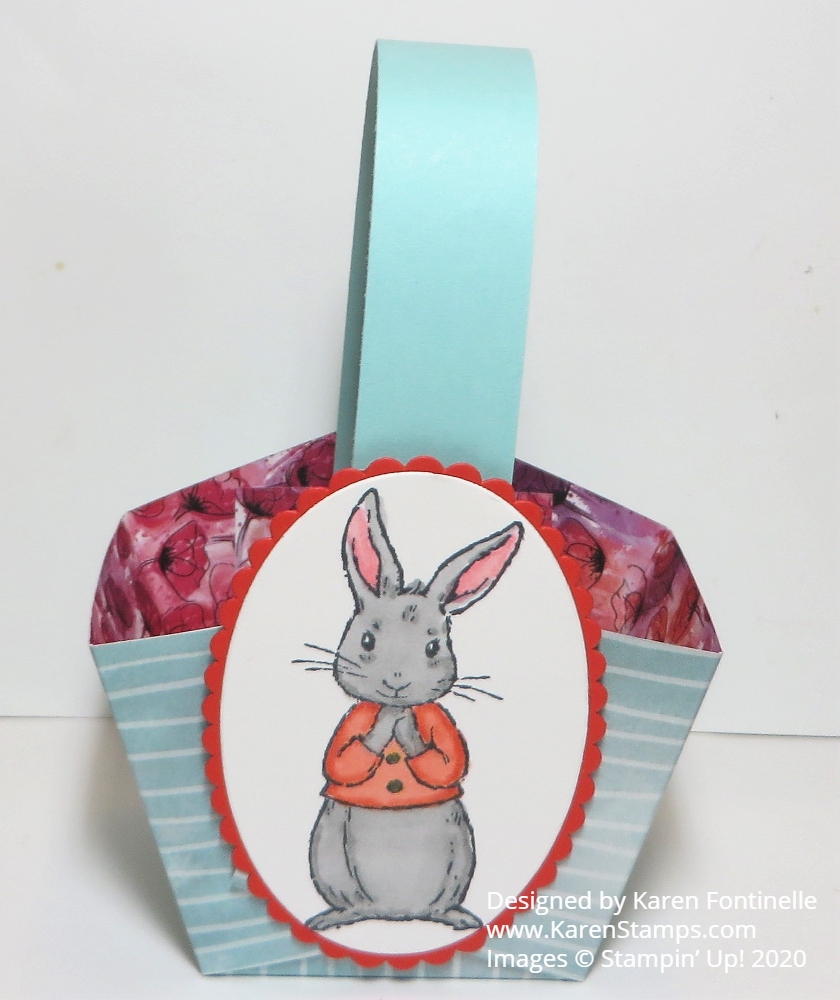
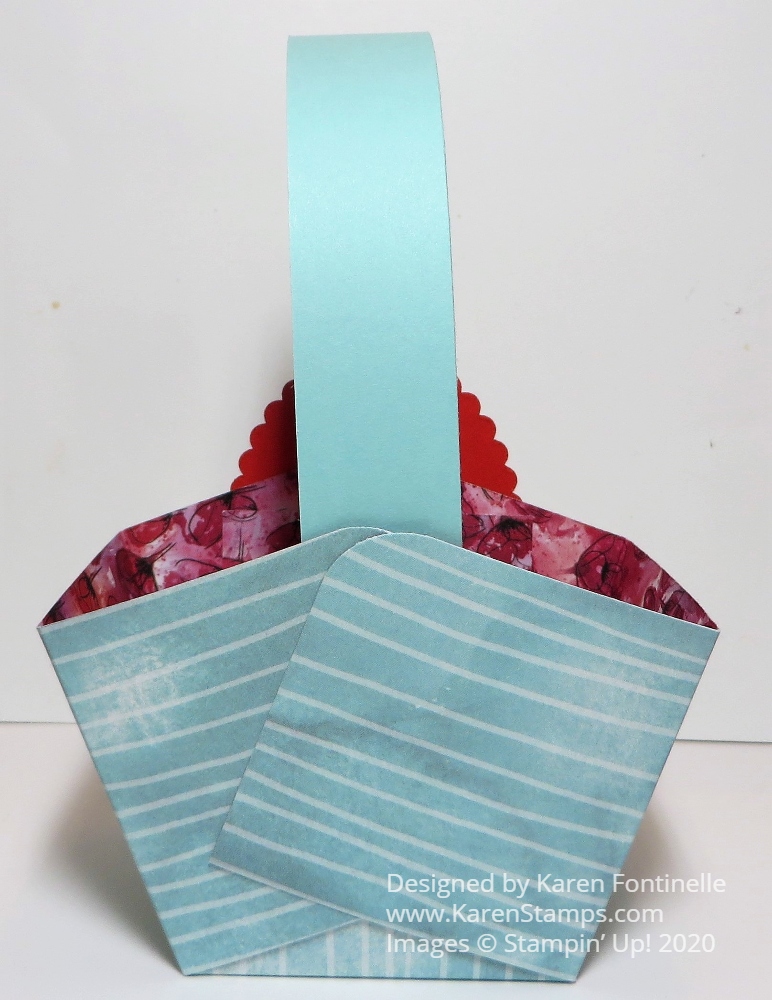
Today is the first day of spring, the earliest first day of spring since 1896, so here is a Fable Friends Easter Basket to celebrate! These are so easy to make you could make a ton now in your “free time”!
This is the Peaceful Poppies Designer Series Paper and I liked the Pool Party stripe paper for the basket. And then you can see the floral pattern on the inside of the basket.
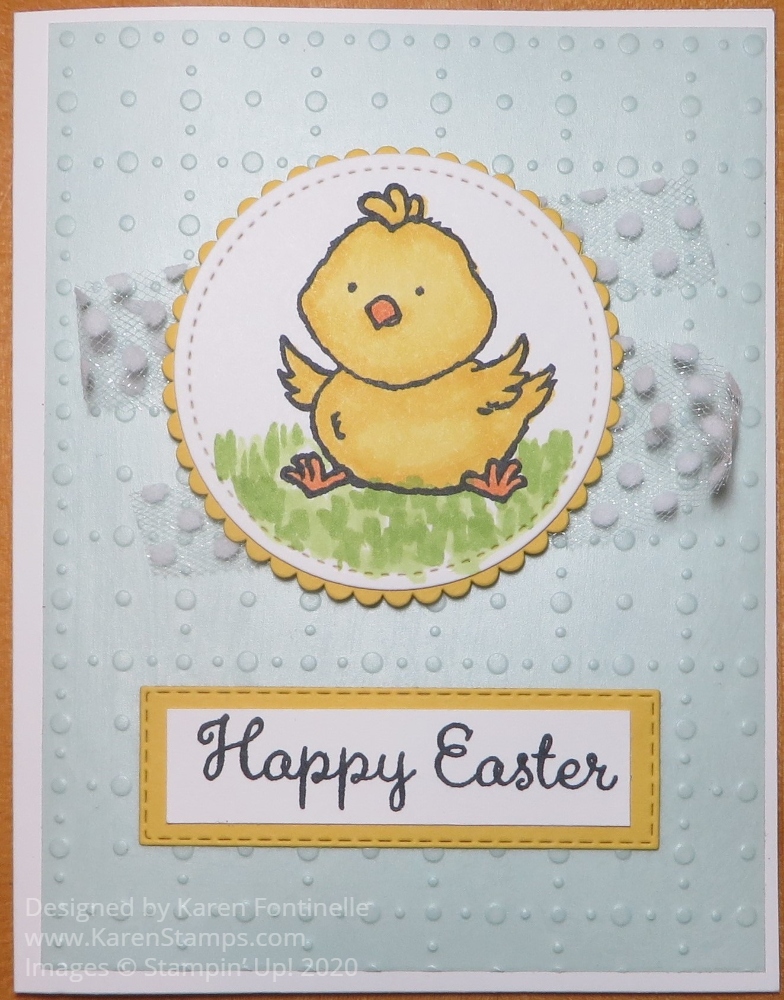
The bunny is stamped from the Fable Friends Stamp Set in the Annual Catalog. I love that bunny! I colored his fur and jacket with Stampin’ Blends and then die cut him with a Layering Oval die, then layered on a scalloped oval die. Don’t think I picked the correct color for the scalloped oval to match the inside of the basket but it’s fine!
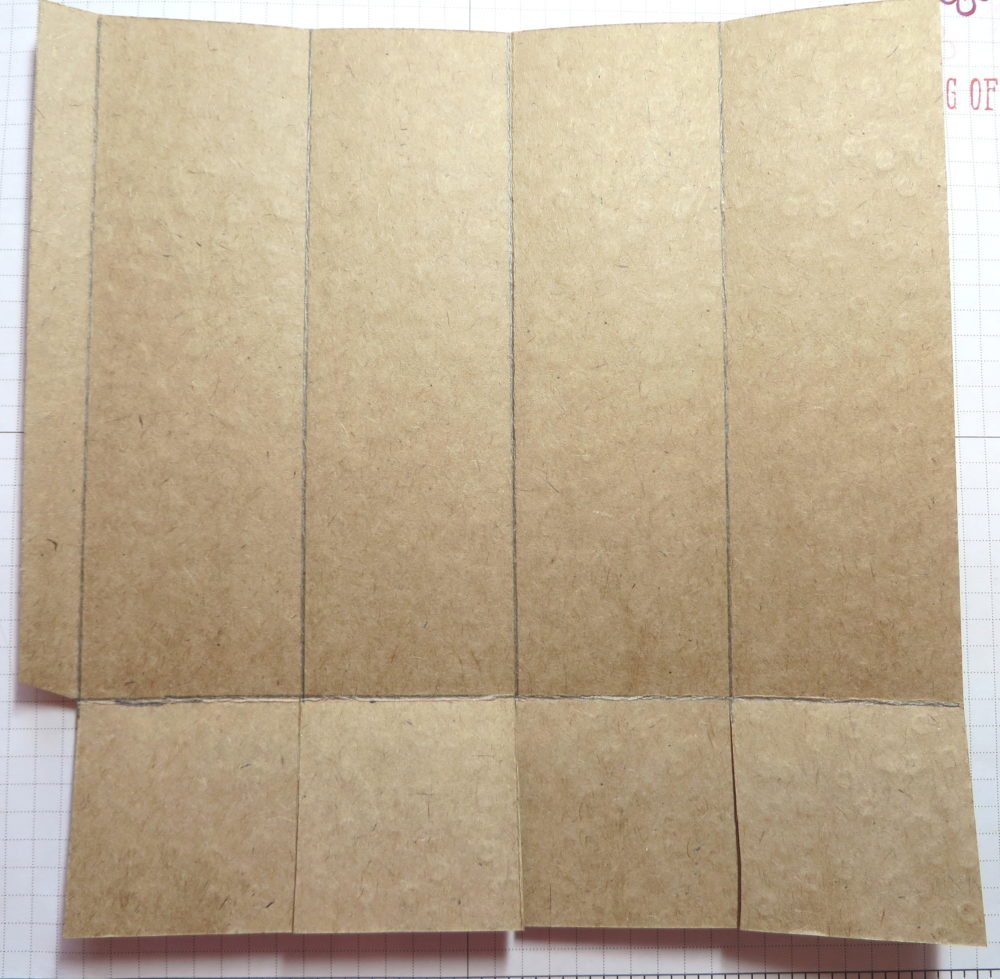
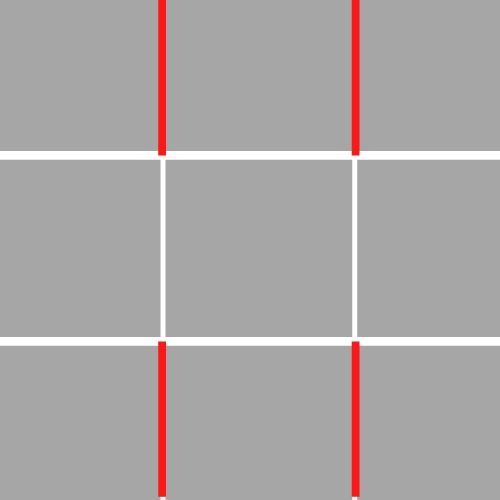
Just use a 6″ x 6″ square of paper and score at 2″ and 4″. Turn the paper and score again at 2″ and 4″. Then on opposite sides, cut up to the scored horizontal line. Round the four corners if you wish with the Detailed Trio Punch. In the rough (?) diagram below, you can see how you score all the lines like a “tic tac toe”, then cut on the red lines up to that horizontal score line. Then crease and fold on all the lines and begin assembling the basket.
Fold on the score lines and overlap the sides of the basket. You don’t have to be exact on the placement, just try to have both sides pretty much the side. Either adhere with strong glue or use Metallic Brads. Back in the day we were really into brads of all kinds so you probably have some in your stash, but Stampin’ Up! does also carry the Metallic Brads. You can see the sides of my basket in the photo below and I did not put a lot of effort into getting them into some perfect shape!
Last year I made several baskets in one post and you can see those ideas and directions HERE.
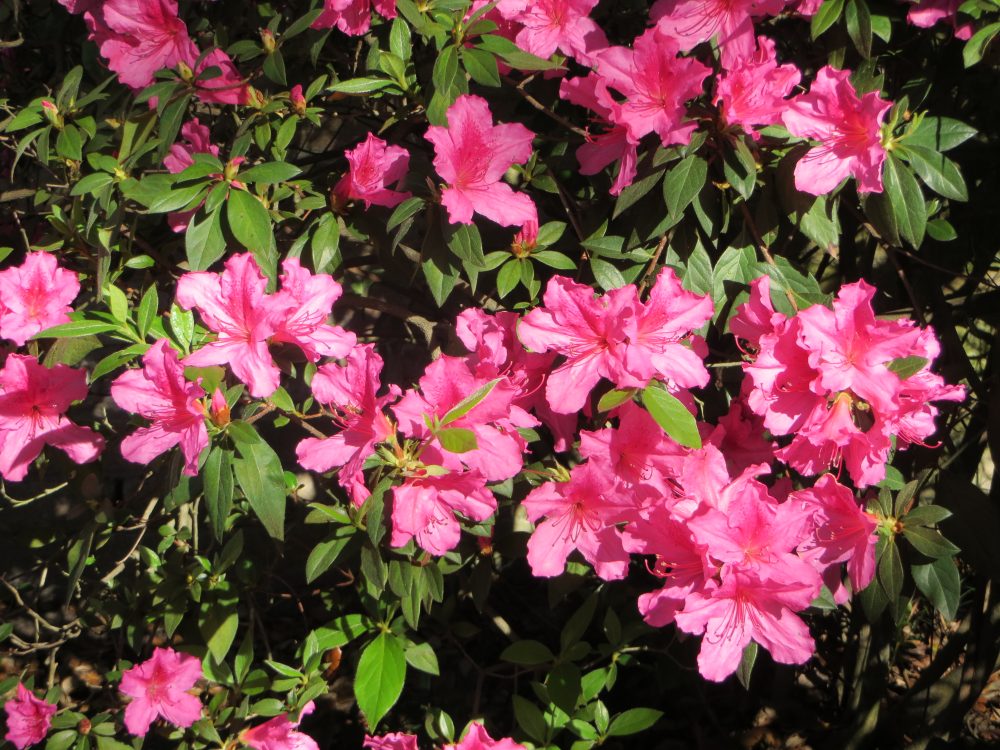
I think it just feels better to know that it is spring now! Spring is a happier season, things start growing and blooming, the weather is nicer, we are outdoors more. Look through your designer paper and make a few spring or Easter baskets to brighten up your home. You couldn’t have to put a bunny or anything on the side. You could use cardstock to make the basket and add designer paper on some of the squares. You could just tie on a tag or put a pretty bow on the handle. The handle, by the way, is just a strip of cardstock, probably cut about 1/2″ or 3/4″ wide and however long you would like it. It’s a simple project and would be fun and easy to make if you have kids at home now! Or just make it for yourself! Use larger paper for a larger basket! Maybe I will try that myself! Try your hand at a spring basket like my Fable Friends Bunny Easter Basket!
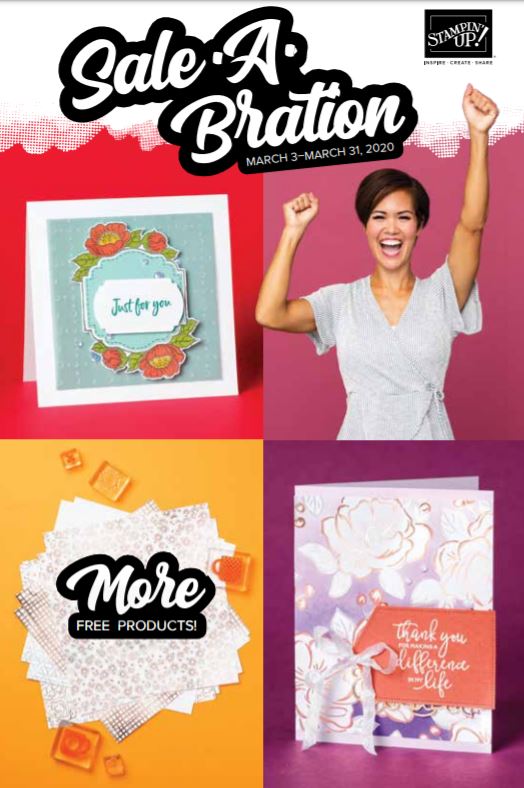
SHOP STAMPIN’ UP! ONLINE BEFORE SALE-A-BRATION ENDS MARCH 31!