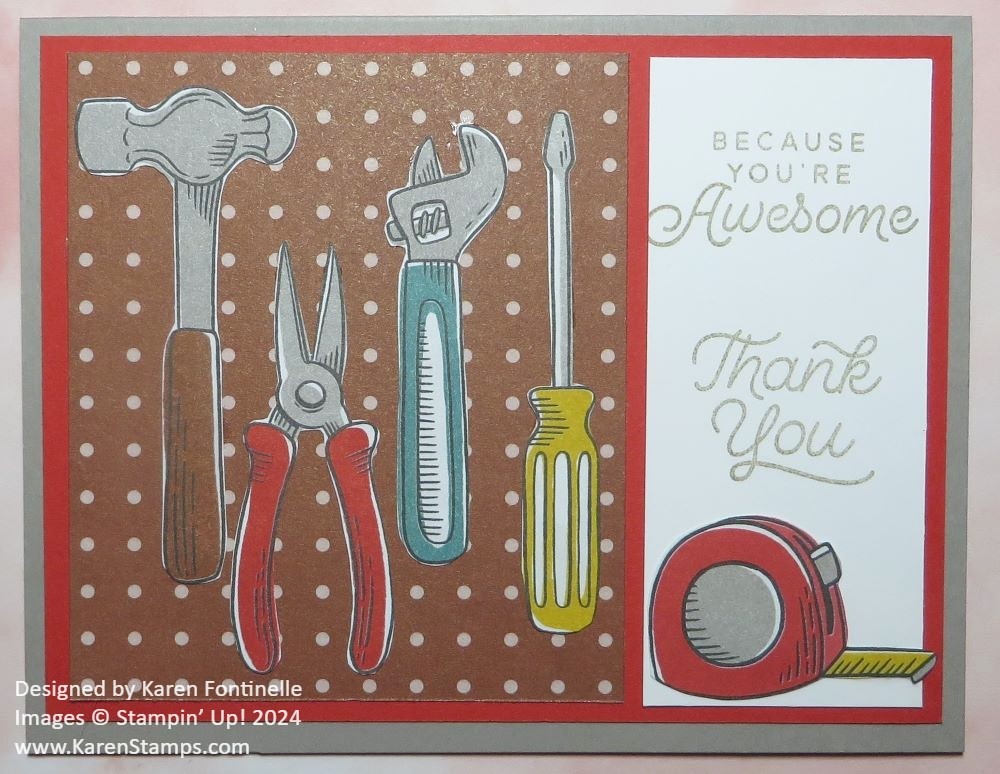
This Trusty Toolbox Designer Series Paper is going to be a fun one to use and great for masculine cards, like Father’s Day! This Trusty Toolbox Thank You Card was a good one to make. We all probably have times when we need a handyman, maybe just a friend or relative who can help us out at the last minute, or when we don’t know how to fix something. You can make an easy thank you card to give or send that person for helping you out!
You can earn this Trusty Toolbox Designer Series Paper FREE during Sale-A-Bration with just a $50 purchase! You’ll find it on page 11 of the Sale-A-Bration Brochure. Also, it coordinates with the Trusty Tools Bundle in the Spring Mini Catalog. So there will be lots of things to make with the Bundle and the Designer Paper.
When I see a workbench and tools, even represented on paper and a card, it makes me think about my dad, my grandpa, and my brother. I remember the workbench my grandpa had built for himself in his basement. I loved getting the thing of chalked string and taking it outside on the sidewalk to make a hopscotch. He helped my dad build a workbench in our basement and I remember how the glass jars of screws, bolts, and all the things all hung somehow from the lid. My grandpa also built a small workbench for my brother in our basement, complete with tools of all kinds, maybe some child-size. I liked to play with him at his workbench. Sometimes we would try to make something. I think he had a toy saw that would cut through styrofoam. It was all fun. I can still see that workbench near my dad’s and my brother used it for years. It paid off well because my brother can fix and make anything after learning from our dad.
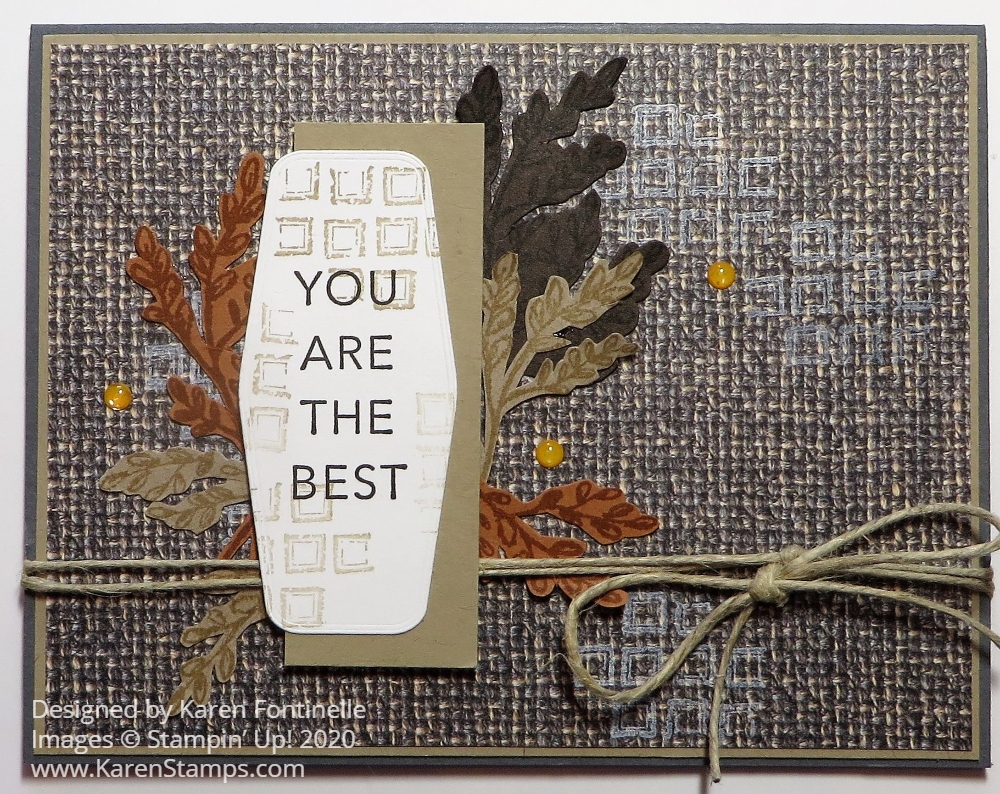
To make this card, I made a card base of Gray Granite with a layer of Poppy Parade. On the left side of the card, I used the paper that looks like a pegboard and cut it at 3 1/4″ x 3 3/4″. On the right side is a piece of Basic White measuring 1 5/8″ x 3 3/4″. On this paper, I stamped a greeting from the Circle Sayings Stamp Set in Gray Granite ink. I think this would be perfect for someone you wanted to thank who fixed something for you! For the tools hung up on the pegboard, I cut them out by hand from the designer paper with ALL the tools on it! It was fun deciding which tools to use and what would look good on this card.
If you need to make some masculine cards or have a handyman in your life, you might want to choose this Trusty Toolbox Designer Series Paper as your free gift with a $50 purchase. There are lots of great choices and no limit to how many products you can earn with every $50 purchase.