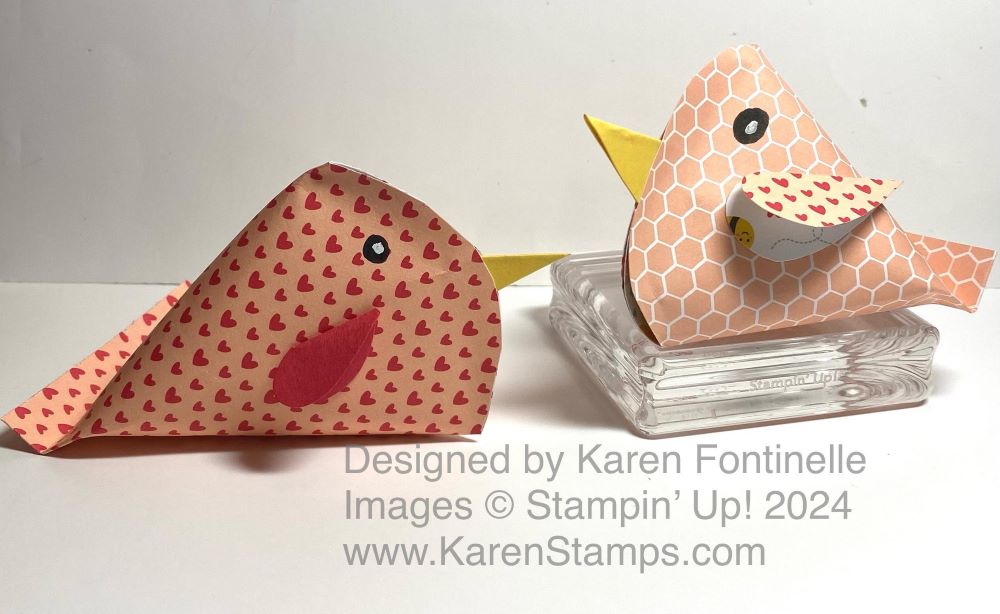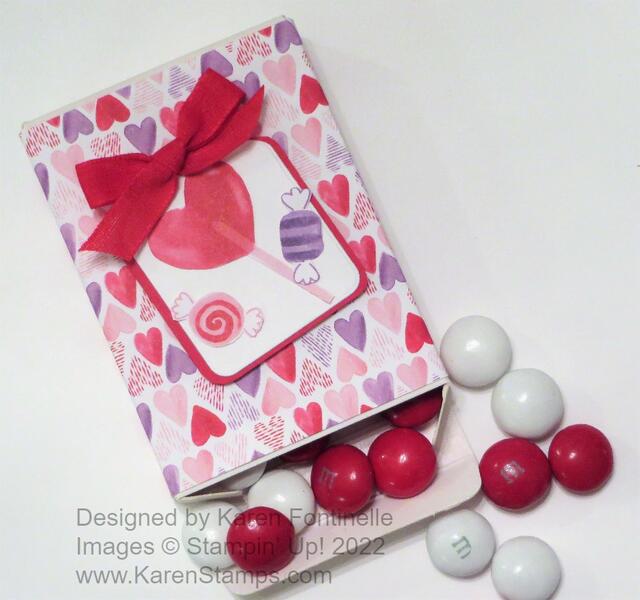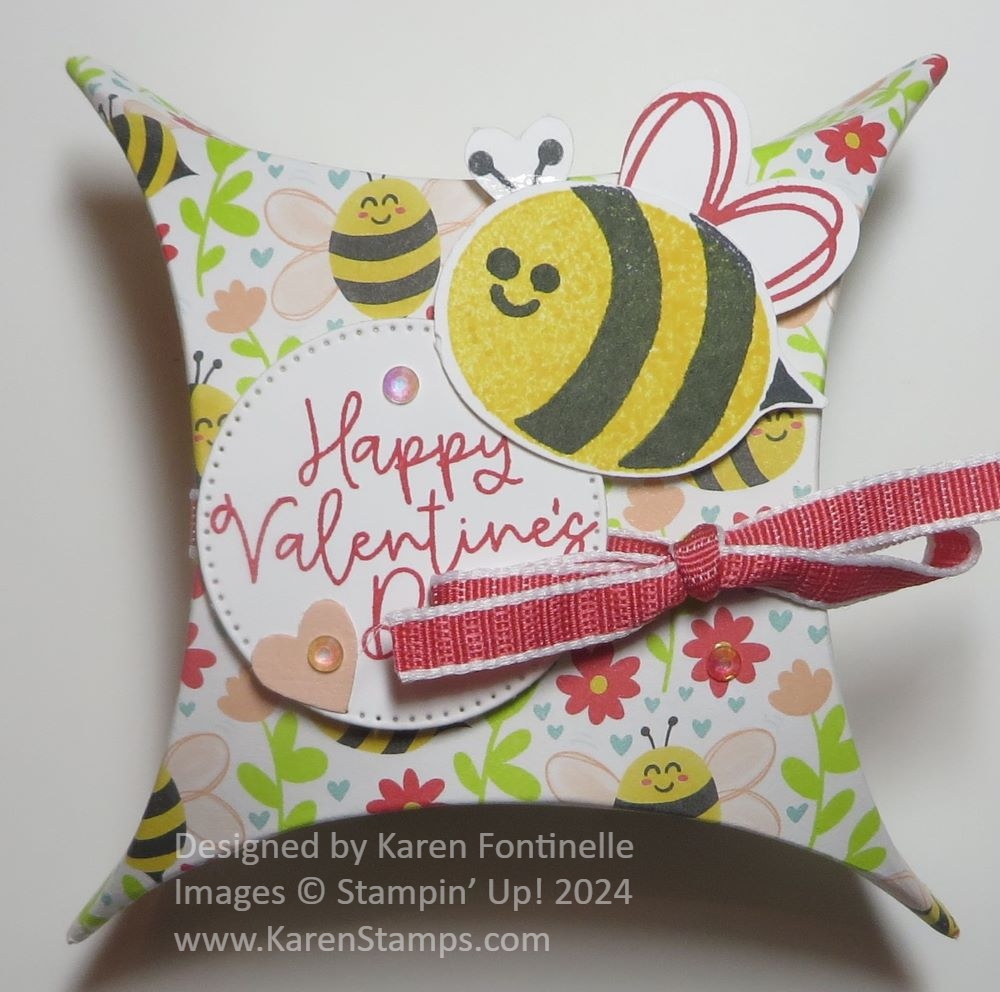
Here’s another way to decorate one of the Square Pillow Boxes in the Spring Mini Catalog! Decorating this Square Pillow Treat Box For Valentine’s Day was the first time I tried this method of decorating the box. You can stamp on these boxes, leave them plain, color them with ink, or cover them with designer series paper! Just remember to put your treat inside! It’s a little bit of a different shape for a gift box or treat box so it will definitely grab someone’s attention when they see it!
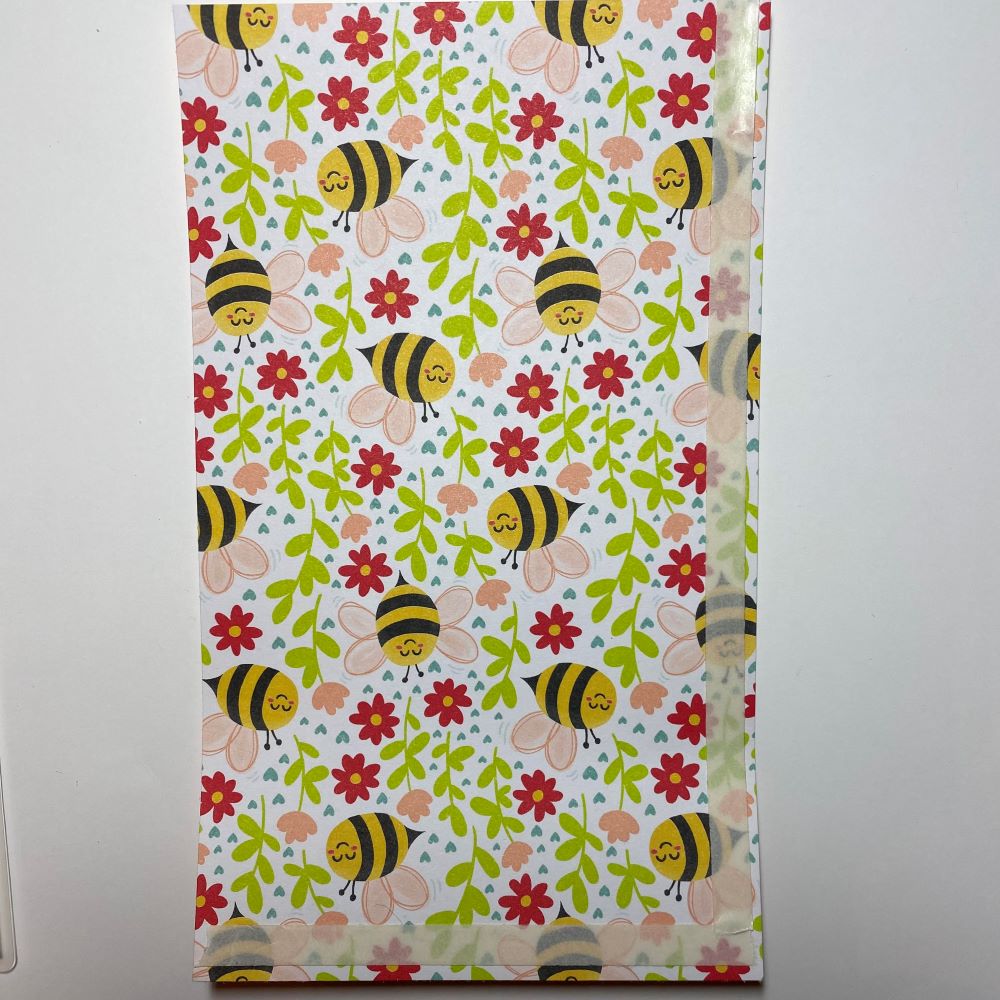
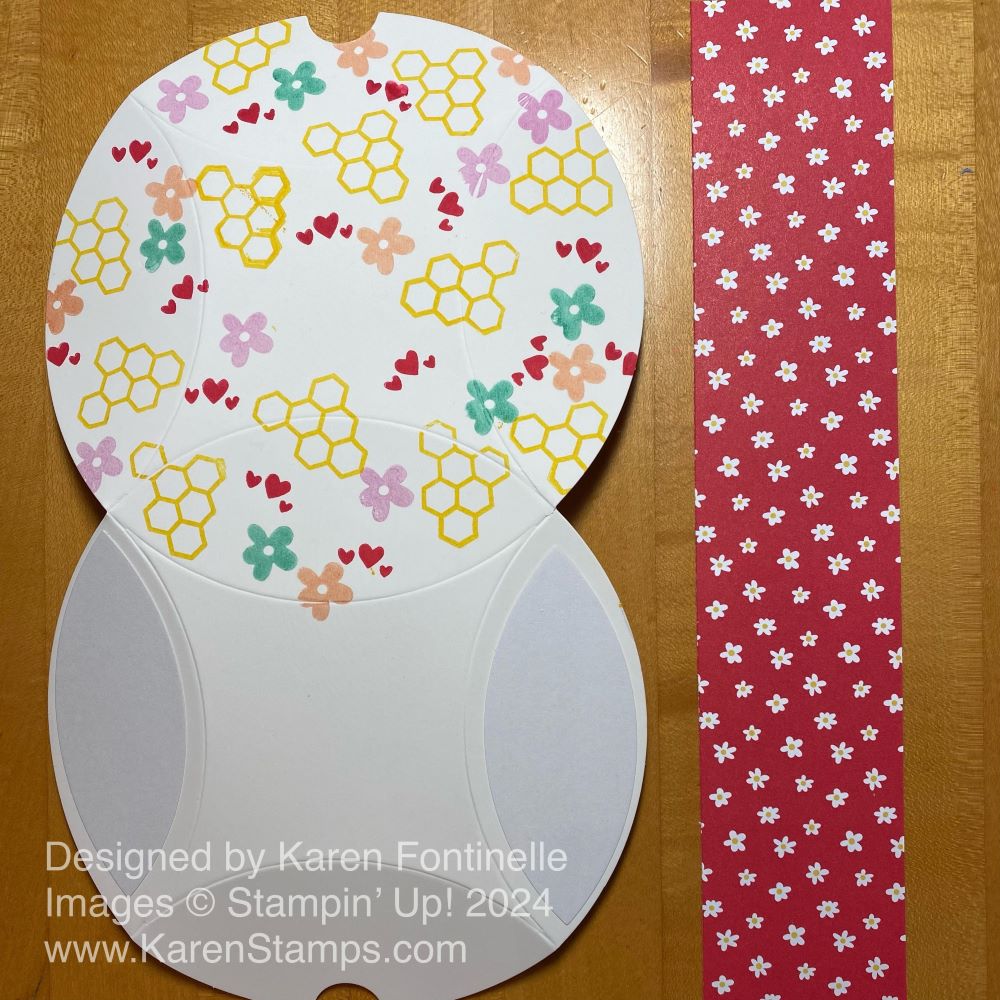
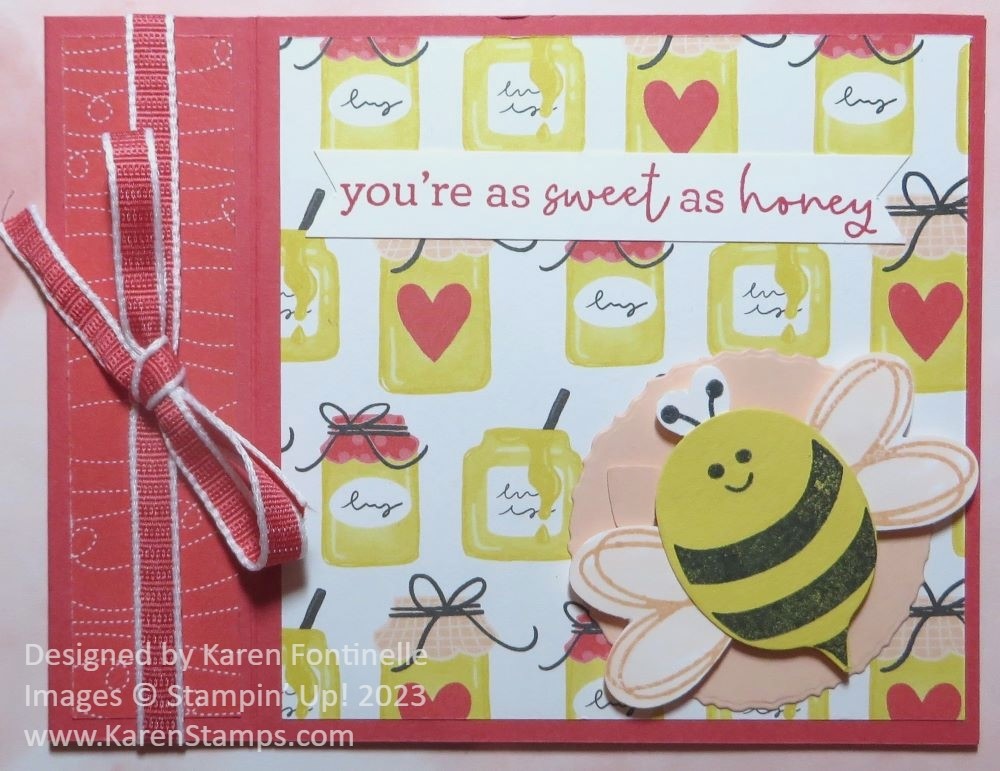
I covered this Square Pillow Box with one of the bees-patterned papers in the Bee Mine Designer Series Paper. How did I do that? I cut a full sheet in half at 6″. That leaves just a sliver of one of the sides not covered but no one will notice. I used Multipurpose Liquid Glue to adhere the paper to the box while it is flat, not assembled, of course. Be sure NOT to adhere it to the side of the box that has the adhesive already applied. You want to be able to use that adhesive on those sides, not have it covered up with designer paper. After you adhere the designer paper, trim around the edge of the box to cut off the excess designer paper.
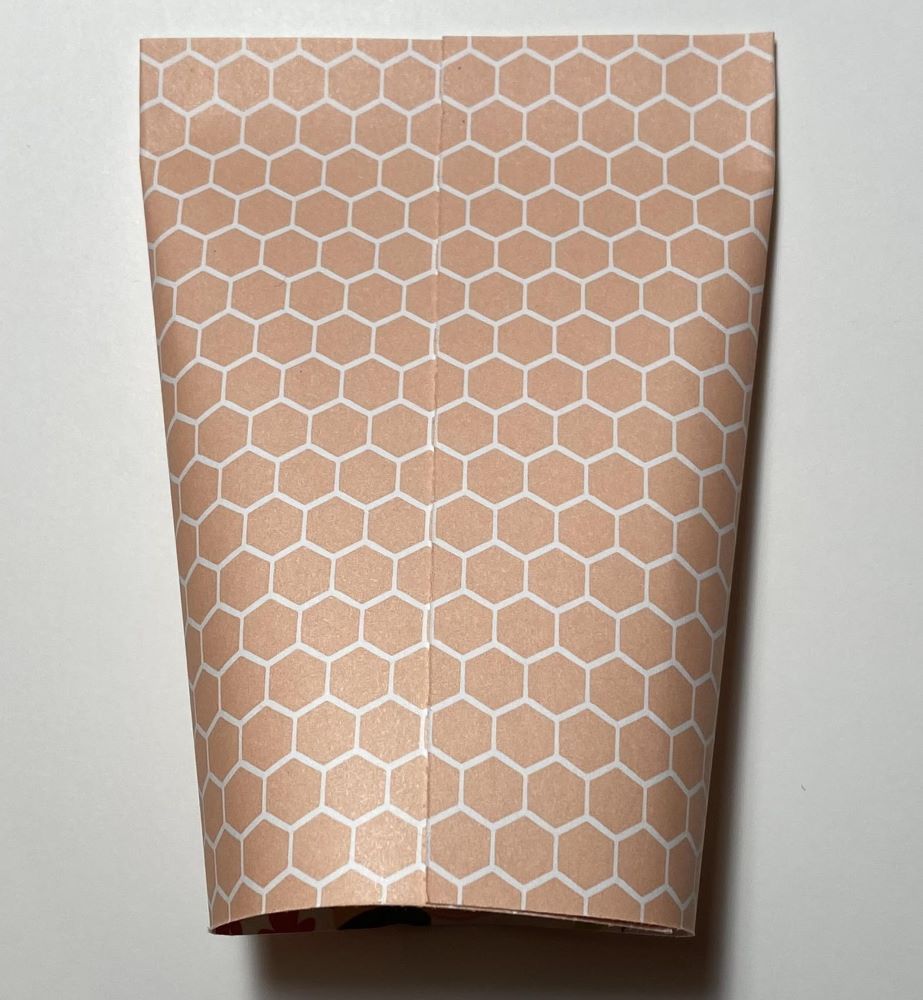
Now you are ready to fold along the score lines to form the box. It is a little more difficult with the paper on it, but just keep working with it. I used my Bone Folder just to rub along the creases to help it all come together.
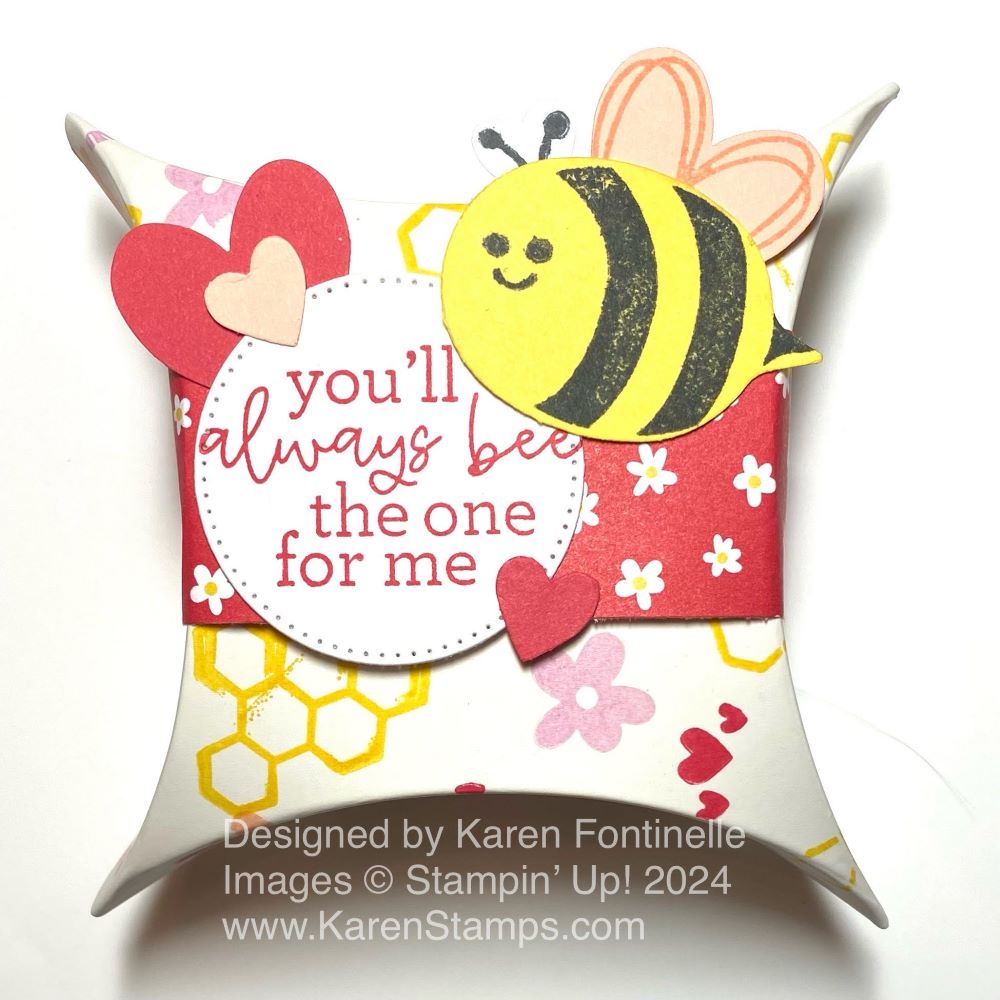
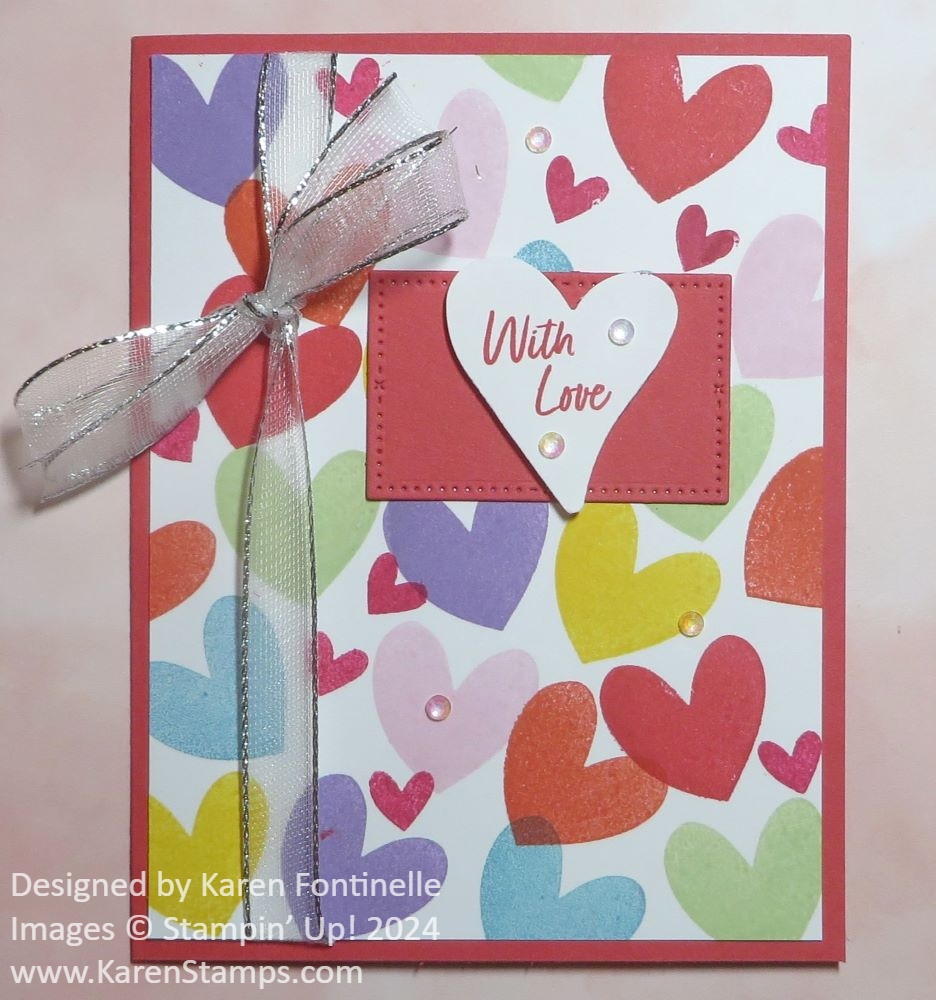
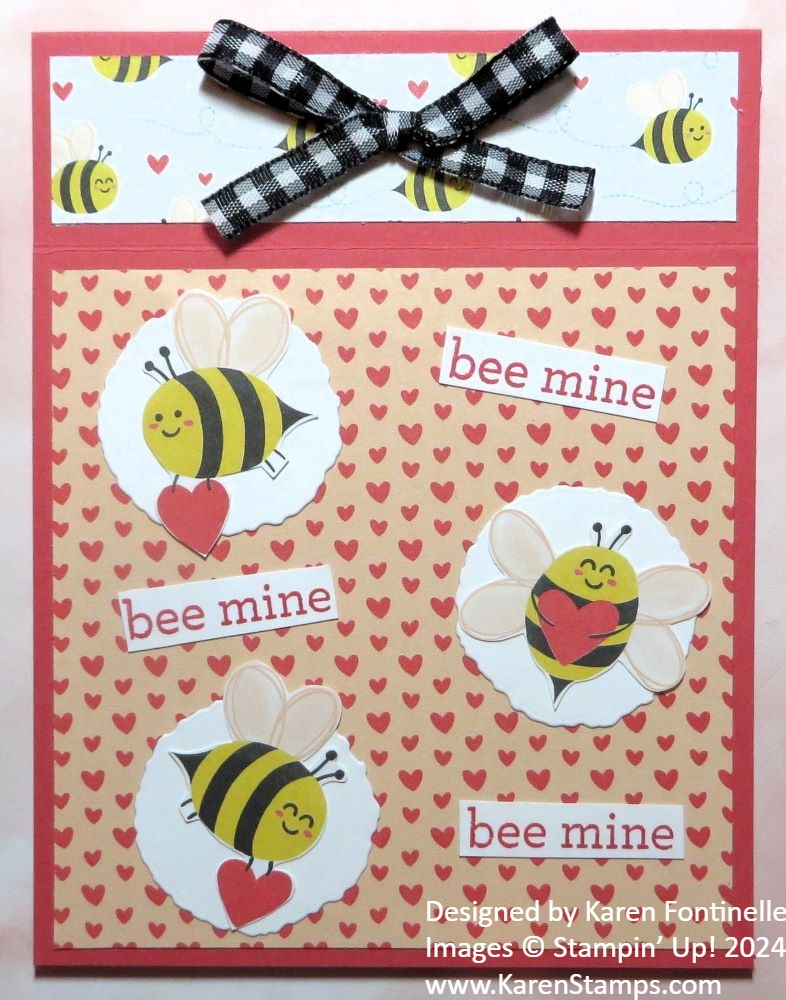
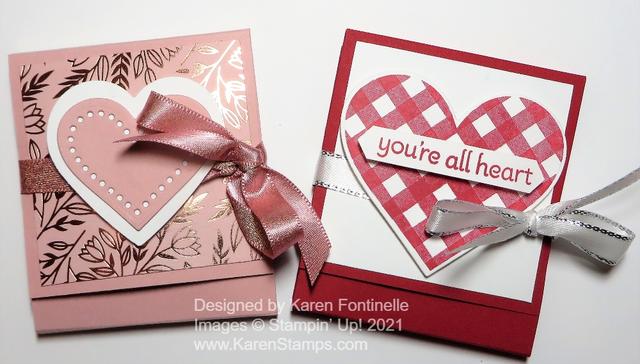
To decorate the box, I stamped the greeting in Sweet Sorbet ink on Basic White and cut out with one of the circle dies in the Stylish Shapes Dies. The Bee is stamped in Daffodil Delight ink on Basic White and then the stripes are stamped in Memento Black ink for his body. I used the Bee Builder Punch to cut his body and then added wings and antennae.
The greeting is popped up with Stampin’ Dimensionals as is the bee. I put the Dimensionals only at the top and bottom of the greeting so I could run the Sweet Sorbet ribbon around the box underneath the greeting. I added one of the tiny punched-out hearts and a few Iridescent Rhinestones Jewels.
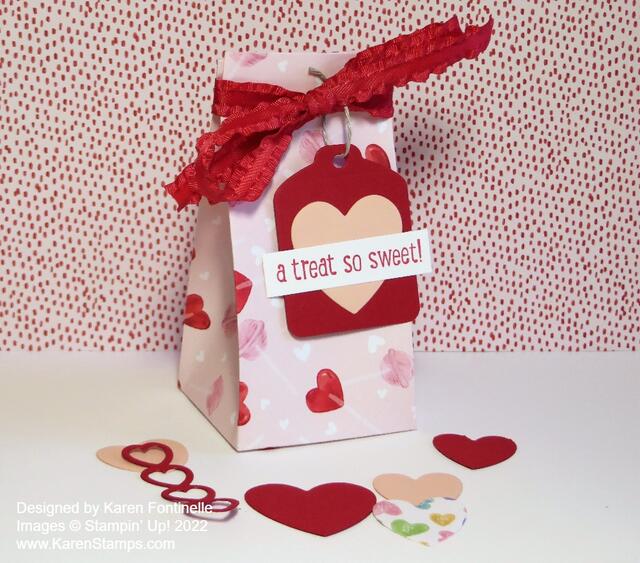
If you have the box with the opening at the top, then the ribbon or bellyband doesn’t have to be removed to open the box and get out the treats inside. It holds together really well so you don’t have to use adhesive on the top flaps.
You might like having some of these Square Pillow Boxes on hand because you can decorate them for any occasion!