It’s time to get that Stampin’ Up! Annual Catalog out and start flipping through the pages because Stampin’ Up! is having a Seasonal Sale of select Annual Catalog products from November 15-18, 2022. We get so involved with the Mini Catalogs that we sometimes forget about the great products in the Stampin’ Up! Annual Catalog! This is an excellent time to look back at the Annual Catalog and get some bargains!
Select products will be on sale with the following discounts:
- 10% off all punches
- 15% off all stamps (Host stamp sets are not included in this sale)
- 20% off all dies
- 20% off all embossing folders
- 20% off all non-specialty Designer Series Paper
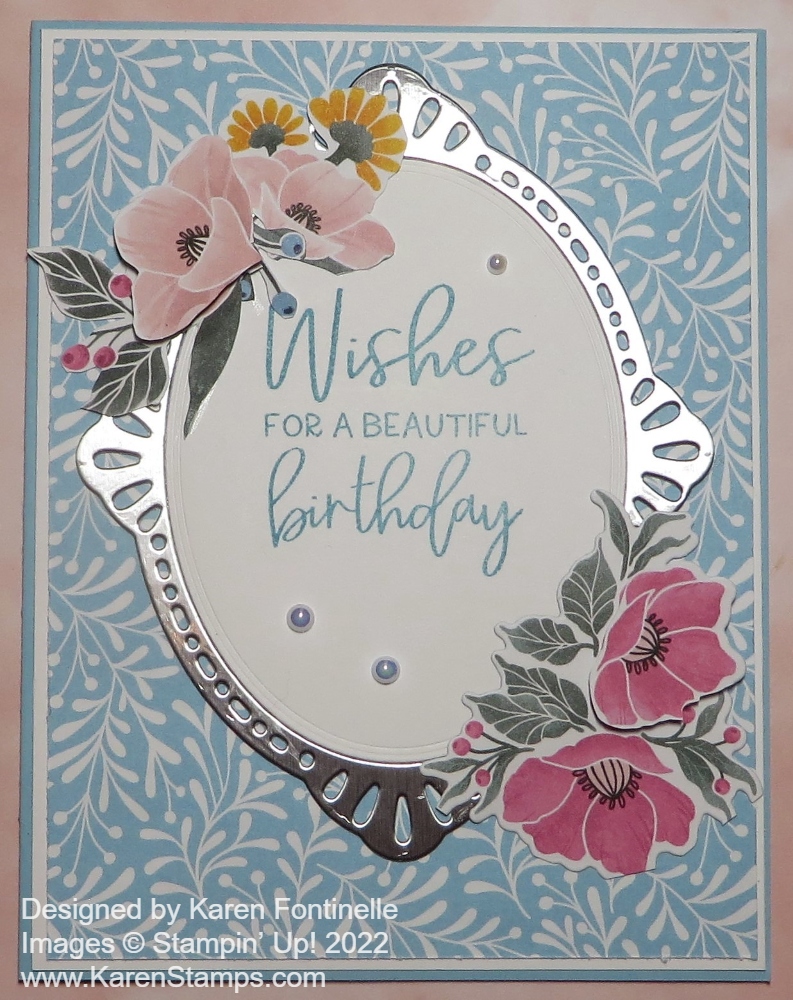
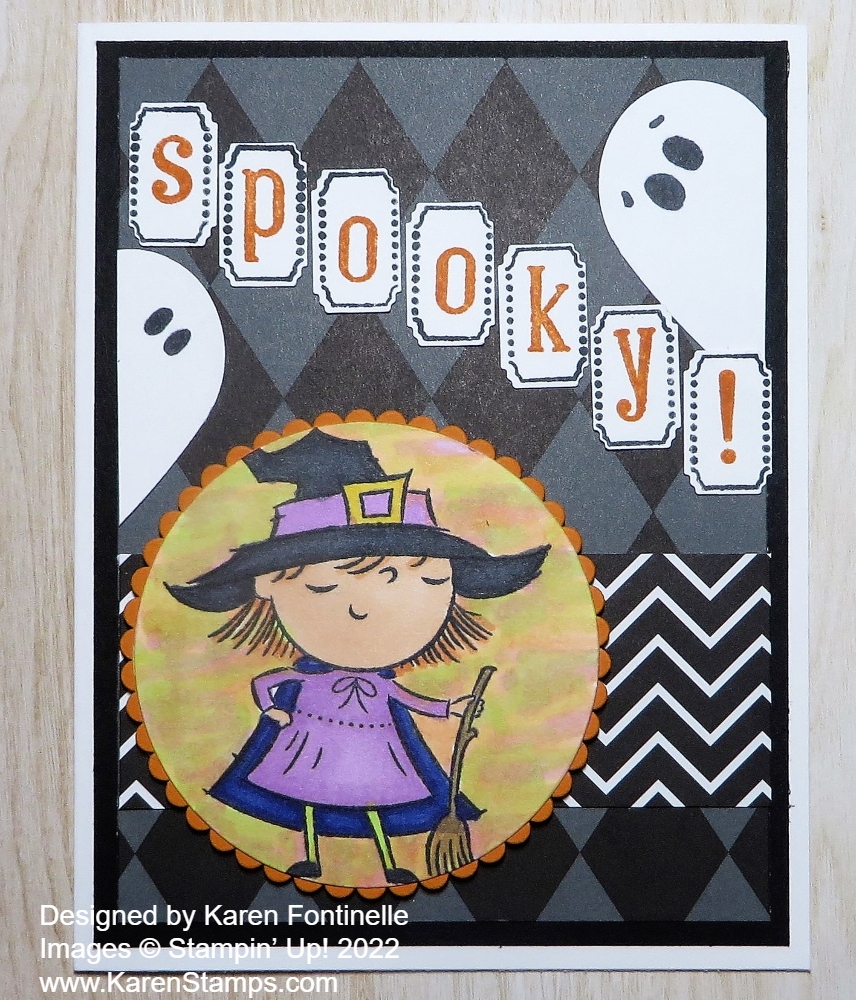
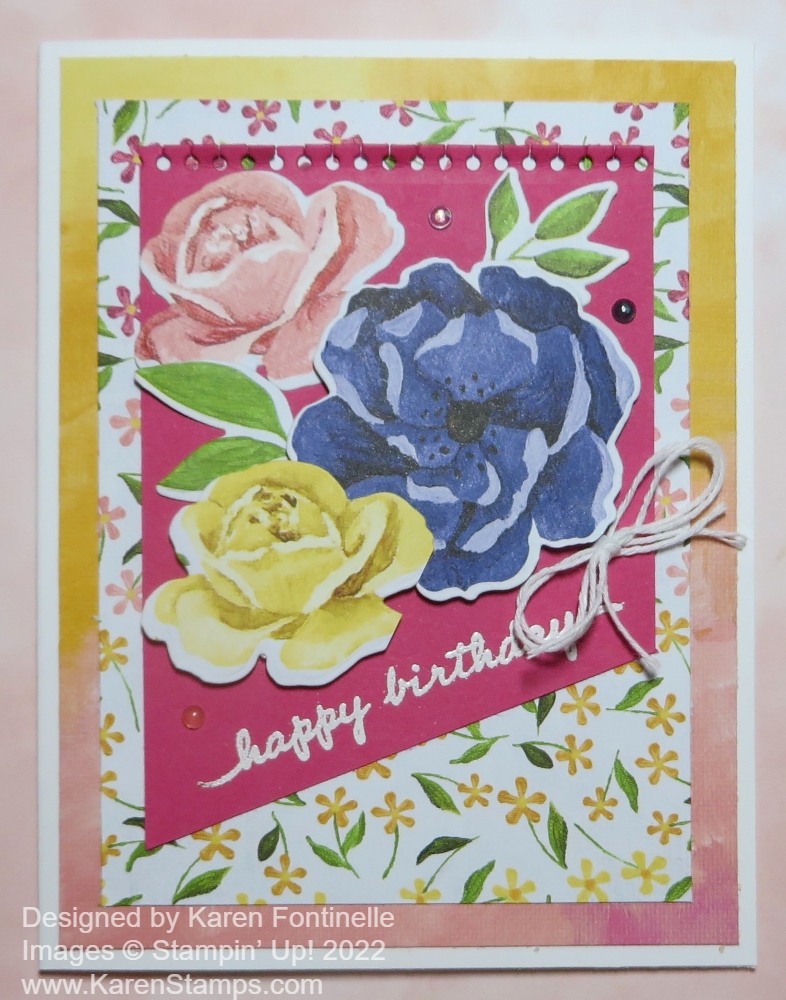
To inspire you, I decided to make a card from the Annual Catalog, which I copied from the sample on page 108. It just caught my eye! The Hues of Happiness Suite was a really popular one when the catalog first came out. If you didn’t get some of the products then, you can get them at a discount next week!
My card has a card base of Basic White Cardstock with a layer of “the other side” of the Hues of Happiness Designer Series Paper. It’s kind of the yellowish/pinkish piece of designer paper, but really almost any of the colors would be fine.
The next layer is a little smaller than normal in order to see the paper behind it. It’s the paper with the tiny flowers printed on it. It measures 3 1/2″ x 4 1/2″.
The Melon Mambo piece is 3″ x 4 1/4″. The short right side is cut at 3″ diagonally over to the bottom corner of the cardstock. Just eyeball it! I stamped the birthday greeting in the Happiness Abounds Stamp Set with Versamark ink, then embossed it with White Embossing Powder and the Heat Tool.
The flowers could have been stamped, but you can just diecut flowers using the Blossoming Happiness Dies from the designer paper! I think the catalog sample stamped and diecut one of the flowers, but I just used all from the designer paper. Even the leaves are diecut. The purple and yellow flowers are popped up on Stampin’ Dimensionals.
To embellish the card, there is a white twine bow tied with two strands plus a few 2021-2023 In Color Opal Rounds. It’s always fun to add a few jewels of some kind to a card!
Take some time to look through the Stampin’ Up! Annual Catalog and see if there are stamps, punches, embossing folders, dies, or designer paper you want to put on your Shopping List!