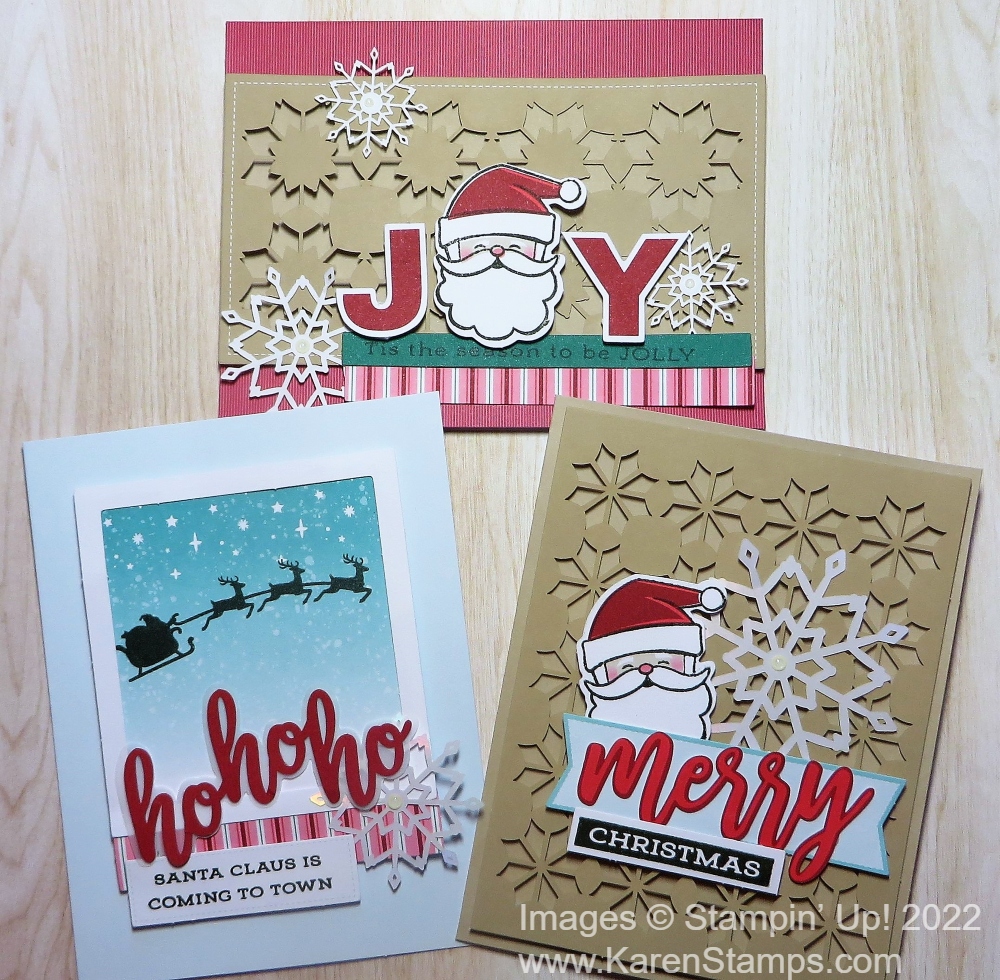
One of the best perks of being a Stampin’ Up! Demonstrator is getting to order the new products that are coming out a month ahead of time! The reason for this isn’t just to do something special for us, the reason is so we can learn about the new products and make samples to show our customers so that YOU can order as soon as these products are available! Right now we are looking forward to (at least after we finish our Christmas cards and projects first!) getting the new Stampin’ Up! January – April 2023 Mini Catalog (I’ll usually call it the Spring Mini Catalog) PLUS Sale-A-Bration 2023! As much as we love the holiday products it’s usually refreshing to get our hands on the new spring products. A new start, a fresh start for the New Year!
I haven’t had a chance to use any of my new products because I’ve been trying to get ready for Christmas. But they are fun to have and to look at! I have taken photos of what I got so you can get a taste of what’s coming!
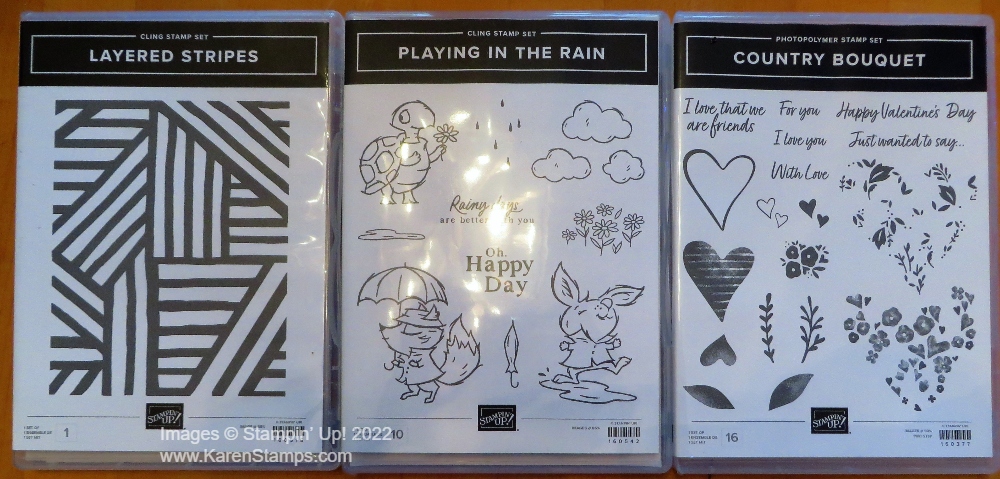
Here are the three stamp sets I chose for now. These are all in the Spring Mini. The Country Bouquet Stamp Set is part of the Country Floral Lane Suite, which I ordered, to get “all” the things!
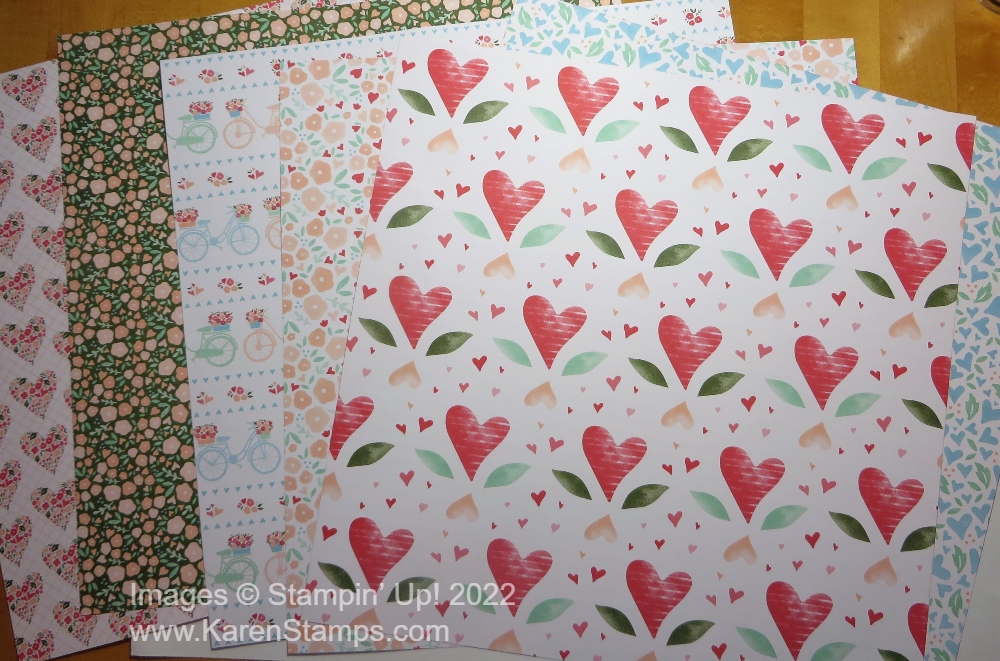
This is one of the designer papers in the Suite, the Country Floral Lane DSP. I love the hearts and leaves and I’m sure this paper and Suite will be very popular!
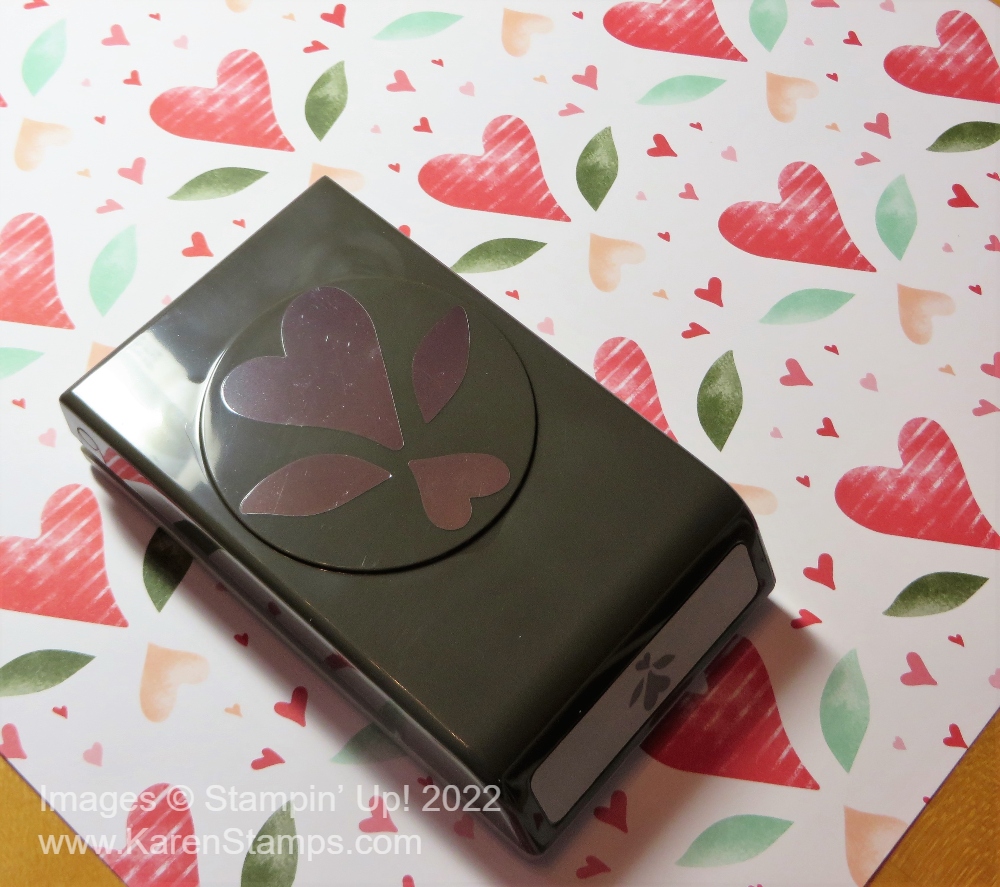
The new Country Bouquet Punch will coordinate with this designer paper pattern. Plus you can just punch this stylish heart design out of cardstock or stamped images from the stamp set.
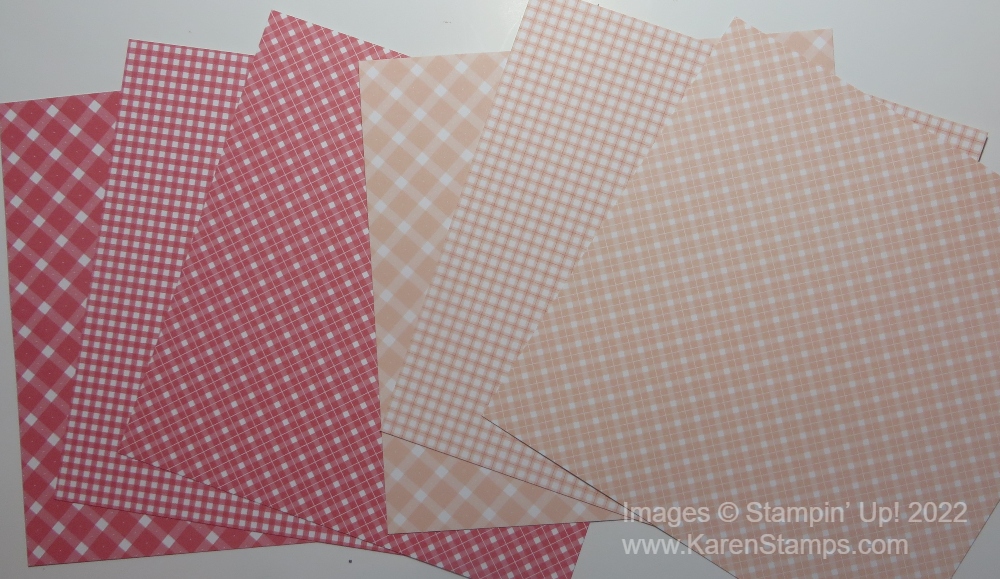
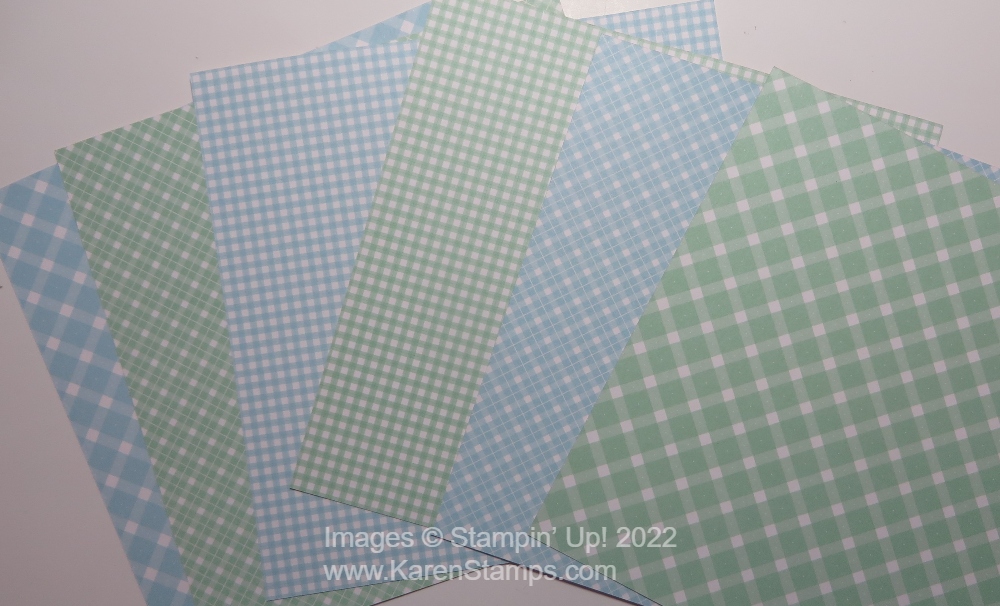
This cute Country Gingham 6″ x 6″ Designer Series Paper is another choice in the Country Floral Lane Suite.
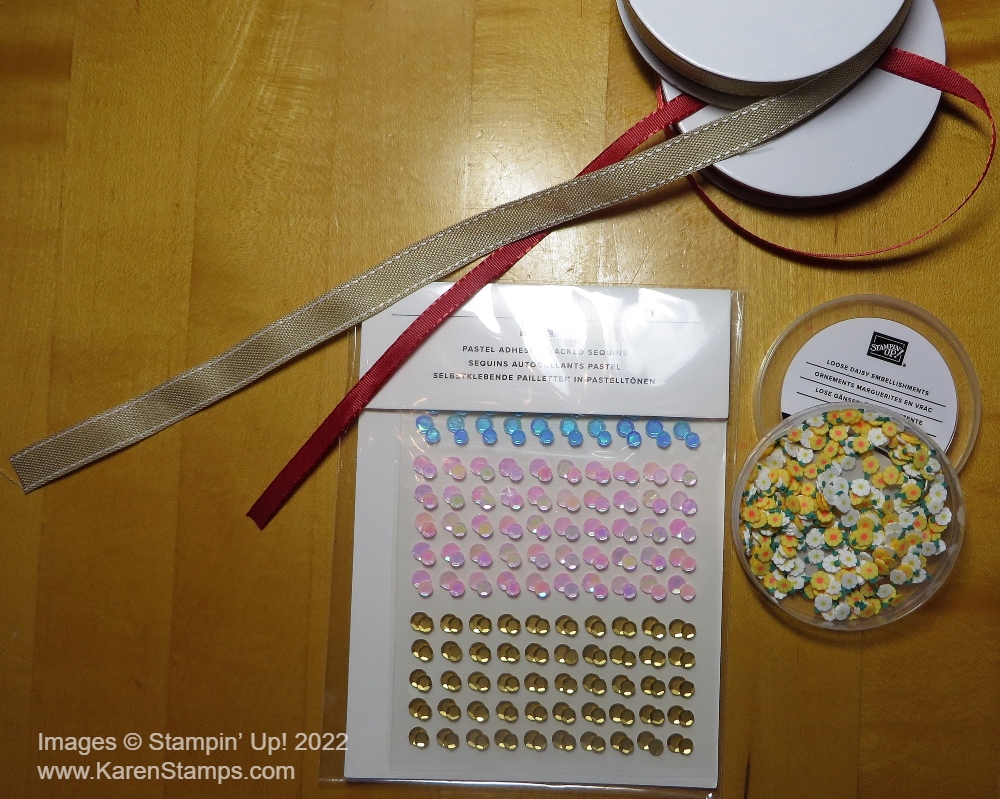
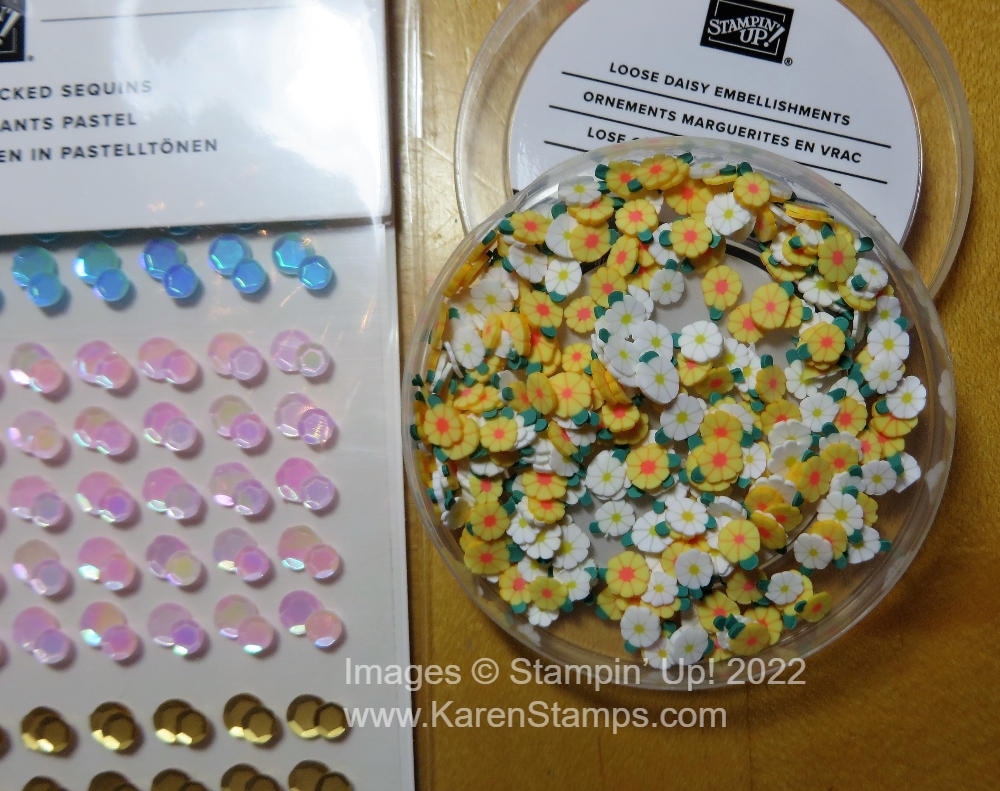
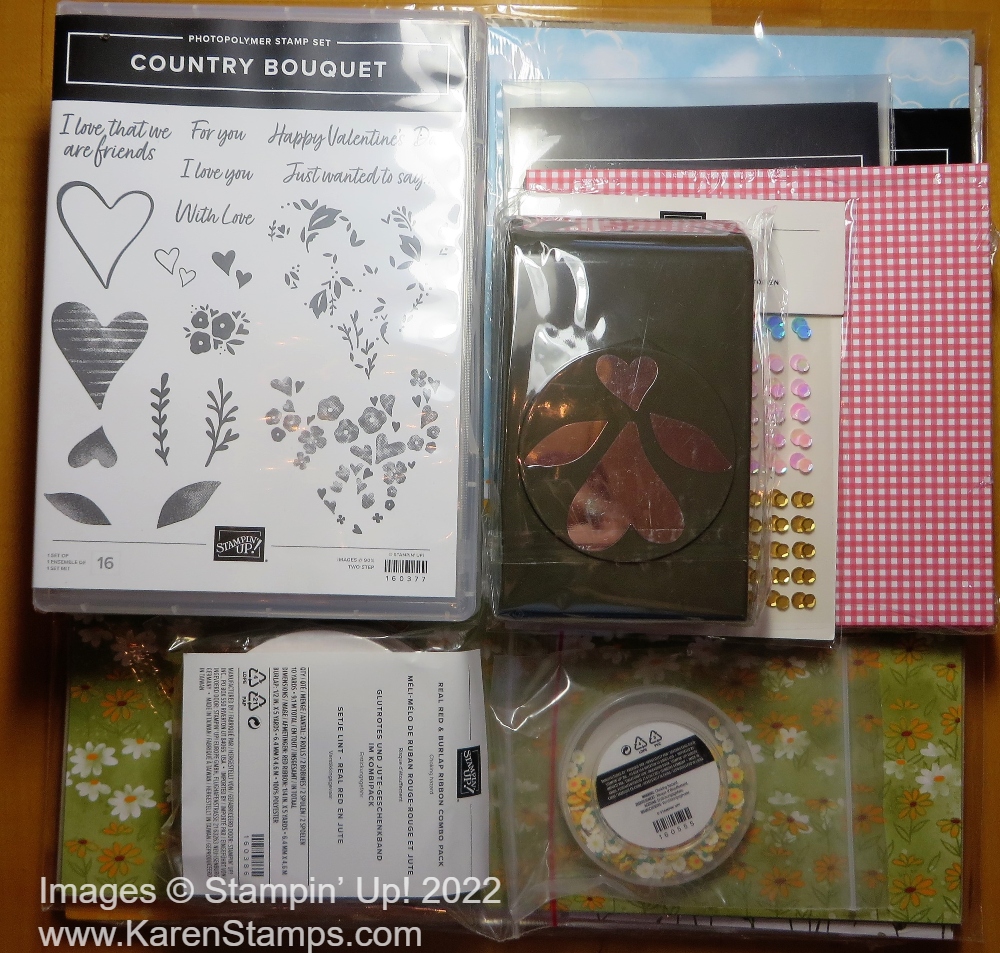
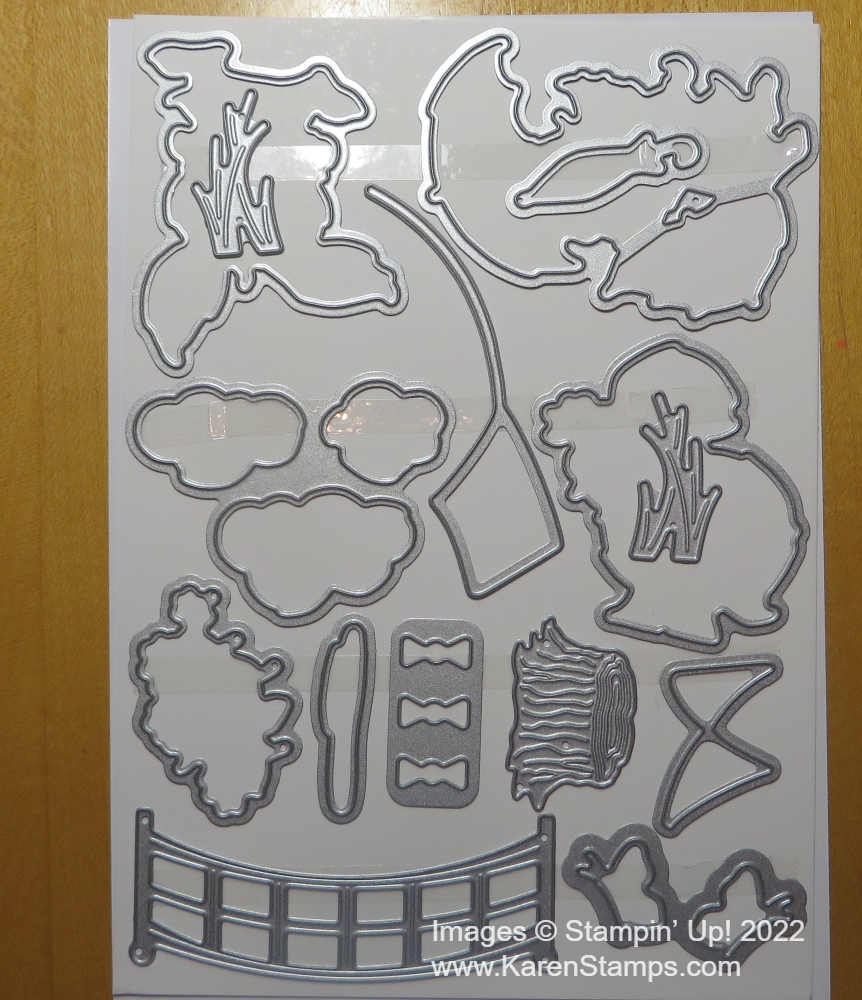
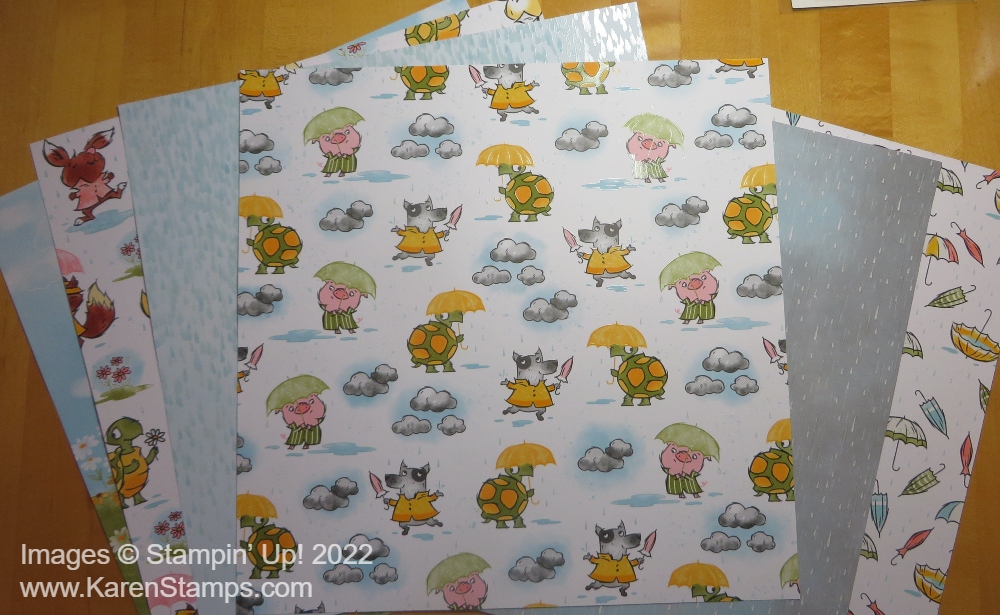
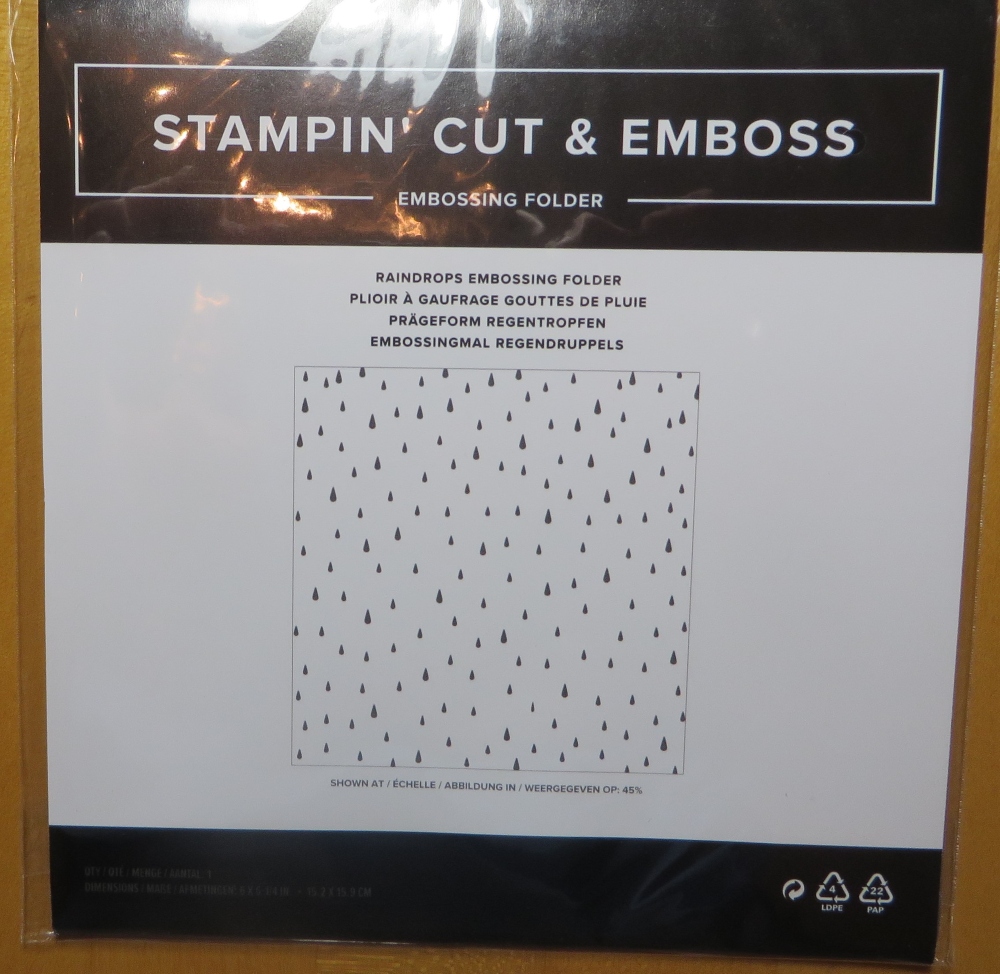
Here are some new embellishments in the Mini Catalog! It’s the Real Red & Burlap Ribbon and the Pastel Adhesive-Backed Sequins in the Country Floral Lane Suite and the Loose Daisy Embellishments in the Rain Or Shine Suite. The center stamp set in the top photo is in this Suit and comes with the Playing in the Rain Dies and the Raindrops Embossing Folder. The Rain or Shine 12″ x 12″ Specialty Designer Series Paper is so cute and has some shiny embossed areas on it which make it very interesting.
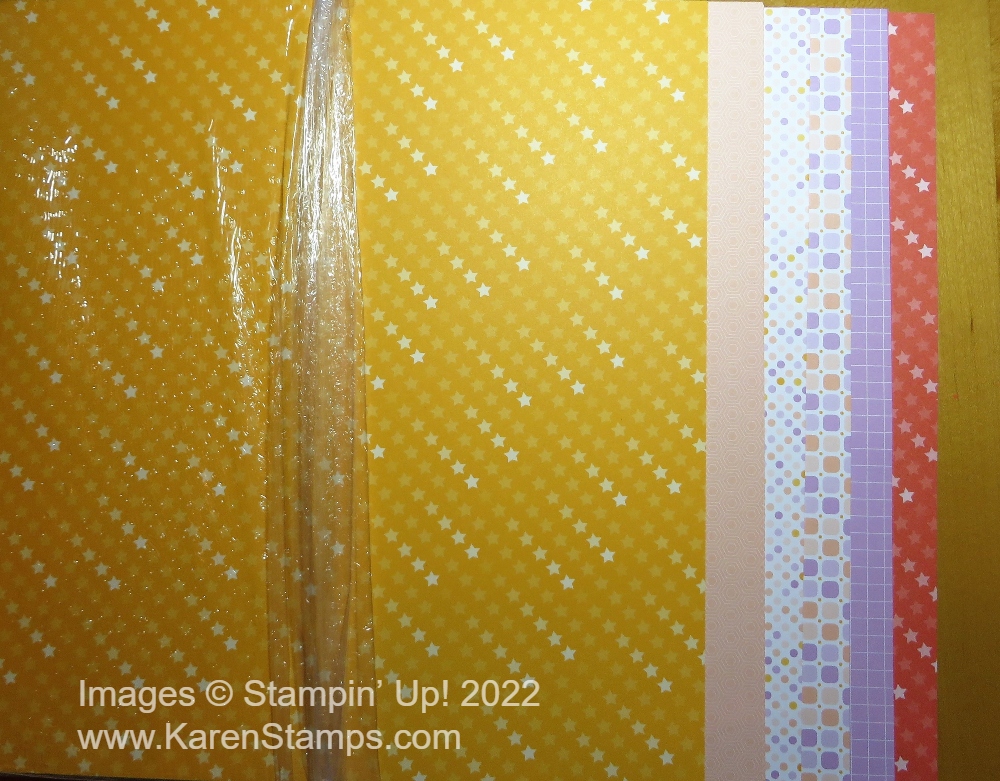
And then we have some things I earned as Sale-A-Bration rewards. If you are new to Stampin’ Up!, Sale-A-Bration is an annual special event where for every $50 in products you buy, you can choose a FREE Sale-A-Bration product in the special Sale-A-Bration Brochure. Some items, like the huge pack (48 sheets) of designer paper called Dandy Designs, is available with a $100 purchase. It is so fun to get some great stamping products for FREE!
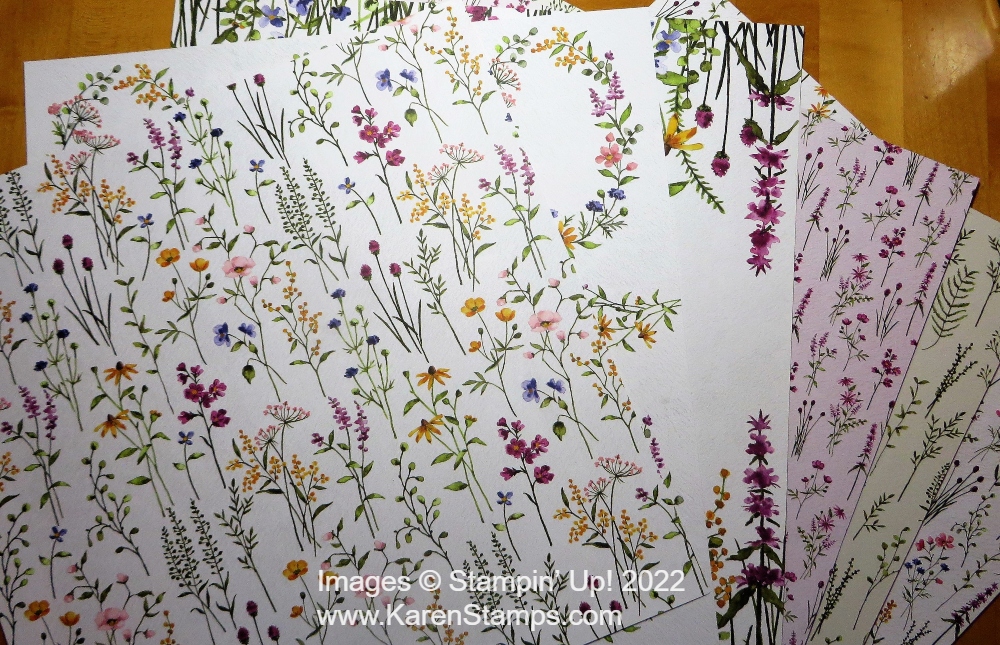
This beautiful paper, Dainty Flowers, is a free Sale-A-Bration item with a $50 purchase. One sheet has floral ovals which will be fun to use and another is like other sheets we have had where you can cut the paper into six panels and each one has pretty flowers plus white space which can easily be made into cards. This paper will coordinate with the Dainty Delight Bundle in the Mini Catalog.
I’m sure I will order more of the new Spring Mini products as time goes on, but this is what I started with! What is more fun than a new Stampin’ Up! catalog?!
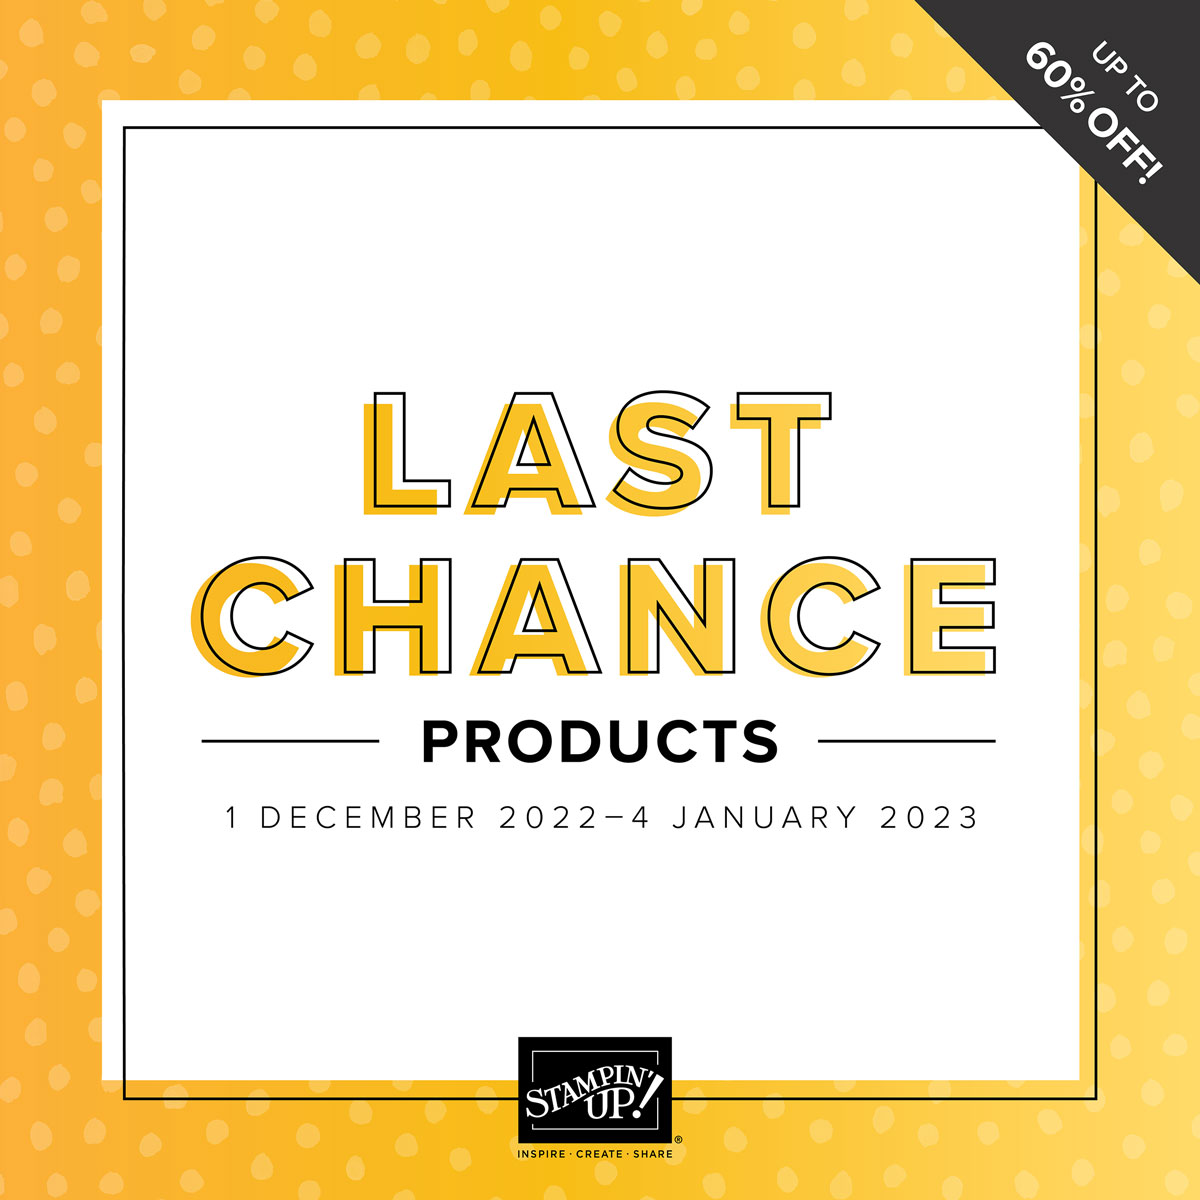
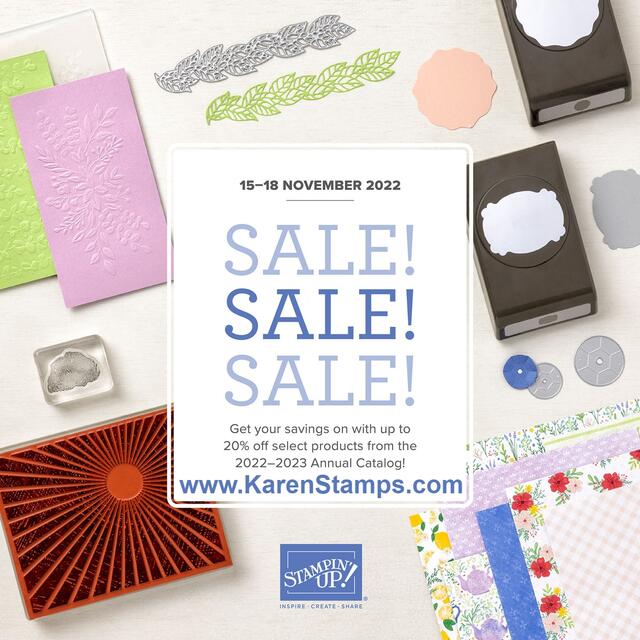
Don’t forget the Last Chance Sale and there are still pretty many items on the Clearance Rack if you would like some good bargains!