Tag Archives: Mini Coffee Cups

Mini Coffee Carrier Christmas Gifts

Coffee Carrier Trim the Town

I wished as hard as I could yesterday, but none of the rare Texas snow reached down to my part of the state, or even city! Outside of Houston, to the north and to the west got a few inches of snow which looked beautiful but it just didn’t come my way. Just rain ALL day and cold. Just not cold enough for snow! It’s been three years since we have seen snow, and I can tell you even a few flakes can be quite exciting here!

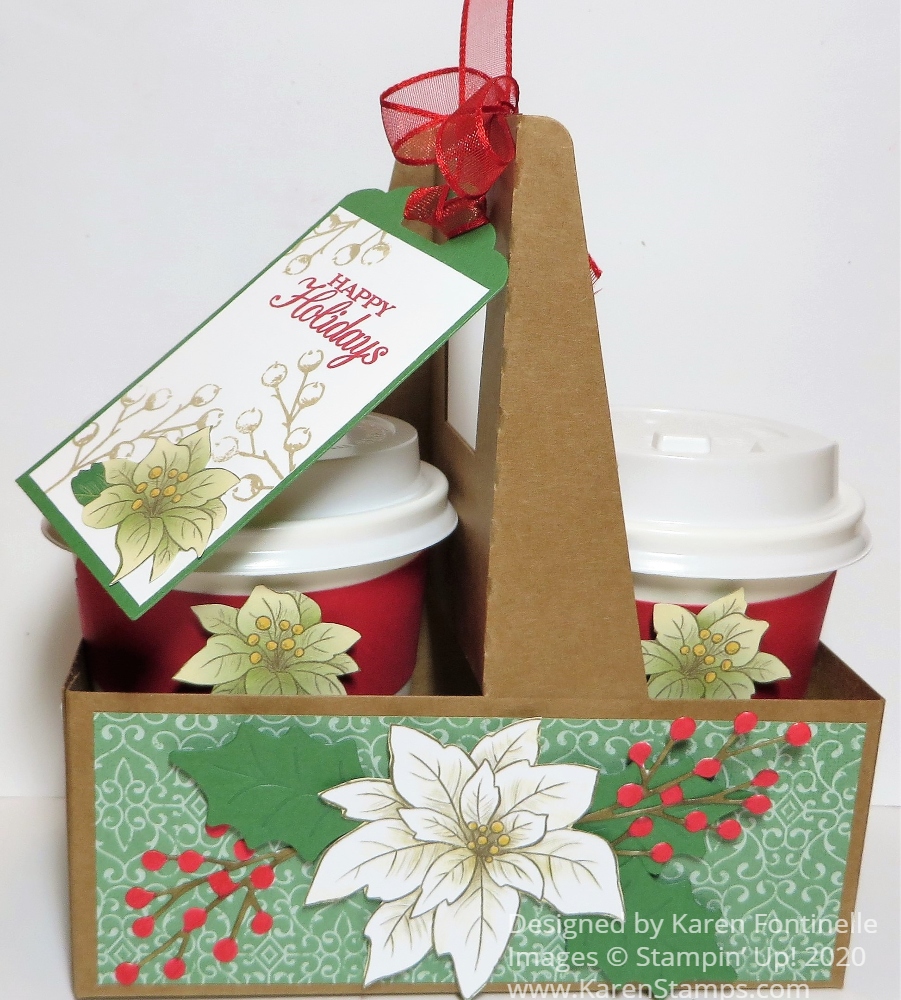
The cold and the snow reminded me of Christmas gifts I made using the Mini Coffee Carrier (retired) and the Mini Coffee Cups. Inside the cups I put a package of hot cocoa mix and plenty of candies (and maybe even a little cello bag of marshmallows). When I ran out of cups, I improvised with some retired bags from last year.

I decorated each Mini Coffee Carrier differently and decorated the cups as well. I didn’t own the dies to wrap paper around the cups so I had to decorate them some other ways because it is next to impossible to just wrap paper around a cup like that!

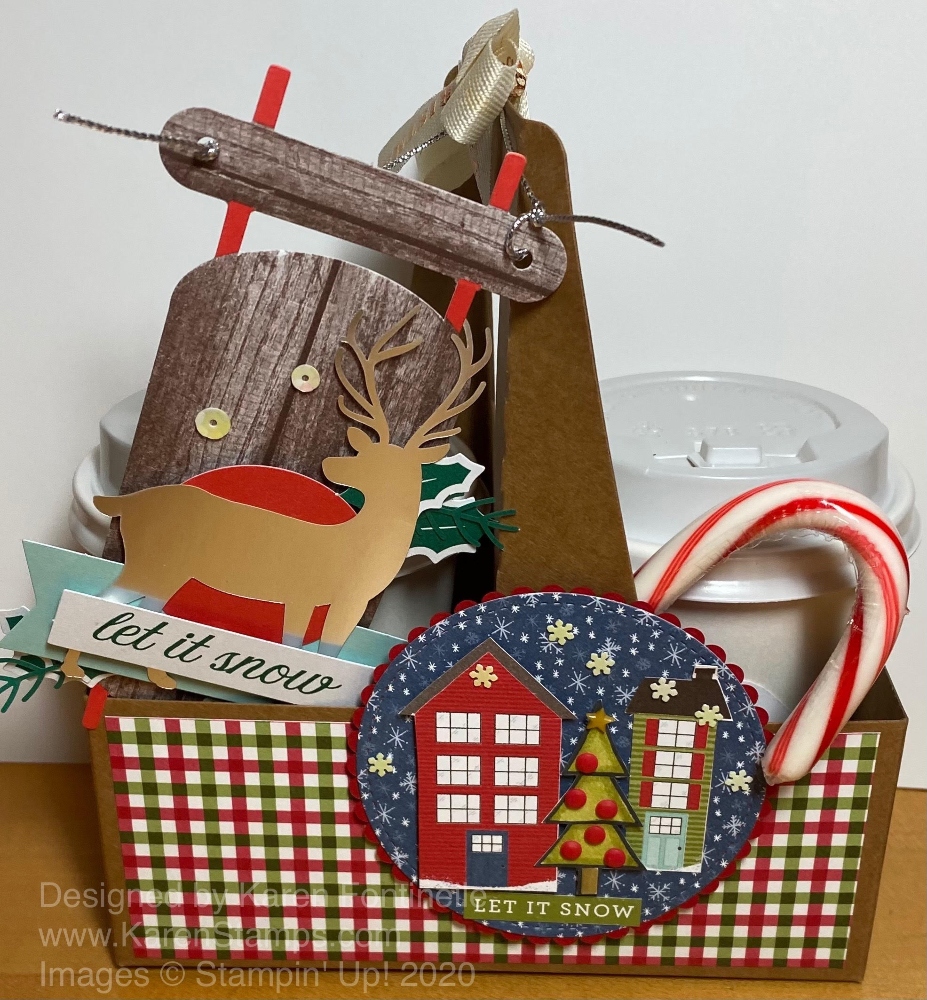
In the top photo, I used some Heartwarming Hugs Designer Series Paper (retired) to decorate the Mini Coffee Carrier and cut out some houses from the Trimming the Town Designer Paper (retired) plus a stamped and colored tree with some red enamel dots for the decoration. In my gift wrap I found tags I made last year from a Stampin’ Up! kit. How great was that to pull out some cute tags I had already made and were ready to use!

Coffee Carrier Gnome Victor

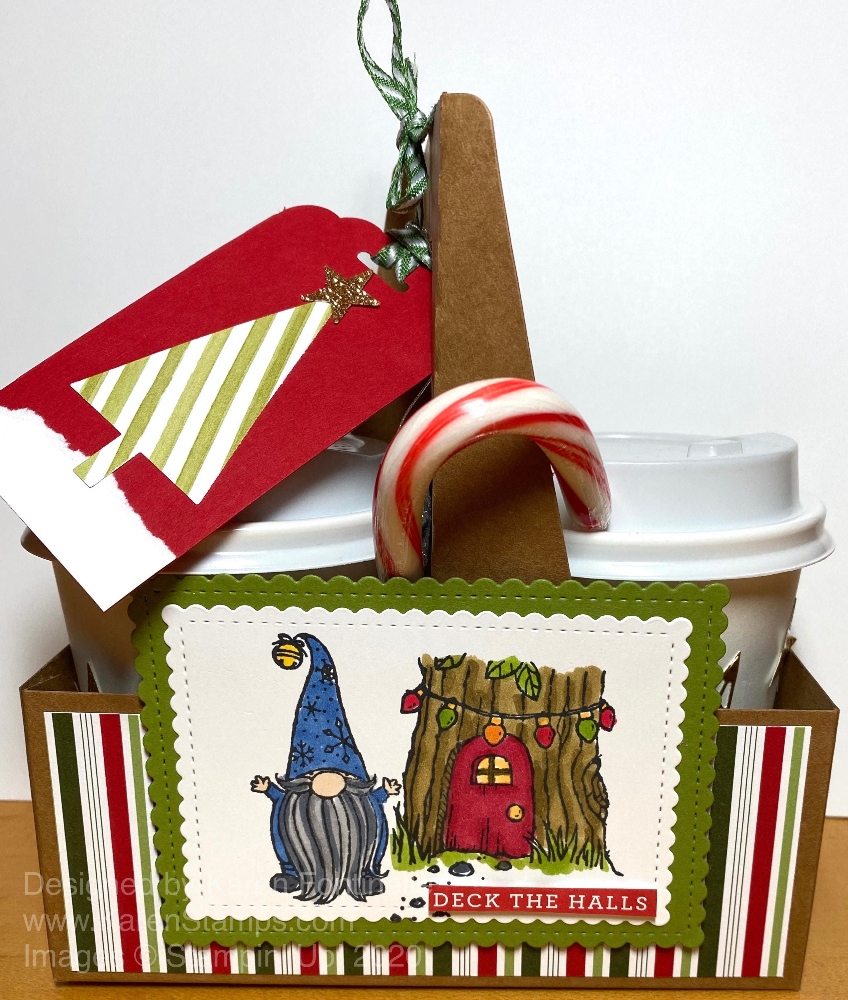
Here’s one made with the cute Gnome For the Holidays Stamp Set (retired) and colored with Stampin’ Blends! You can use lots of different shapes and sizes of die cuts for the focal point on these carriers.

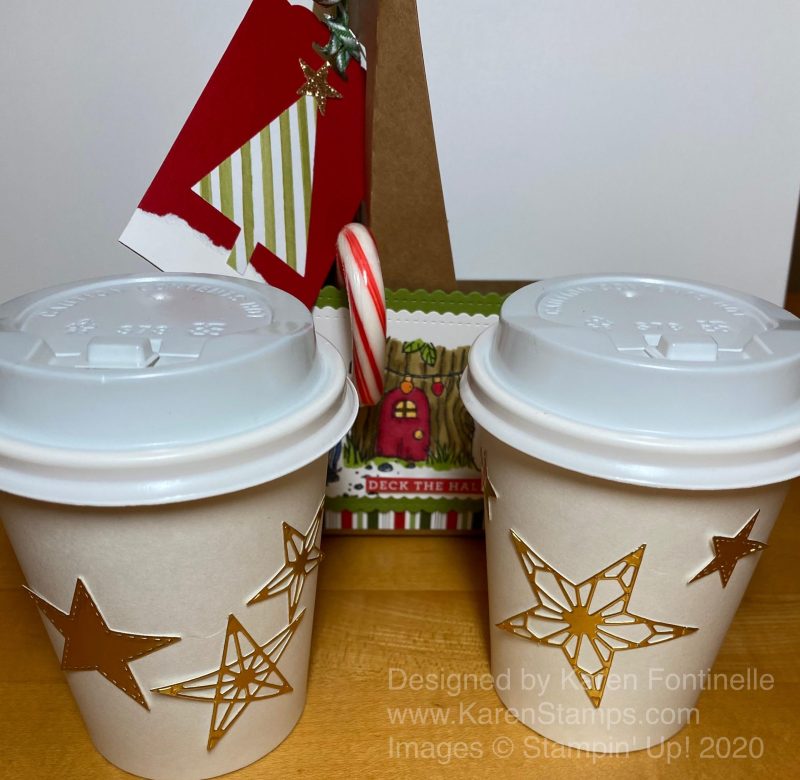
Here’s how I decorated the cups to go with the gnomes. I used the Stitched Stars Dies in Gold Foil.

Coffee Carrier Snowman Kelly Full

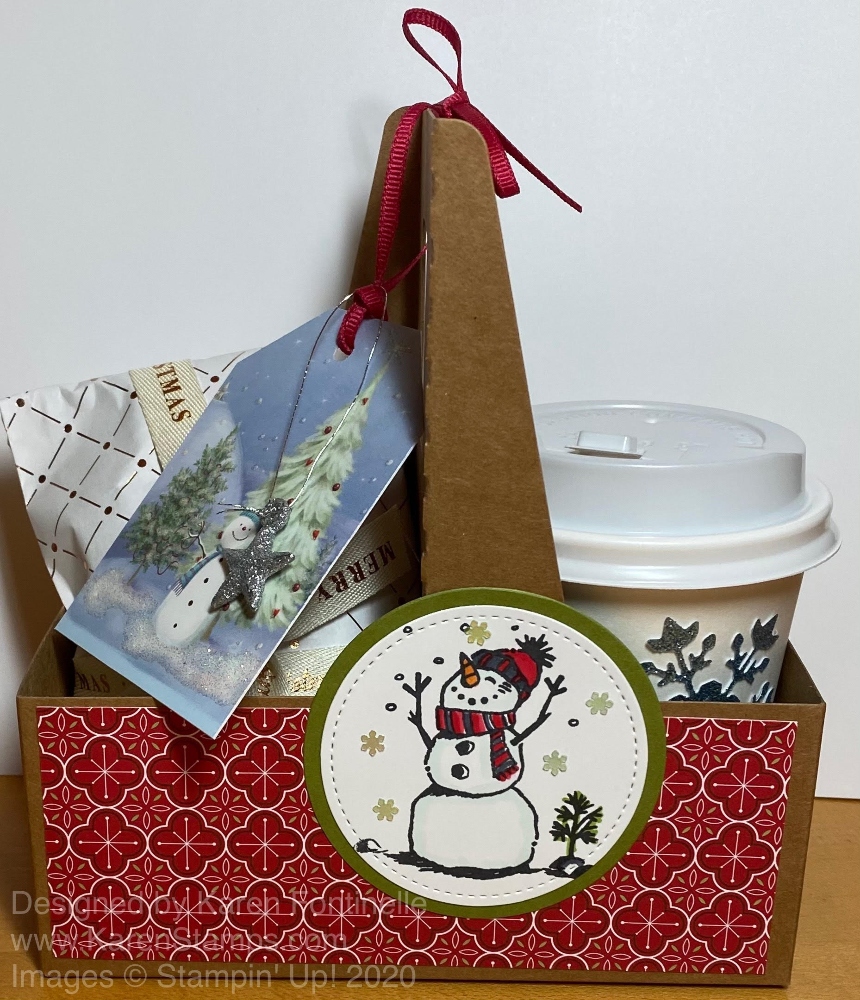
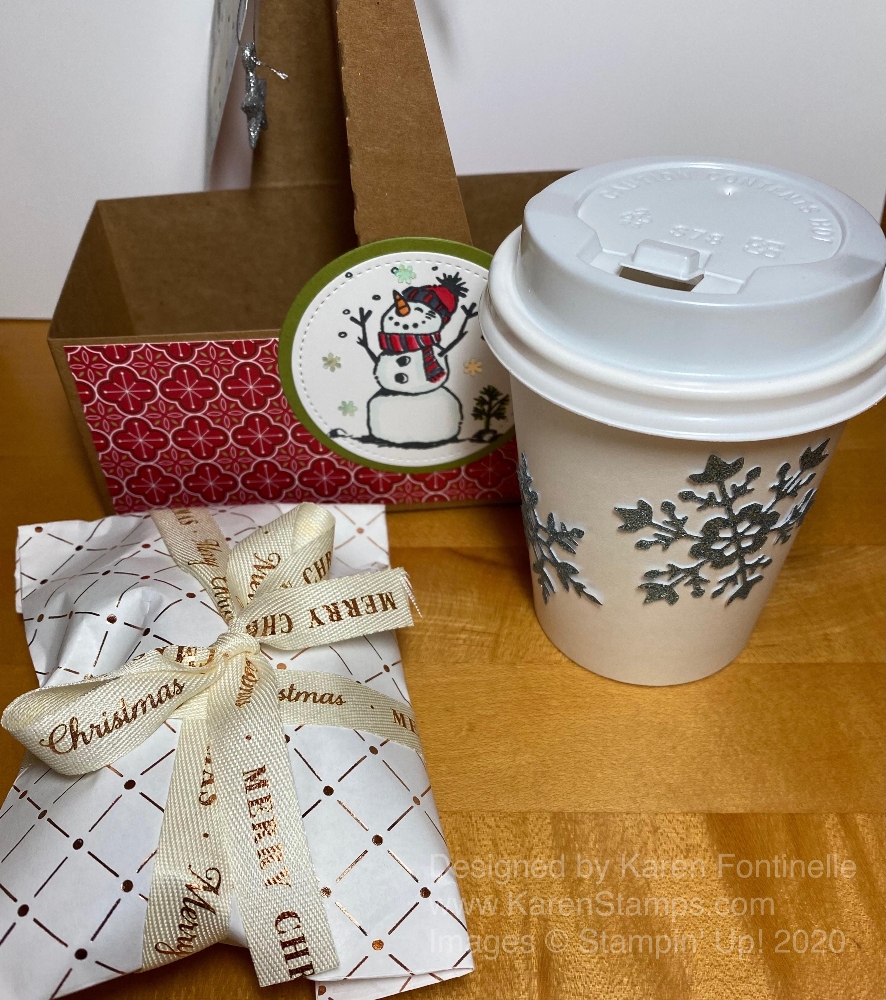
I’ll miss this Snowman Season Stamp Set! I used some adhesive Snowflake Sequins (retired) around him. I also used the Glitter Star Ornaments (retired) on each Mini Coffee Carrier, just tied around the handle. I decorated the cup with a big die-cut snowflake from the So Many Snowflakes Dies. I ran out of cups so I just put the treats in a retired gift bag and tied some retired Christmas ribbon from last year around the package to make it look festive.

Coffee Carrier Snowman Kelly
Coffee Carrier Trim the Town German Eric

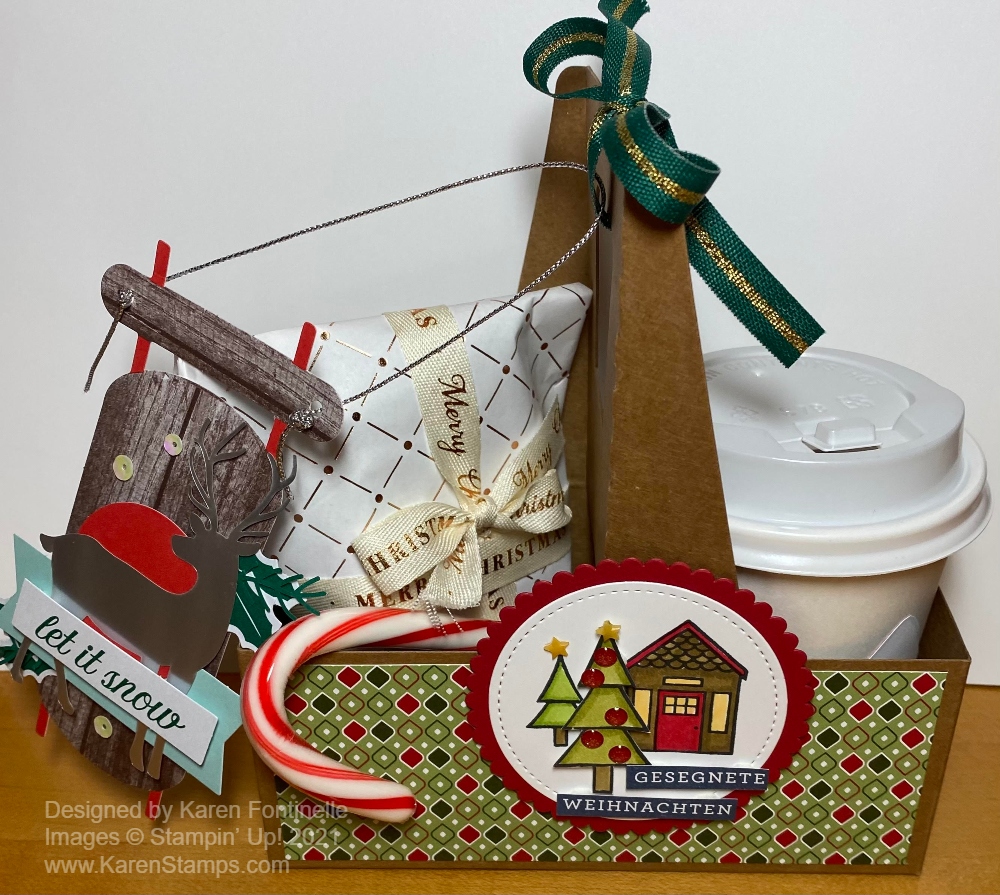
You might notice some German words on this one! That’s because it was for my son who took German in high school and went to Austria for his semester abroad back in college. One sheet of the Trimming the Town Designer Paper had all Christmas words in many languages plus English printed in thin strips so I just found a German phrase on there to use and cut out the words! He also got a package wrapped in Merry Christmas ribbon from last year instead of a cup, but I think that was cute as well!

Coffee Carrier Poinsettia Amy

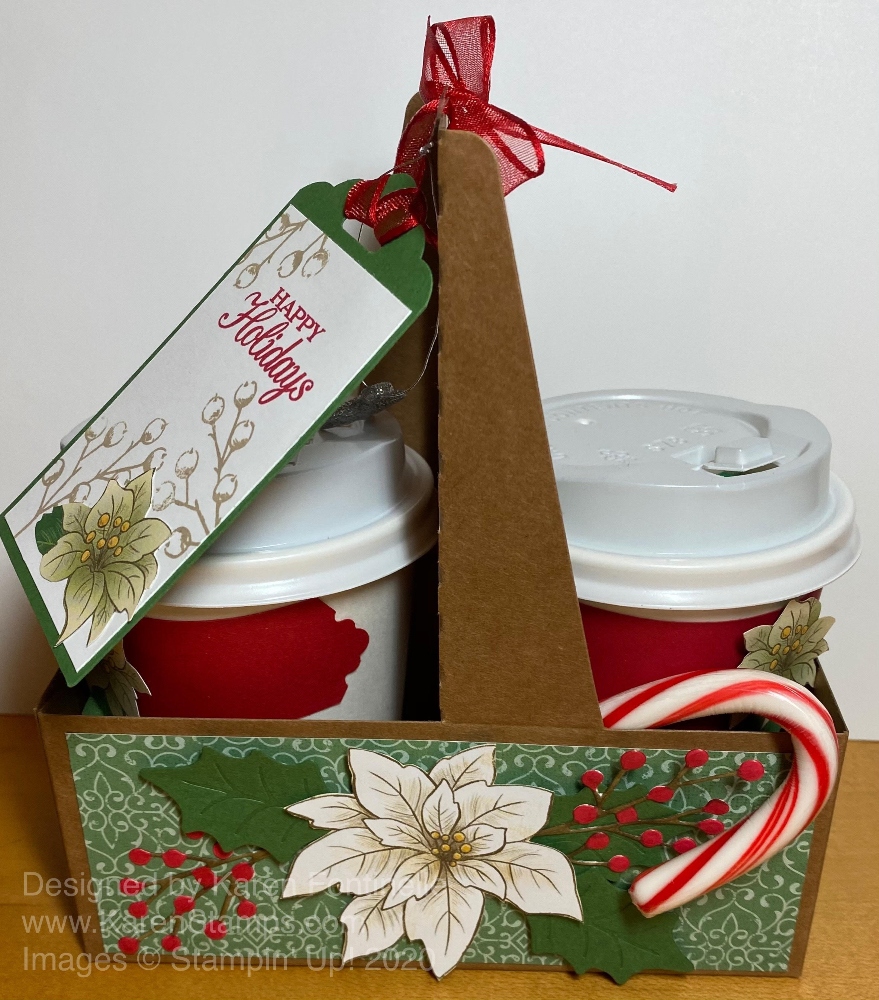
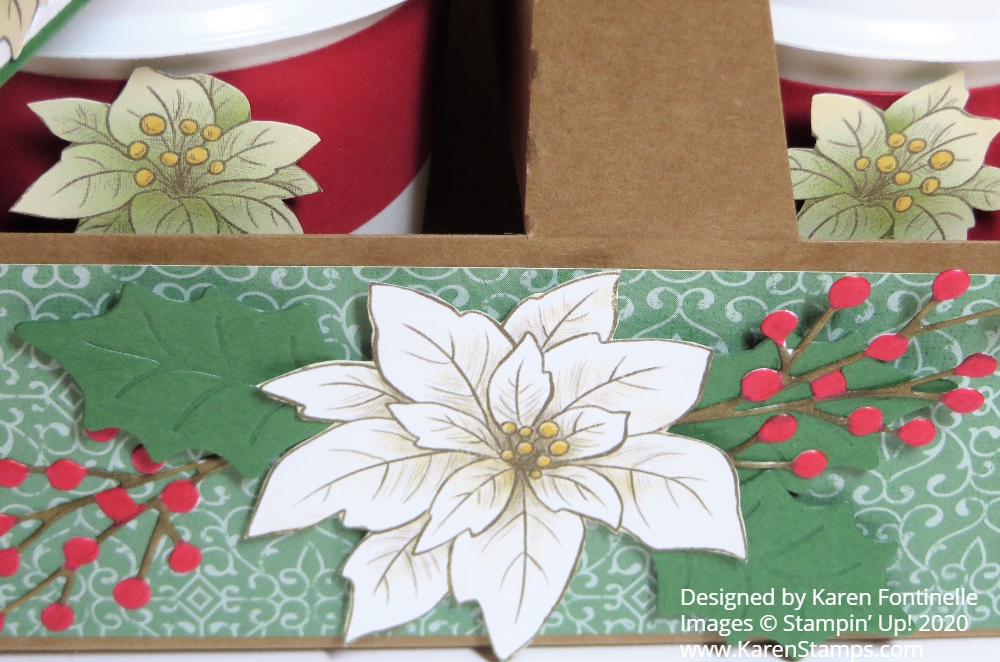
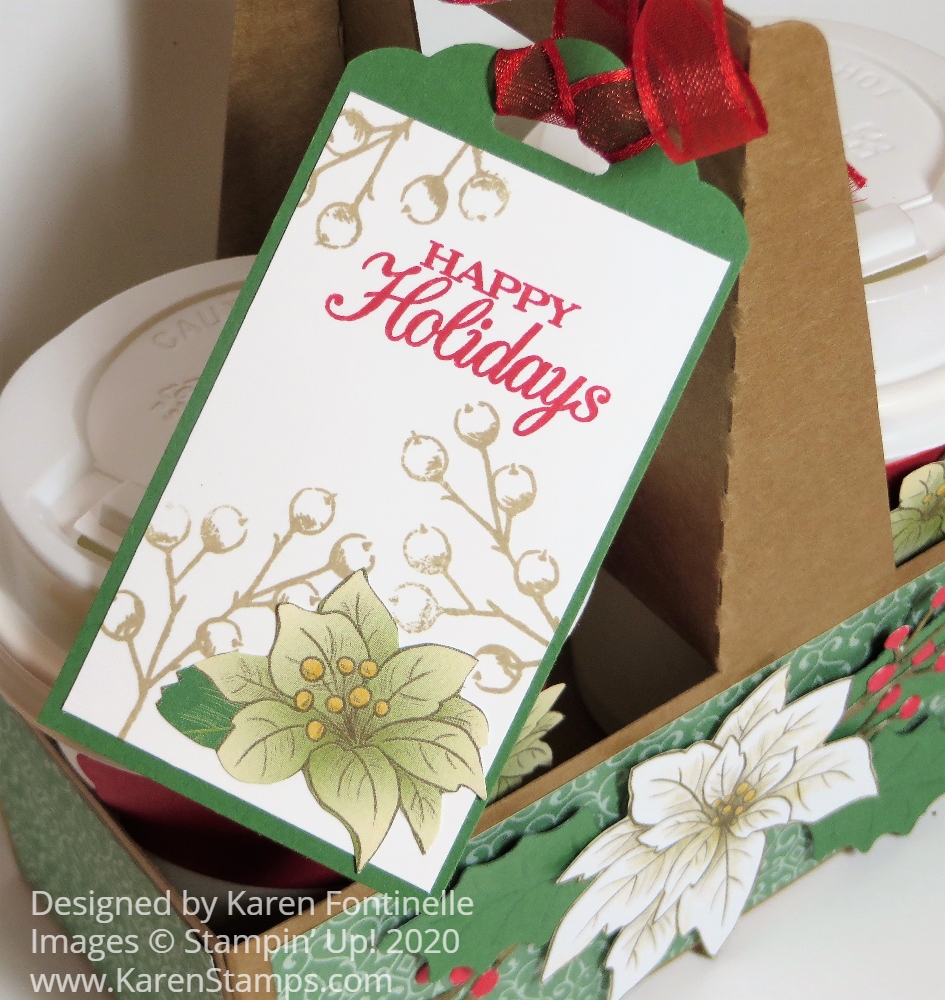
This Mini Coffee Carrier with a poinsettia is one I posted HERE back in November. You can see more details about these Mini Coffee Carriers on that post, if you already purchased some and have some extras to use.

Coffee Carrier Cups Trim the Town cutouts

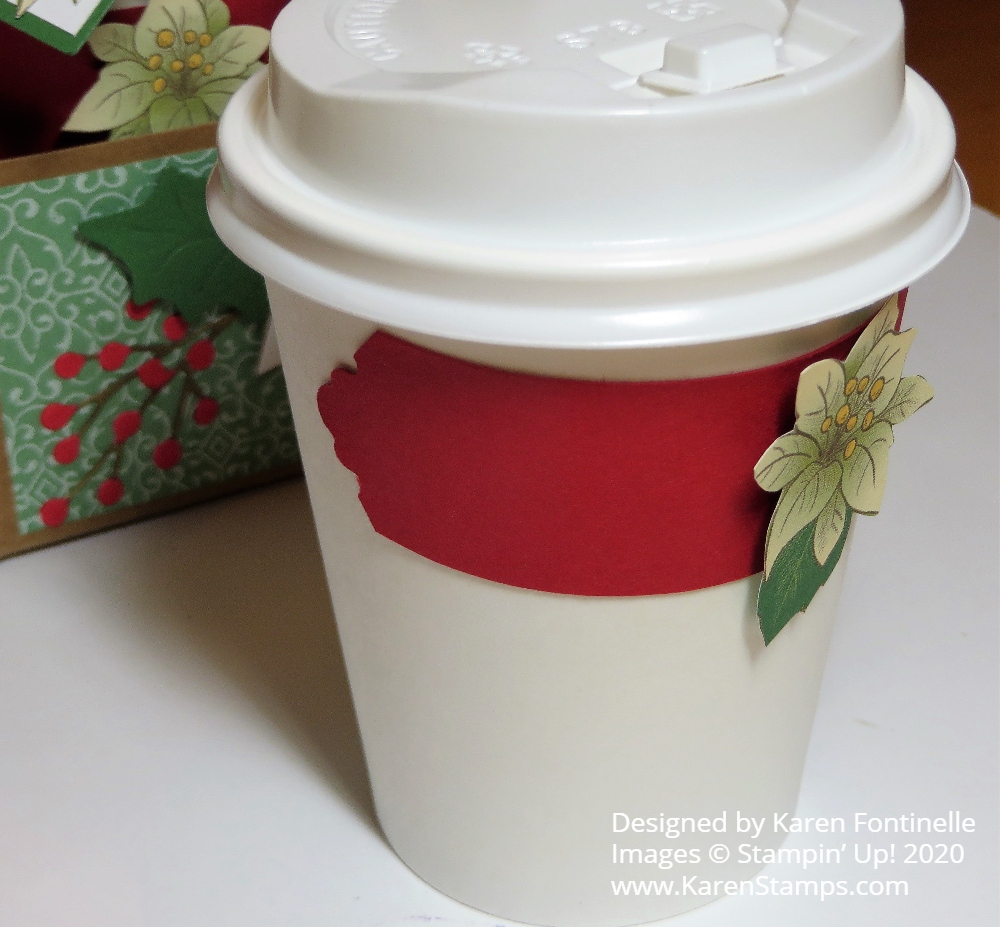
And here’s how I decorated some cups just by cutting out images from the large paper in the Trimming the Town DSP that had the town scene with the mountains in the background, people ice skating, etc.

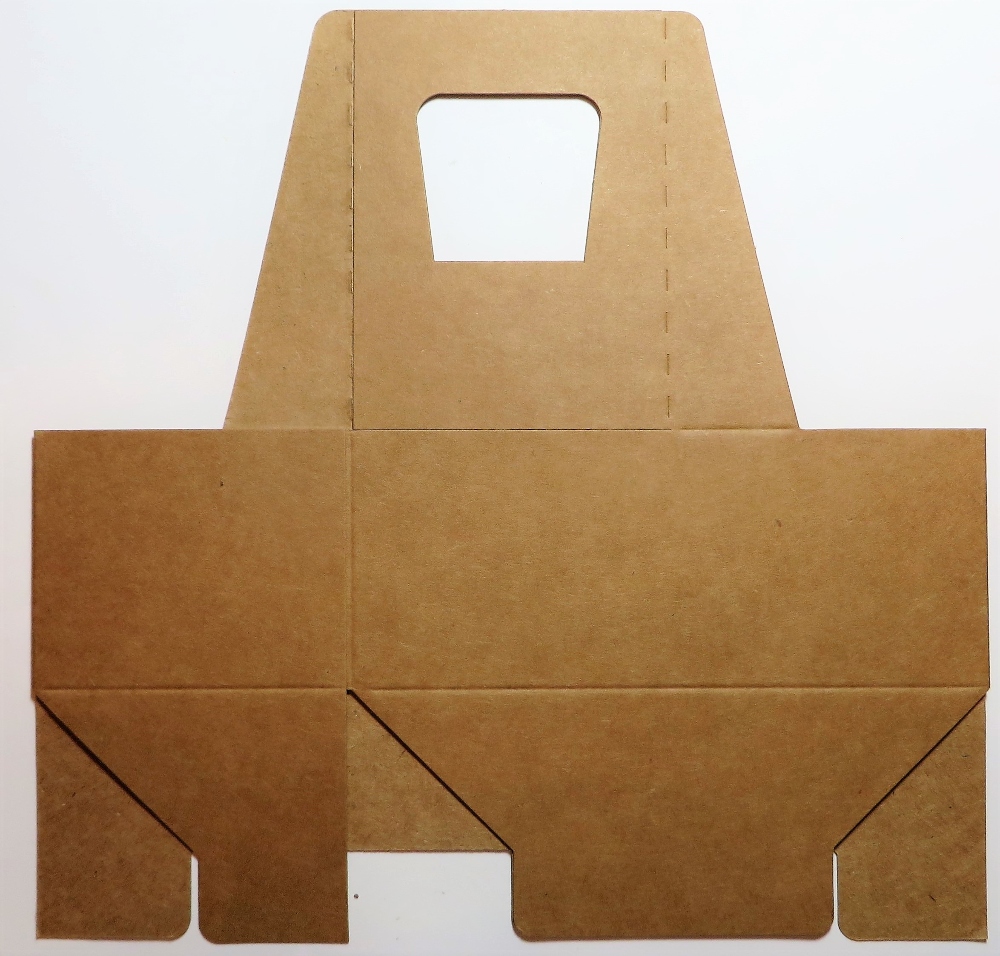
If you didn’t get to use your Mini Coffee Carriers and Cups, maybe you can think about ways to decorate them for next Christmas or even during the year with other papers and decorations, maybe for a birthday or other celebration. These were fun to make and easier than I would have thought! Once you get going, the ideas start flowing!

I didn’t get my snow yesterday but I’ll keep hoping!

Poinsettia Decorated Mini Coffee Carrier

Poinsettia Decorated Mini Coffee Carrier

I’ve had these carriers for a while and kept forgetting to use them, but here is one for you today, my Poinsettia Decorated Mini Coffee Carrier! These will be fun to make for neighbor gifts or treats or extra presents for your family. You can use them in so many different ways for so many different treats!

Fill the cups with cocoa mix, or maybe just one cup and then on the other side put cello bags of marshmallows and maybe a peppermint stirrer. Put any kind of candy or maybe small cookies inside the cups. Fill cello bags with a treat and insert those inside the cup but leave off the lid so the recipient will see the pretty treat bag tied with a ribbon and a tag. Decorate the Mini Coffee Carrier but put in gifts of small candles or bath products or some other kind of product or container. The ideas are endless!

Mini Coffee Carrier Flat

This is what the Mini Coffee Carrier starts out like! It is folded flat so you don’t have to worry about storage space. Just start sticking your hands in there to open it up and then when it gets loosened up, crease and fold on all the score lines to make your carrier. Play around with those tabs on the bottom and make sure you have them assembled so they are strong to hold the contents of the carrier. You get 8 kraft carriers for only $5!

The coffee cups are separate if you would like those. Order the Mini Coffee Cups and get eight cups and lids and they are food safe and can hold a beverage up to 200 degrees F.

Mini Coffee Carrier Side Paper

Here I started decorating my carrier with paper in the Poinsettia Place Designer Series Paper. You can wrap a strip of paper around as far as it will go or you can do as I did, just cut paper to fit each side of the carrier. To leave a small margin of the carrier showing, I cut my designer paper at 2 1/8″ x 5 1/2″ for the front and back and 2 1/8″ x 2 5/8″ for each end. I tried to match the pattern but it wasn’t that important with this paper, but make sure you check your patterns so one isn’t upside down or completely doesn’t match and look good.

Poinsettia Decorated Mini Coffee Carrier Front Decoration

To decorate my carrier, I cut out a large poinsettia from one of the papers and die cut the leaves with the Poinsettia Dies. I used Garden Green Cardstock. For the berry sprigs, I die cut those from Whisper White Cardstock and then colored the berries with the Dark Real Red Stampin’ Blend and Dark Soft Suede for the stems. The flower and leaves are popped up on Stampin’ Dimensionals® and the sprigs adhered with tiny bits of Multipurpose Liquid Glue on the berries.

Poinsettia Decorated Mini Coffee Carrier Tag

I actually love this tag that I came up with! The Garden Green tag is punched with the Scalloped Tag Topper Punch. The Whisper White layer is stamped with a Happy Holidays greeting in the Poinsettia Petals Stamp Set. Then I stamped the berry sprig in Crumb Cake ink to make a lighter interesting background. The poinsettia is hand-cut from the designer paper. The tag is tied on with the Real Red Sheer Ribbon.

There are dies to order to make wrappers to go around the cups for decoration. If you don’t order these, you may have to cut up a cup for a template to make your paper fit around the cup. The dies are called Warm Wrap Dies and they will make your life easier! Since I don’t own them, I punched a strip of Real Red with the Lovely Labels Pick a Punch and adhered that to the cup, then added another hand-cut small poinsettia flower to each label.

It’s time to be thinking about making some holiday gifts! Really, you could use these any time of year! All you have to do is decorate for any occasion.

SHOP STAMPIN’ UP! ONLINE HERE!