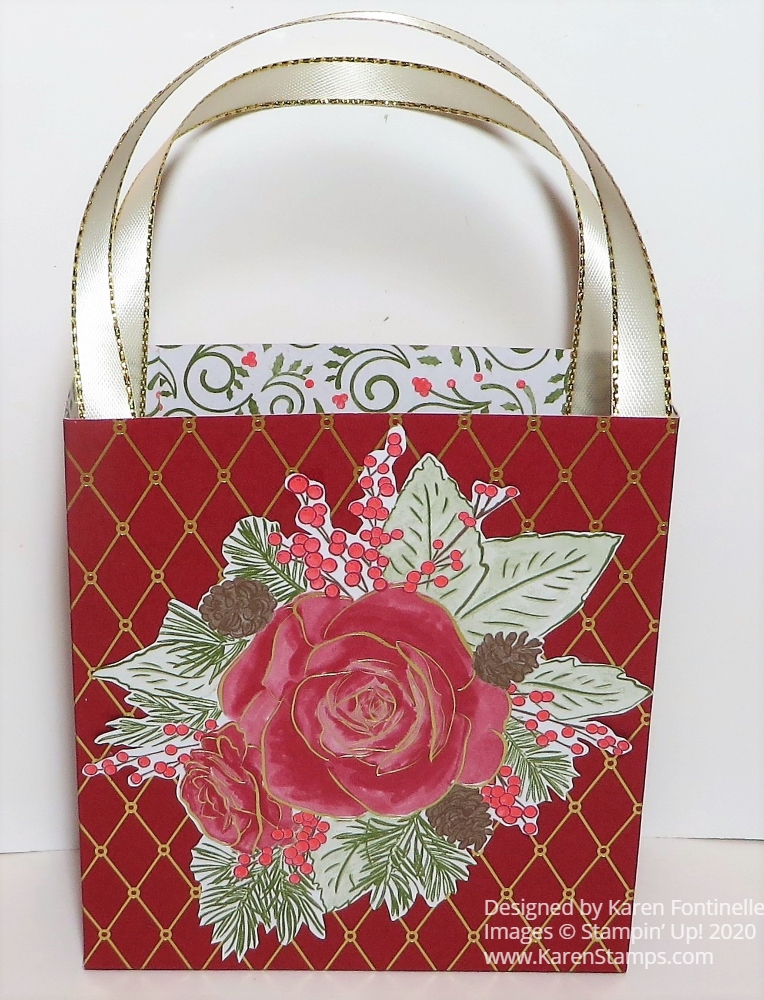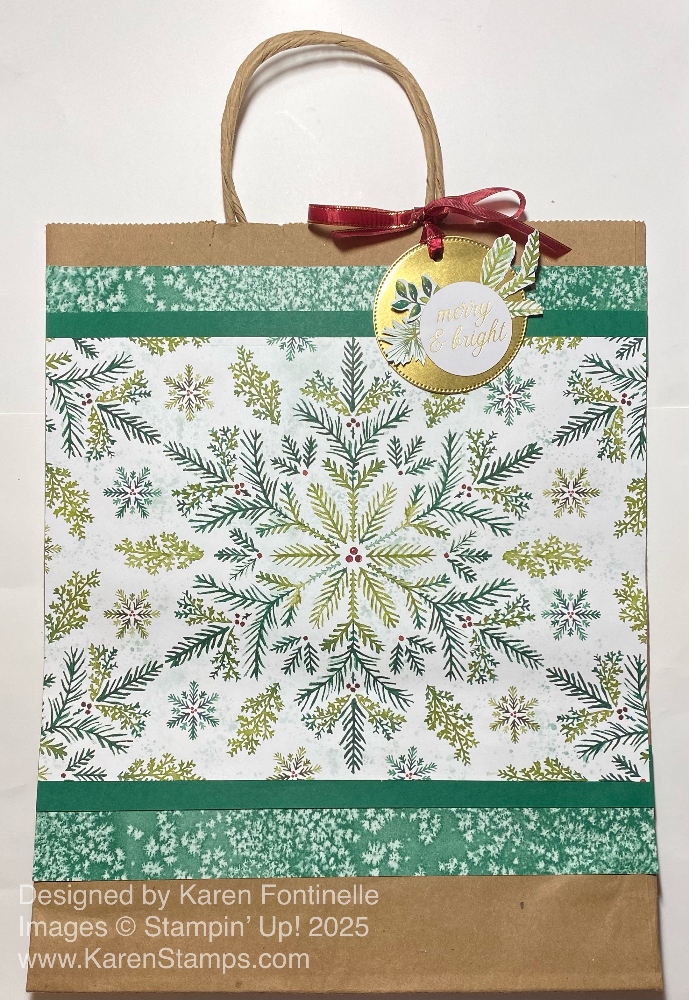
It might be a little early for Christmas gift bags, but I wanted to use this pretty paper on a gift bag to show it off, so here is the Elegant Pine Snowflakes Gift Bag. If you look through the Elegant Pine Snowflakes Designer Series Paper, you will find this one paper with this huge pine snowflake centered on the paper. How can any one cut up that sheet of paper with that design?! It would be beautiful on a scrapbook page….as long as you didn’t put any photos on it! So my best solution was to center it on a large gift bag!
You might have collected kraft or other gift bags from certain stores that you can use for gift bags. Or you can buy a bunch of them at a craft store, small or large. This bag is 10″ wide so I just trimmed an inch off each side of the designer paper. It is 7 1/4″ from top to bottom. For a border piece on the top and bottom, I was just going to have cardstock, but then I noticed the strips I had cut off from the designer paper, turned them over, and used those. To help offset all the colors and paper designs, I cut strips of Shaded Spruce. You can make these any widths you like. I made the top designer paper strip about 1 1/4″ wide, with 1″ showing and a little bit wider at the bottom. The Shaded Spruce cardstock strips are both 1/2″ wide.
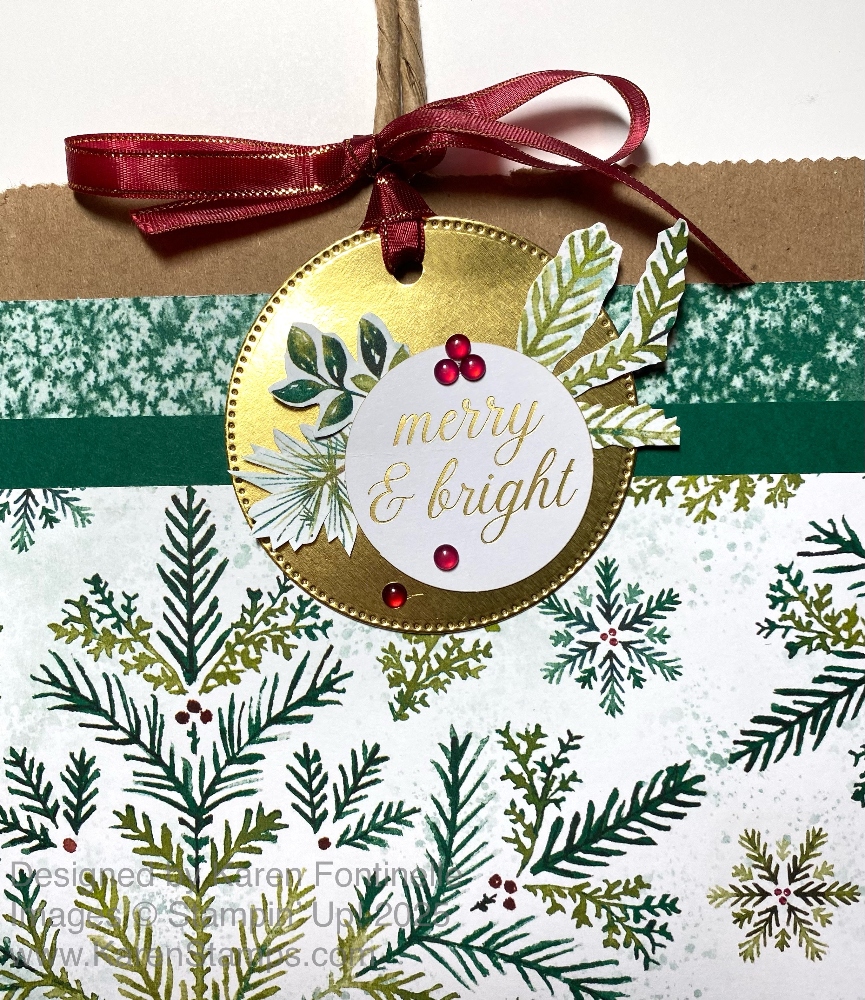
Every gift bag needs a gift tag! I found an already diecut circle of Gold Foil using the Stylish Shapes Dies in my gold foil package. For the greeting, I used “merry & bright” in the Greetings For You Ephemera Pack. These are peel-and-stick greetings in golf foil so they are very easy to use. I also fussy-cut some foliage from the designer paper to decorate the tag. I used some retired Cherry Cobbler ribbon to tie the tag to the bag.
After I took the first photo of the bag, I realized the tag didn’t show up very well plus I remembered I intended to put some red berries gems on the tag to match the berries on the paper. These Cherry Cobbler & Pearl Adhesive-Backed Berries are perfect to go with this paper. You could also add some on the designer paper on the bag.
I love to decorate gift bags like this for any occasion and we’ll certainly need a lot of them for Christmas so it’s a good idea to start making some!