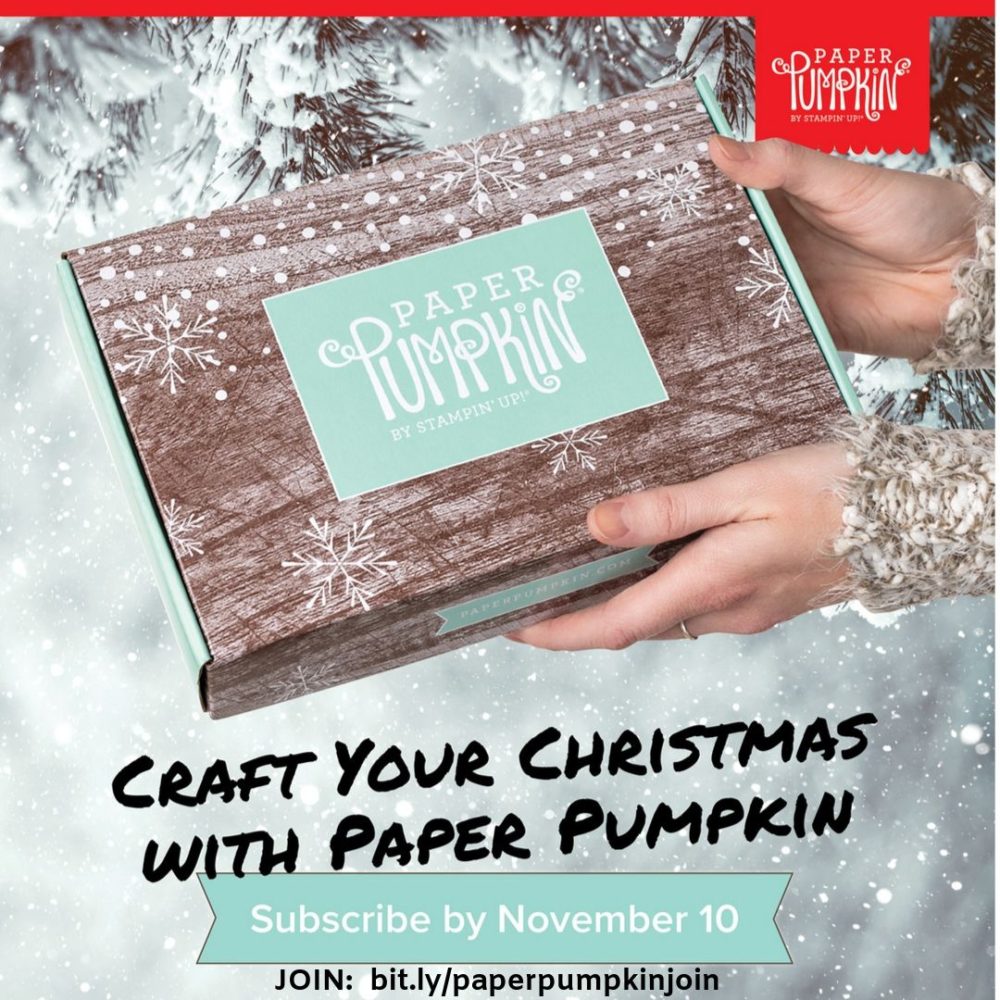
This November Paper Pumpkin Kit from Stampin’ Up! makes 24 holiday-themed gift tags of 4 various sizes and designs. The coordinating colors are Early Espresso, Pool Party, Poppy Parade, and Shaded Spruce. We are all going to need gift tags when the holidays get closer and we are wrapping gifts, whether for our family, neighbors, co-workers, teachers, etc.
TODAY, Nov. 10th, is the LAST DAY to SIGN UP!
JOIN PAPER PUMPKIN TODAY TO GET YOUR NOVEMBER KIT!
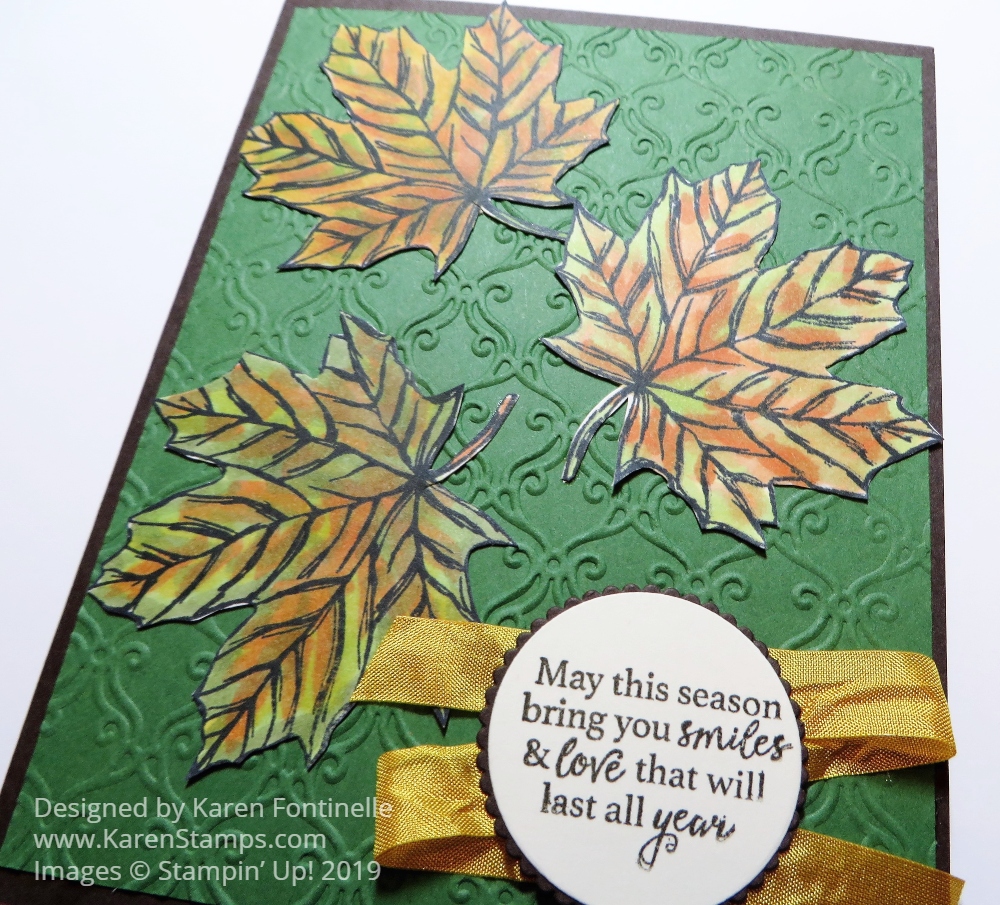
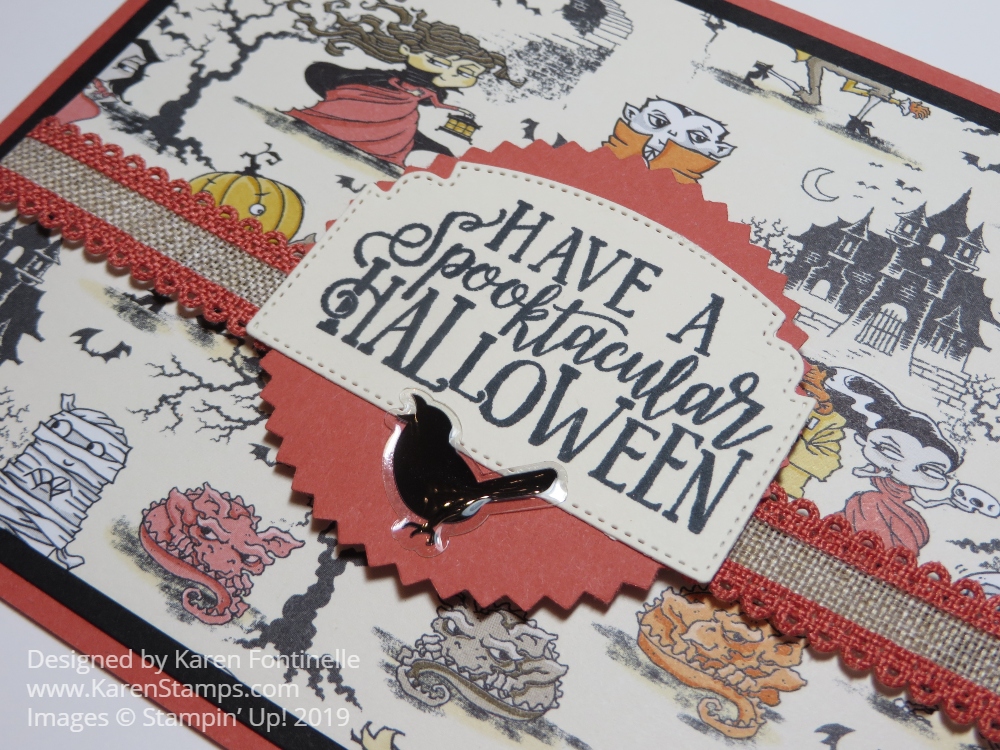
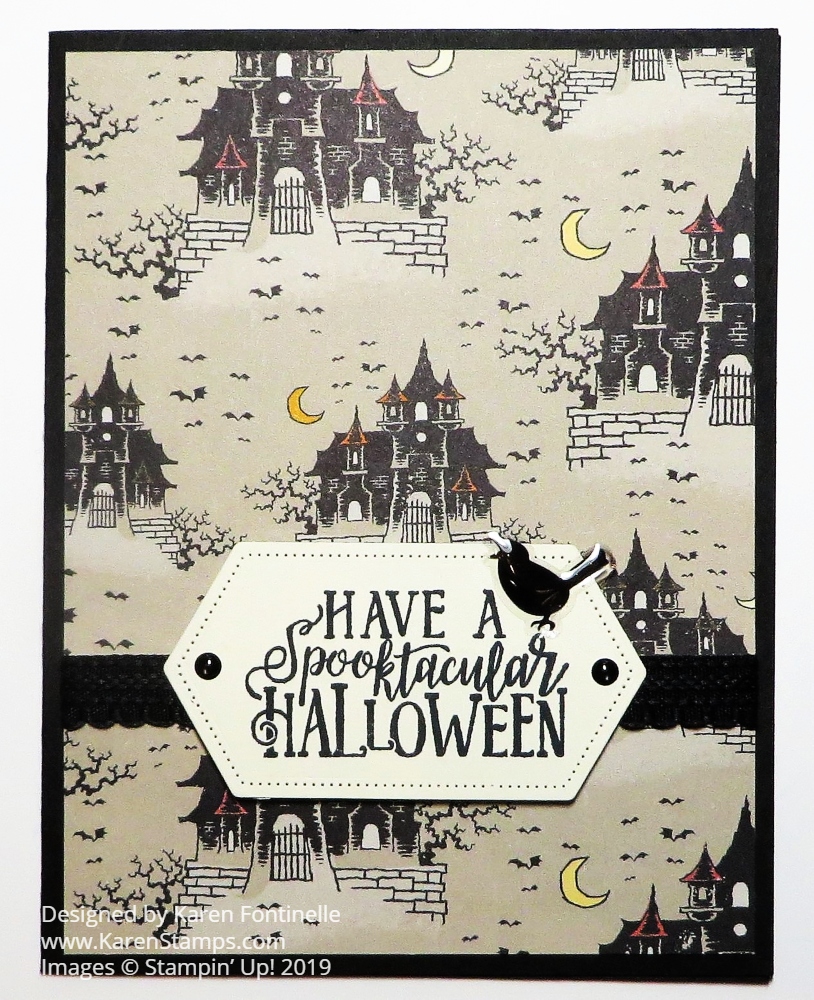
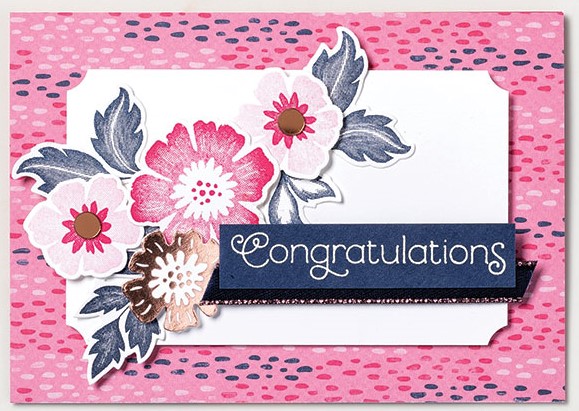
Even if you don’t need gift tags, make them as tags and then add one to the front of a cardstock card base and make a card! Maybe you need more cards than tags! You can do this with any tag. Just use it as the focal point on your card front! Add a greeting on the tag or on the card front.
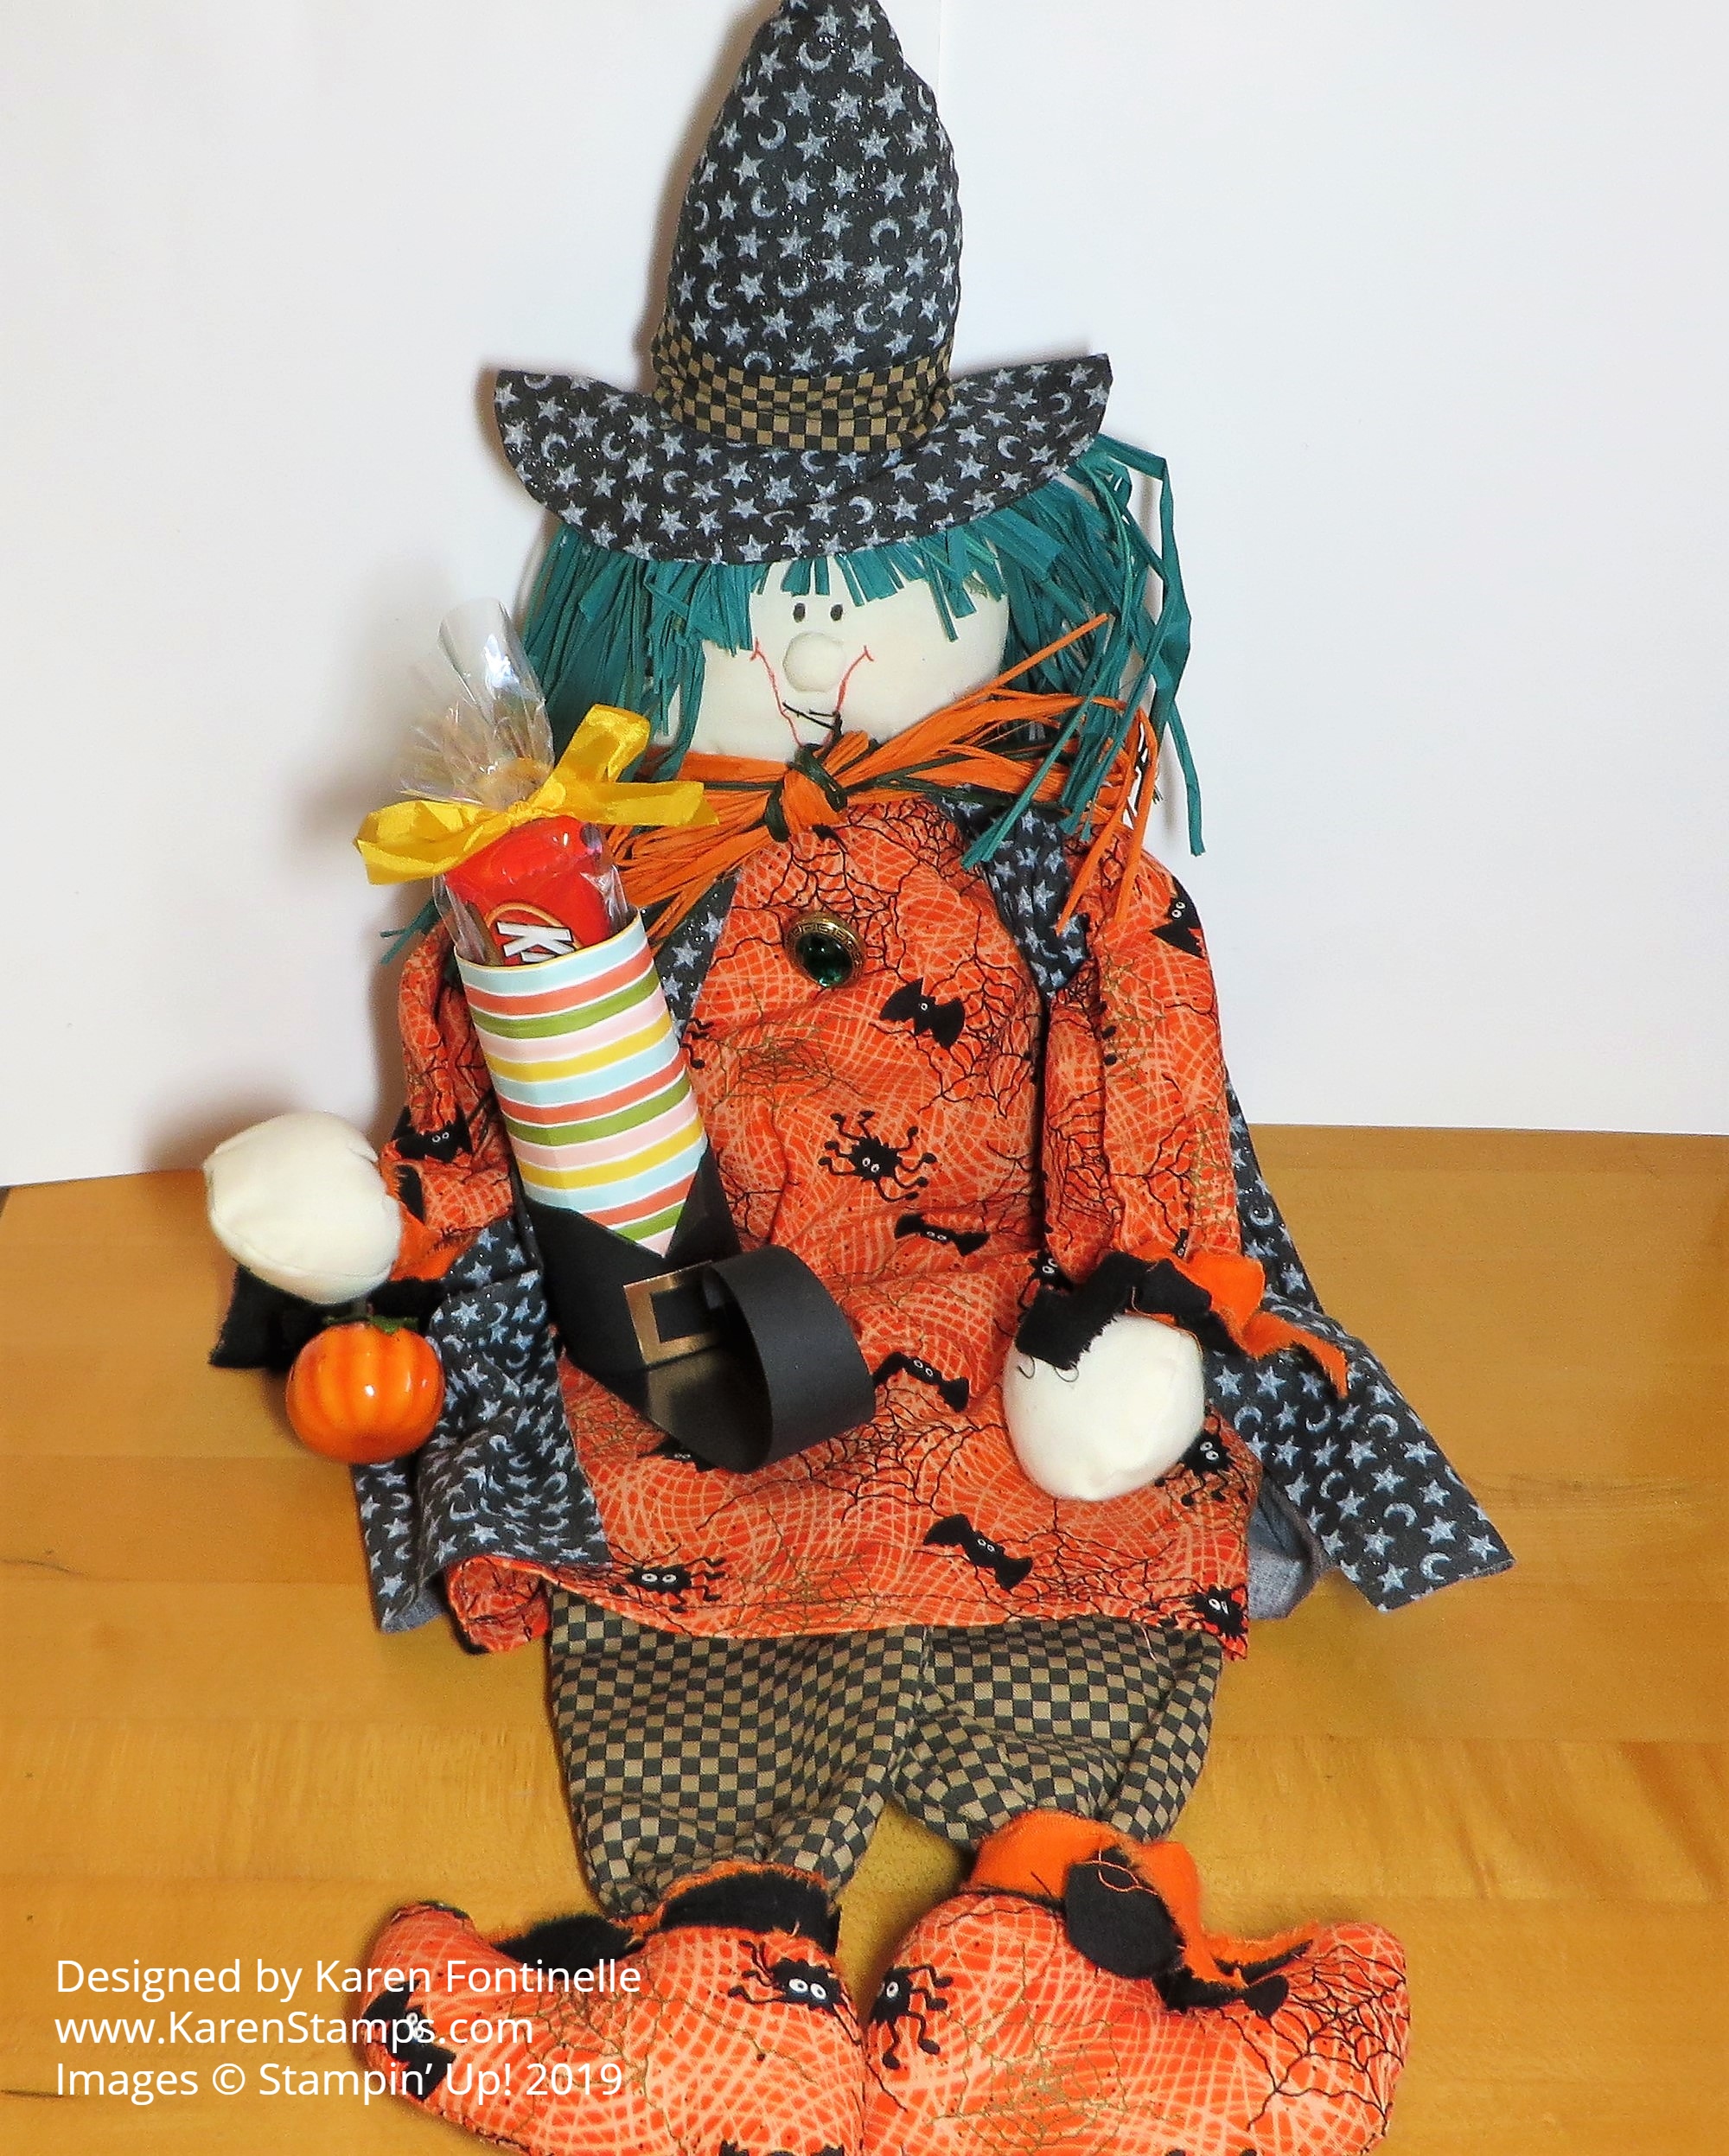
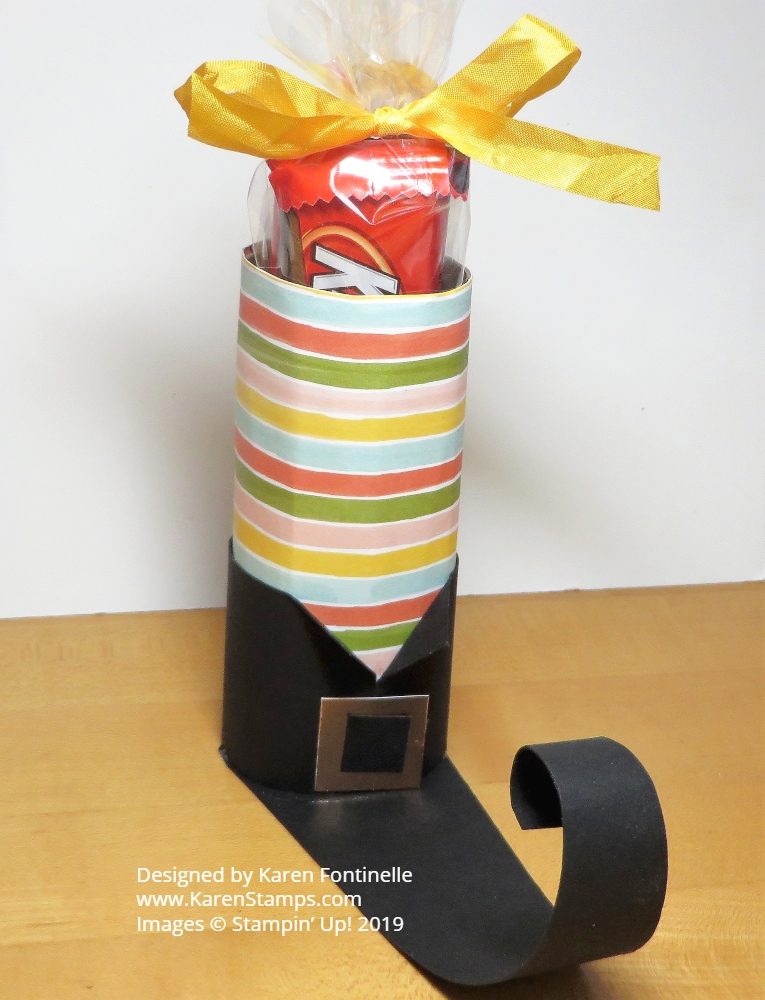
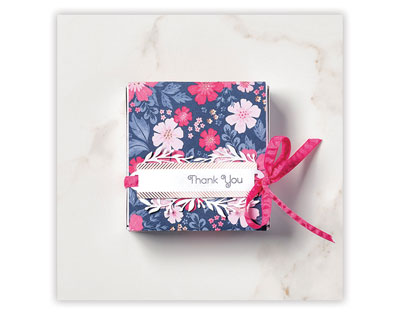
Don’t run out to the store and buy the cheap tags at the dollar stores to stick on presents! Make your own with this Paper Pumpkin Kit! Remember, presentation is everything! Making a plate of cookies or treats for a neighbor or holiday party? Place a tag on the top over the plastic wrap or lid. Hang it on a wine bottle you are taking as a hostess gift!
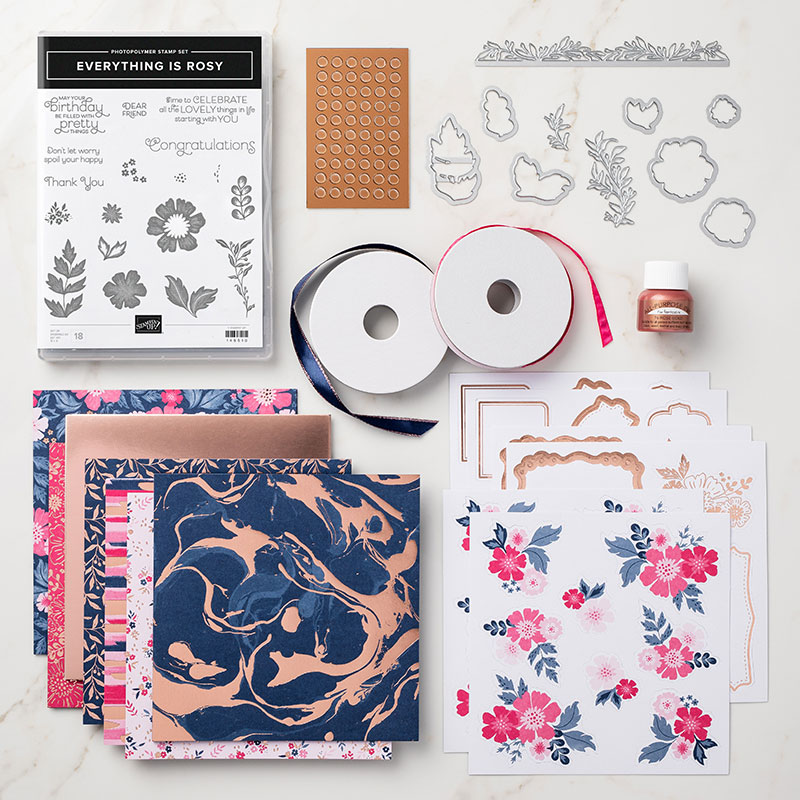
Everything you need for the project comes in the kit! If you are a new subscriber, you will also get a clear acrylic block on which to mount your stamps. That’s why these Paper Pumpkin Kits are so good for new stampers and crafters or those who do not have many supplies….or don’t WANT many supplies!
In each Paper Pumpkin Kit you will receive an exclusive stamp set, an ink spot (1″ x 1″) (great to use on the Stamparatus to ink up stamps!), and a package of materials to make the project! And the presentation is everything of course! You will love receiving this gift to yourself!
Treat yourself to a present in the mail once a month! And if some months you are too busy or traveling or don’t care for that upcoming kit, just skip a month! If Paper Pumpkin really is not for you, there is no obligation to continue. Simply go into your account and cancel or ask me to take care of it for you.
In fact, if you want to add a Paper Pumpkin subscription to your Stampin’ Up! order (maybe to reach Hostess Rewards??), just choose which length of time is good for you and add it to your order. Stampin’ Up! will send you an email with directions on how to set up your Paper Pumpkin account and put in the special code showing that you ordered a series of kits in the Online Store. Even if you already have a monthly subscription to Paper Pumpkin, you can purchase a Paper Pumpkin subscription in the Online Store and your account will use those first and then go back to your monthly subscription. Just ask if you have any questions.
The deadline for signing up for the November kit with materials for making holiday tags is today, November 10, 2019.
Have Fun Making Holiday Gift Tags With Paper Pumpkin!