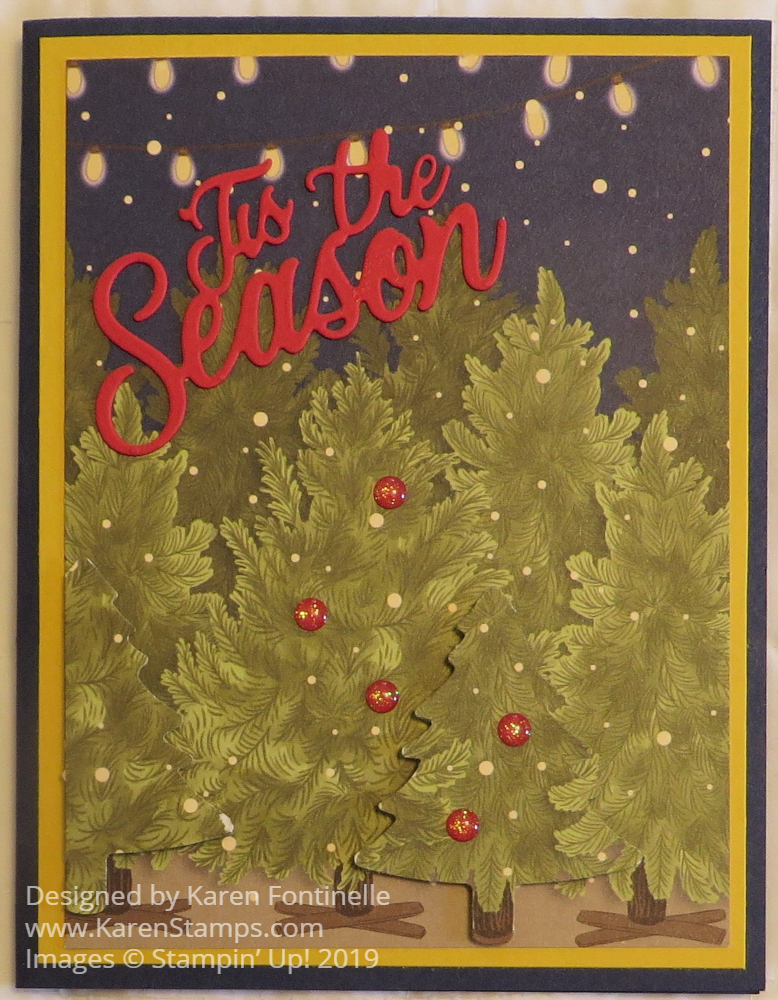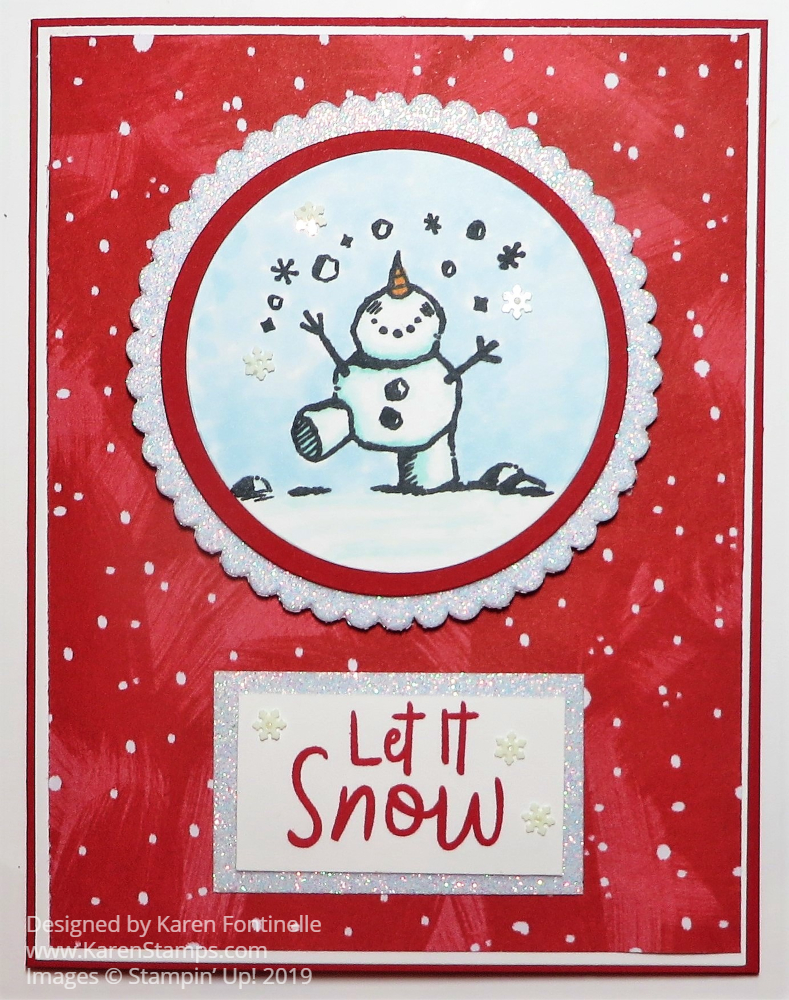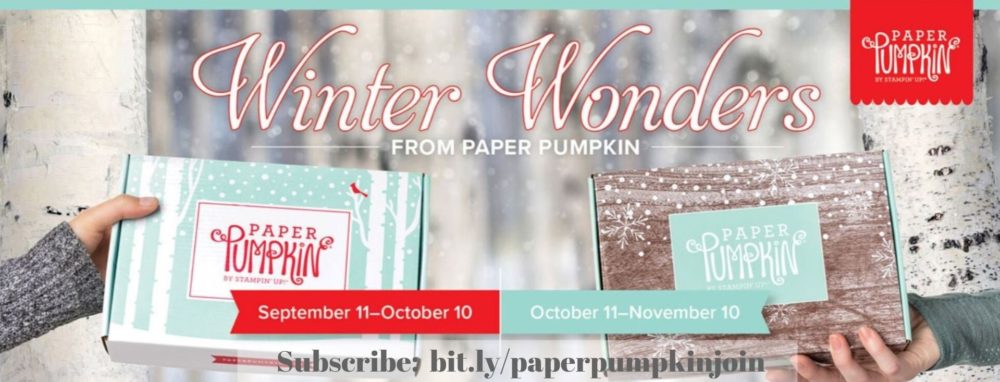
If you enjoy holiday craft projects, especially ones that come in a special edition box in perfect packaging, delivered straight to your mailbox for you to open up and begin crafting immediately, then you probably will love to get these October and November Paper Pumpkin Winter Wonders 2019 Holiday Kits.
The October and November Paper Pumpkin Kits are coordinating, back-to-back kits to help you with your holiday giving. Everyone loves the holiday kits and they are useful as well as fun!
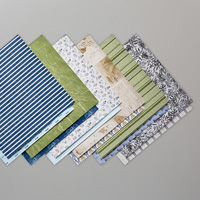
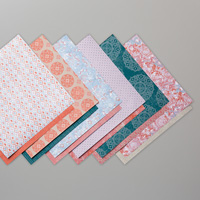
October Kit
Kit details: Makes 10 cards and envelopes
Card size: 4 1/4″ x 5-1/2″ (10.8 x 14 cm)
Envelope size: 4-1/2″ x 5-3/4″ (11.4 x 14.6 cm)
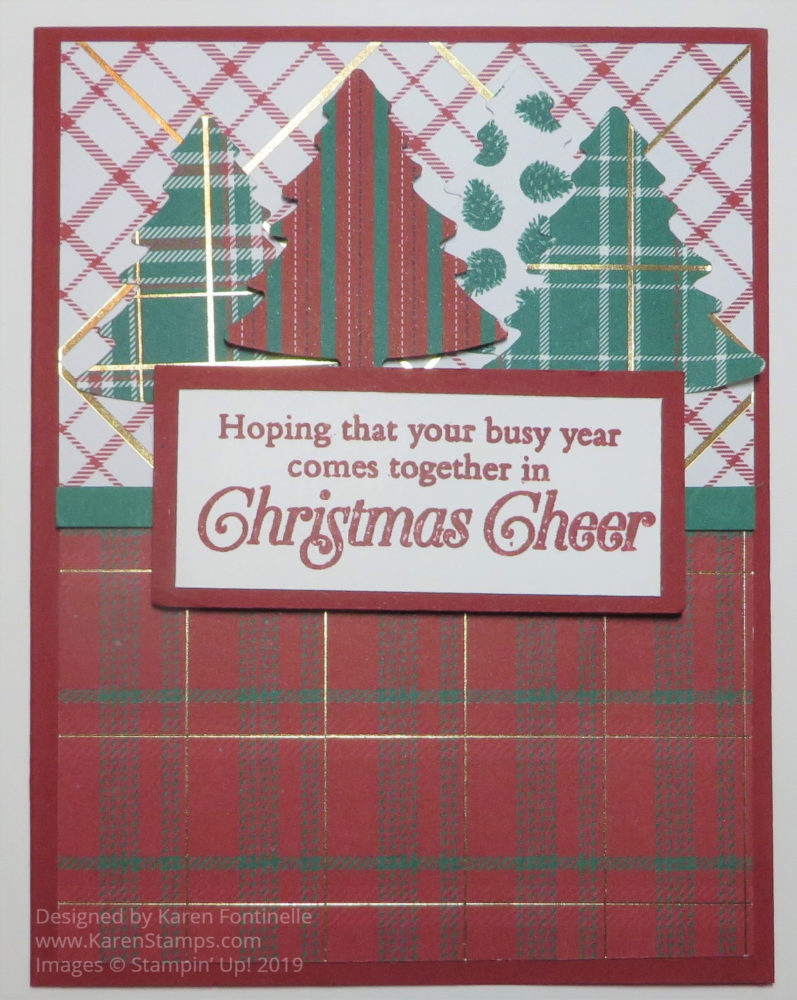
Coordinating colors: Early Espresso, Pool Party, Poppy Parade, and Shaded Spruce
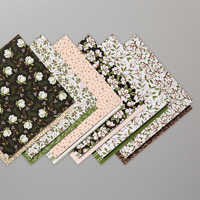
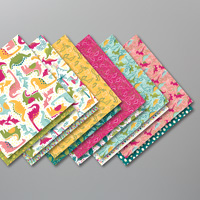
November Kit
Kit details: Makes 24 holiday-themed gift tags of 4 various sizes and designs.
Coordinating colors: Early Espresso, Pool Party, Poppy Parade, and Shaded Spruce
The October and November kits coordinate; however, each kit is all-inclusive and can stand alone.
How great would that be to know you will have a pre-planned kit to make 10 Christmas cards to send, even if you are a regular cardmaker and have some other card designs you want to make for Christmas. I like to make many different designs of cards that I send out for Christmas!
This also means that by the end of October, you surely will have at least ten cards made for the holidays so that is ten less that you will have to rush to make at the last minute!
Then in November, you will get the second kit with designs and supplies to make tags for gifts. If you don’t need tags, use them to make more cards if you like! But usually, we always need more tags! I know I have run out to the store at the last minute in past years for MORE tags for presents!
To get one or both of these kits (with no obligation to continue your subscription, but you probably will want to!), just sign up HERE at my Paper Pumpkin website! Just remember the deadline is October 10th to get the October kit, and if you don’t subscribe then, the deadline for the November kit will be November 10th. Save yourself the effort of remembering and just subscribe NOW!
Another option is to purchase a subscription on your Stampin’ Up! order in the Online Store! This may help you reach $150 or more on your order and thus get Stampin’ Rewards! You will get an email from Stampin’ Up! telling you how to set up your Paper Pumpkin account and a code to use to register your prepaid kits. It’s easy. Decide which method works best for you. Even if you have a subscription to Paper Pumpkin, you can add a subscription to your Stampin’ Up! order, use those prepaid kits in your account, and then it will revert back to your monthly subscription. Choose whichever option is better for you!