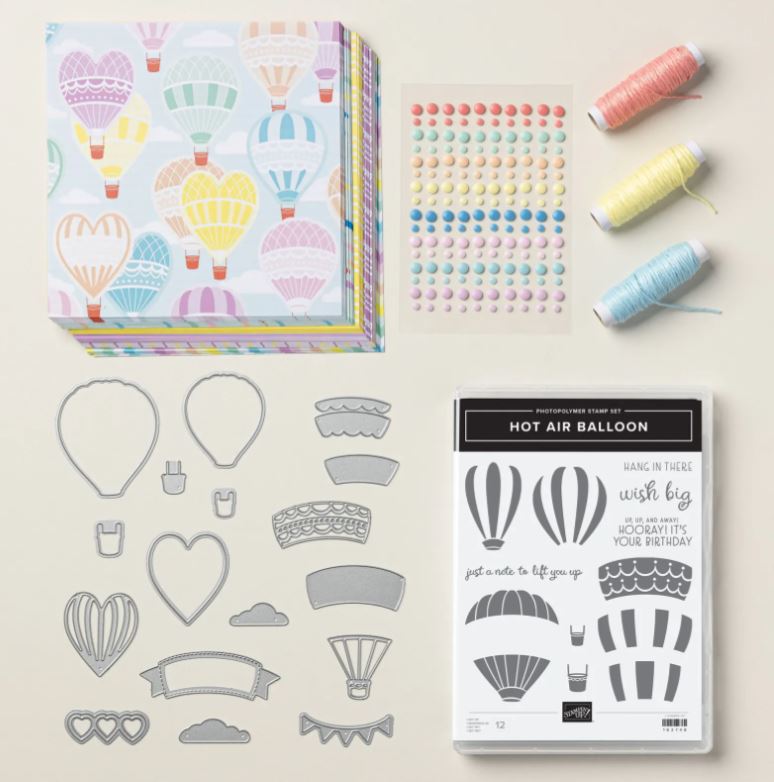
One of the popular Suites in the new Stampin’ Up! Spring Mini Catalog is this Lighter Than Air Suite! You will find this Suite on pages 32-34. If you like hot air balloons, you will love this Suite! I might like looking at hot air balloons, but I don’t think I want to ride in one so high up! I remember when we were first married, there was some event with several hot air balloons on the ground in a field and we could walk up and see them up close. There was one that you could get into the basket and just be lifted up a little bit, still anchored to the ground. Just a tiny little ride not far off the ground! I wish we would have tried that! It was a pretty safe way to test out a hot air balloon ride, just a little bit! One time, years ago, a hot air balloon landed in my parents’ neighborhood, right out on the street! Fortunately, it was a neighborhood street, not a heavily trafficked one, but I guess that is where the balloon needed to land. They certainly are pretty floating across the sky!
I love the soft colors in this Suite, especially in the Lighter Than Air 6″ x 6″ Designer Series Paper. This paper is pretty to use for many cards for many occasions or projects. There’s only one pattern with hot air balloons on it but the other patterns are very generic. There are stripes, dots, and many other patterns you can use for general cards, baby cards, birthday cards, and more!
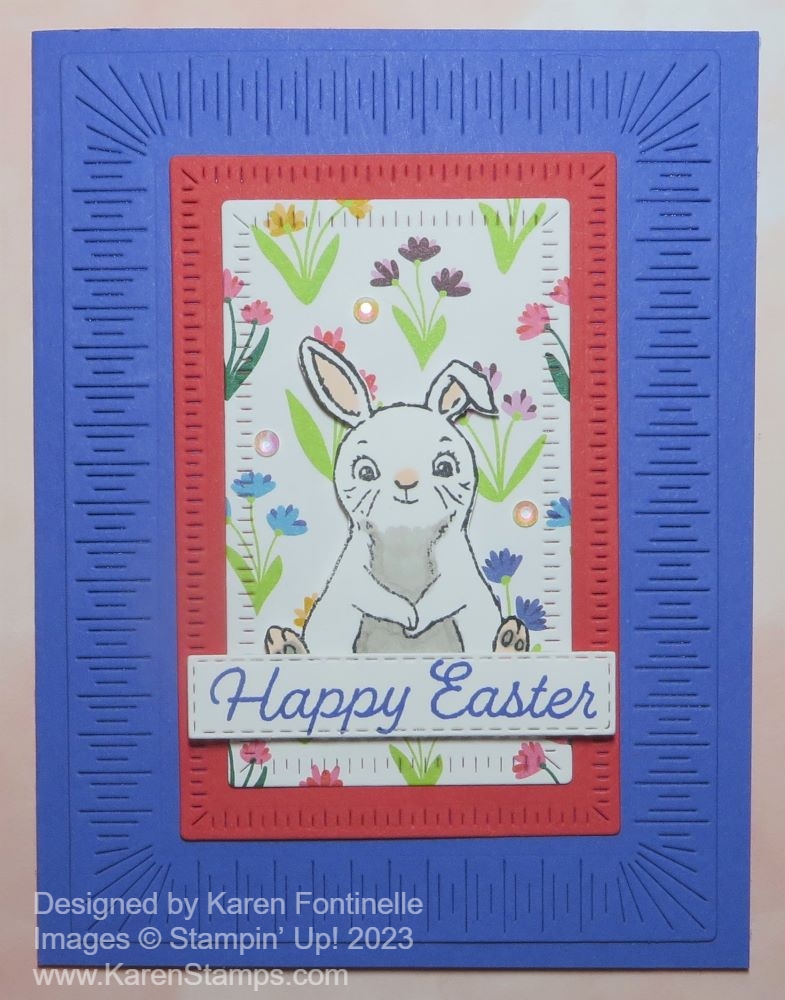
I suggest getting this designer paper, Rainbow Dots, and Baker’s Twine if nothing else! Here is a card I made recently using the Lighter Than Air 6″ x 6″ Designer Series Paper and the Rainbow Dots. The pastel colors are so pretty, you can’t go wrong! Of course, there is a stamp set and dies to really indulge your love of hot air balloons. You can see lots of design ideas on pages 32 and 34.
Enjoy this Stampin’ Up! video telling you all about the Suite!
Remember, with every $50 you spend at Stampin’ Up! you will earn a FREE product during Sale-A-Bration through the end of February. There are no limits to how many products you can earn!