We saw a story on the news the other night showing card racks at the store being sold out of sympathy cards which is so sad that people need those kind of cards, but the fact is, we all need to send them throughout the year, pandemic or not. It’s the most difficult card to make so it’s probably a good idea to make several at a time and hope that you don’t need them, but if you do, you will already have one ready to mail.
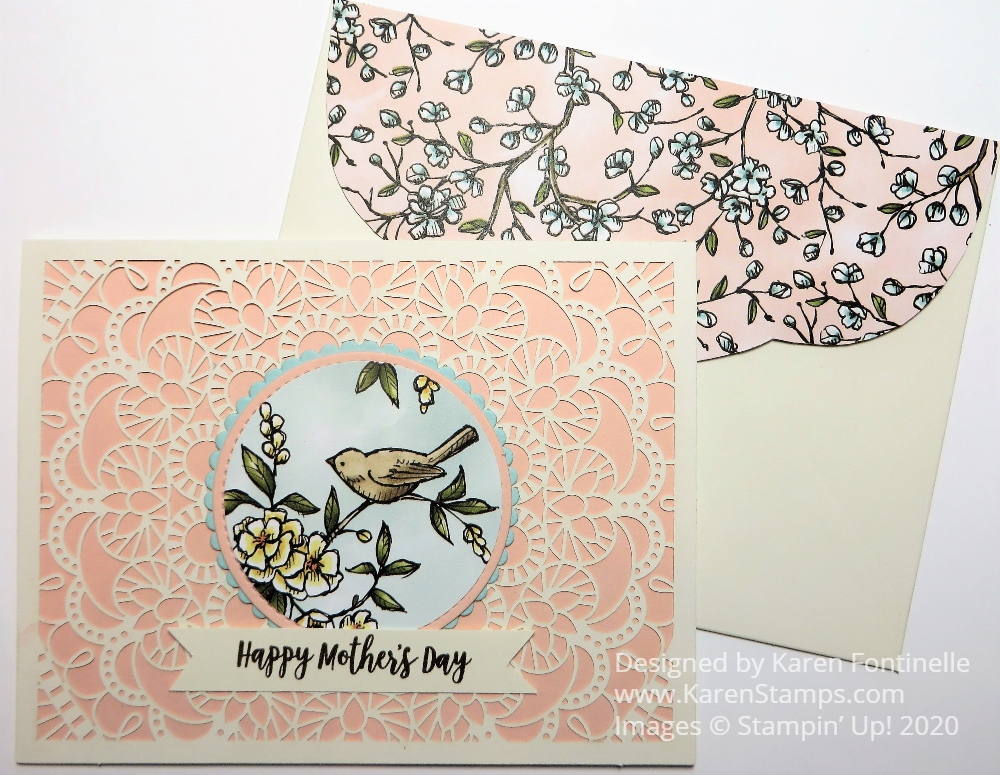
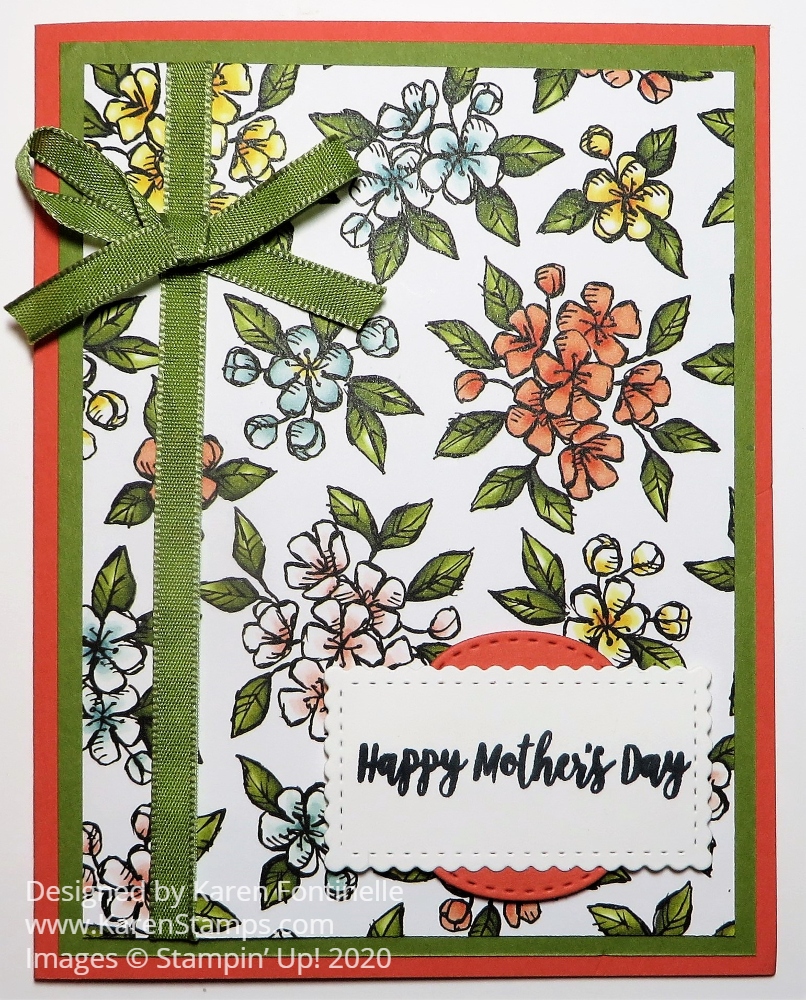
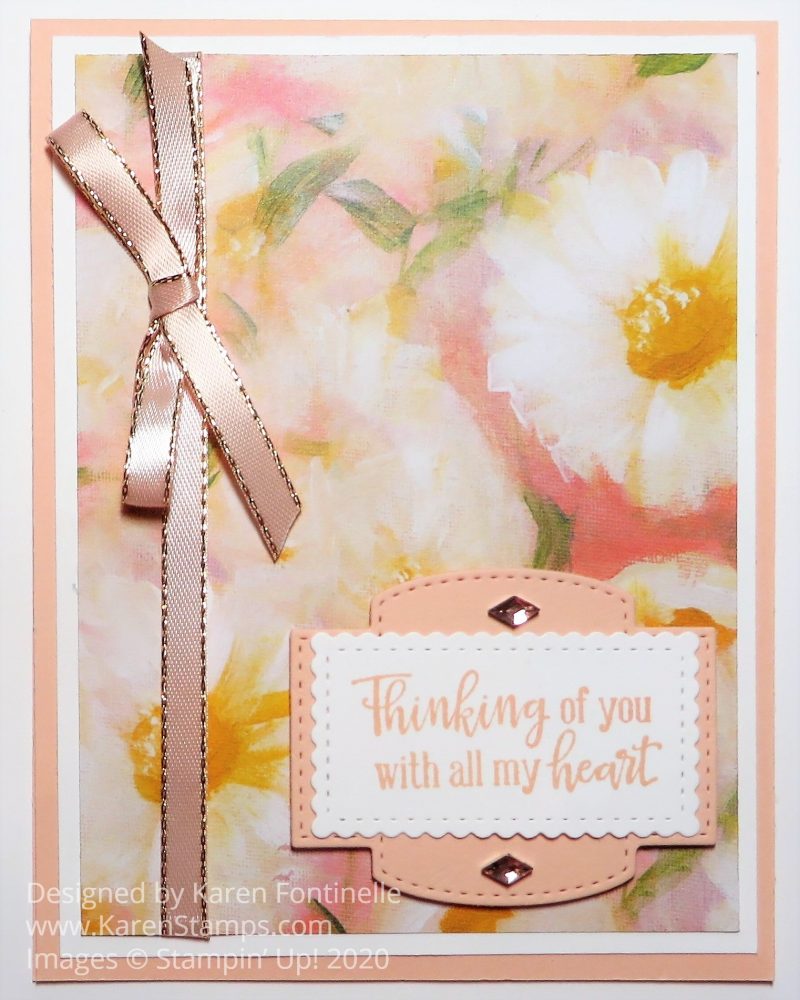
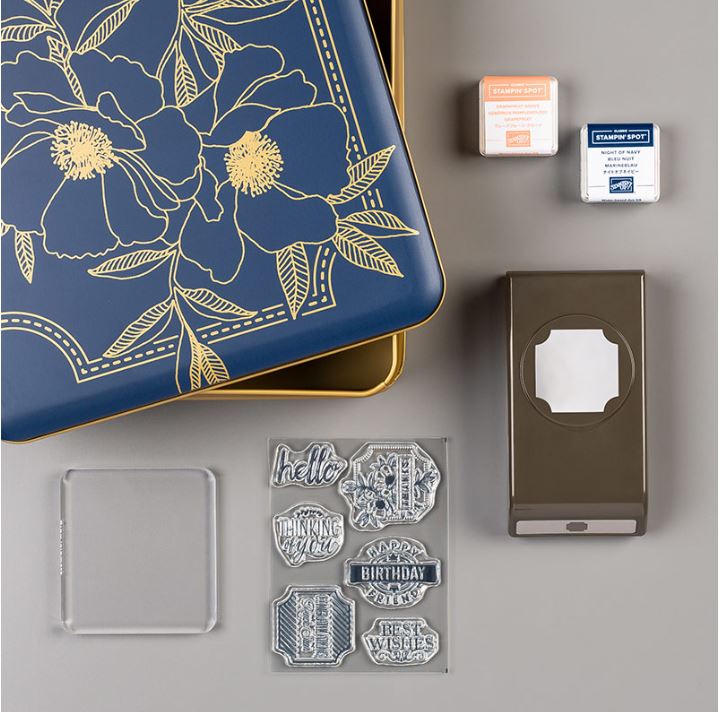
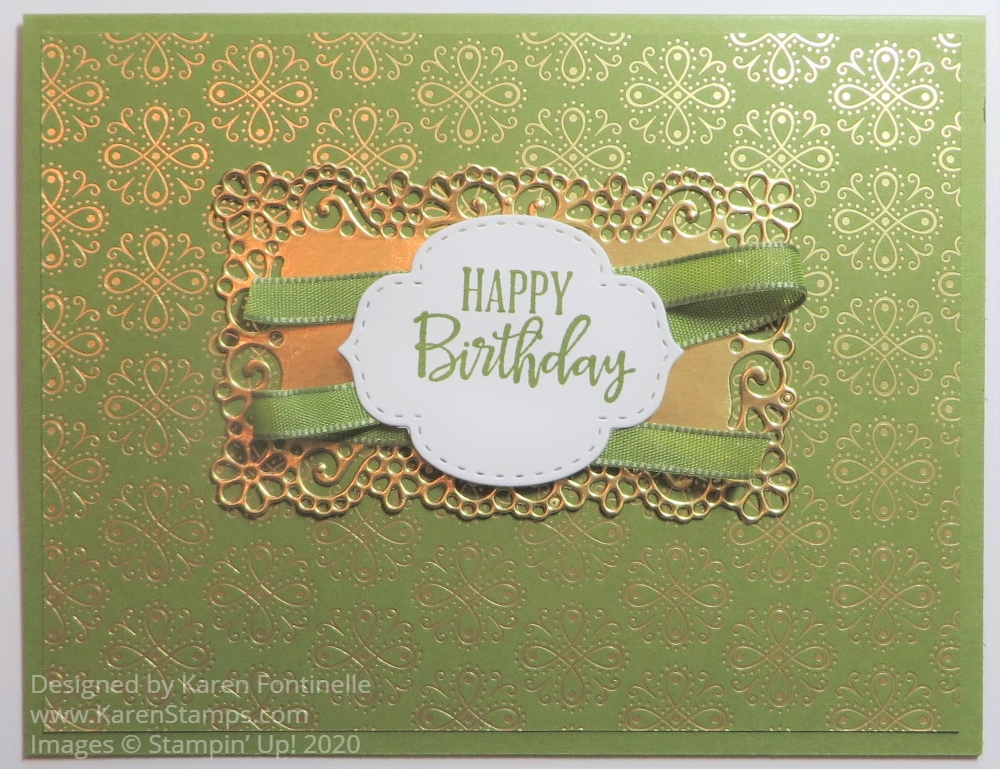
My original idea was not even to make a sympathy card but I planned to do something with the Ornate Garden Suite if only to use the dies. But when I looked through the Ornate Garden Specialty Designer Series Paper, I decided to use this floral sheet with foil accents and then use Gold Foil for the die-cut somehow. And even then, I wasn’t planning on a sympathy card. I was sort of thinking of a wedding card. When I looked through some stamp sets with sentiments, I settled on the Peaceful Moments Stamp Set. Somehow I couldn’t get past the sympathy sentiment so I went with that. Here’s another example of a sympathy card, simple but elegant with the designer paper and a nice ribbon.
To match the other gold, I felt like the greeting needed to be embossed with Gold Emboss Powder and the Heat Tool. The greeting is stamped in Versamark Ink, a clear ink that can be used for embossing or for the watermarked look in your stamping. Heat embossing is one of those things that is like magic when a new stamper sees it done for the first time. You stamp with Versamark Ink, sprinkle/dump on the embossing powder, shake off the excess, then heat with the Heat Tool and watch the magic happen! The powder melts and you watch it happen right in front of your eyes as the Heat Tool moves over it.
The very fancy die is one in the Ornate Layers Dies. Be sure to run it through your die-cutting machine three times to get the best cut. After cutting that, I measure the solid inside so I would know what size to cut my Whisper White Cardstock for the greeting.
If you would like to get your hands on brand-new product coming in the next Stampin’ Up! Catalog June 3, you can purchase any or all of the products in the Ornate Garden Suite. And if you want even more choices early, you can sign up to be a Stampin’ Up! Demonstrator and choose some of the preorder products to be in your Starter Kit or order them separately after you sign up!
I certainly hope you do not need to send a sympathy card any time soon, but they are an important part of what we do. When you make a card for someone, especially a sympathy card, you are putting your heart and soul into it with your creativity and that will mean something to the recipient. You might even consider making some cards that could be for different occasions but don’t put greetings on them yet. Then if you need one to be for sympathy, you will have a nice card ready to go when you add a greeting.