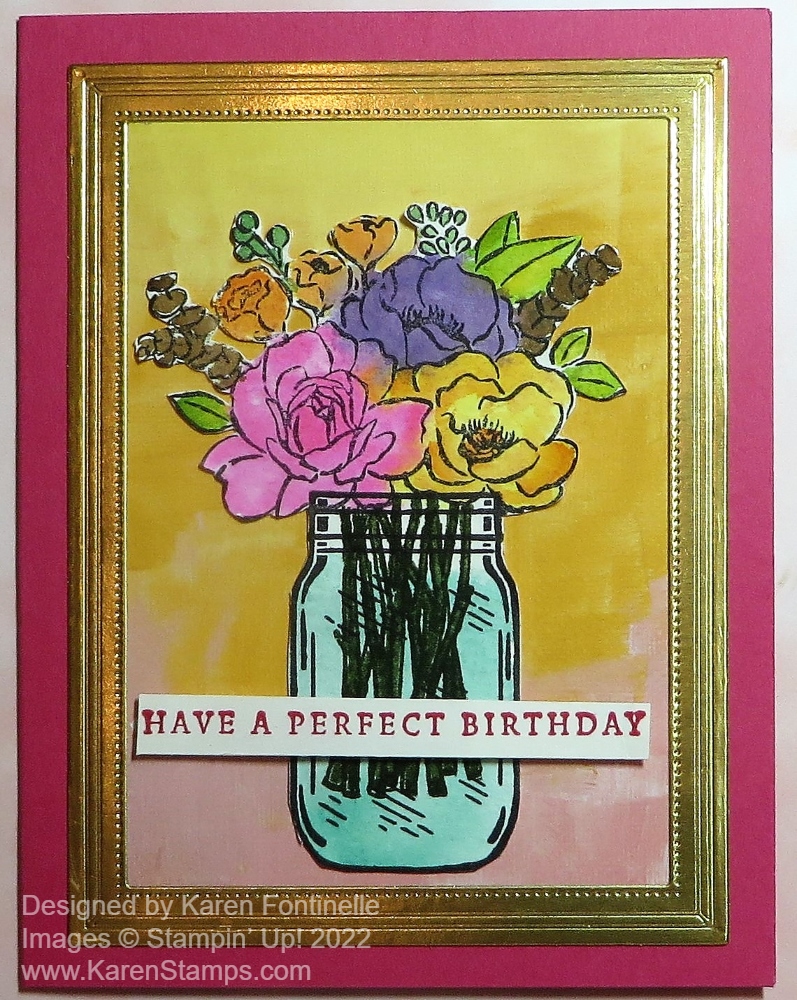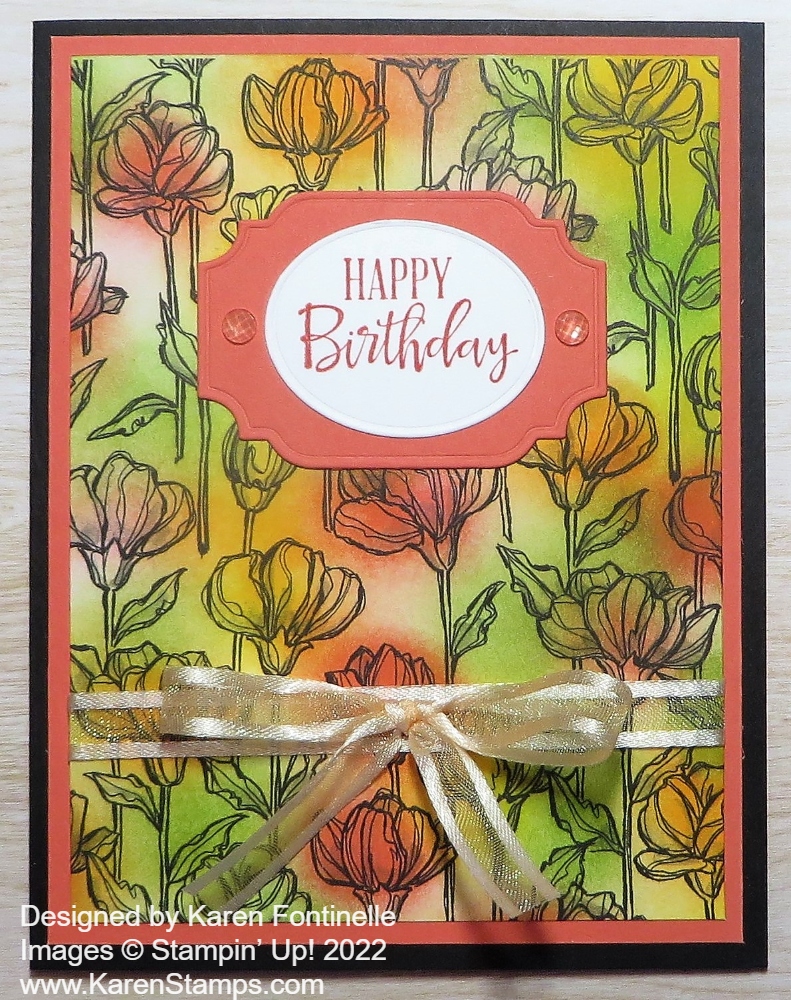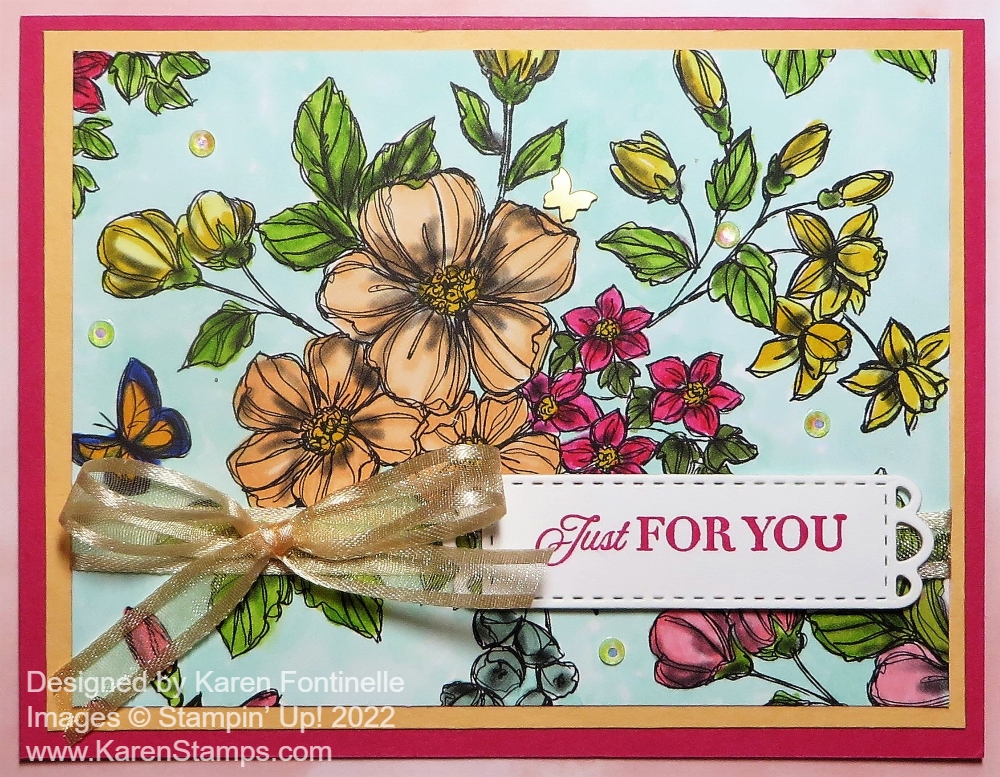
I’m not crazy but yes, I did color in this whole card front on this Coloring on Perfectly Penciled Designer Paper card! If you like coloring, you’ll understand that coloring is fun, and if you don’t like coloring, then you can stick to the beautiful black and white images on this paper!
The Perfectly Penciled Designer Series Paper has hand-drawn black and white floral images on one side of the paper that you can use beautifully as is or add color in any of many different ways. On the other side are generic graphic patterns that you can use as backgrounds on cards. It’s really great paper to use!
I simply cut the Perfectly Penciled Paper to have the floral design I wanted in the center of my card. You may have to think a little bit unless your paper has already been cut into, to get the design that you want to work with. Maybe it doesn’t matter how the images show up on your card design. Just so you are happy with it. I colored in the floral pattern and then I designed the rest of the card.
I started with the large flowers in the center and decided to color those with the Light and Dark Pale Papaya Stampin’ Blends. The leaves are mostly Granny Apple Green, some with a touch of Daffodil Delight, and a few smaller leaves colored with Old Olive Blends. The star-shaped flowers are colored with Melon Mambo, which at first I thought was too bright, but once I got the whole thing done, I liked that pop of bright color. Other flowers and buds are Daffodil Delight Blends and some Flirty Flamingo pinkish buds down in the lower-right corner. There is one little butterfly on the card which I colored with a purple and orange, but I’m not happy with it! Luckily it is off to the side and partially obstructed by the bow! I could have left the colored images as is, but I sometimes love coloring in the background, too! For this card, I used the Light Pool Party Stampin’ Blend. If you just kind of scribble around lightly, it’s not that difficult to color in the whole background. If you bear down with the point of the marker, trying to color in perfectly every nook and cranny, it will probably be an unpleasant experience…unless that is really what you want to do!
To make the actual card, I decided to layer and piece of Pale Papaya under the designer paper and then adhere that to a card base of Melon Mambo. The greeting is in the Celebrating You Stamp Set, a great set to have for sentiments for lots of occasions. It is stamped in Melon Mambo ink and then die cut with a die in the Meadow Dies. It looked like too much to layer it on Melon Mambo so I left it as is. The ribbon across the lower portion of the card is the pretty Pale Papaya Open Weave Ribbon. The bow is tied separately and adhered to the card with Mini Glue Dots. For a finishing touch, I couldn’t resist adding some Iridescent Rhinestone Basic Jewels plus one little Brushed Brass Butterfly!
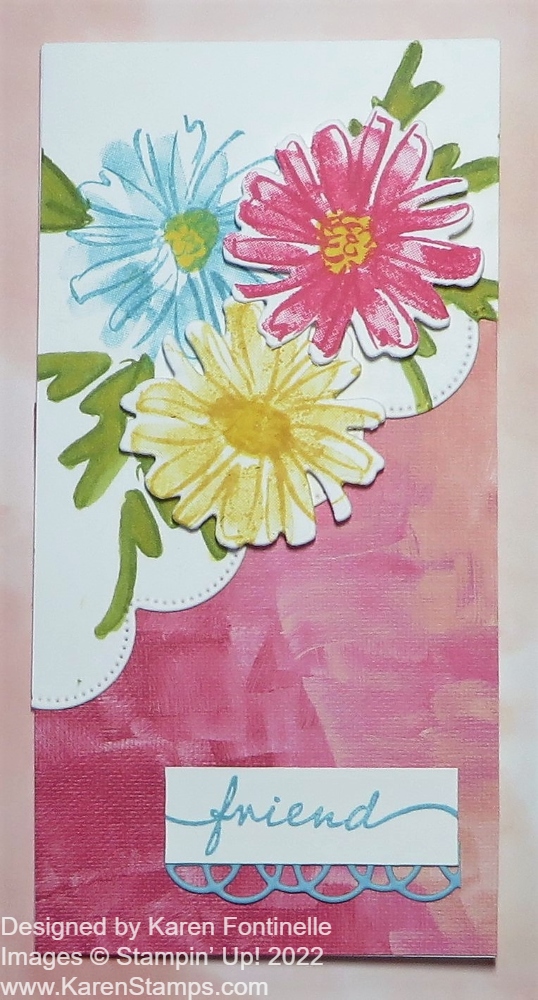
This card could be for almost any occasion if you just change the greeting. Actually, this greeting is perfect for almost any occasion! It could be for a birthday, thinking of you, congratulations, wedding, anniversary, or even sympathy. Here is another card I made recently by coloring the black and white design using Blending Brushes and ink and not trying to color inside the lines at all!
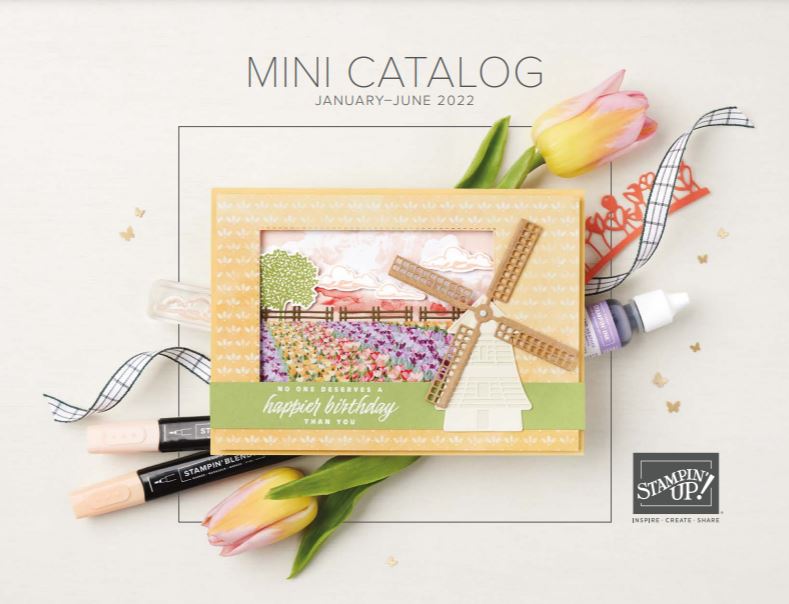
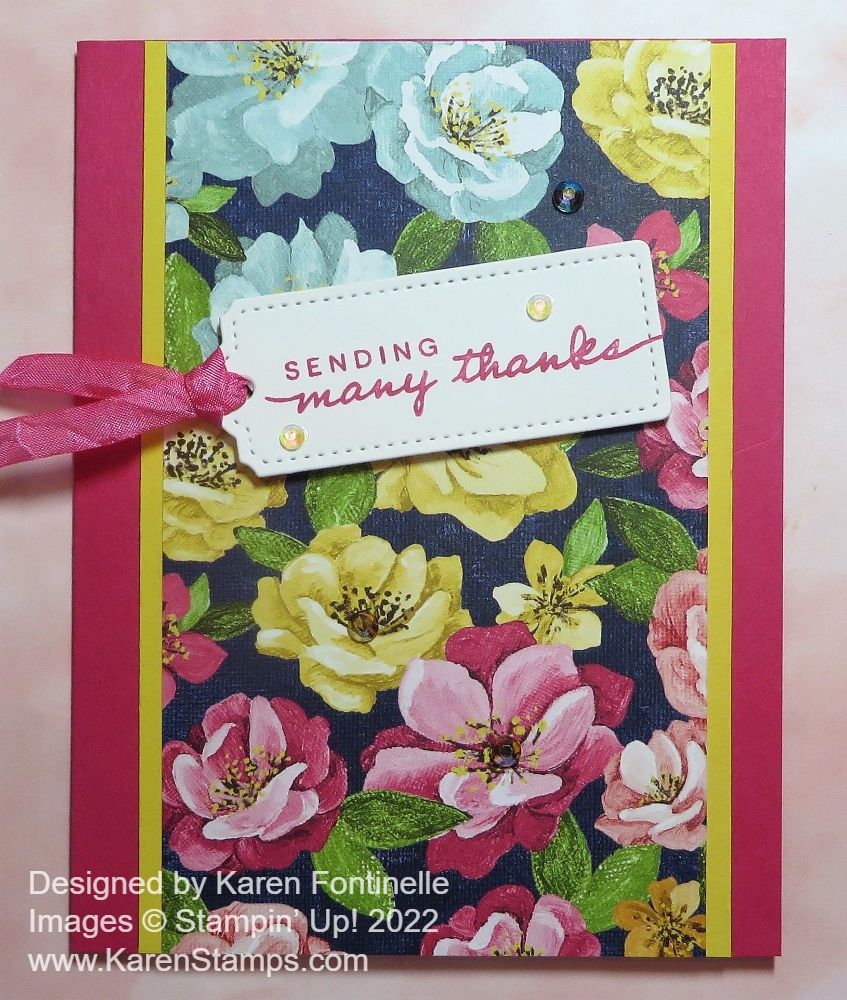
You’ll find the Perfectly Penciled Designer Series Paper in the brand-new Stampin’ Up! Annual Catalog!