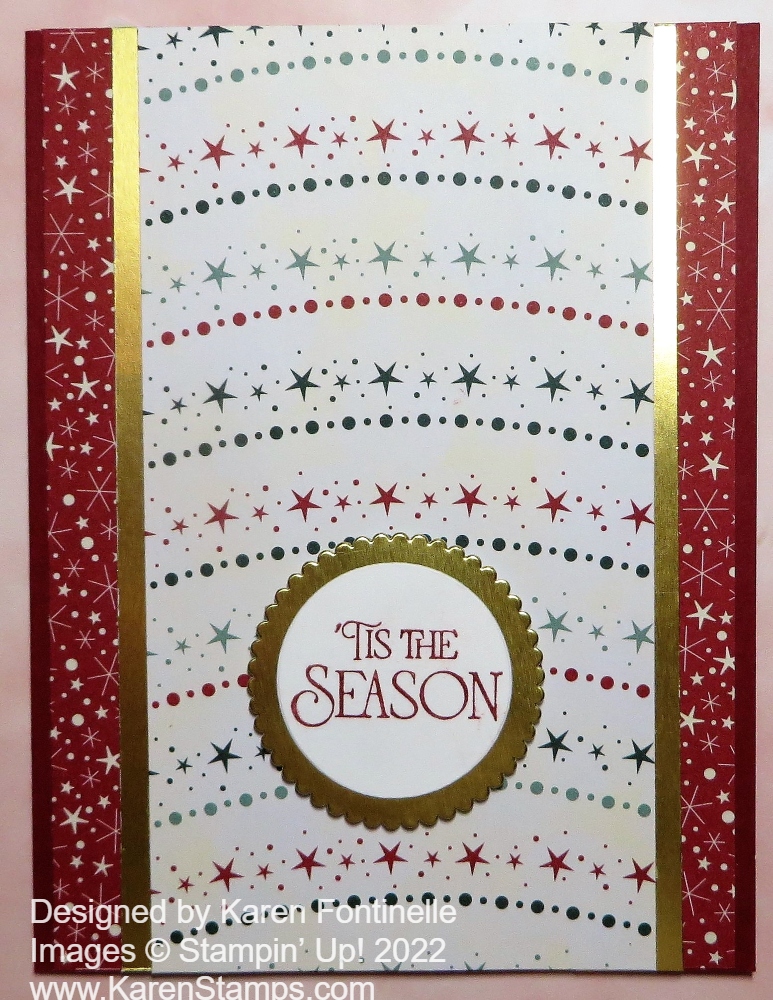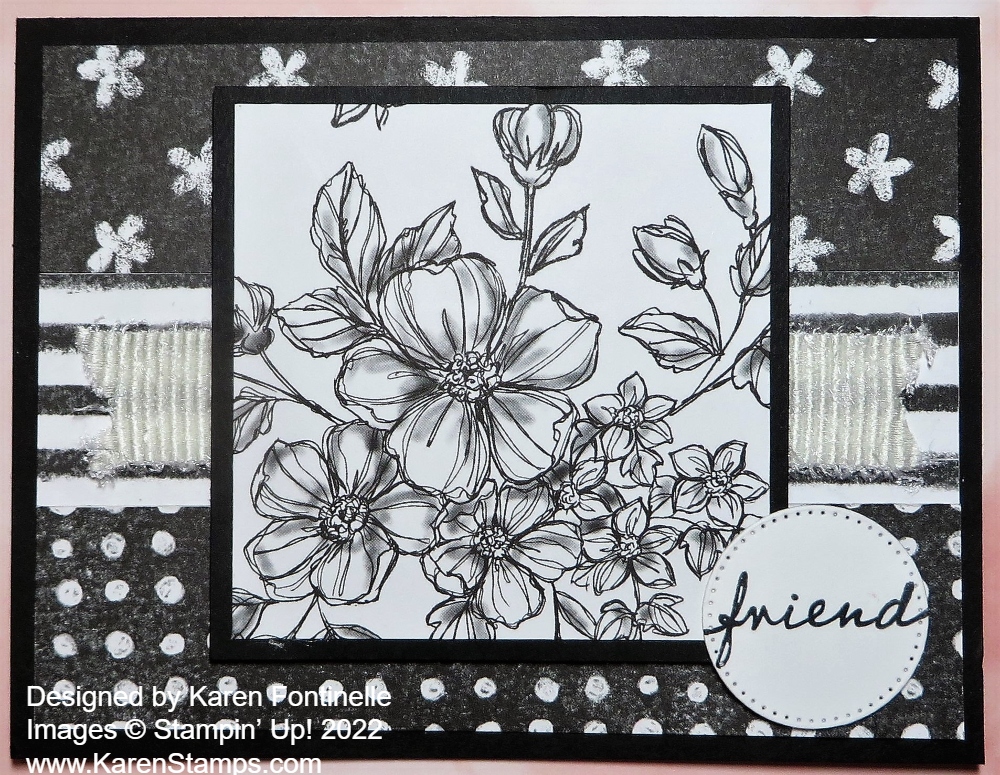
If you asked me what my idea or thought process was for this card I wouldn’t know! This Perfectly Penciled Black and White Card For a Friend just came about from the designer paper itself! I looked through the package of paper and decided to do something with just the designs, not the floral images on “the other side” of the paper. I wasn’t sure at all how it would turn out! Sometimes you have to just work with an idea!
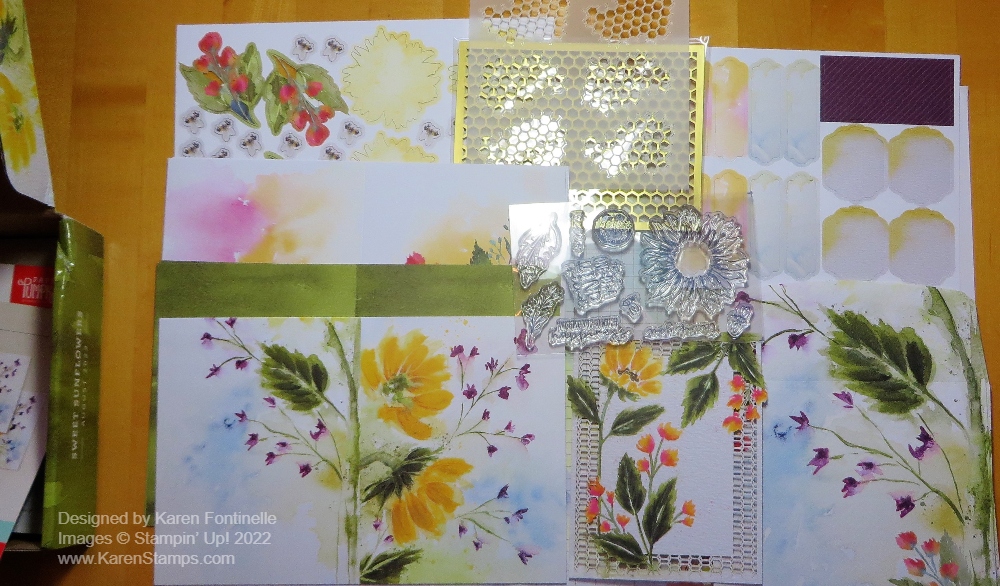
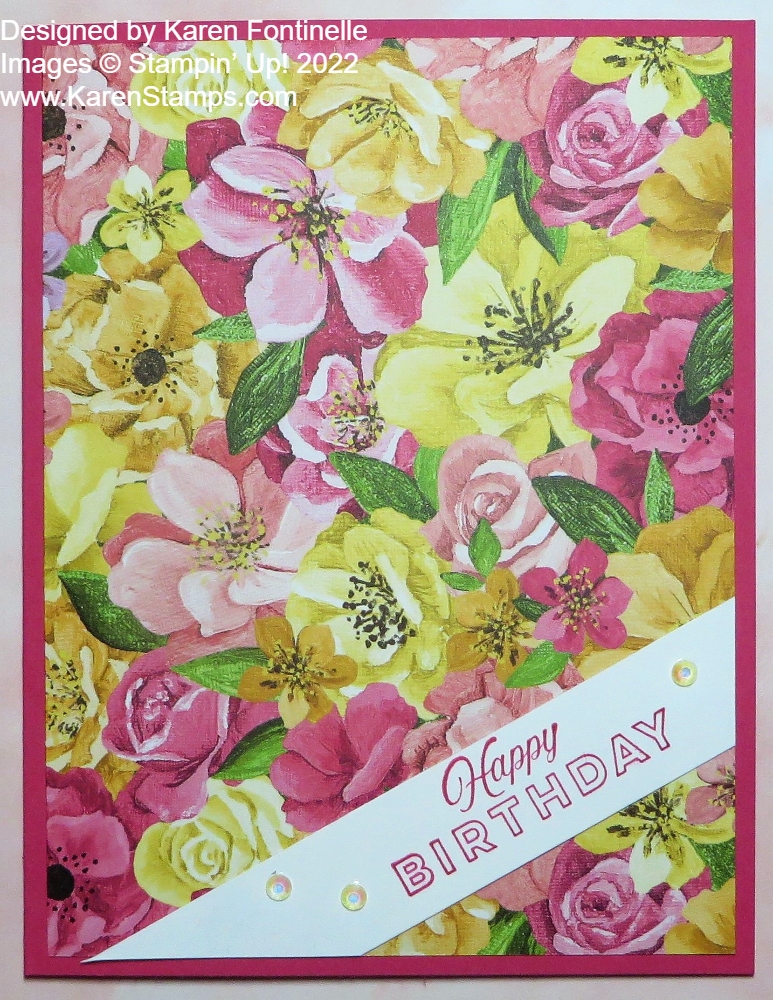
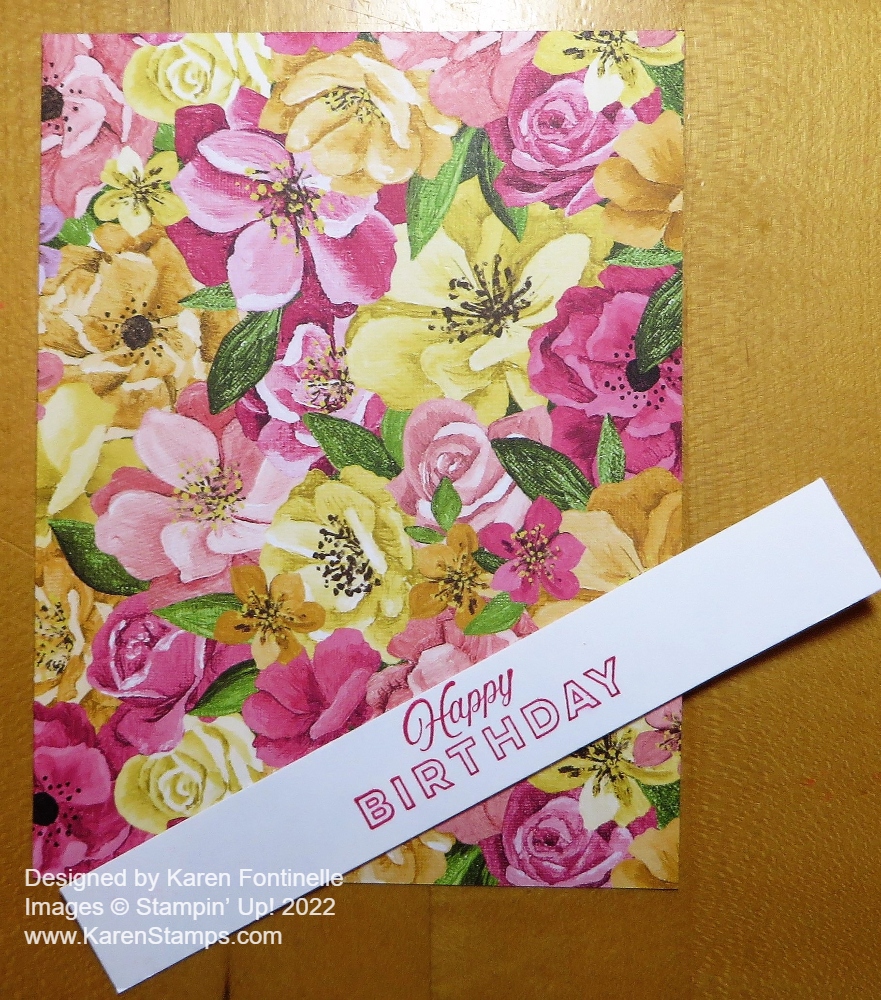
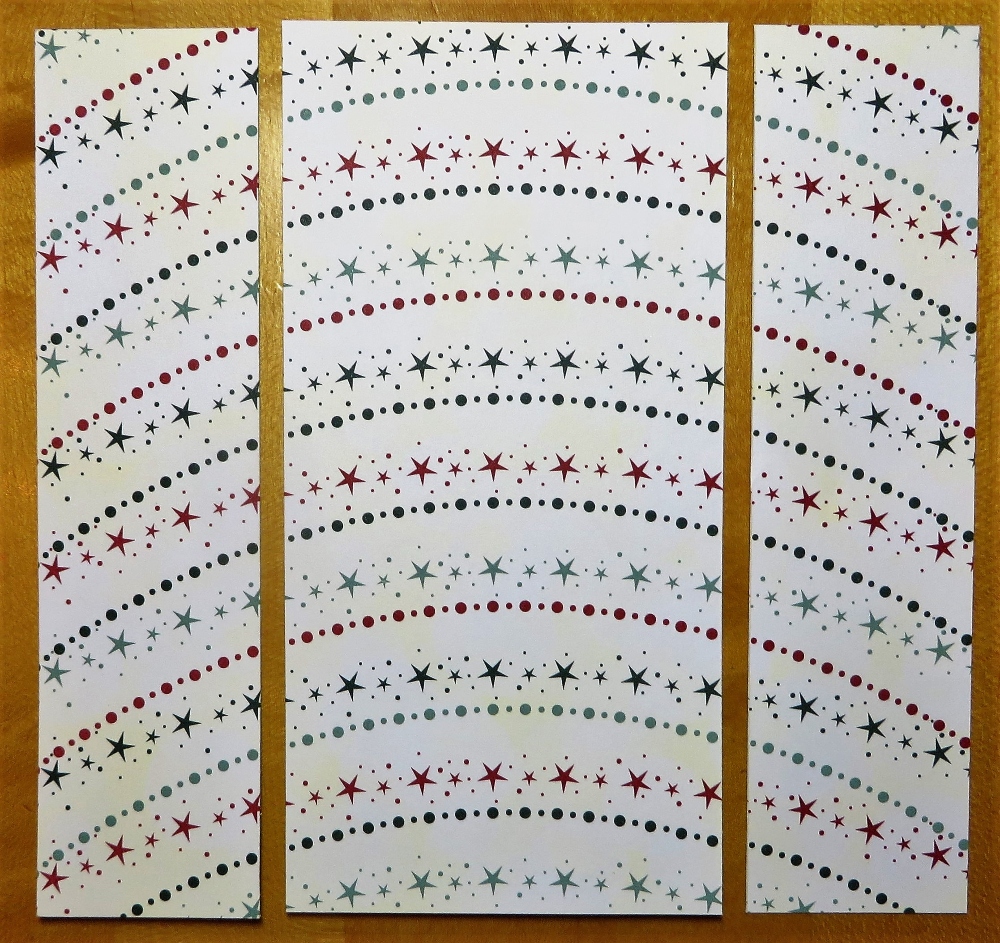
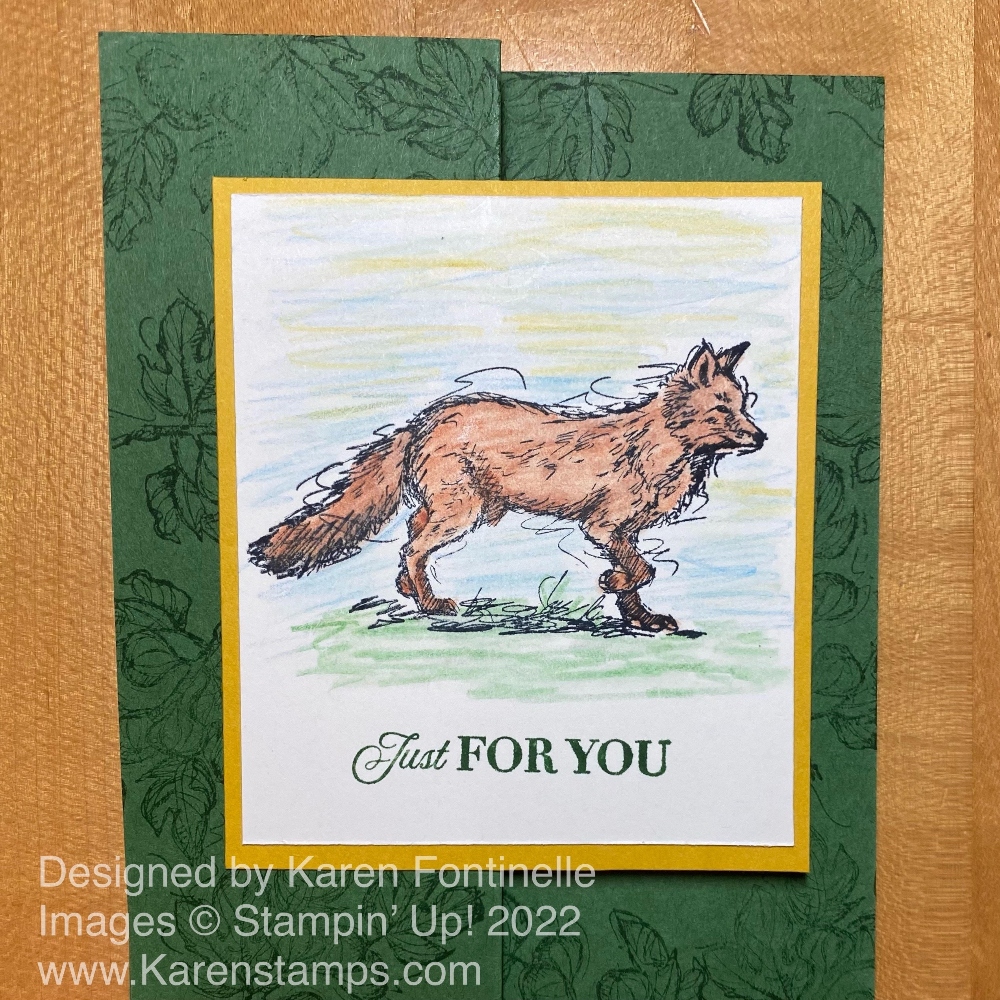
I thought maybe I could use strips of three of the different designs of the designer paper. This Perfectly Penciled Designer Series Paper has pretty floral designs on one side of the paper and graphic designs on the other side. You can certainly use it just black & white as I did on this card or you could color in the images as I have done on other cards like THIS ONE. And THIS CARD uses the paper’s floral and graphic design sides in just black & white! As you can see, this paper is fun to play with!
For this card, I chose three patterns of paper, cut them into strips, and planned to run the strips vertically on the card. But once I got them together I liked them going horizontally better! I adhered them to a piece of Basic White thinking I might tie some ribbon around that layer before adhering to the Basic Black card base. If you do that and you have some edges that aren’t perfect, just trim them down a tiny bit so the underneath layer isn’t showing. These strips are just a “smidge” over 1 1/4″ wide. A “smidge” means maybe about another 1/16″ more! They don’t have to be super-exact because we don’t want to ruin our fun cardmaking with a lot of math!
I decided to cut out a square 3″ x 3″ of one of the pretty floral images and then layered it on a piece of Basic Black. I wasn’t sure what ribbon to use at first, but decided to just use a strip of this White 3/4″ Frayed Ribbon that didn’t go around to the back of the card. I really like it! For a greeting, I stamped the “friend” in the Happiness Abounds Stamp Set and cut it with one of the circle dies in the Stylish Shapes Dies.
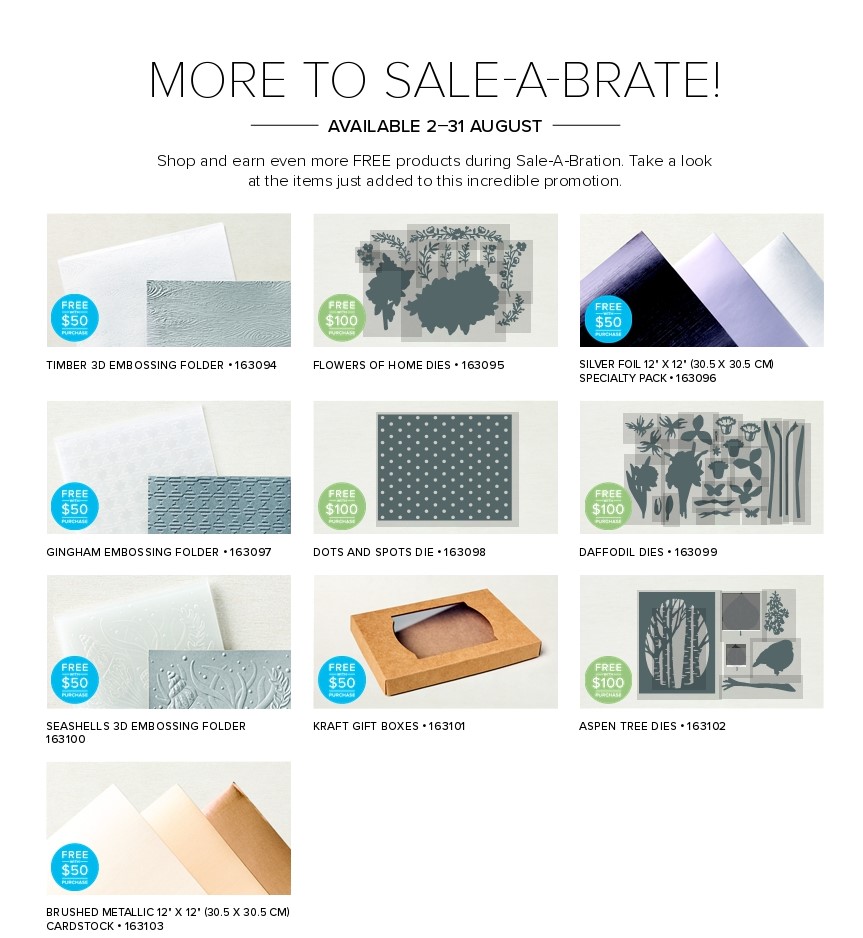
Remember, Sale-A-Bration ends on this Wednesday, August 31 so if you need any Stampin’ Up! supplies, be sure to shop by then to get your FREE product with every $50 purchase!