Tag Archives: Scary Cute Stamp Set

Warm Welcome Trick or Treat Halloween Card

Warm Welcome Trick or Treat Halloween Card

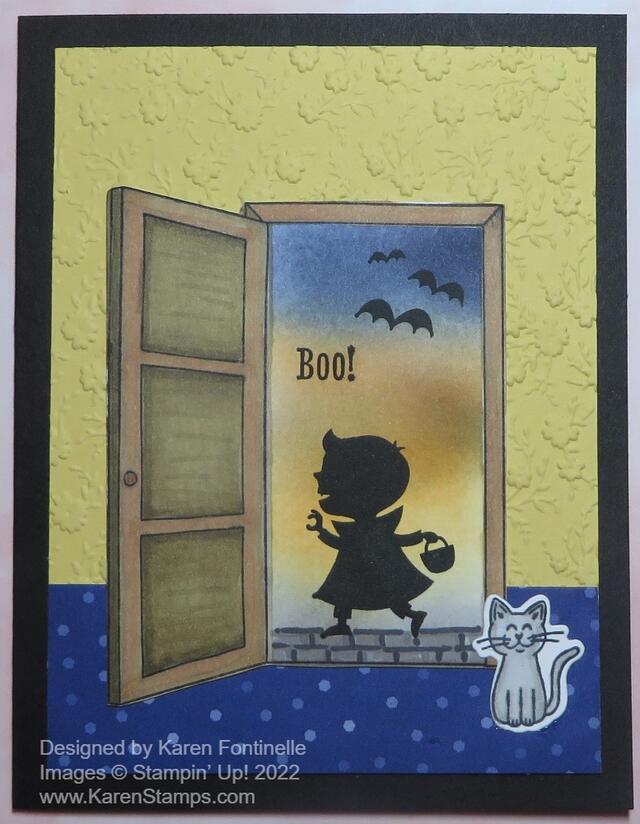
You may not recognize this open door stamp or the kitty, but they are from an early release of a stamp set and dies that will be coming in the January-June 2023 Spring Mini Catalog! They are out early because they will be used in the Stampin’ Up! Virtual Card Making Day Event next Saturday, October 1st! I wondered if I could turn it into a Halloween card along with the Scary Cute Stamp Set and I ended up making this Warm Welcome Trick or Treat Halloween Card! We have lots to discuss here!

This new stamp set is the Warm Welcome Stamp Set. There are also the Warm Welcome Dies, but you can only purchase the stamp set and dies together in the Warm Welcome Bundle right now. I don’t know if they will go away after World Card Making Day or what will happen, so if you like this Bundle, whether you are participating in WCMD next Saturday, I would go ahead and order this Bundle! There are lots of stamps and lots of dies so this will be a fun set to play with!

The Stampin’ Up! WCMD virtual event is FREE for EVERYONE next Saturday! The Bundles they will be working with and demonstrating are the Cottage Wreaths Bundle, the Cottage Rose Bundle, and as I said, the Warm Welcome Bundle. And if you purchase one or more of these Bundles, add the Iridescent Pearl Basic Jewels (item 158987) to your order after you have a Bundle in your cart and you will get the Jewels FREE! If you would like to register so you can be notified about the event, register HERE, but it is not required at all. You don’t even have to stamp along, own these stamp sets, or anything. You can just WATCH! If you miss the live event, you can watch the replay. Read all about this Virtual Event HERE.

To make this card, I started with a Basic Black card base and a layer of So Saffron. As it turned out, I had this Ornate Floral (retired) embossed piece in the package of paper and I thought it looked like wallpaper inside a house, so I used it. You could use another embossing folder, stamp a piece of cardstock, use a piece of designer paper, or simply leave the cardstock plain.

I stamped the door and frame (one stamp) with Memento ink and die-cut it. Since I wanted it to look like the front door had been opened and therefore you would see the outdoors with the trick-or-treater at the doorstep, I masked the edge of the door so I could add color inside the frame for the Halloween sky. To do this masking, I used the brand new Stampin’ Up! Masking Paper! It worked like a charm. It was the first time I used it! I just cut narrow strips the length of three sides of the door (top and sides) so that when I added the color, it wouldn’t get on the door frame. When you peel off the backing of the Masking Paper there is adhesive to hold it in place and is easy to pull off when you are finished masking whatever you are covering up. I used a Blending Brush to just add several ink colors to look like a Halloween sky. I used Night of Navy, Crushed Curry, Pumpkin Pie, and some Basic Gray at the bottom. There are other color combinations you could use! Just play!

The door and frame are colored in with multiple colors of brown using Stampin’ Blends! I started with Light and Dark Crumb Cake but then I played around adding darker shades of brown and used some of the Natural Tones markers, too. As I said, just play!

The blue piece at the bottom of the card is meant to look like a carpet inside the house. It’s one of the patterns in the 2022-2024 In Color 6″ x 6″ Designer Series Paper. I just cut a 1 3/4″ strip of it. Perhaps I should have glued the door right at the top edge of the carpet!

It would be a good idea to stamp the little trick-or-treater in the doorway before adhering to the card. I got lucky and the stamping still worked okay, but I did use the Stamparatus so that I could re-stamp it if the image didn’t turn out dark enough. The embossed paper underneath didn’t cause a problem; that’s what I was worried about. You usually want to do all the stamping before assembling the card so if you mess up, the whole card isn’t ruined! The “Boo!” and bats are also in the Scary Cute Stamp Set with the trick-or-treater. The cute little cat is in the Warm Welcome Bundle as well. I colored him with Stampin’ Blends.

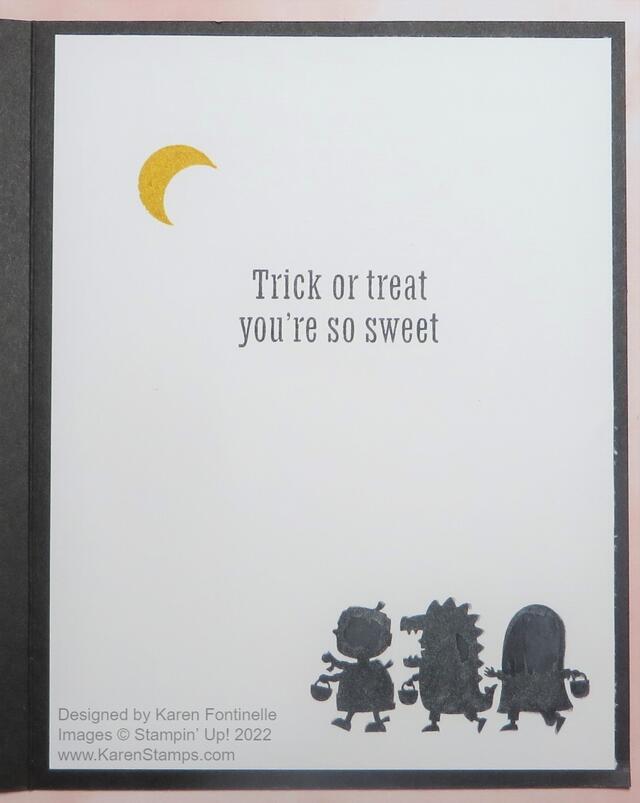
On the inside of the card, I added a Basic White layer stamped with a greeting in the Scary Cute Stamp Set, plus the group of three trick-or-treaters and a moon!

Warm Welcome Trick or Treat Halloween Card Inside

Be sure to mark October 1st on your calendar for World Card Making Day and plan to watch or stamp along with the Stampin’ Up! Virtual event! You can use similar stamp sets you might already own, or as I said before, just enjoy watching the stamping! A few days before the event, a link will be added to this page. Return here and click the Join Event link to participate. The time will be 2:00 – 5:00 PM Mountain Time. Enjoy!

Scary Cute Halloween Happiness Card

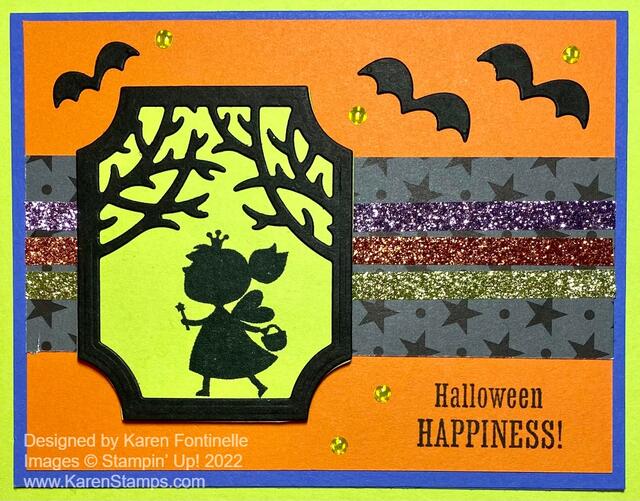
Scary Cute Halloween Happiness

It was a busy weekend, but I felt like making a fun Halloween card and this Scary Cute Halloween Happiness Card came about! Only two weeks left in September if you can believe that! Halloween will be here before we know it! I like the look of this little girl out trick-or-treating and the greeting “Halloween Happiness” because happiness for kids in the fall is dressing up and going out trick-or-treating and filling their bags with candy and treats!

The card base is Orchid Oasis (but the Parakeet Party green for the background for the photo makes it look like that might be good for the card base with a LAYER of Orchid Oasis! The Orchid Oasis has a layer of Pumpkin Pie and a strip of the dark star pattern in the Black & White Designs Designer Series Paper. I added three rows of three colors in the Glitter Washi Tape Pack across the designer paper. Love the Glitter Washi Tape! There are four colors in the pack you can choose from or use all of them! Perfect for Halloween or really any festive occasion!

The Scary Cute Stamp Set and the Scary Silhouettes Dies come together in a Bundle which saves 10% if you want both. The stamp set is cute in itself, but with this set I think you will also want the dies as they are so different and fun for Halloween! You get the interesting frame with the tree branches, bats, a black cat, and a seemingly haunted house! The stamp set has cute silhouettes of several different trick or treaters and fun sentiments for Halloween cards and projects!

I die cut the frame out of Basic Black and the background out of Parakeet Party. I just glued the frame over the background and stamped the girl on the background. I did use my Stamparatus to get a good stamped image over three times, maybe I needed to reink my ink pad better! If you ever have an image that doesn’t stamp as well as you would like, you often can use a marker or reinker to lightly fill in the areas that didn’t stamp well. I also stamped the Halloween greeting in the lower corner of the card. The bats are adhered at the top of the card. For a little more sparkle besides the washi tape, I added some yellow Glossy Dots in Daffodil Delight.

We’re about to embark on the fun part of the year for crafters and papercrafters with all the holidays coming up! Start early and enjoy the process. Make some Halloween or fall cards to send to friends and family and surprise them when they find “real mail” in their mailbox! Here is another fun card I made with the Scary Cute Bundle but just blended some colors in the background, stamped the figures in black, and added die cut bats and the haunted house!

You’ll find the Scary Cute Bundle in the Holiday Mini Catalog so use this Scary Cute Halloween Happiness Card as an example of what you can make with it!

SHOP STAMPIN’ UP! ONLINE HERE!

Scary Cute Slimline Halloween Trick or Treaters Card

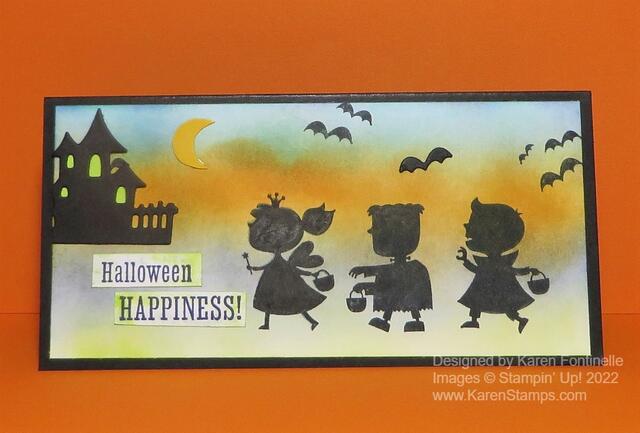
Halloween will be here before we know it so get your new stamp sets and accessories in the Stampin’ Up! Holiday Catalog and start creating! On this Scary Cute Slimline Halloween Trick or Treaters Card, I couldn’t resist making a colorful spooky background with the trick-or-treaters heading up to the house for their treats!

This is a slimline card made with a Basic Black cardstock card base. The card base is a 6″ square that is scored in half at 3″ so when it is folded, the card will be 3″ x 6″. The layer on the front of the card is Basic White cardstock 2 3/4″ x 5 3/4″.

To make the Basic White cardstock look spooky for Halloween Night, I used the Blending Brushes to add all kinds of ink colors! I used some of the new In Colors. Well, maybe all of them except Sweet Sorbet. I also used some Pumpkin Pie and Crushed Curry. I only have three Blending Brushes but if you are careful to work from light to dark ink in similar colors and really rub off the excess ink after each color on scrap paper or Grid Paper, you can use each brush for several ink colors. When you are finished, just rinse them out at the kitchen sink! Be sure to rub off a little bit of ink before applying the Blending Brush to the project to avoid getting a dark blob of ink.

Next, I stamped the three separate trick-or-treaters in black Memento Ink as if they were walking around on Halloween Night going trick-or-treating with their little baskets. You need to have a juicy ink pad to get a good, dark impression of the image. The Stamparatus would work well for this so you could stamp it over and over if necessary. You can also fill in the areas that didn’t stamp heavily enough with a black marker if the blacks match pretty well.

The Scary Cute Stamp Set has some fun stamps and greetings in it. I stamped some of the bats up in the sky. I stamped the Crushed Curry cardstock with the moon stamp but I cut it out according to the shape and used the plain cardstock side because I liked the cardstock color better than the inked side.

The haunted house is a diecut and I already had that cut out. I decided to use it but away from the trick-or-treaters so it wouldn’t look like the wrong size. I adhered tiny pieces of Parakeet Party card stock behind the windows and after adhering it to the card layer, I trimmed off the excess side so the house would fit better.

For the greeting, I stamped the “Halloween Happiness” on Basic White but decided to cut the words apart so they would fit in the corner. They were stamped with the Starry Sky In Color Ink and then I added a little Parakeet Party ink around the edges with a Blending Brush just to make the words look a little spooky and fit the card just right.

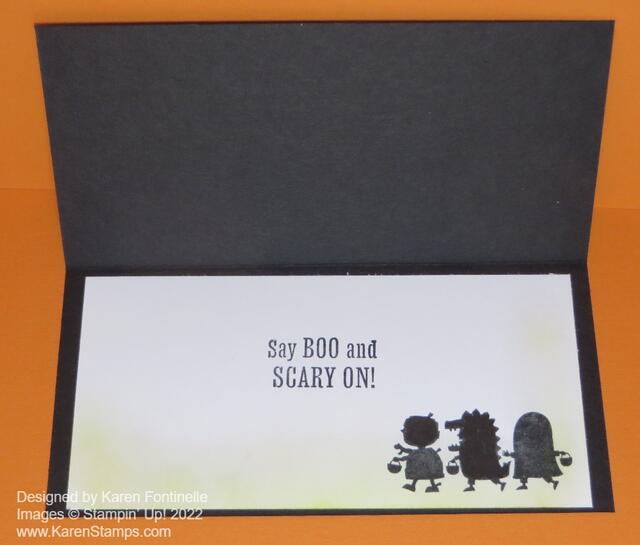
On the inside of the card, I adhered a Basic White layer just like on the front of the card. I stamped the other stamp with the three smaller trick-or-treaters and a greeting from the stamp set. Then I used the Blending Brush and just a light layer of Parakeet Party ink. You could use any color you like.

Scary-Cute-Slimline-Halloween-Trick-or-Treaters-Card-Inside

This Scary Cute Stamp Set will be fun to use making Halloween treats and other projects as well! Here is a Scary Cute card I made the other day using the spooky frame die with the tree branches. Just get the Scary Cute Bundle of stamp set and dies and you will be all set for making a card like my Scary Cute Slimline Halloween Trick or Treaters Card or many others!

SHOP STAMPIN’ UP! ONLINE HERE!