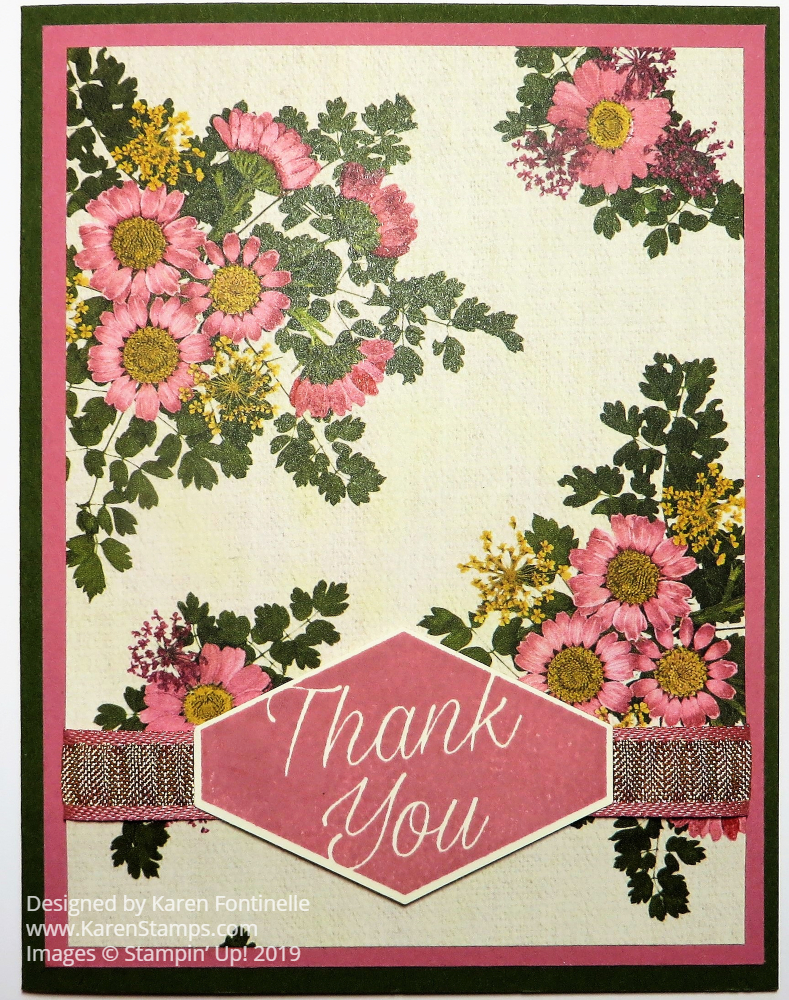
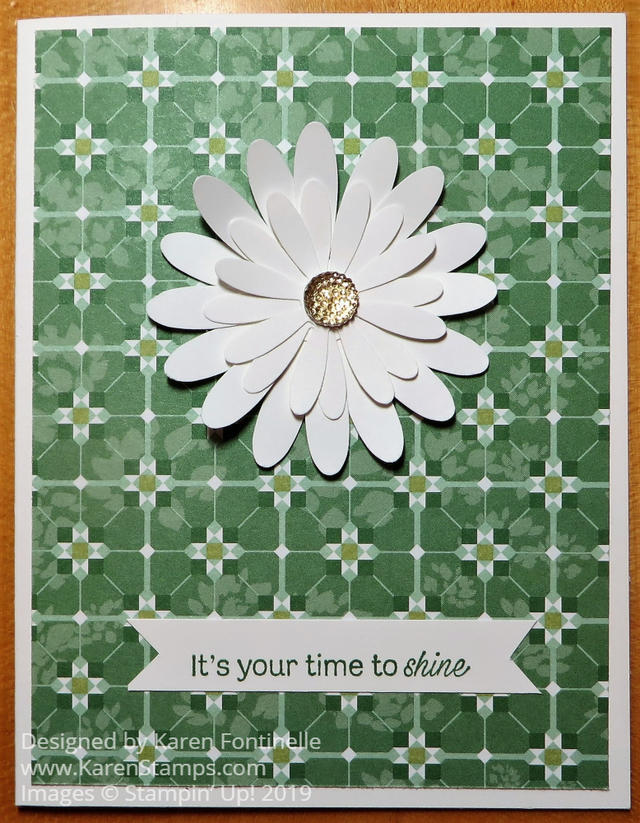
I thought it was time to try out my new Noble Peacock fancy paper so here is the Noble Peacock Daisy Thank You Card that came of that idea! Sometimes I just choose some paper I want to use and then see what ideas I come up with.
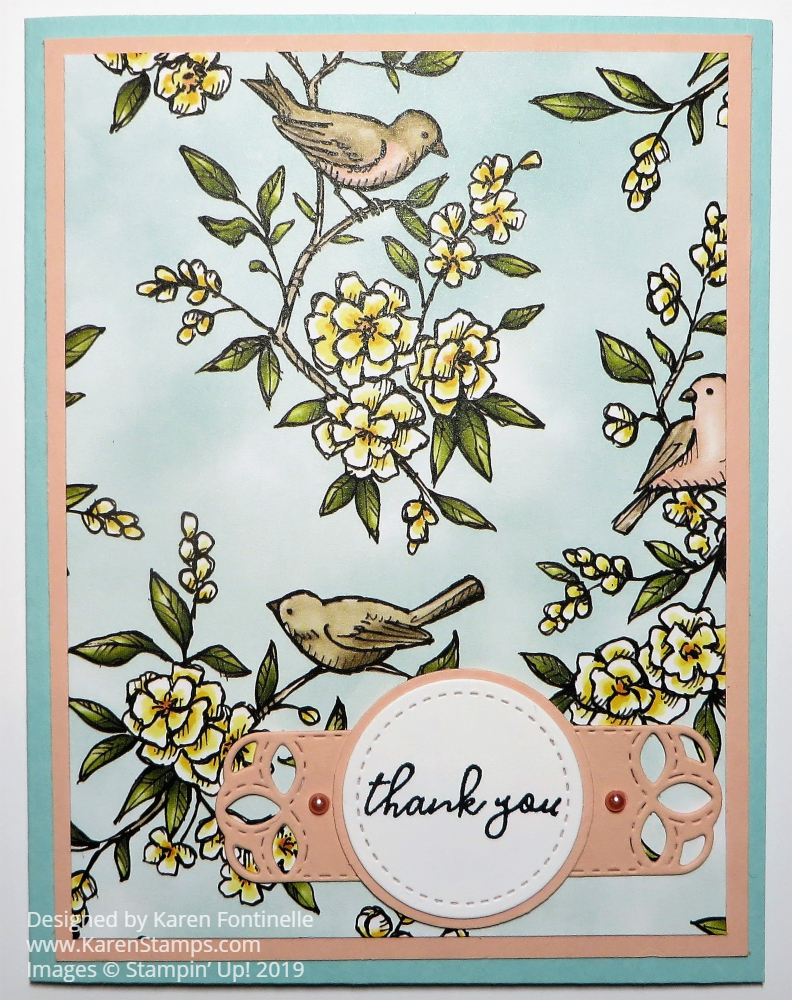
I had ordered this Noble Peacock Specialty Designer Series Paper recently so this is my first card trying it out. This jewel-toned paper has foil accents and is a little more heavyweight than other designer papers. It is really pretty and elegant. You will make gorgeous cards and other projects with this paper! You can also purchase the Noble Peacock Foil Sheets to go along with this paper. Keep in mind you can use this paper for your projects even if you do not own the Royal Peacock Stamp Set. But it does all go together if that is what you want.
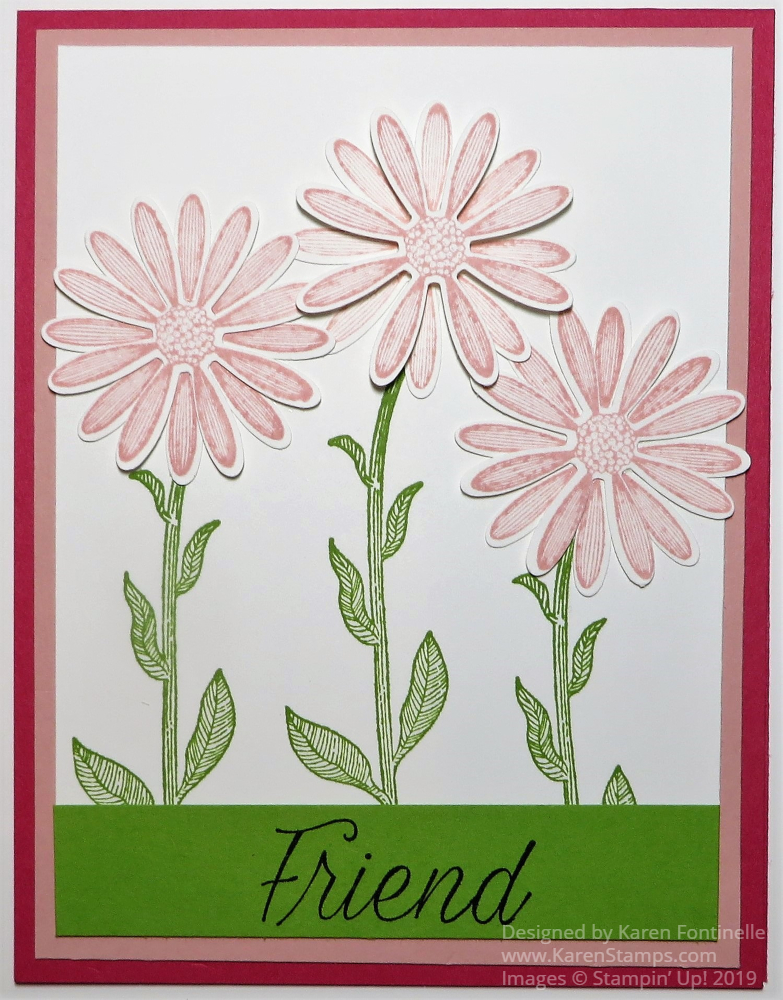
This paper has three coordinating colors – Blueberry Bushel, Pretty Peacock, and Old Olive. I chose the Old Olive pattern for this card so I started with an Old Olive base. It opens at the top so cut the cardstock in half lengthwise and then fold. I decided to die cut a hole in both the Old Olive Cardstock and the Noble Peacock Specialty Paper in order to place the punched daisy on the inside of the card.
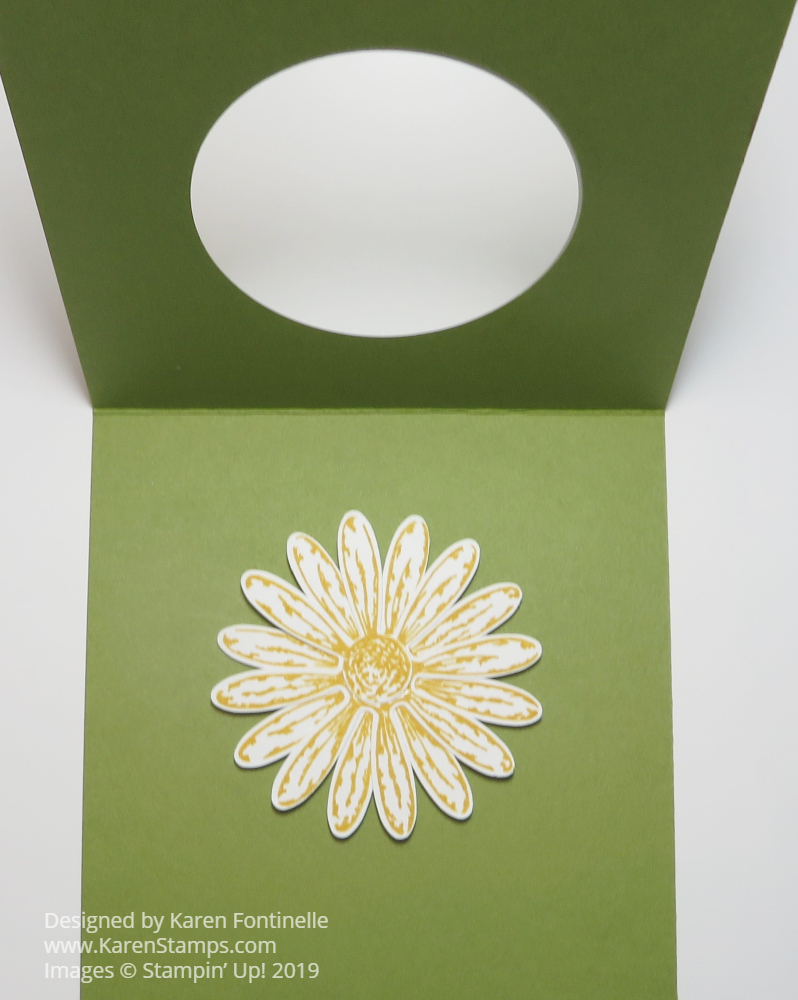
The daisy from Daisy Delight is stamped in Crushed Curry Ink and punched out with the Daisy Punch. You can punch just one daisy but I usually stamp and punch two daisies to make the flower look fuller.
Choose the size of the Layering Circles Dies that you want to use. This one was a tight fit but if I used a larger one I thought it would look too big on the card. I first die cut the circle on the specialty paper, then placed it where I wanted it on the Old Olive Cardstock and lightly drew a circle with a pencil around the inside. Then I knew where to place the die on the front of the cardstock. I’m not sure the die would cut through both the paper and the cardstock at the same time although that is the easiest way to do it.
The greeting is stamped in Old Olive Ink from the Daisy Delight Stamp Set and die cut with the Stitched Rectangle Dies. Luckily the “Thank You” fit in this size die because a larger one would have been too big. In that case, I would have just cut it as a banner without a die.
Have fun trying out new ideas with all the new products in the Stampin’ Up! Catalog, like this Noble Peacock Specialty Designer Series Paper. Use the catalog samples for ideas for your stamping if you need inspiration! Remember, we are down to the last few days of July and the last few days of the Bonus Coupon Days. Spend $50 in July, get a coupon code to spend in August!