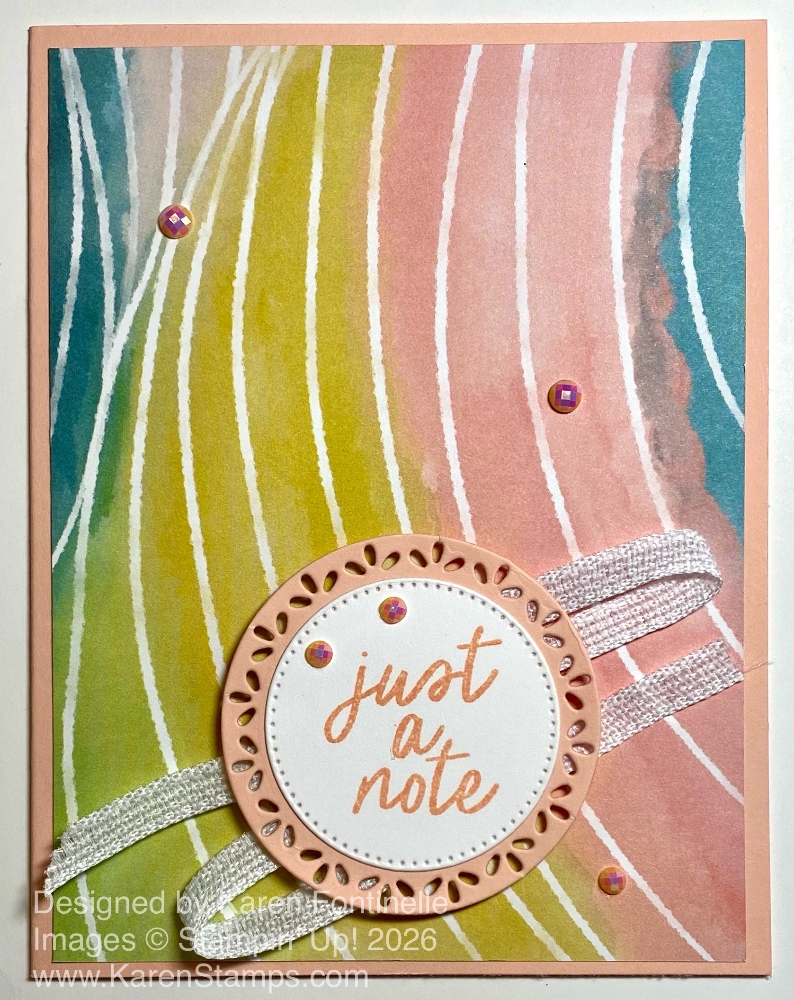
Stampin’ Up! released a new Product of the Month today, Notes of Spring, but here is a card made with the Product of the Month from February. I just recently got this paper in my order so here is my first card I made with it. It’s the Painted Illusions Just a Note Card made with the Painted Illusions Designer Series Paper. With any order of $75 or more, you can choose a Product of the Month (POM) for only $5!
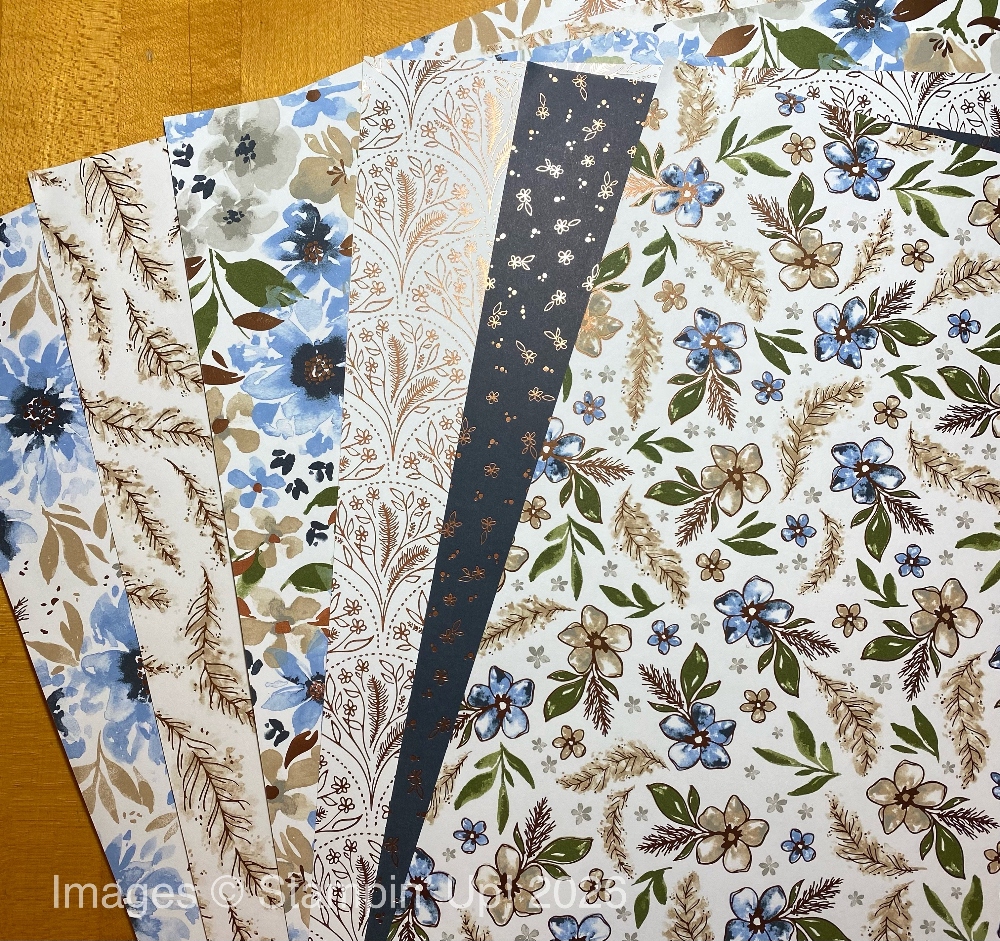
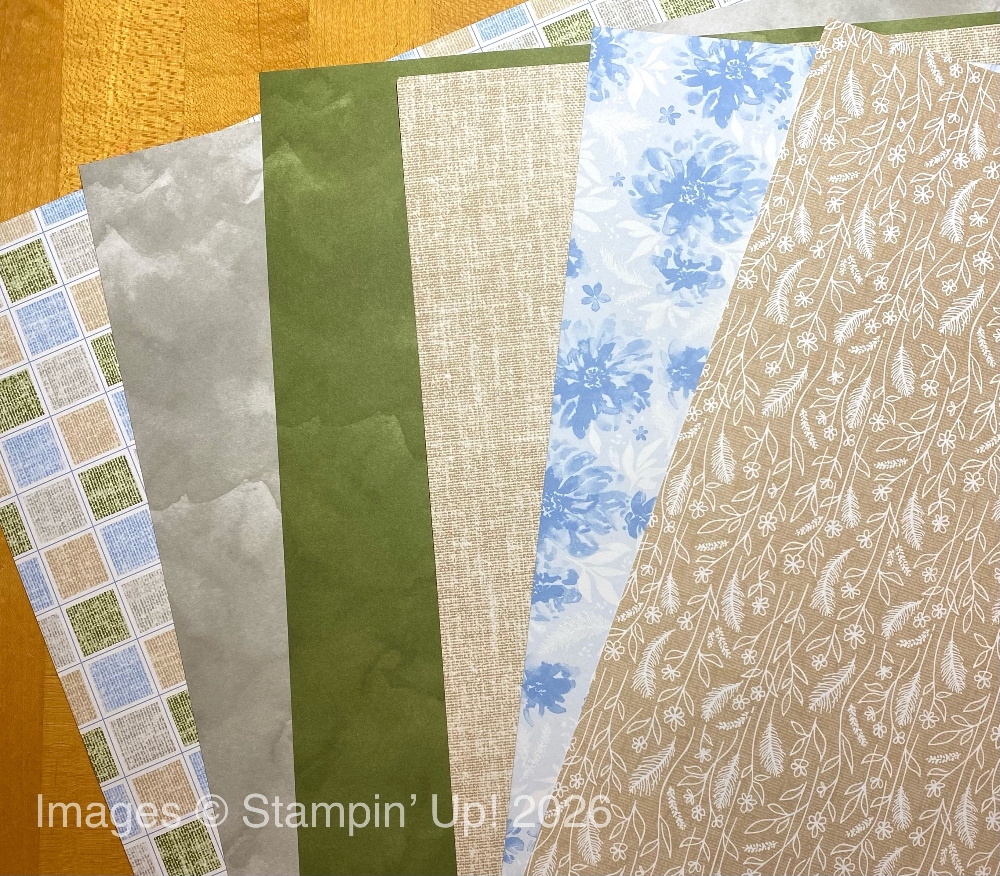
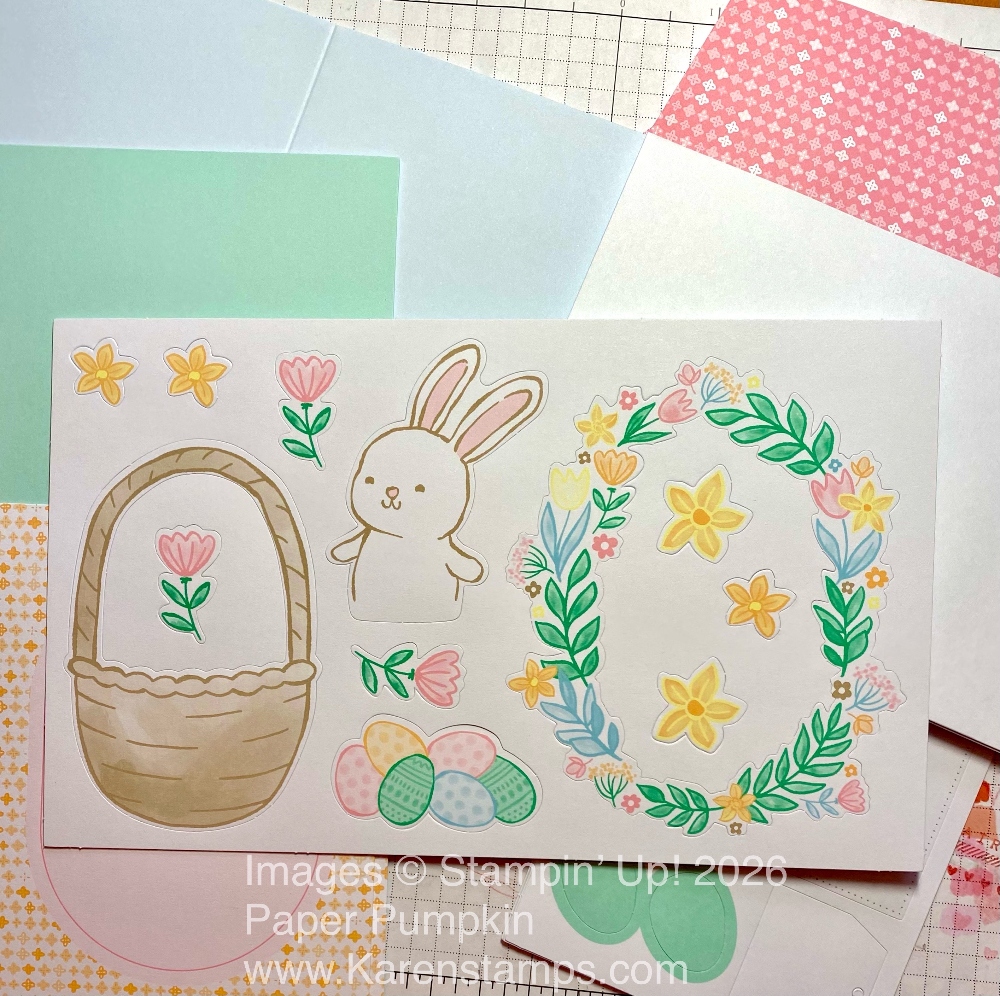
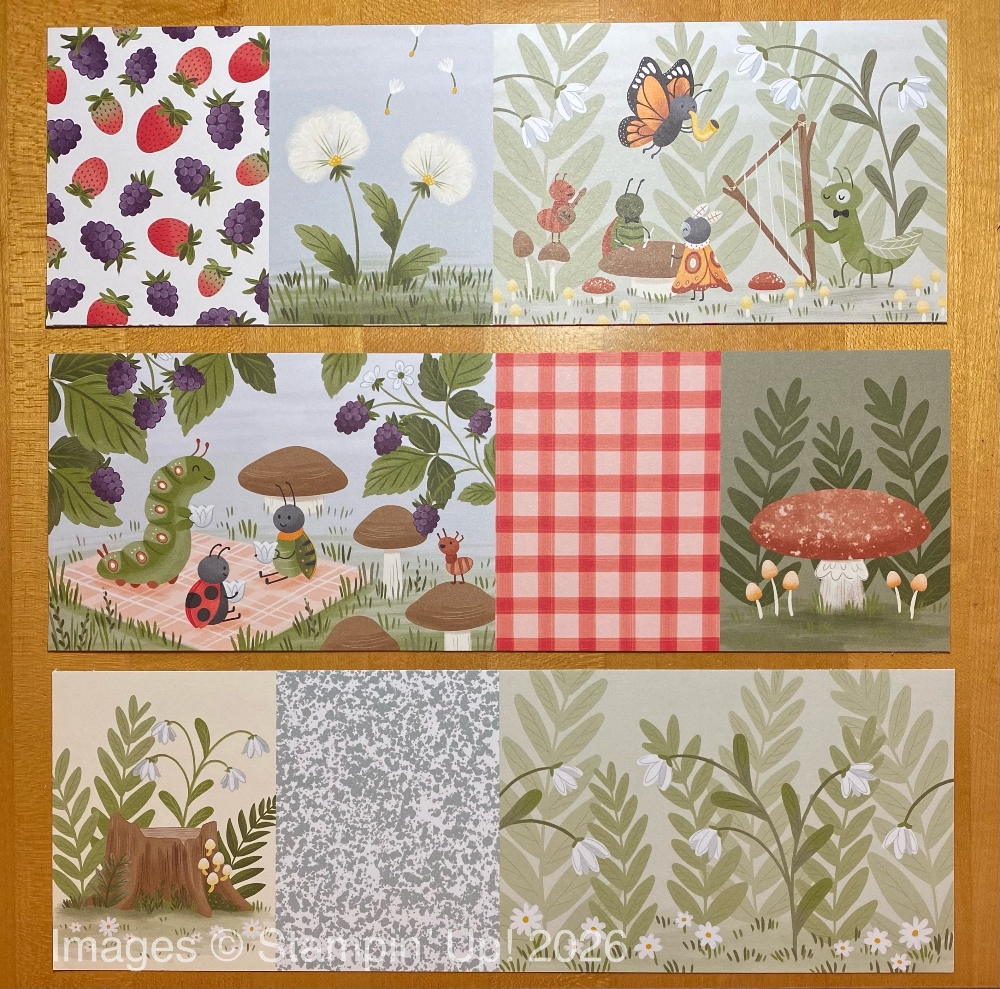
This paper features soft watercolor gradients in several colors – pink, green, blue, teal, and yellow – with white patterns that flow over the background. So pretty and so different! This paper, on its own, would make beautiful scrapbook pages, along with cards and other projects.
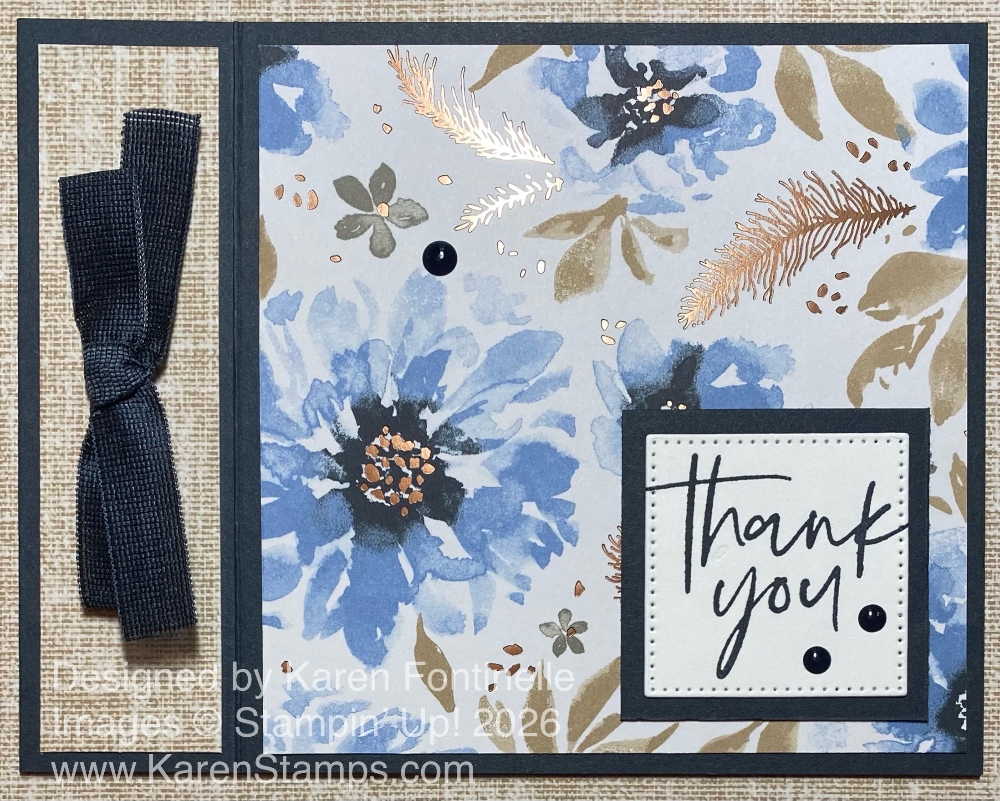
This card starts with a base of Petal Pink one of the coordinating colors. You could also use any of these colors as well: Darling Duckling, Flirty Flamingo, Granny Apple Green, Lost Lagoon, Misty Moonlight, Pretty Peacock. I kept the card very simple with just a layer of the whimsical swirls of colors plus a greeting. The greeting is stamped in Petal Pink from the Simply Said Stamp Set. This is a great stamp set to have for a variety of greetings you will use over and oveer again.
The greeting is diecut with a small circle in the Stylish Shapes Dies to layer on a Petal Pink layer diecut with the Spotlight on Nature Dies. It is popped up with Stampin’ Dimensionals with some white ribbon adhered back and forth underneath. This particular narrow white ribbon is retired, but you probably have other ribbon in your stash you can use! For a little irresistible sparkle, I added several of the Pearlized Faceted Circles in Petal Pink to the greeting and card front.
Sometimes the designer paper is pretty enough on its own that you don’t need to make too much else on the card. I think these colors will be pretty for spring and maybe even Easter cards and projects as well!