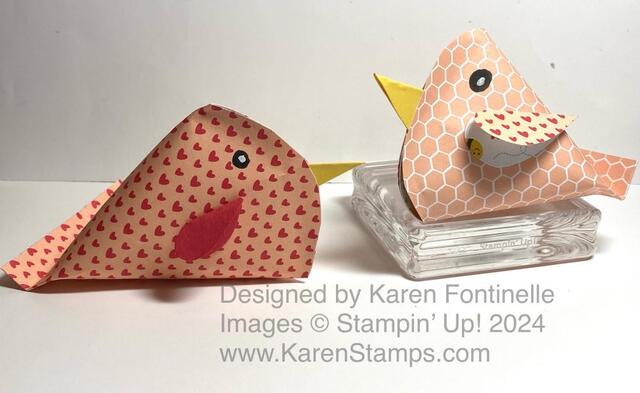
Here’s a fun idea you might like to try for a Valentine treat or a fun little bird! The other day I saw a reel on Instagram of someone using short toilet paper rolls and forming them into a little bird shape. I thought it was very cute, but then I realized it looked like what most of us in stamping have made before, a sour cream container! I don’t know if real sour cream containers exist in this shape but I think they used to. It was kind of a twisted container, crimped at both ends. For years, we have made “sour cream containers” to hold candy for a holiday or party favor. After watching this reel of making this bird with a toilet paper roll, I thought why not use designer paper instead? Of course, you could also use cardstock and decorate that.
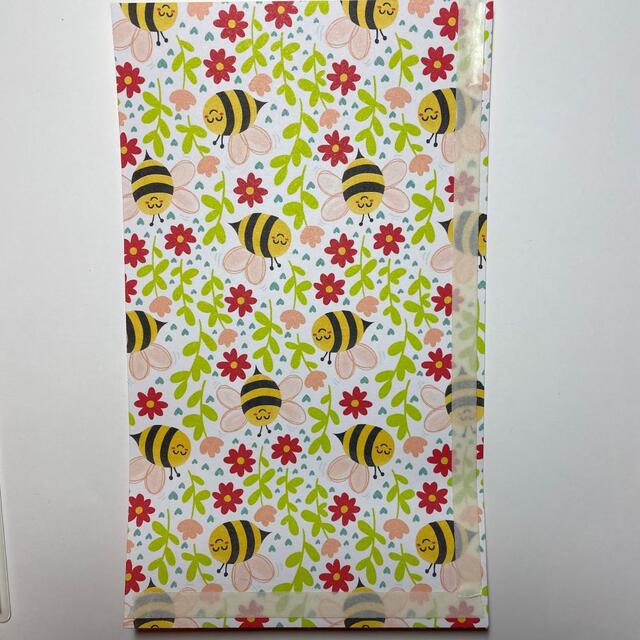
You can vary the size of your bird. Cut a paper rectangle about 4 1/2″ x 6″ or maybe a little smaller at 4 1/4″ x 5 1/2″. You can experiment with the size you want in the end. Apply Tear & Tape or Stampin’ Seal on one short side and one long size.
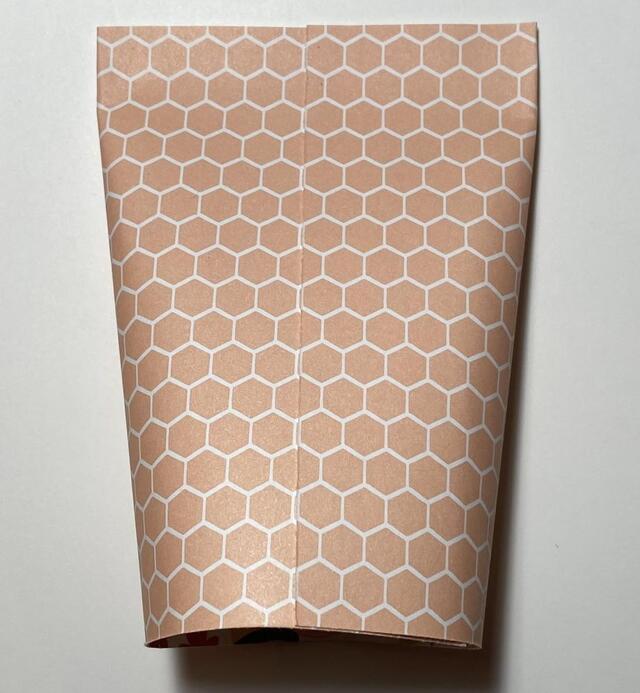
It’s a little easier to roll the paper up if you have a curved surface or edge of a table or something just to get it loosened up to roll up easier. Remove the liner on the tape on both sides and make a roll to adhere to the other short side. You can overlap the edges however much you want. Then squeeze together the end that has the adhesive on it. Fold that adhered end up to make the bird’s tail feathers!
Then squeeze the other end together but going in the opposite direction of the tail. If you are putting candy inside, put it in there now. When we made these as just a candy holder, we would adhere and/or crimp the edge. But for the bird, we still have some work to do. In the photo above, instead of squeezing the top and bottom of the open end together, you will push the sides together so that the end is going in a different direction than the top.
Before you adhere that end, cut along the edge in a curve. Then cut a little beak out of scrap paper. Cut a triangle out of Daffodil Delight and then fold in half to make a beak. Glue the inside and then glue the beak into that curved edge.
Punch out some black dots for eyes or just draw them on with a black marker. If you have a white gel pen, put a dot for the “whites of his eyes”.
For the wings, just punch out, diecut, or cut out by hand two hearts. Fold those in half and glue a folded wing onto each side of the bird. Don’t adhere the two sides together as you did for the beak.
Add a little glue to the inside edge after getting the bird all made, although it will be adhered at the point where the beak is.
That’s all there is to it to make these cute little birds! Just kind of a silly little project you can try on a Saturday afternoon!


