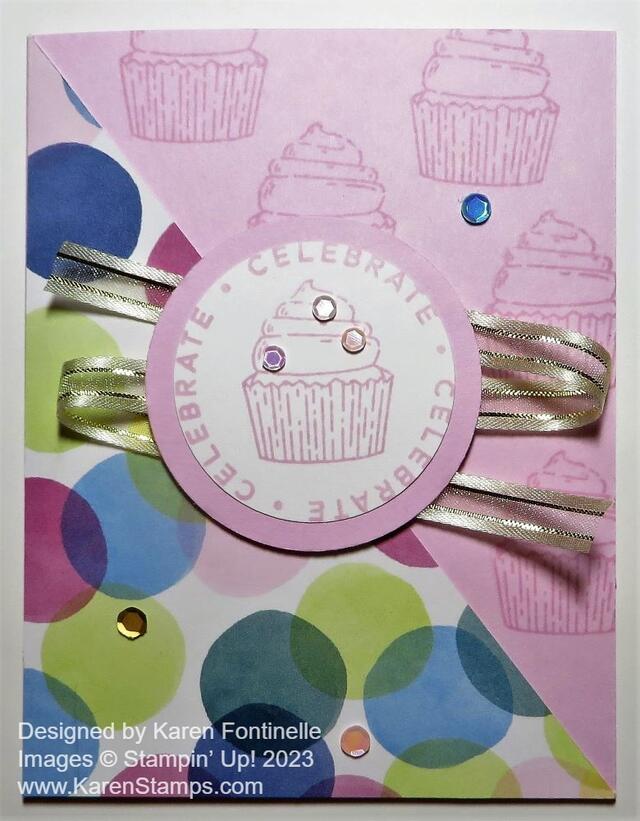
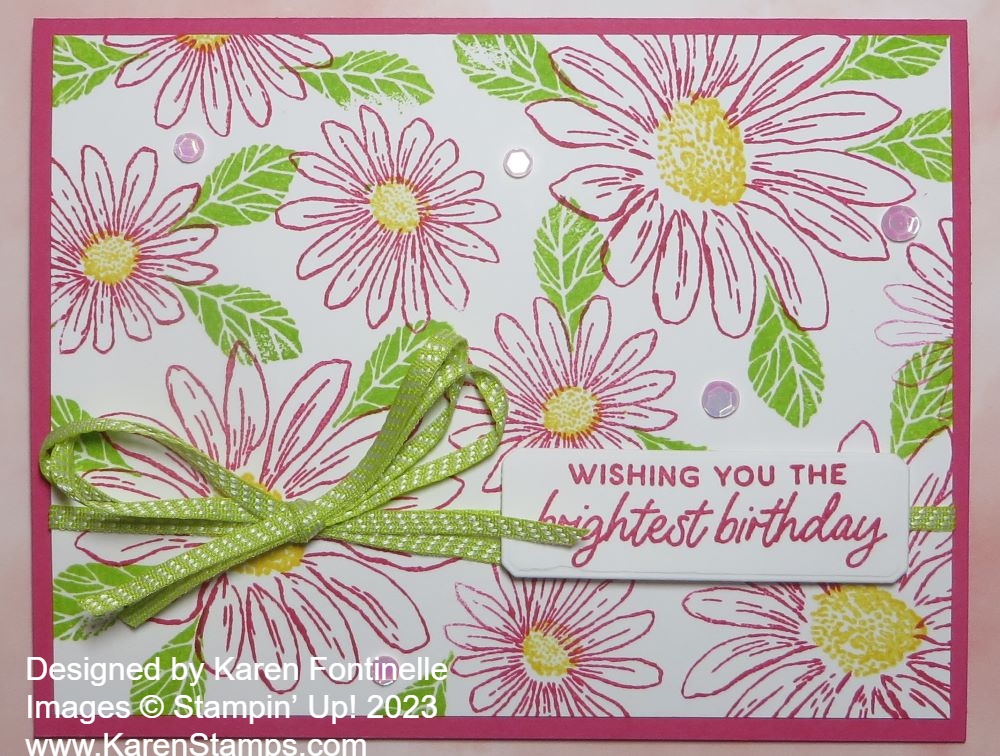
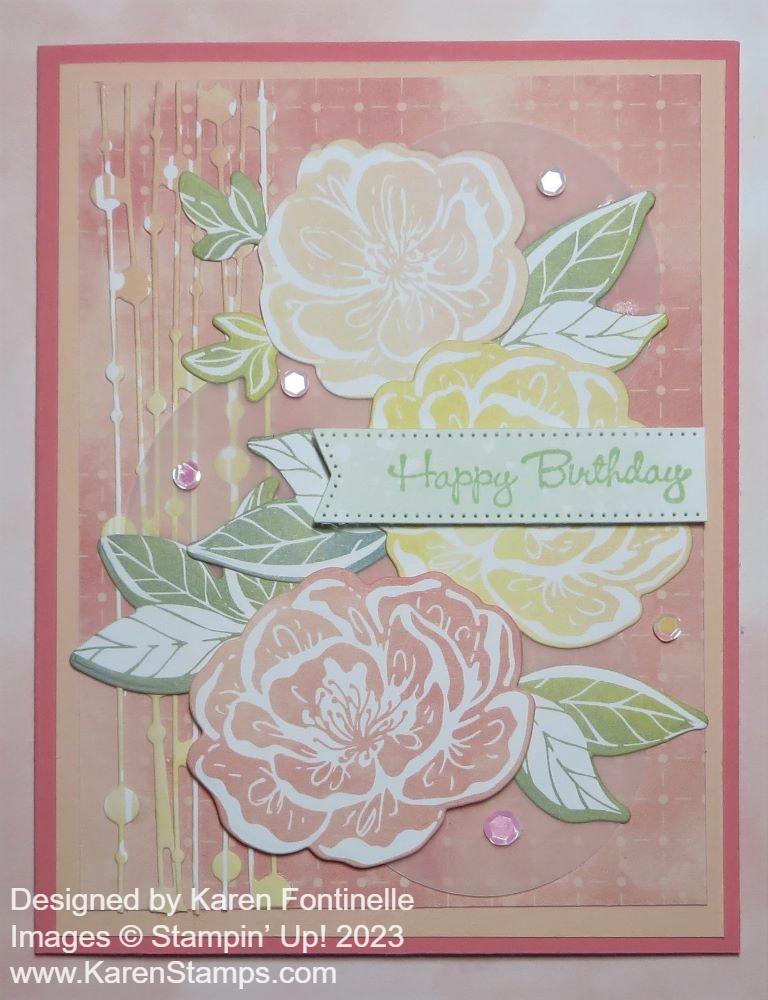
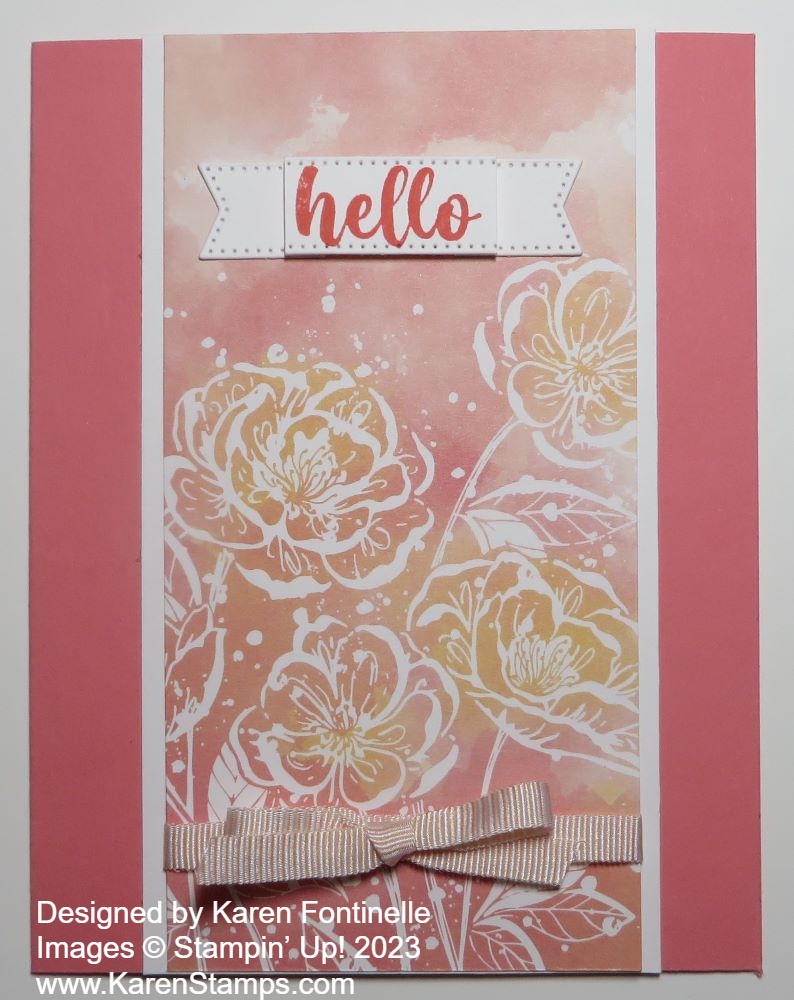
Make a bright and happy card with one of the bright new colors in our Color Refresh at Stampin’ Up!, the Irresistible Blooms Lemon Lime Twist Monochromatic Card. It’s easy when you use one color of ink and paper!
This card uses the Irresistible Blooms Stamp Set and the Irresistible Blooms Dies. You can buy both together and save 10% by purchasing the Irresistible Blooms Bundle. The flowers and leaves are all stamped with Lemon Lime Twist Ink on Basic White and then die cut. There are two different sizes of dies for the flowers and two sets of leaves. If you don’t have the dies, it is easy enough to cut them out by hand.
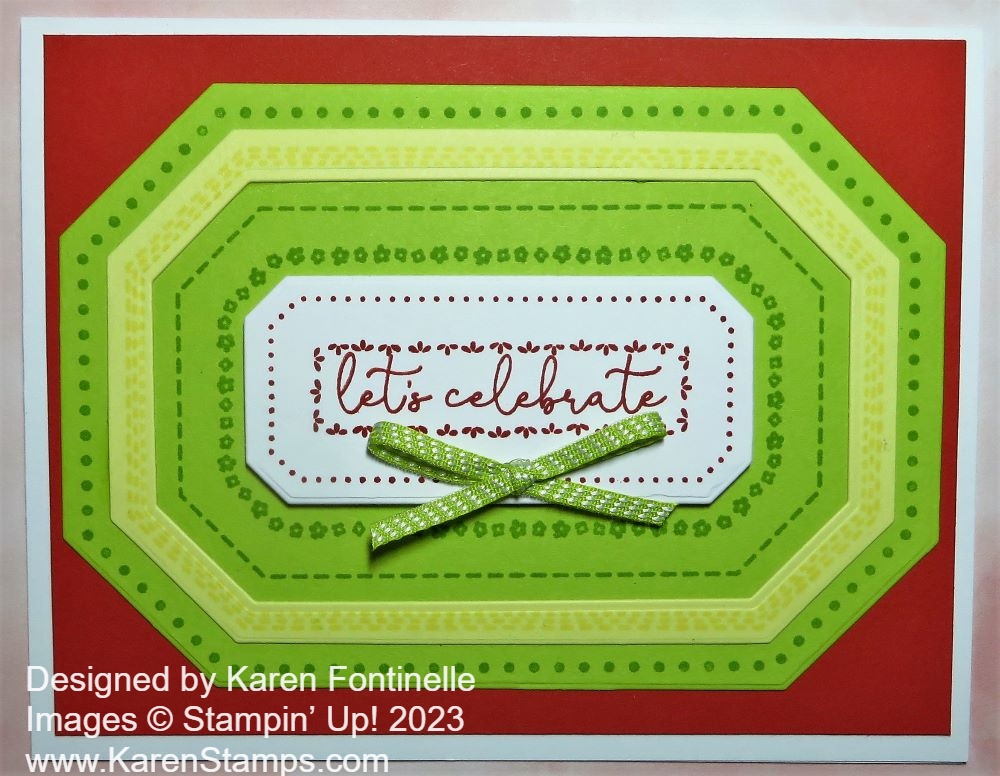
The greeting is in the Irresistible Blooms Stamp Set and is die-cut with a stitched circle in the Stylish Shapes Dies.
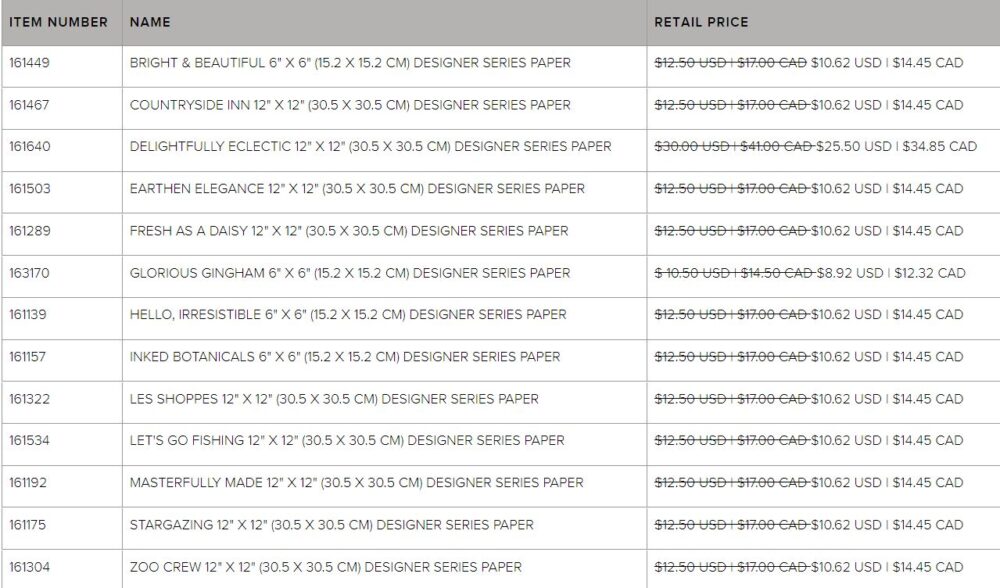
The card base is Basic White. The card layer uses two different patterns of the Brights 6″ x 6″ Designer Series Paper. They are cut at 5 1/4″ x 4″ as you would for any layer on a card but then cut diagonally in half to make two different designs. Be sure to check before you cut the paper if you want the patterns to go a certain way.
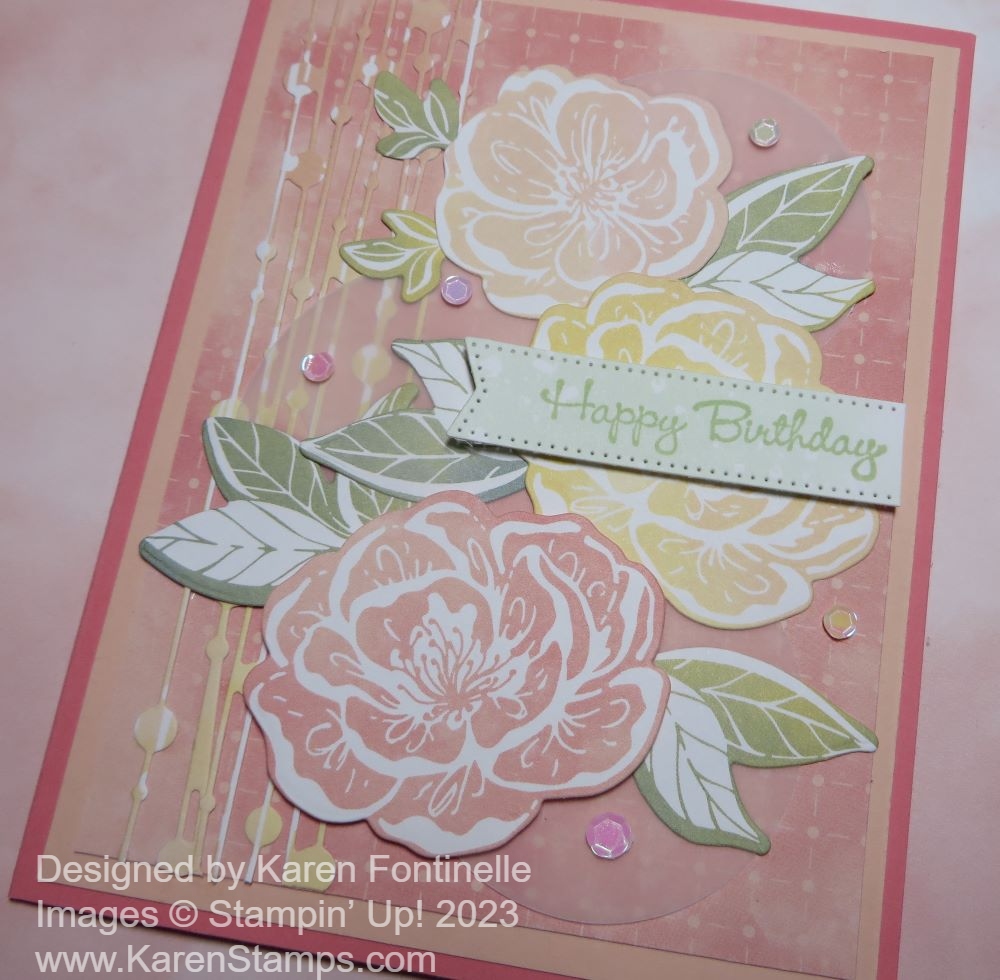
After the designer paper is in place and you have stamped and diecut all the flowers and leaves, lay them out on the card to get an idea of where you want everything to be placed. You can pop up some of the flowers or leaves on Stampin’ Dimensionals and adhere the rest flat on the card. You just want the adhesive to not extend completely to the edges of the flowers so that you can tuck the leaves in underneath where you want them. The greeting is popped up on Stampin’ Dimensionals.
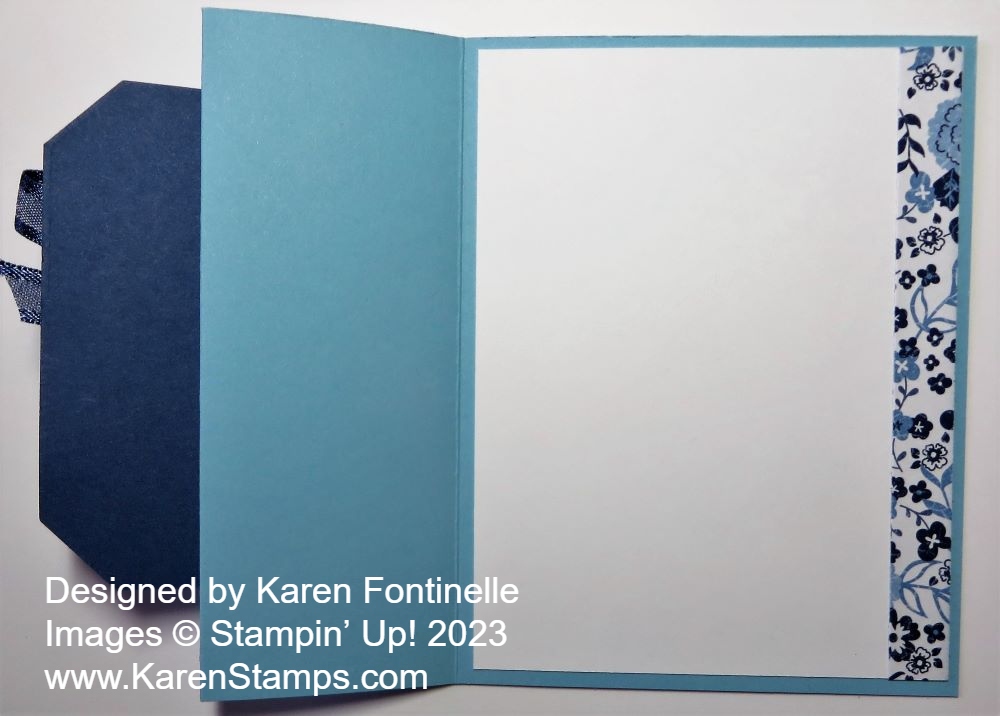
For a finishing touch, I added some Irridescent Rhinestone Jewels to the card front. On the inside, I added a flower and some leaves in the corner or I could have just stamped them to match the front of the card.
You could make this same card but make the flowers and leaves different colors, but I think monochromatic cards look very nice and are easy! Try your hand at a card like this one with this pretty stamp set and bright and happy designer paper!