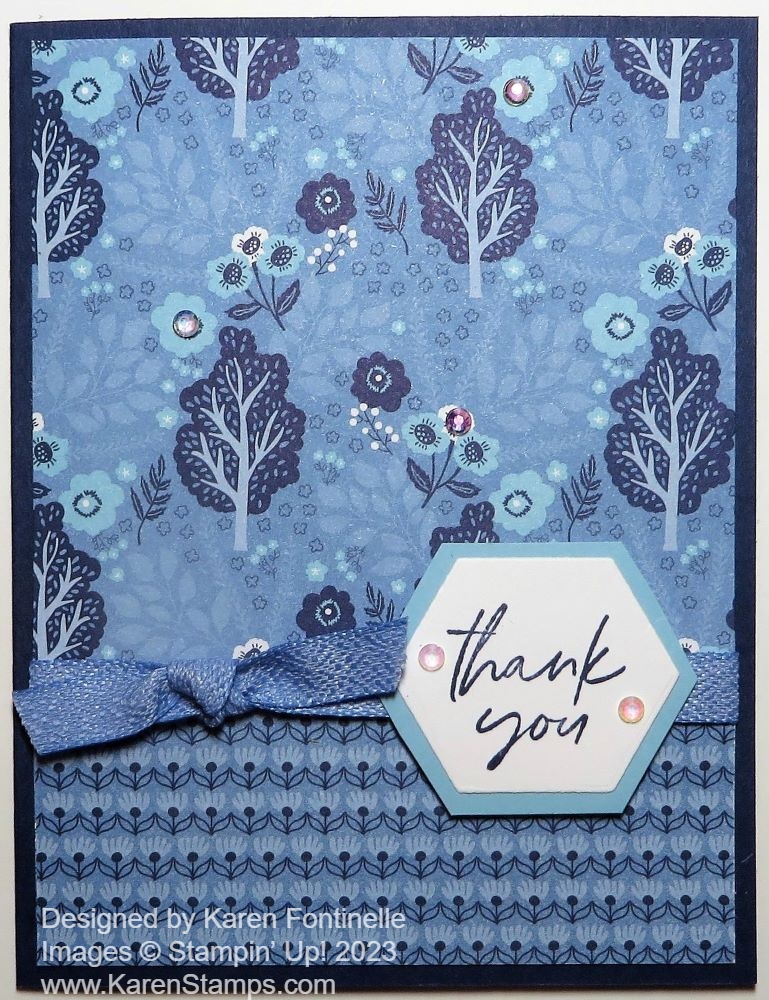
This Bright & Beautiful Just For You Card is just kind of a simple one, but jazzed up with the colorful designer paper! And a few sequins!
The Bright & Beautiful 6″ x 6″ Designer Series Paper is one that you want for making lots of fun and happy cards! It has festive patterns like confetti, stars, squiggly lines, stripes, and circles, but it also has ombre patterns and washes for softer colors. I chose this colorful pattern on the designer paper with all the different colors of these little diagonal markings. I cut it 5 1/2″, the length of the card, instead of 5 1/4″ and 3 3/4″ wide, just for something different with a little bit of margins on both sides to see the Azure Afternoon color. Looking through the scraps, I decided to cut a strip of designer paper in Azure Afternoon just to go across the middle of the card. Before adhering the designer paper to the card base, I wrapped around a piece of the Petal Pink ribbon in the Ribbon Duo Pack.
I used one of the new colors in the Stampin’ Up! Color Refresh, Azure Afternoon, for the card base after I had chosen which designer paper pattern I liked. So many colors to choose from! You’ll find the Azure Afternoon Cardstock in the Brights Family.
For the greeting, I decided to use designer paper for the tag, so I chose a Lemon Lime Twist colored paper on which I stamped the greeting in Azure Afternoon from the Sentimental Park Stamp Set. Then I diecut it with one of the tag dies in the Something Fancy Dies. I thought it needed to stand out a bit more so I die-cut a larger tag in Bubble Bath Cardstock. The greeting tag is popped up with Stampin’ Dimensionals. The bow on the tag is the Lemon Lime ribbon in the Ribbon Duo Combo Pack.
I almost always need some sparkle and pizzazz, so I added some of the Pastel Adhesive-Backed Sequins to the tag and to the card front. I’ve been using these quite often because the colors and sparkle are good!
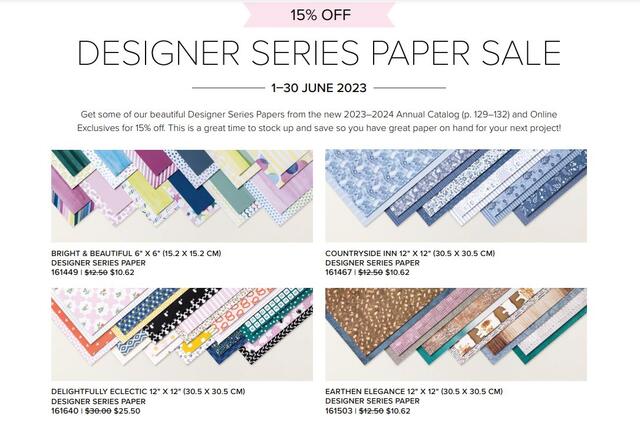
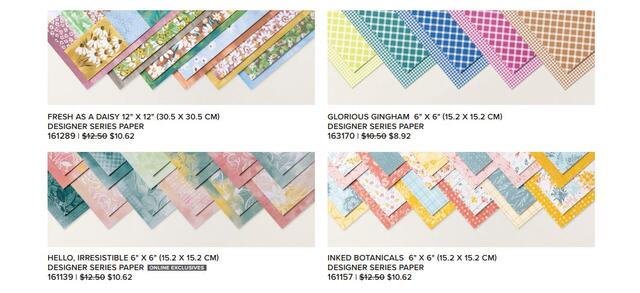
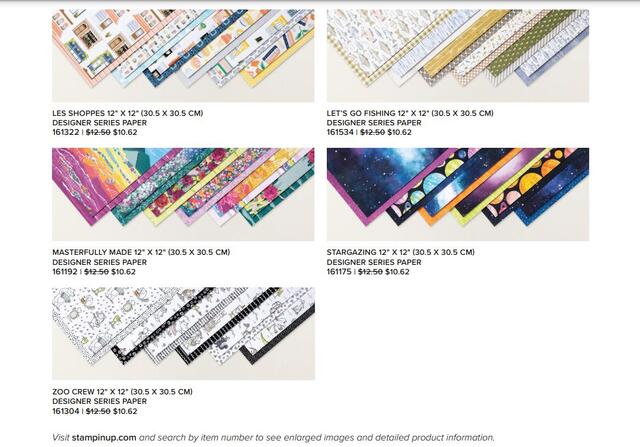
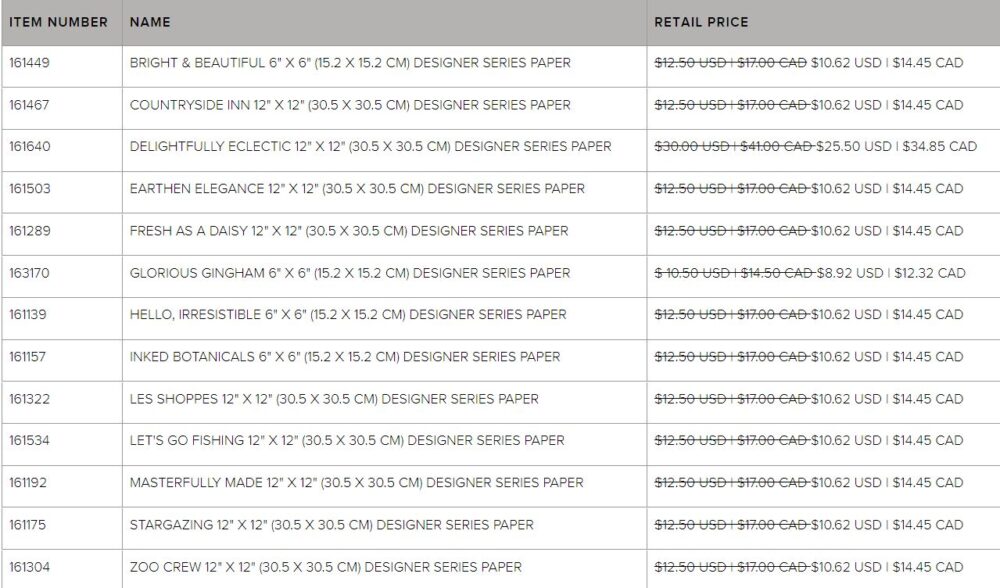
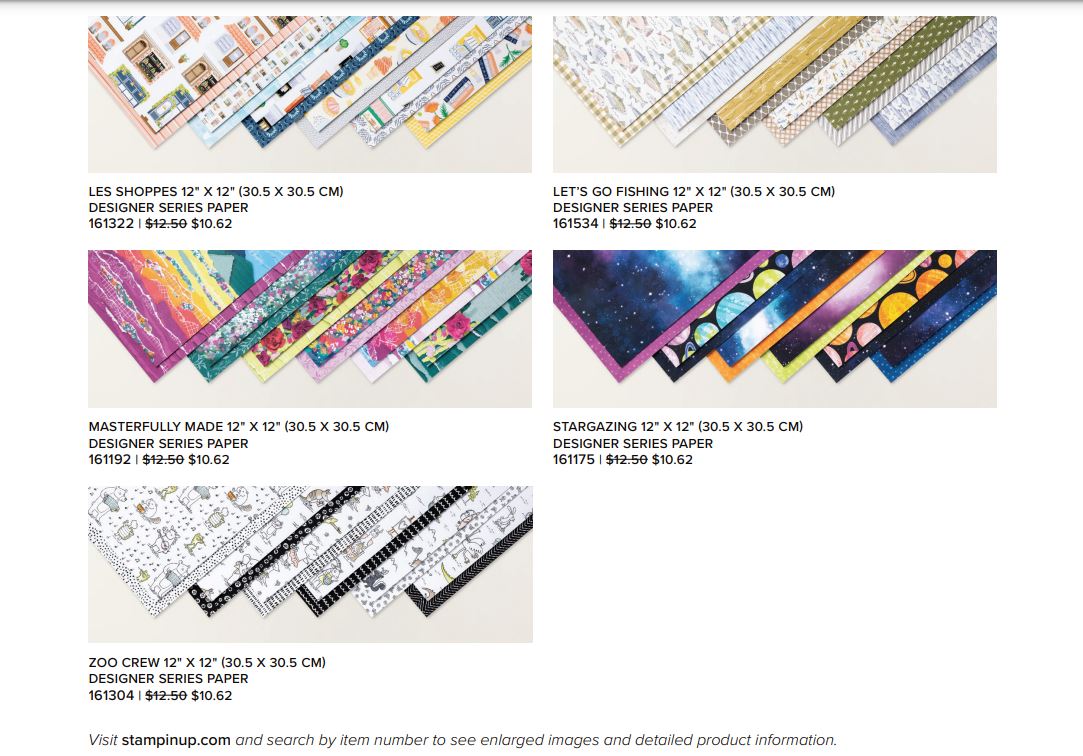
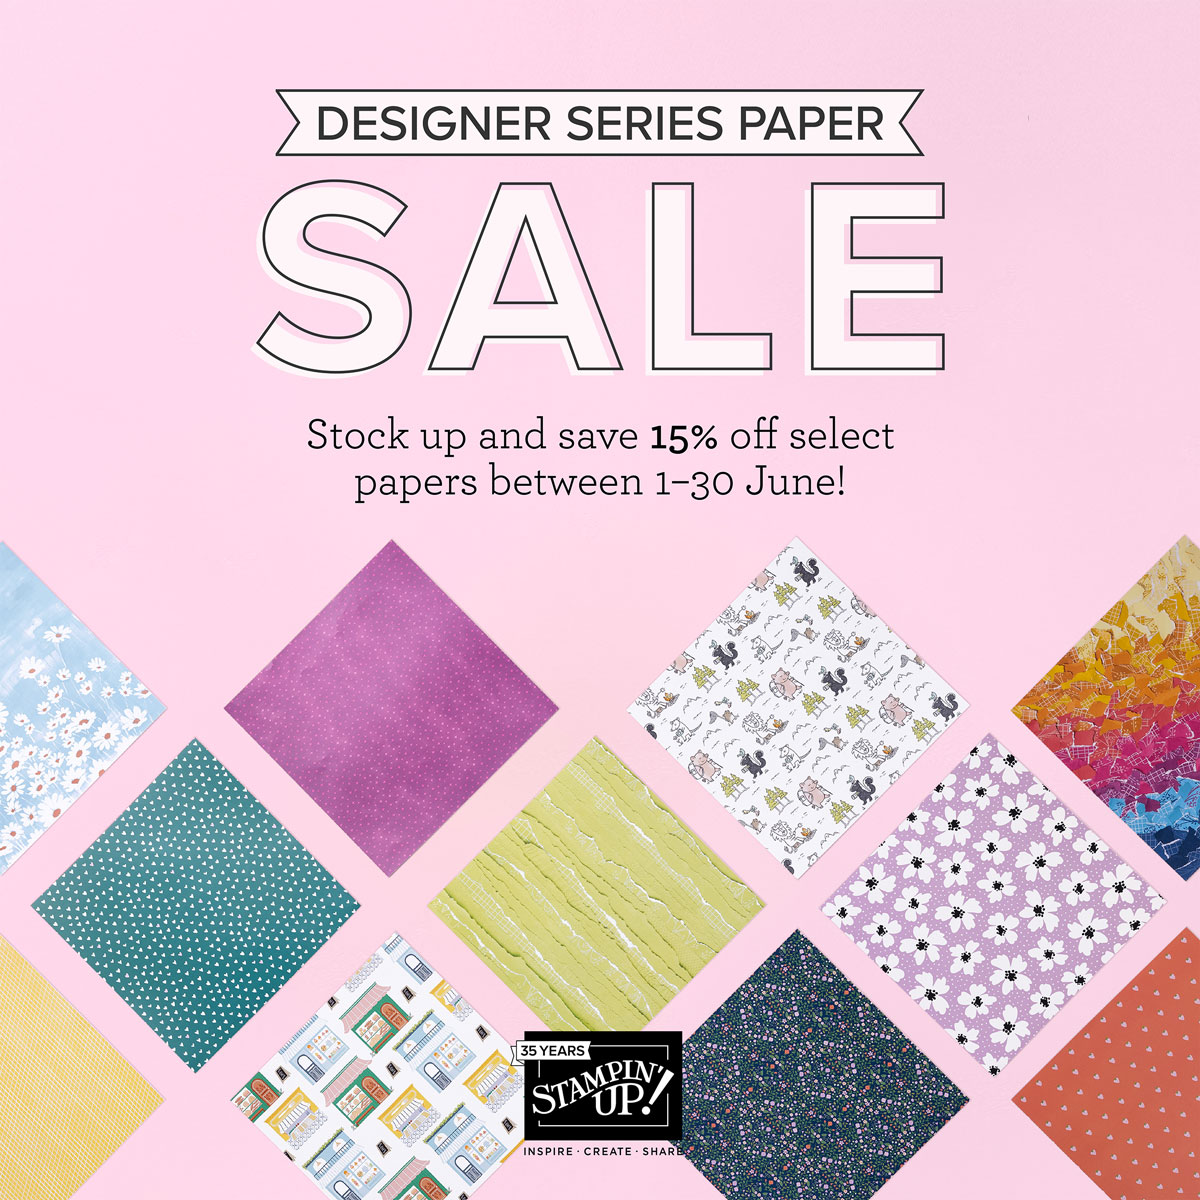
Don’t forget, the Designer Series Paper Sale has begun at Stampin’ Up! and runs through the whole month of June! This Bright & Beautiful Designer Series Paper is one of the select papers on sale, discounted by 15%. If you already own it, maybe you need more! Check your stash!
SHOP STAMPIN’ UP! ONLINE HERE!