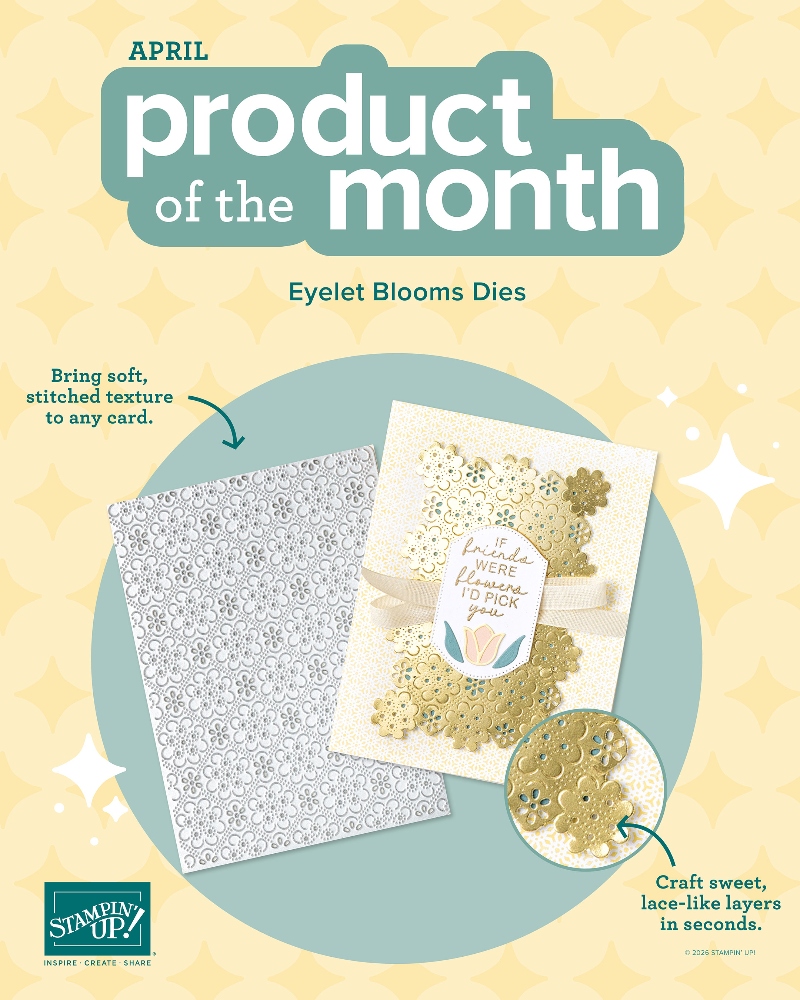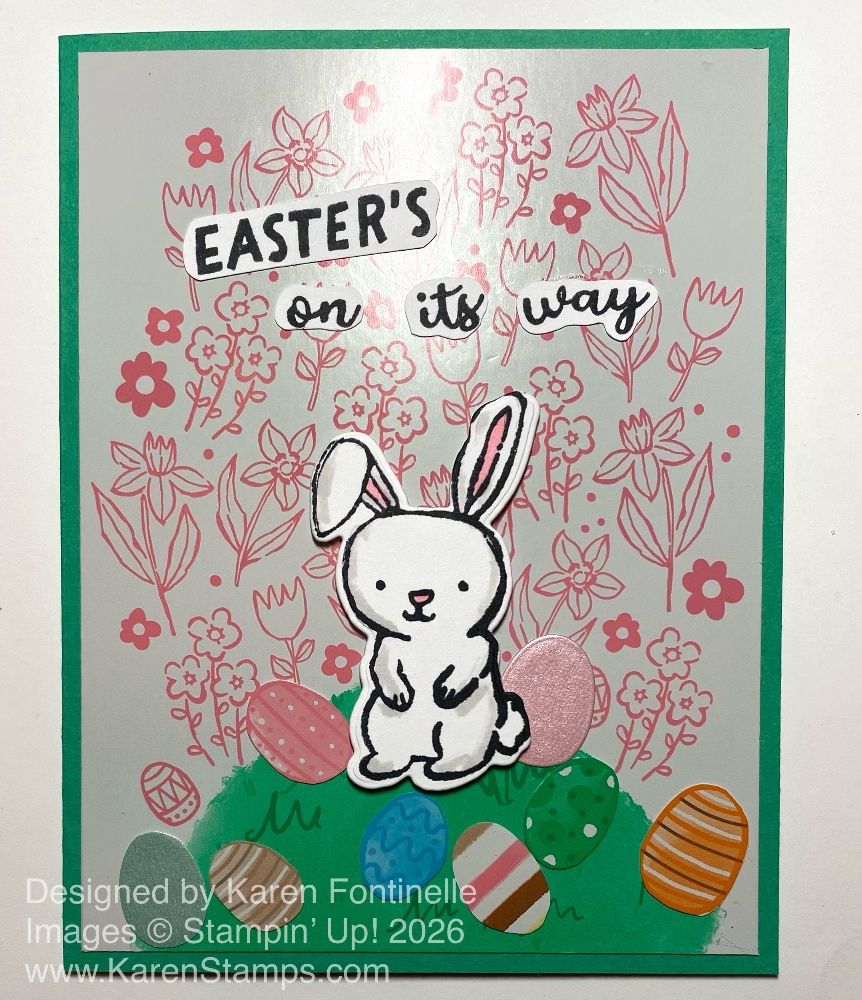
This Notes of Spring Stamp Set is one of the Product of the Month choices Stampin’ Up! has released the past few months. It is still available if you would like to choose it with your $75 minimum order, although there is a new Product of the Month, a beautiful die, out for April. The Notes of Spring Stamp Set has three cute little woodland animals in it, plus some river plants and even gree/tings. Definitely a lovely stamp set to own.
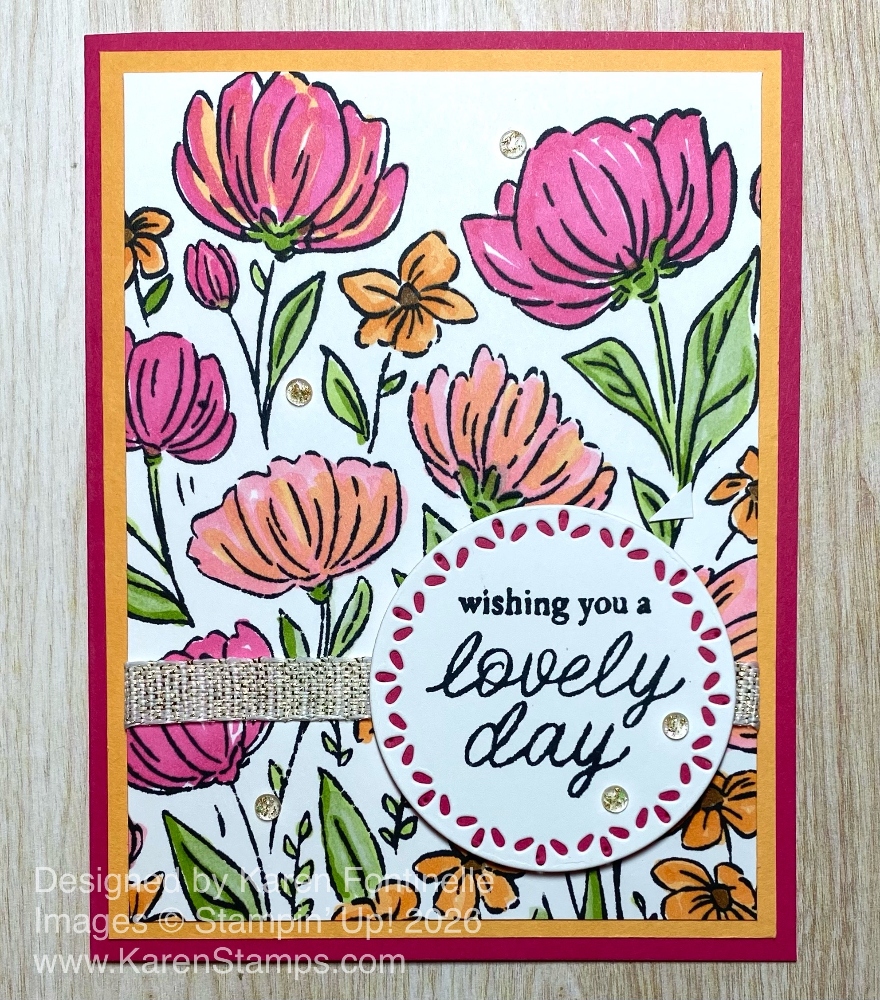
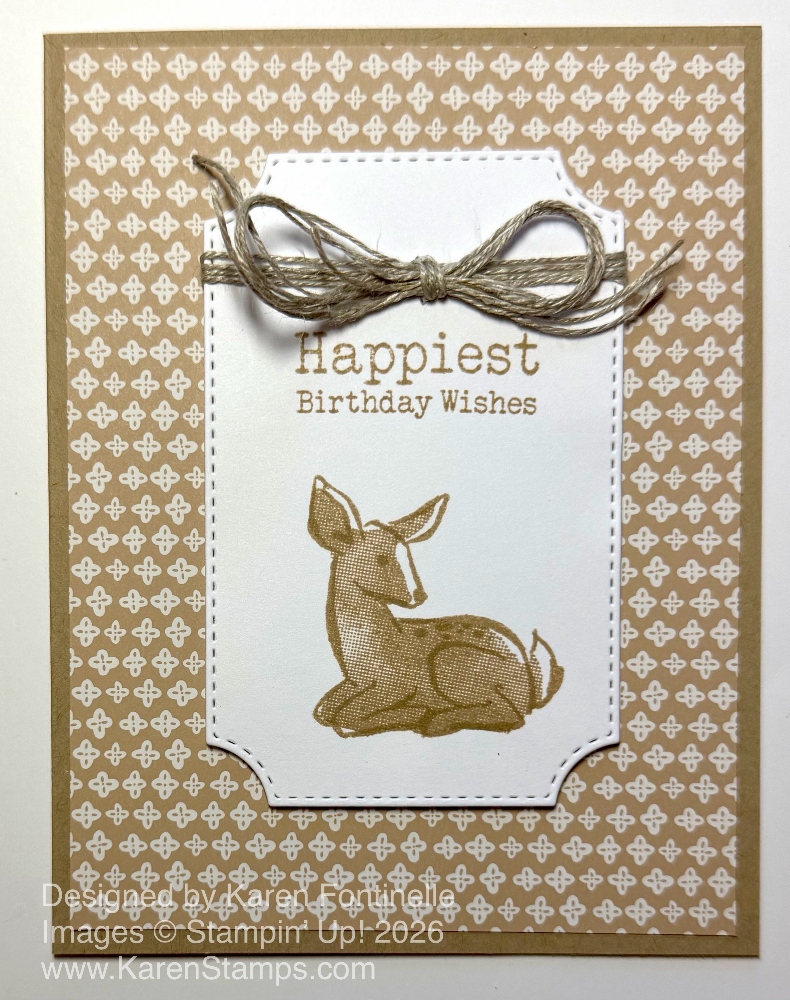
The card base is Crumb Cake cardstock. The designer paper as the background layer is that Easter paper, Easter Joy Specialty Designer Series Paper. Except, Easter is over, but here is a way to use the leftover paper for other cards besides Easter! This pattern goes well with the Crumb Cake cardstock.
For the focal part of the card, I cut a piece using the Branching Out Dies. These dies are on the Last Chance list so if you want them be sure to order them soon. It’s a nice set of dies. I stamped the little deer on the lower part of the diecut label. It is two-step stamping to fill in the deer with color. The greeting is also in the stamp set Notes of Spring. In keeping with the monochromatic look of the card, I used some Linen Thread to tie a double bow and attached it to the top of the label after wrapping some thread around the piece about three times. This whole label piece is then popped up on Stampin’ Dimensionals.
I’m really happy with the way this card turned out! I guess the colors and simplicity feel calming to me. In any case, it’s an idea of how to use up some of that Easter Joy Designer Series Paper in case you still have some left and don’t like to hoard it. Oh, never mind! We all like to hoard our paper! But if you do want to use it, get out those non-holiday patterns and see what you can do!