Tag Archives: floral

Sweetly Sentimental Floral Card

Sweetly Sentimental Floral Card

We are all excited about the new Stampin’ Hot Foil System, and there are many new products to go along with it. You might not think about it while you are shopping, but there are some nice stamp sets that are JUST photopolymer stamp sets you can buy even if you aren’t getting the hot foil system. This Sweetly Sentimental Stamp Set is one of those. While you will see it listed in the Hot Foil category, and you will also see that you can buy it in a Bundle with the Sweetly Sentimental Hot Foil Dies (which have the small greetings you can foil and then diecut). While the Bundle is great and will save you 10% buying the stamp set and dies together over separately, just be aware that you can buy the stamp set just for the stamp set, or you can buy the dies alone without the stamp set. I didn’t think about that when I was ordering things, not that I regret my purchases! The Stampin’ Hot Foil System is an investment; these are things to consider if you are trying to get just a few things you like and need.

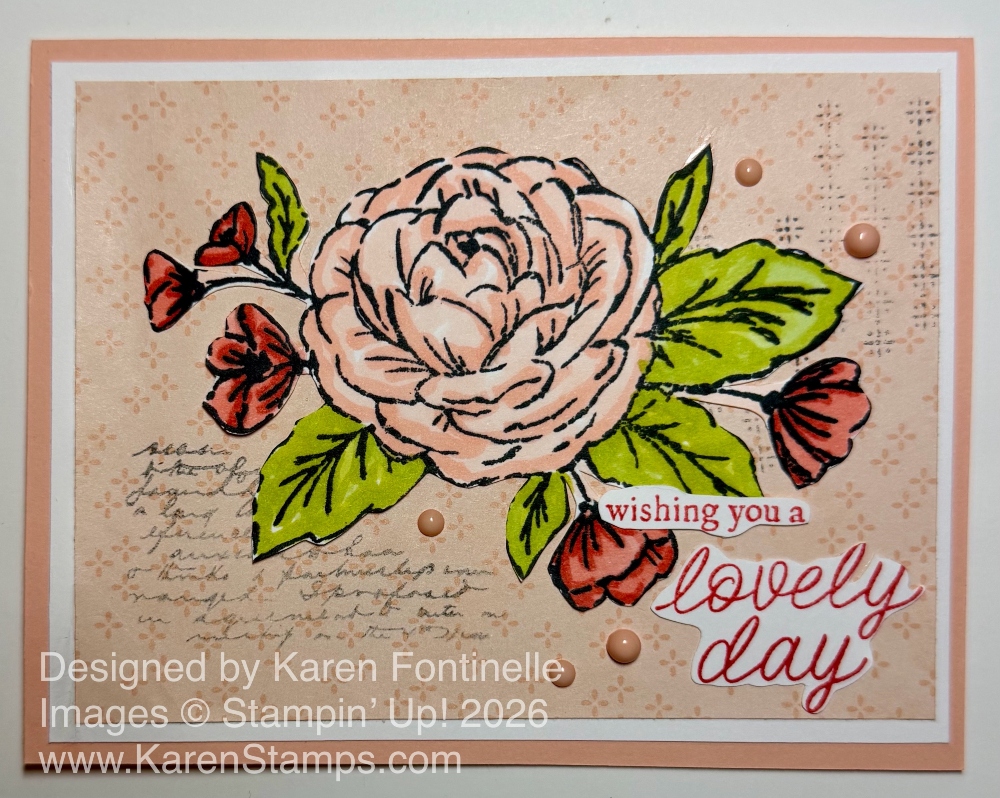
This Sweetly Sentimental Floral Card is an example of using the Sweetly Sentimental Stamp Set from the Bundle but without any hot foiling. The card base is Petal Pink to match how I colored in the large flower. The large floral piece is stamped with Memento ink on Basic White cardstock and colored in with Stampin’ Blends. For the flower, I used the Petal Pink Combo, trying to leave a tiny bit of white space. The leaves I colored in with a little Light Lemon Lolly and then Lemon Lime Twist and Granny Apple Green. A lady who painted once told me leaves should always have a little yellow in them. The small flowers are colored with the Calypso Coral Combo.

I fussy-cut the whole stamped image so that I could layer it on a piece of designer series paper. It was a little trickier to do, cutting close to the small flower stems, but it’s okay to leave a little bit of white cardstock as a margin. I went back and colored those areas lightly with Petal Pink to match the background paper, but that isn’t really necessary.

I chose a piece of Petal Pink designer paper in the Lovely Blossoms Designer Series Paper for the background layer with a tiny little print on it. After deciding to add a layer of Basic White underneath it, I cut it down to 3 3/4″ x 5″ with the white layer being the usual 4″ x 5 1/4″. I stamped a couple of the “grunge” stamps in the same Sweetly Sentimental Stamp Set as just a little “something” in the background. I used Memento ink, but stamped it off twice before then stamping on the designer paper.

The flower is adhered flat on the designer paper, although I could have popped it up on Dimensionals. The greeting is in the Paradise Garden Stamp Set. It didn’t quite fit on this card so I cut some of the words off and trimmed around the two sets of words quite tightly. I like the way they fit now! I don’t always think ahead to the greeting for the card until after I make a card so then the hunt is on to find what would fit. To embellish the card a little bit, I used five Petal Pink Muted Palette Dots. These dots were in the last 2025-26 Annual Catalog so you may have some in your stash. Otherwise use whatever you have in embellishments. Some Wink of Stella would look nice on the large flower! I may have to go back and add some!
SHOP STAMPIN’ UP! ONLINE HERE!

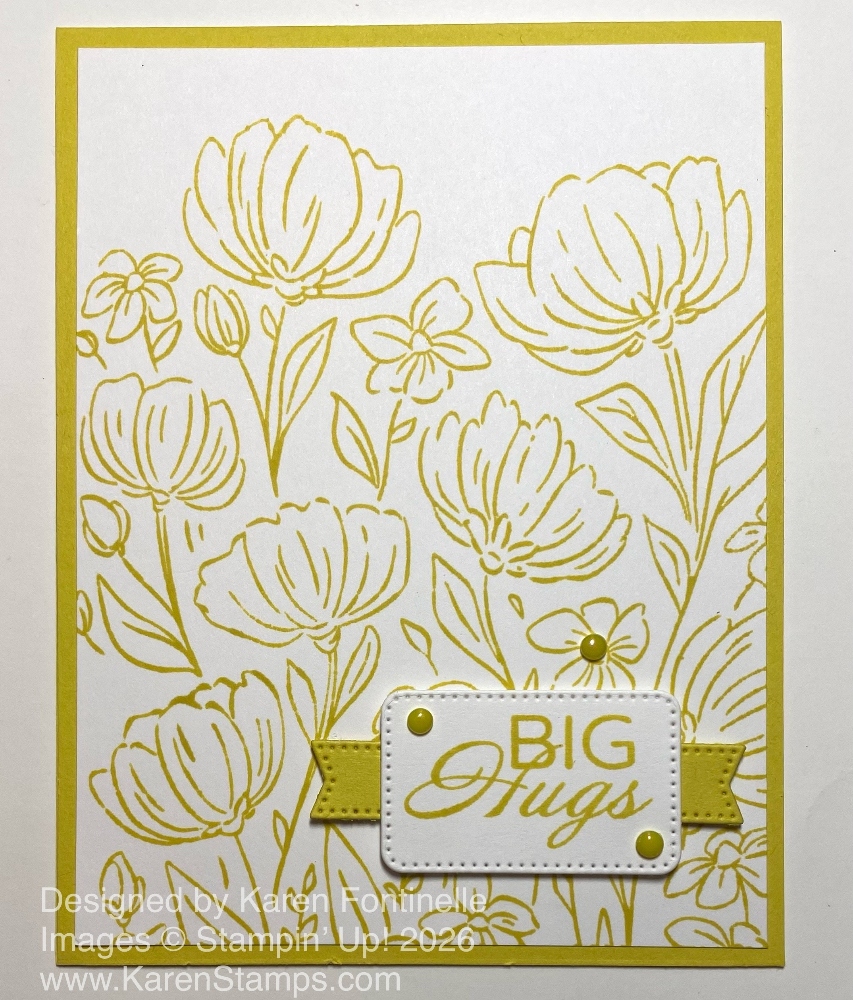
Monochromatic Flowers Fair Big Hugs Card

Monochromatic Flowers Fair Big Hugs Card

I just got this Flowers Fair Stamp Set, and I was inspired to make a monochromatic card with it to keep things simple! I haven’t really used this In Color, Darling Duckling very much, even though it’s been around for a year. I wasn’t sure how this color, on a monochromatic card, would look, but I think I like it! This Monochromatic Flowers Fair Big Hugs Card was certainly quick and easy to make.

The card base is Darling Duckling yellow. The fold is at the top because I cut the full sheet of paper lengthwise at 4 1/4″, then scored at 5 1/2″ for the fold. The bunch of flowers, from the one big Flowers Fair Stamp Set, is really just one big stamp! It will fit on the largest Clear Block F. You can either stamp down on the Basic White paper, or you can lay the cardstock on top of the inked stamp, rub your hand all over the paper to make sure it inks well, then pull the paper off. If you are concerned about getting ink on your fingers, just place a piece of computer paper or pull your Grid Paper over on top of the stamp and rub your hand over the whole thing.

I chose a greeting from the Delicate Framing Stamp Set, which you will find on the Last Chance list, even discounted a little bit! I love the font and the sentiments in this stamp set. I stamped it in Darling Duckling ink on Basic White cardstock and cut it out with one of the small rectangular dies in the Nested Essentials Dies. For a little pizzazz, I die cut a piece of Darling Duckling cardstock into a small banner. I cut the banner in half and used each half on the sides of the greeting. No one can tell I only cut a small banner and cut it in half to get a longer length out of it. It’s my secret! I popped this whole thing up with Stampin’ Dimensionals. I tried adding some Darling Duckling Ribbon but I didn’t have enough space. Instead, I added three pearls from the 2025-2027 In Color Flat Pearls in Darling Duckling. I really like that addition on this card.

This one big Flowers Fair Stamp Set stamp can also be stamped in Memento ink and colored with whatever medium you like. I’ll be making some cards with Stampin’ Blends soon, I’m sure!

Beautiful Bokeh Layers of Beauty Card

Beautiful Bokeh Layers of Beauty Card

I was in the mood for flowers when I made this Beautiful Bokeh Layers of Beauty Card, so I pulled out a stamp set and dies I had not used in a long time! I was also in the mood to use the new bokeh paper I just got recently in my order so I used that for the background.

The card base is Daffodil Delight cardstock, which, I do think looks good and at the same time maybe I wish I had used another color! The flowers in the Layers of Beauty Stamp Set were stamped in Memento ink in black and the colored in with Stampin’ Blends. It had been awhile since I had colored with these markers so it was fun to use them again.

I used a variety of Stampin’ Blends markers to color the flowers and leaves on this stamped image. You do need the largest acrylic block to stamp this large flower bouquet! The main flowers are colored with the Calypso Coral combo. I may have even highlighted the petals a little bit with some Light Daffodil Delight. The small daisy-like flowers are colored with the Fresh Freesia Combo. The leaves are various greens. I started with Soft Sea Foam, then kind of highlighted them with some Light Granny Apple Green and maybe a little Lemon Lime Twist. Use whatever colors you like. If you want to test them out, do some scribbling on a piece of Basic White cardstock. I find I don’t get as good a color on my Grid Paper or computer paper.

When the coloring was finished, I used the die in the Layers of Beauty Dies to cut out the bouquet. That was handy! These stamps and dies are found in the Stampin’ Up! Annual Catalog and was a new Bundle when the catalog came out. That seems so long ago now! If you would like to save 10%, you can purchase the stamp set, dies, and decorative masks all together in the Layers of Beauty Bundle. I didn’t use the masks on this card. They are like layers of stencils to color in layers of color. Very pretty.

The background paper on the card is the new Beautiful Bokeh 6″ x 6″ Designer Series Paper in the Spring Mini catalog. I know we all went through a stage of making our own Bokeh paper with a stencil we made ourselves, but just choosing one of these pretty papers is much easier! I chose the Calypso Coral color because you can really see the bokeh design on this paper…light colored circles randomly in the background.

The flowers are glued down flat on the card with Multipurpose Liquid Glue. The greeting is stamped in Calypso Coral ink and is in the Layers of Beauty Stamp Set. It is popped up with an edge of Stampin’ Dimensionals that are remaining on the Dimensionals paper. They worked great for a strip like this! I also added some Shiny Sequins in various colors for a little sparkle on the card. These particular sequins may be retired by now as they came out in the Online Exclusives a year ago, but you can use something similar.

Reminder! Tomorrow is the LAST DAY for Sale-A-Bration! Earn a free product with every $60 purchase on your order! Don’t miss it!

SHOP STAMPIN’ UP! HERE!

Softly Stippled Hello Card

Softly Stippled Hello Card

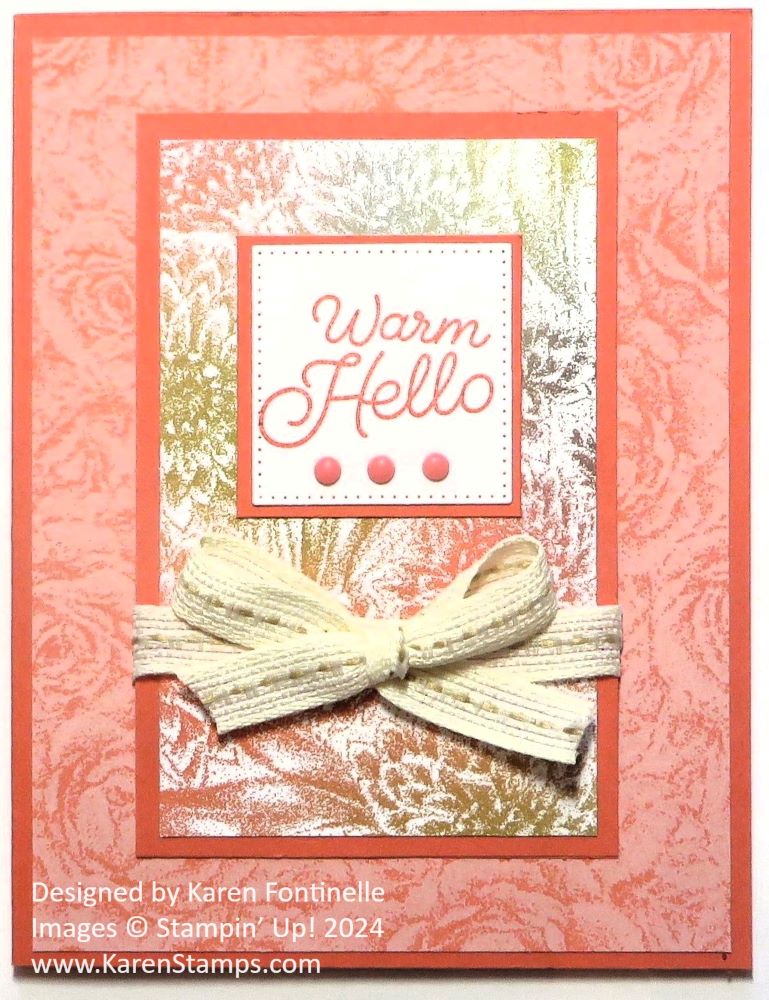
Make a nice card, like this Softly Stippled Hello Card with the free designer series paper you can earn at Stampin’ Up! during Sale-A-Bration. This card may have a few extra layers than you are used to making but it still is an easy card and the pretty paper does the work! Just add a greeting and a little embellishment.

Earn this paper during Sale-A-Bration at Stampin’ Up with a $50 purchase. When you spend $50 or more during Sale-A-Bration (ends February 29) you may choose a free product in the Sale-A-Bration Brochure. If you spend $100 or more you may choose two free products at the $50 Level or one extra-special product at the $100 Level.

For this card, I chose Calypso Coral for the card base, one of the coordinating colors with this Softly Stippled Designer Series Paper. Then I chose two patterns of the paper that I wanted to use. The monochromatic floral layer on the card base makes a pretty background without competing with the center layers.

The center Calypso Coral layer is 2 3/4″ x 4 1/4″. The floral layer on this piece is one with Calypso Coral and other colors of flowers and foliage. It is cut at 2 1/2″ x 4″. Before adhering it to the card front, I adhered some ribbon and a bow around it. The bow is tied separately and adhered with Mini Glue Dots. I used the Pecan Pie 3/8″ Center Stripe Ribbon which you will find in the Online Exclusives. (I had to search for it myself!) It is part of the Meandering Meadow Suite which was released a little while ago in the Online Exclusives category. The Suite is not available at the moment due to the Dragonflies & Birds embellishments not being available until February 5th. However, you can order everything else separately.

The greeting is stamped on Basic White in Calypso Coral ink, then die cut with a small square in the Stylish Shaped Dies in the Annual Catalog. The next size up in the squares was bigger than I wanted to I just cut a square myself out of the Calypso Coral paper to be the layer under the greeting. The greeting is in the Circle Sayings Stamp Set. I liked using the word “Warm” on such a cold day in Houston and probably where you are too! To the greeting, I added three Rainbow Adhesive-Backed Dots. They technically are not the correct color but it sure looks close to me so it’s fine. I love those dots!

You could pop up any of these layers or leave them flat as I did. Change the designer paper layers to your liking. Here is another card I made last year with the Countryside Inn Designer Series Paper in the Annual Catalog. I just copied my own card with this designer paper! I think it is a nice card design and easy to make to showcase pretty designer series paper.

SHOP STAMPIN’ UP! ONLINE! GET FREE SALE-A-BRATION PRODUCTS!

Bird Ballad Floral Thank You Card

Bird Ballad Floral Thank You Card

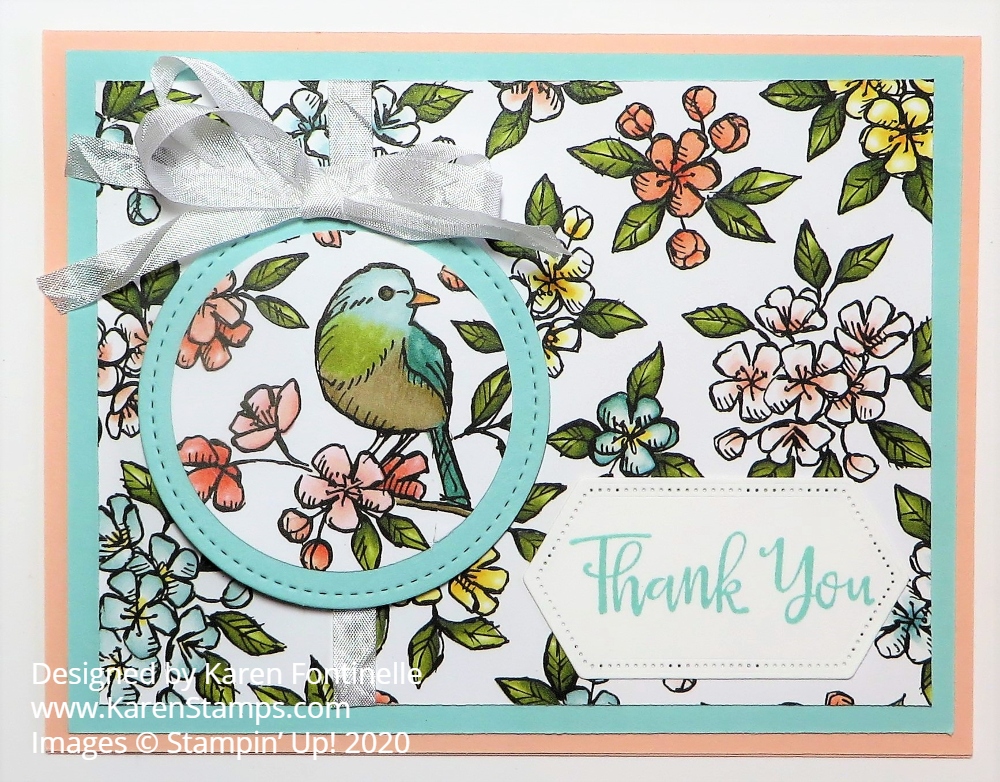
As I was using up some designer paper scraps the other day, this Bird Ballad Floral Thank You Card is one that I came up with. This floral pattern is so pretty I think and punching out one of the printed birds on another sheet of the designer paper as a focal point makes for a nice card.

I wasn’t crazy about all the sheets in the Bird Ballad Designer Series Paper, but I thought most of the patterns were really pretty. This paper, on the card front, with just colored flowers, I thought was especially pretty and easy to use on many cards. You can purchase this Bird Ballad DSP on the Last-Chance List at a discount until June 2.

The card base is Petal Pink, one of the coordinating colors of the paper. Then I added a layer of Pool Party underneath the floral designer paper. I punched out the bird from another sheet of the DSP. Then the bird is layered on a Stitched Shapes Die and popped up on Stampin’ Dimensionals®.

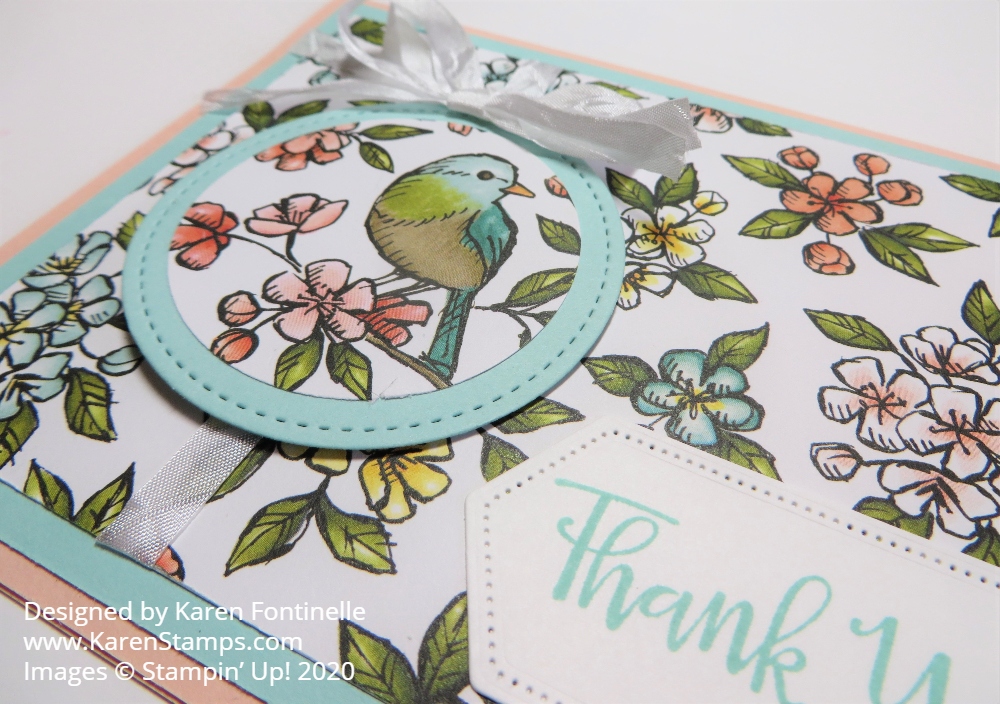
Before adhering the designer paper to the Pool Party layer, I adhered a short piece of Whisper White 1/4″ Crinkled Seam Binding Ribbon from the top of the bird image around to the back of the floral paper almost as if the bird image is an ornament. Then I took two strands of the same ribbon together and tied a bow which makes a fluffier bow, especially with this thin ribbon, and adhered it to the top of the die-cut with a Mini Glue Dot or two.

The greeting is from the Peaceful Moments Stamp Set and is stamped in Pool Party ink. Then the greeting is die-cut with one of the Stitched Nested Labels Dies.

This Bird Ballad Floral Thank You Card is a relatively simple design and easy to make so try it with your scraps of designer paper!

Bird Ballad Floral Thank You Card Closeup

SHOP STAMPIN’ UP! ONLINE TODAY!