Tag Archives: Lovely & Beautiful Specialty Designer Series Paper

Lovely & Beautiful Scalloped Window Box

Lovely & Beautiful Scalloped Window Box

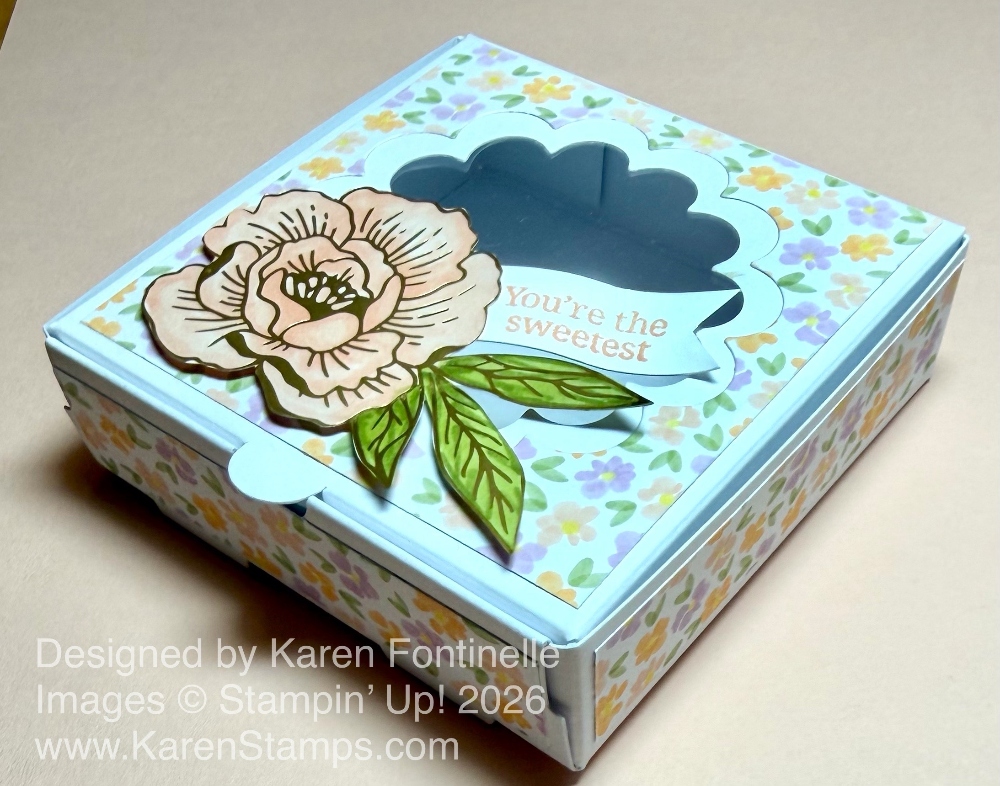
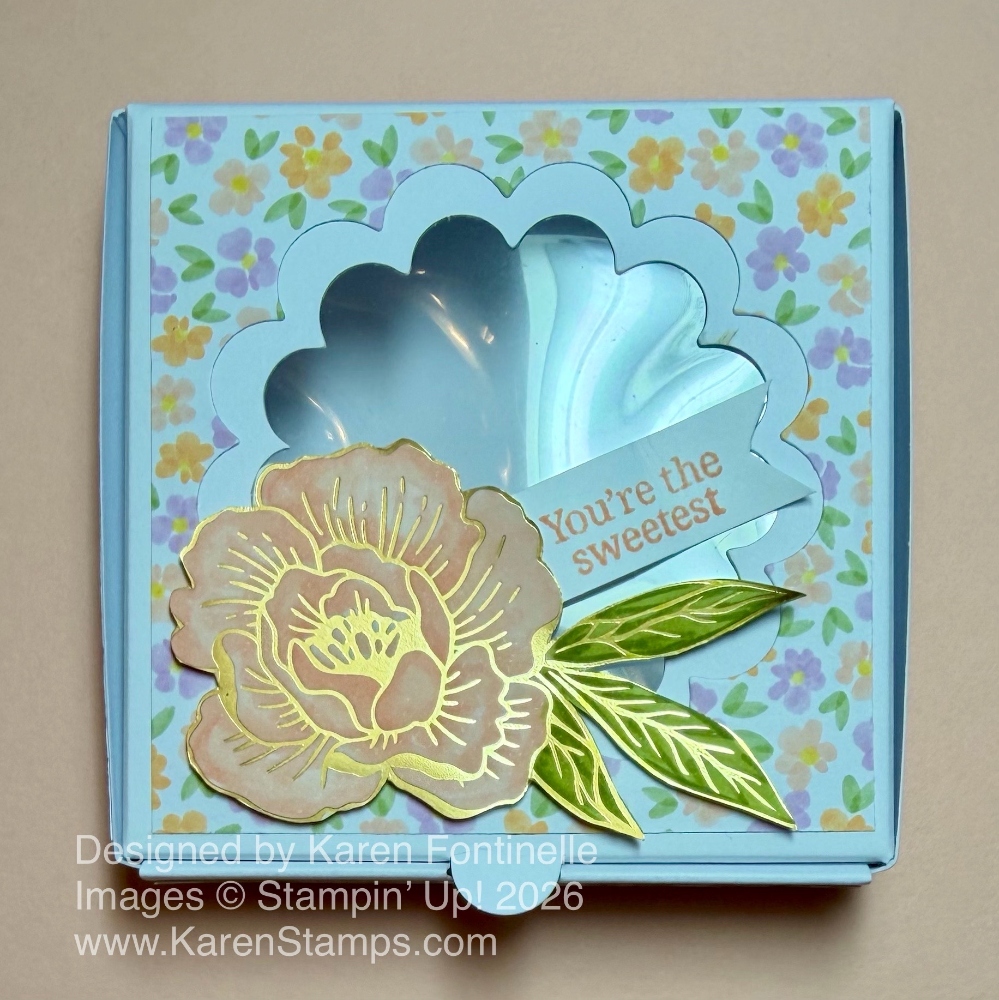
A fun new product in the Stampin’ Up! May-August Catalog are these Scalloped Window Boxes! As you can imagine, you can decorate them as simply or as fancy as you would like. Then just put your treat or gift inside because the front scalloped design is a window so your treat is protected. These are food safe and come eight in a package.

Scalloped Window Box Unassembled

These come flat and unassembled like the photo above so storage is not an issue. You will easily see how to fold up the box. All the lines are scored and no adhesive is needed! If you wanted to when you are finished, you could apply some glue or Stampin’ Seal if you really wanted to, but it is not necessary. The assembled box measures 3 1/2″ x 3 1/2″ x 1″. It’s a nice size for some pieces of candy, a cookie or two, or any little gift you want to put inside.

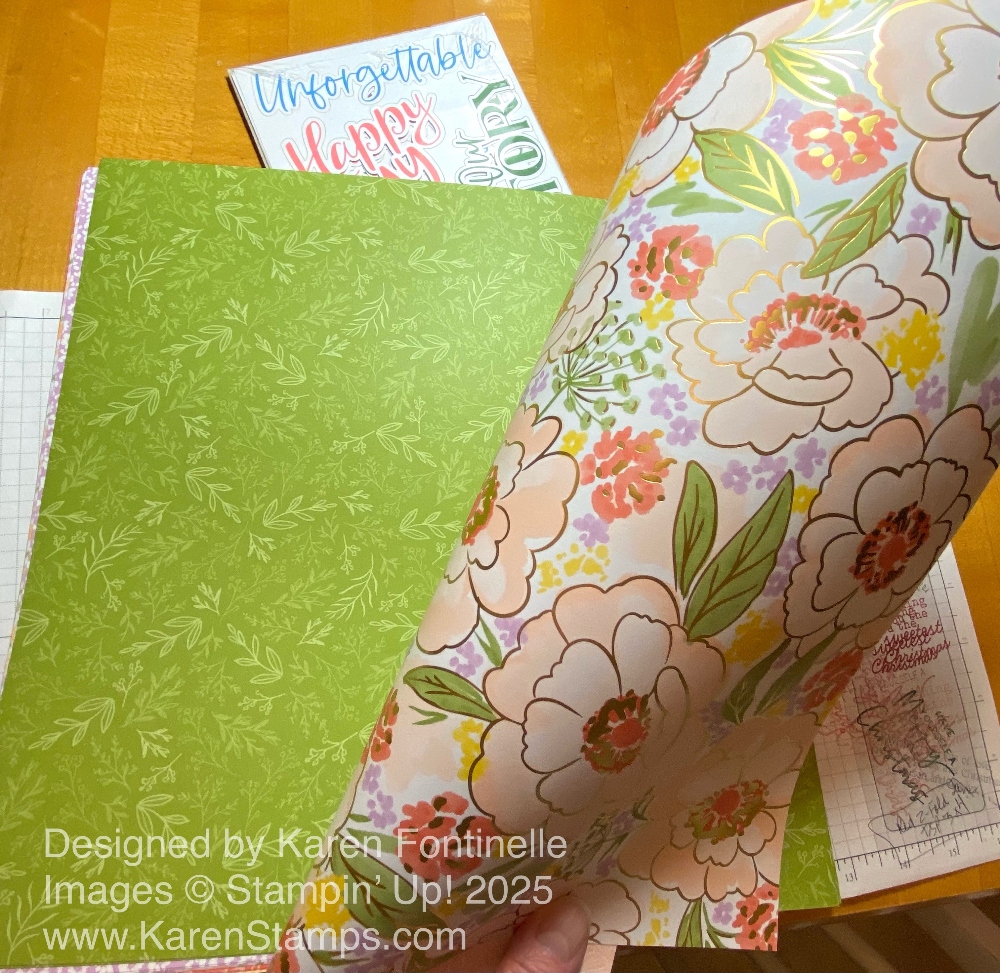
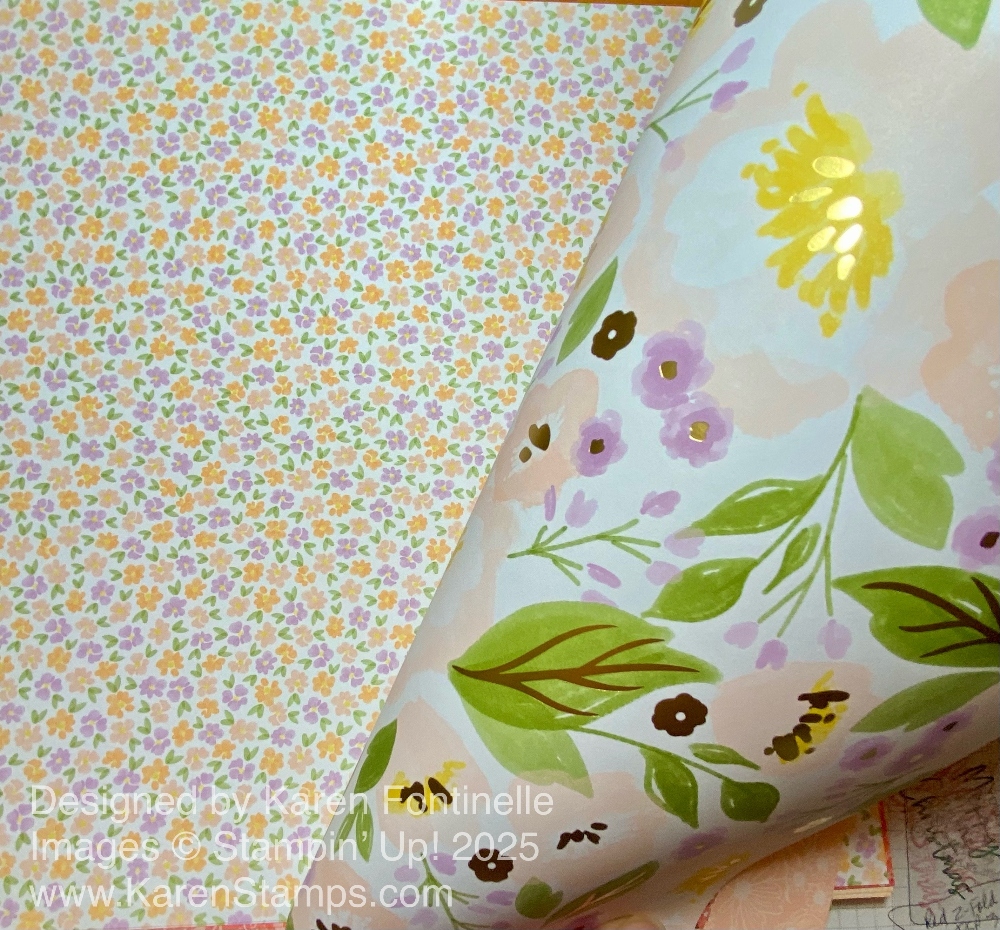
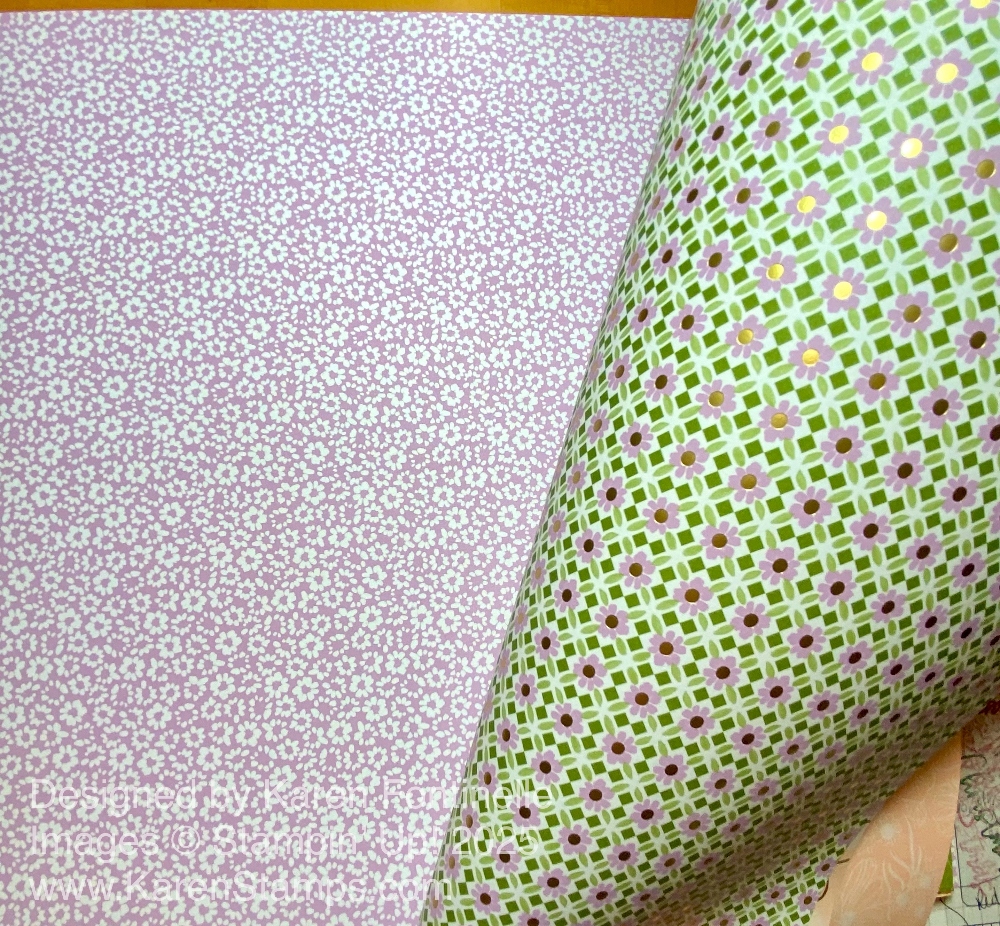
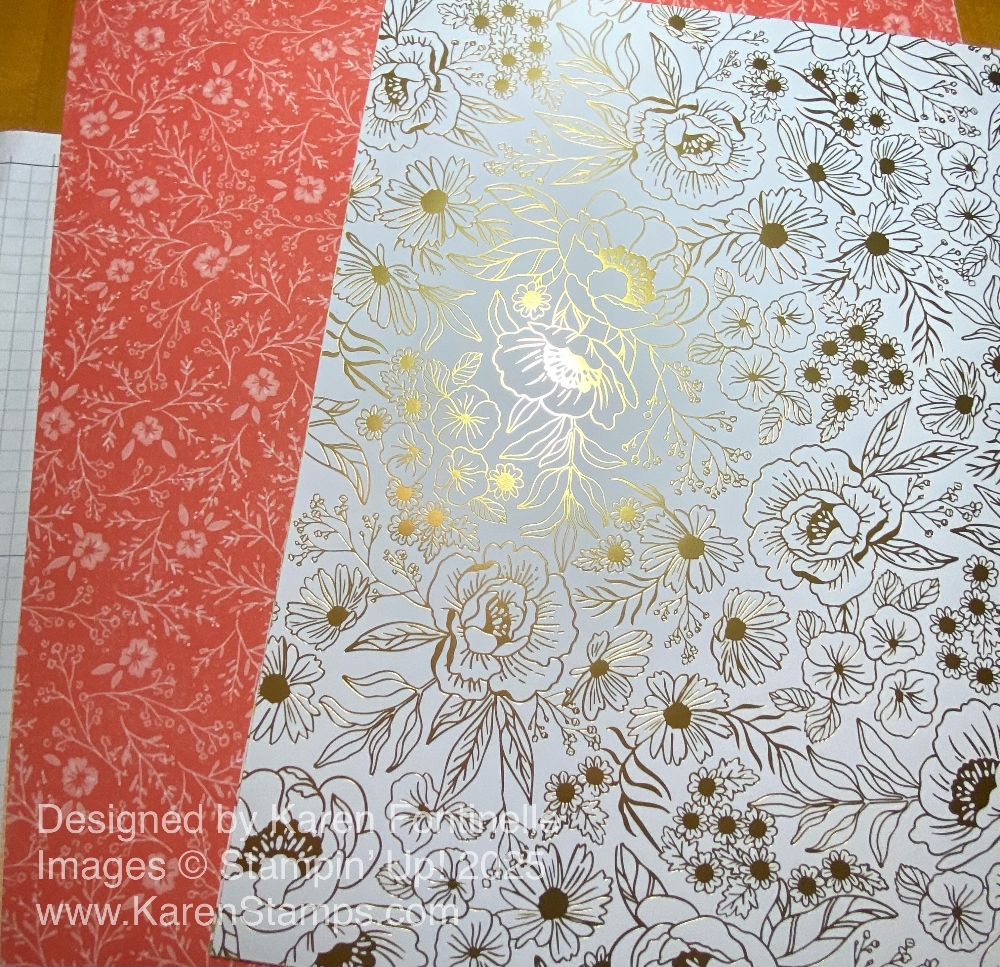
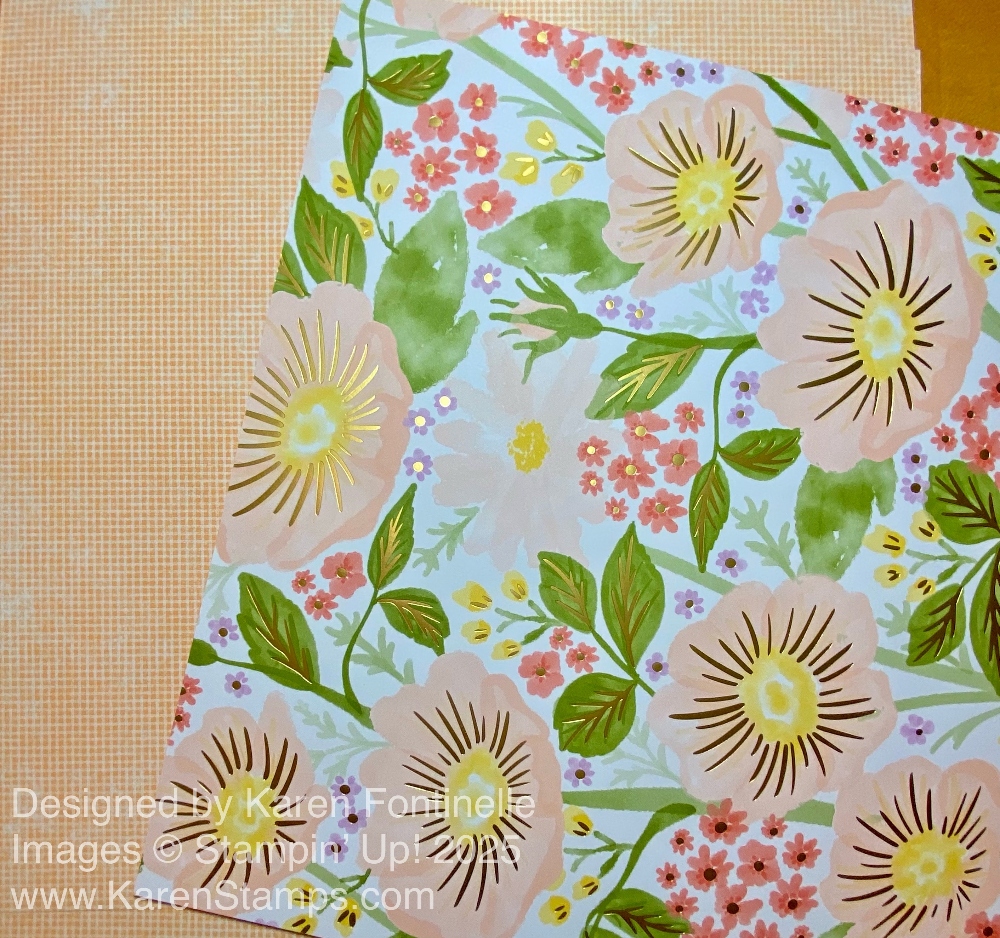
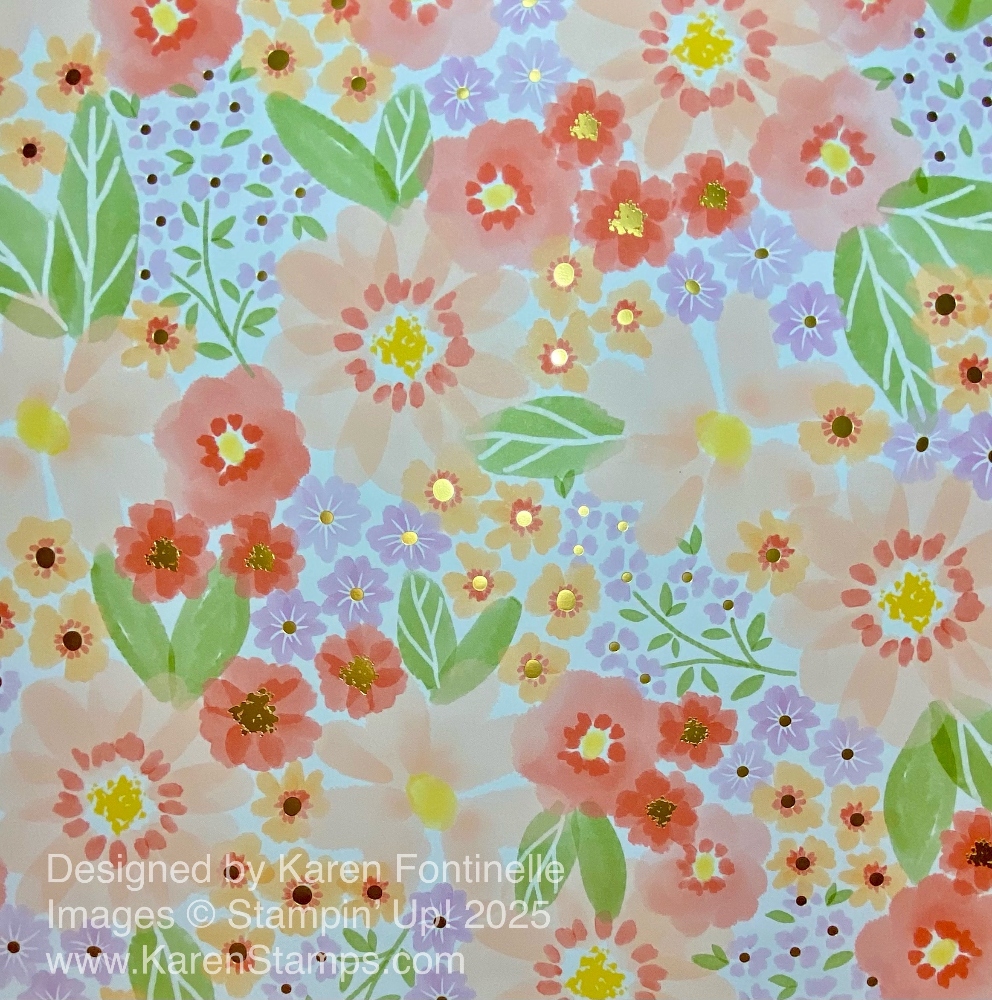
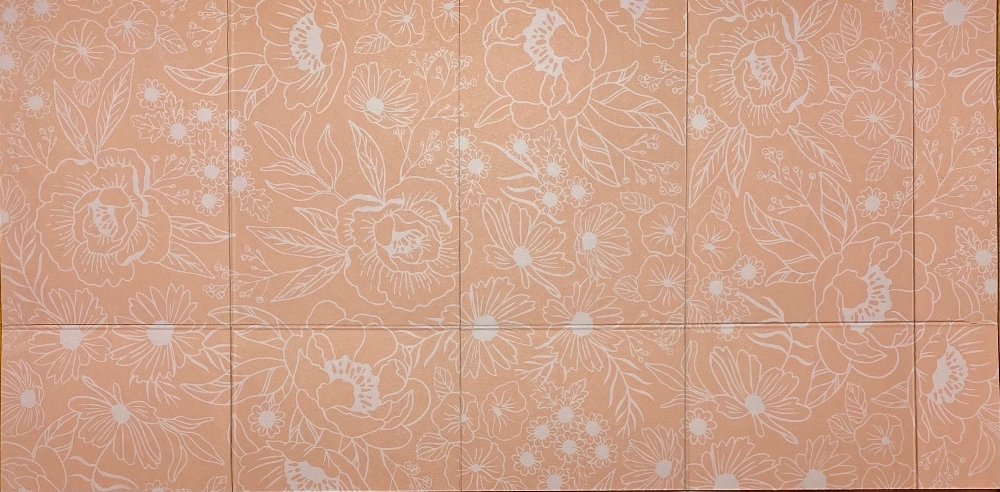
To decorate this box, I used the Lovely & Beautiful Specialty Designer Series Paper. You can just search for it in the Stampin’ Up! Online Store or look under Online Exclusives. It is not in the catalog, but it is still available as I write this. You can measure your own box before cutting the designer paper because exactly 3 1/2″ x 3 1/2″ might be a tiny bit too large. I trimmed off 1/8″, then went down to 3 1/4″ x 3 1/4″. You can diecut a circle or a scallop out of that piece of paper for the top. Be careful centering the die on the square paper evenly so it will fit around the scallop on the box. Just a plain circle might be easier, but you still would want to center it on that DSP. I used the Scalloped Bloom Dies. You will want these dies! I used the fourth die from the center.

If you want to decorate the sides of the box, you can use the same designer series paper or use cardstock, or even leave it plain. I accidentally cut one strip at 1″ wide and the others at 3/4″ wide, but it really doesn’t matter. My strips were 3 1/4″ long. I could have also just tied a ribbon around the sides.

For the flower decoration, you might not believe it, but it is from the other side of this pretty floral design I used for the box! The other side of this floral is a whole sheet of white with gold foil flowers of all sizes and kinds. I cut out one flower and some of its leaves and then colored them. The flower is colored with the Petal Pink Stampin’ Blends alcohol markers and the leaves with Old Olive. Petal Pink is pretty light, but adding the dark combo helped a little bit. Petal Pink is one of the coordinating colors with the paper.

Be a little careful with your adhesive in attaching the flower. I used Stampin’ Dimensionals to pop it up, but I didn’t want the Dimensionals showing from the inside through the window. I simply estimated where the Dimensionals would not show and put them under the flower and leaves. You can check from the inside of the box and make sure. I just wanted a small greeting, so I chose this one, on Basic White, stamped with Petal Pink ink, from the Banner Sayings Stamp Set. I kind of curled it a little to make it 3D. To avoid adhesive showing through the inside of the window, I put glue on the top of the end of the greeting so that it would be adhered underneath the flower petal, not to the box.

These Scalloped Window Boxes will be handy to have in your stash for that time when you need a cute little gift box!

Lovely & Beautiful Scalloped Window Box Side

SHOP STAMPIN’ UP! ONLINE HERE!

Lovely & Beautiful Floral Birthday Card

Lovely & Beautiful Floral Birthday Card

This Lovely & Beautiful Floral Birthday Card came about because I love this designer series paper with the big, beautiful flowers, and also this pretty sheet with the little pattern of Fresh Freesia flowers on the paper. The card has a little bit of everything – designer series paper, stamping, and some fussy-cutting!

The card base is Basic White, although Thick White cardstock might be preferable. The fold is at the top of the card. If you cut a full sheet of cardstock in half vertically at 4 1/4″, then score at 5 1/2″, you can have the fold at the top or to the left side.

The two patterns of the beautiful Lovely & Beautiful Specialty Designer Series Paper you see on this card are the same sheet, just both sides. I love the little Fresh Freesia purple flowers and green leaves all forming a grid design over the paper. The other side of the paper is the green color on the sides of the card with light images of foliage. I cut this paper at 4″ x 5 1/2″. This allows a little bit of white to show on each side of the card. I cut off the designer series paper at 1/2″ off each side. That makes the center portion 3″ wide.

The banner shape in the center is a diecut from the Creative Haven Dies. Since the top was going to be covered up with flowers, I lowered it on the page and stamped “Happy Birthday” three times at the bottom of the banner with Old Olive ink. This greeting is from the Lovely Arrangements Stamp Set.

The large flowers are cut from the designer series paper by hand with Paper Snips. I actually only cut the center part of a larger flower so it would fit on my card. After I cut out one flower, I decided I might as well cut out another one! It’s not difficult to fussy-cut images from the designer paper. One flower is popped up on Stampin’ Dimensionals and one adhered flat to the card. The leaves were also fussy-cut from the paper.

For an embellishment, I used three Garden Epoxy Dots in Flirty Flamingo. These are new embellishments in the March Online Exclusives. Half the package is solid color dots (Berry Burst, Blueberry Bushel, Crushed Curry, Flirty Flamingo) and half the package is clear with a tiny flower image inside each dot. They are part of the Garden Poetry Suite Collection, but of course, you can use them with many projects.

This Lovely & Beautiful Designer Series Paper is currently unavailable but is expected back in stock the week of April 6. Hopefully, you already have it, and if you don’t, I’d suggest ordering it because it is truly “Lovely & Beautiful”! Fill out your email in the Online Store to be notified when it comes in so you don’t miss out. Sometimes things come back in stock earlier than expected.

SHOP STAMPIN’ UP! ONLINE HERE!

Lovely & Beautiful Gift Bag

Lovely & Beautiful Gift Bag

Yesterday I opened up the package of the Lovely & Beautiful Specialty Designer Series Paper, one of the new papers coming next week in the new Stampin’ Up! Spring Mini Catalog.

Lovely & Beautiful Specialty Paper

These are the first two papers I saw in the package when I pulled them out. Pretty.

Lovely & Beautiful6

Then I turned back the top paper to see the design on the other side, and I actually exclaimed out loud, “Oh My Gosh!!” Those big flowers with gold foil outlines just took my breath away! From there I knew I was going to use this floral paper for my first card of the New Year. But I ended up making a small gift bag with it.

Before I started working, though, I paged through the designer series paper to see all of the designs. Each one was gorgeous!

Lovely & Beuatiful4

Lovely & Beautiful5

Lovely & Beautiful3

Lovely & Beautiful2
Lovely & Beautiful Paper1

If you think these papers look nice in these photos, wait until you see them in person with the beautiful gold foil accents!

To make this little gift bag, cut the paper at 6″ x 12″. Score at 1″, 3 3/4″, 6 1/2″, and 9 1/4″. Then turn and score at 2″. Pay attention to the direction of the pattern if it is necessary for your paper. The part scored at 2″ will be the bottom of the bag and those score lines will be cut up to the horizontal score lines. See the diagram below. I drew pencil lines on the score lines.

Gift Bag Scored Diagram

Fold and crease all the score lines. That tiny little 2″ x 1″ piece will be cut out. The piece above that is where you will put adhesive to glue to the other side to assemble the box. Just crease and fold everything to see how it goes together. Adhere that side together, then do the flaps. If you want to close the top of the bag, you can punch holes for ribbon as I did, or you can just use some type of clip. Or you can leave the bag open!

I stamped a little sentiment on Basic White with Calypso Coral ink from the Lovely Arrangements Stamp Set, coming in the January Online Exclusives. It is just tied on with the ribbon with a little Stampin’ Dimensional on the back to hold it in place.

This is just a simple little project where the gorgeous paper does all the work! If you like florals at all, I would definitely get this Lovely & Beautiful Specialty Designer Series Paper.

Lovely & Beautiful Gift Bag side

Remember, Bonus Days are coming on Tuesday, January 6th, which is the day of all new things! Unless you are in a hurry for particular products, hold off until Tuesday or after when you can earn $5 coupons for every $50 you spend IF YOU HAVE YOUR OWN ACCOUNT WITH AN EMAIL ADDRESS! Check your account for an accurate email address because that is how you will receive the $5 coupon codes to use in February. If you don’t have a Stampin’ Up! account, this is a good time to make one – and be SURE to opt in for Rewards and for Marketing so that I can mail catalogs to you from Stampin’ Up!

ALL ABOUT BONUS DAYS HERE!