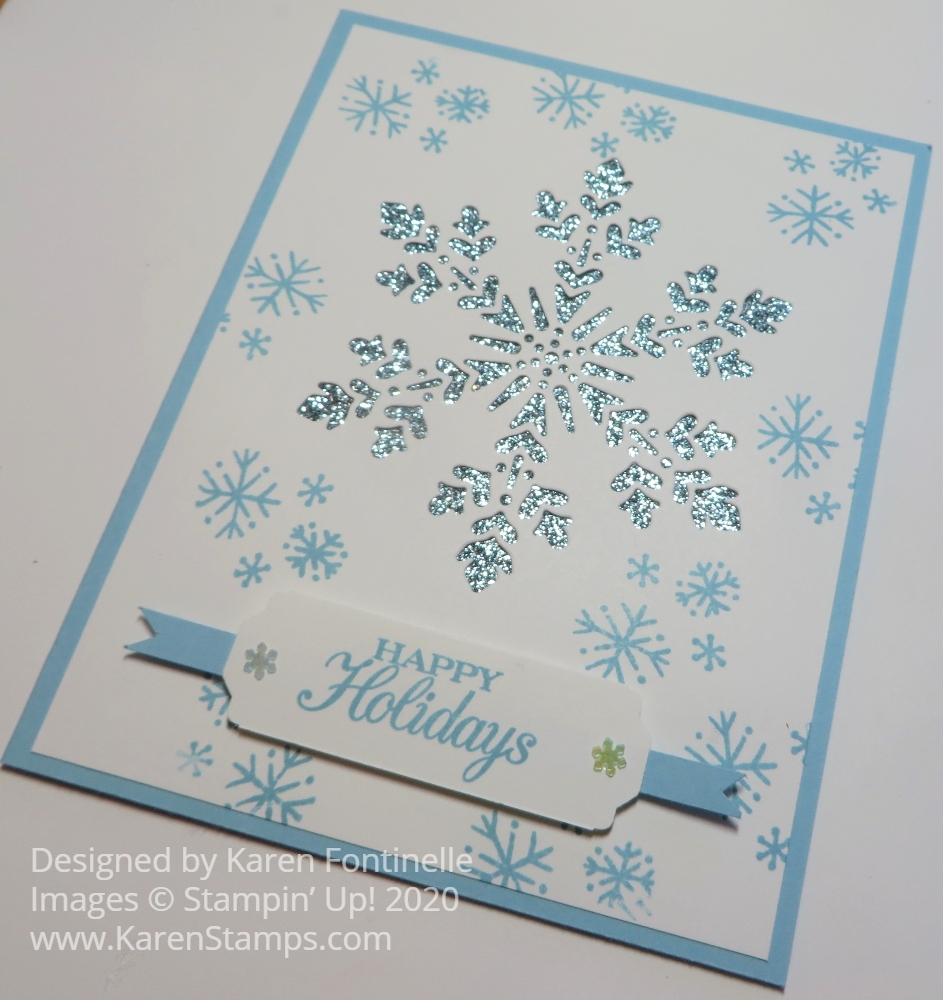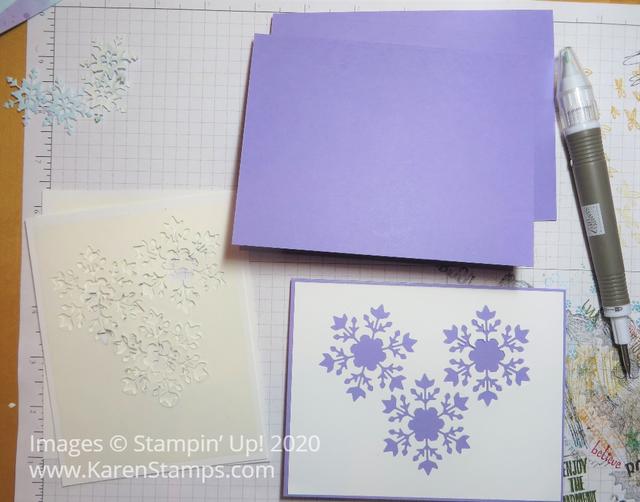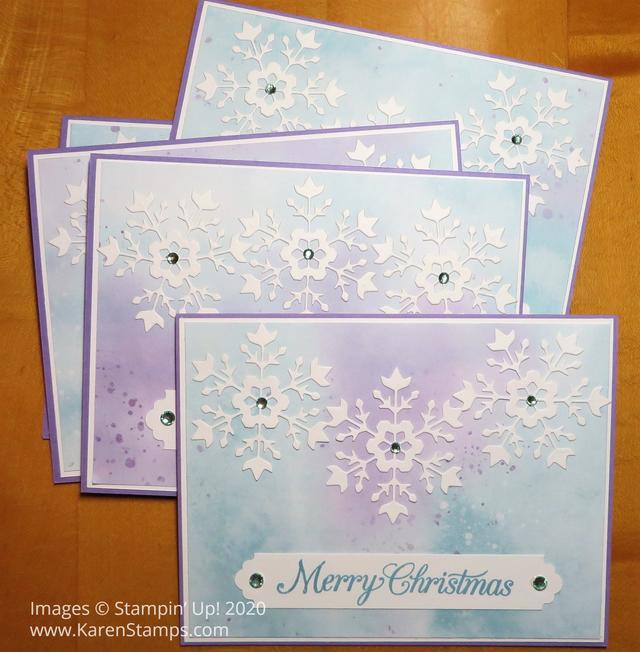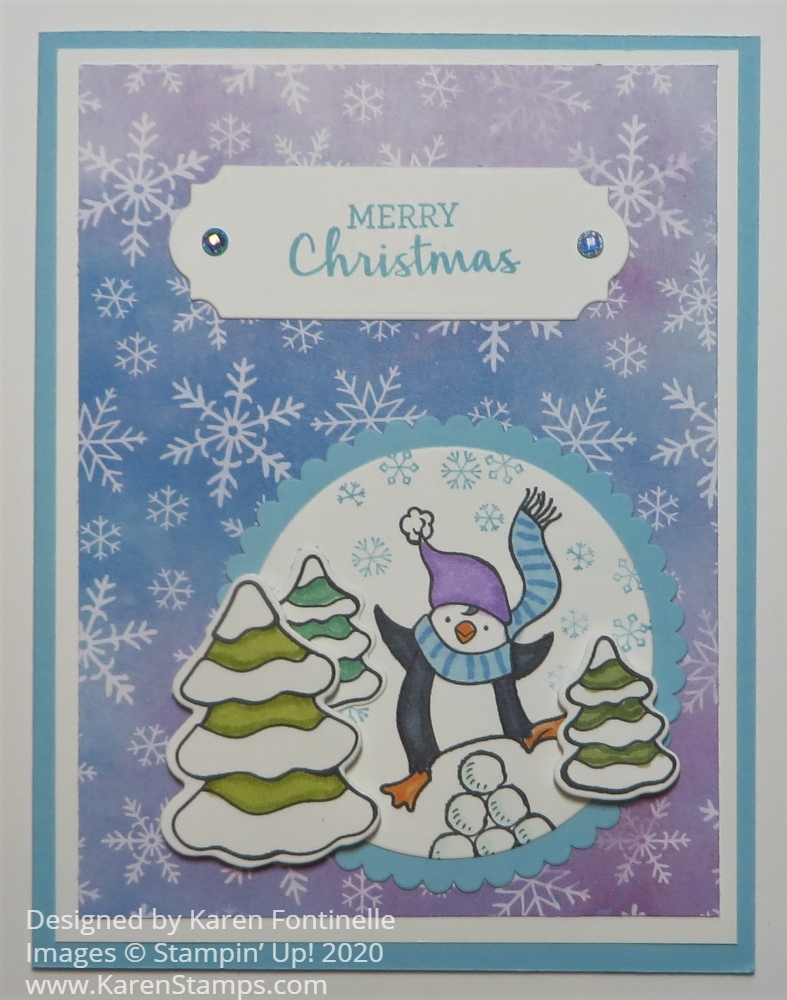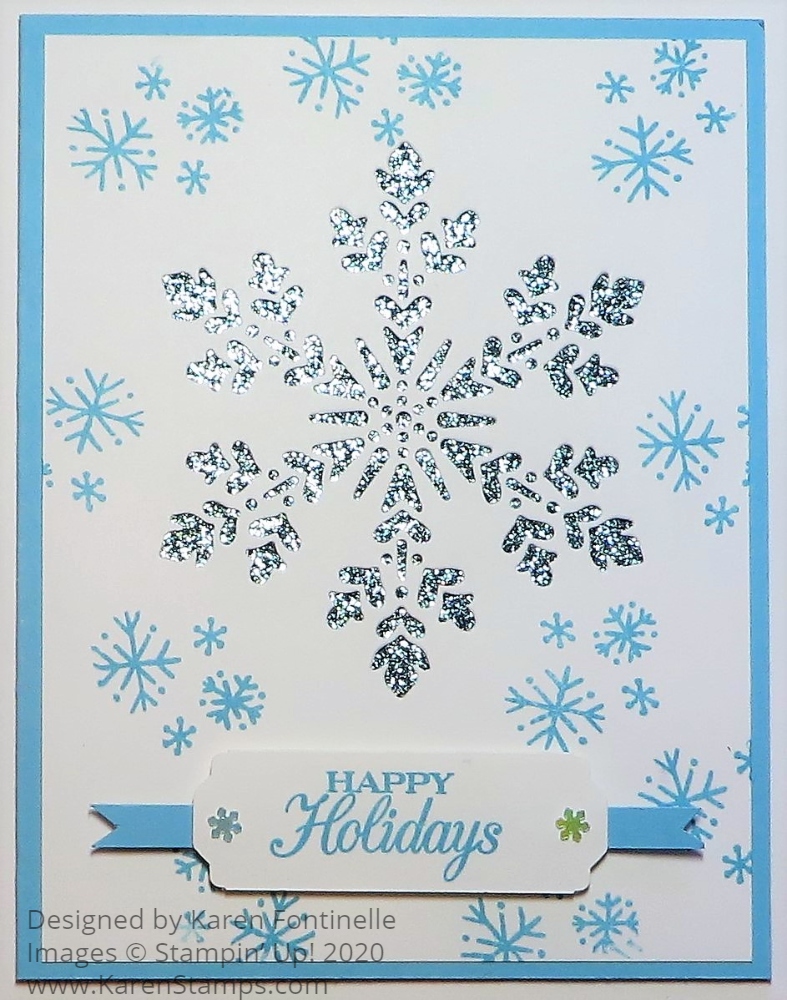
Use the So Many Snowflakes Die to make this So Many Snowflakes Die-Cut Holiday Card and let the sparkles show through the snowflake! I realized I hadn’t used my glimmer paper enough so I tried it out on this card with the see-through die-cut negative.
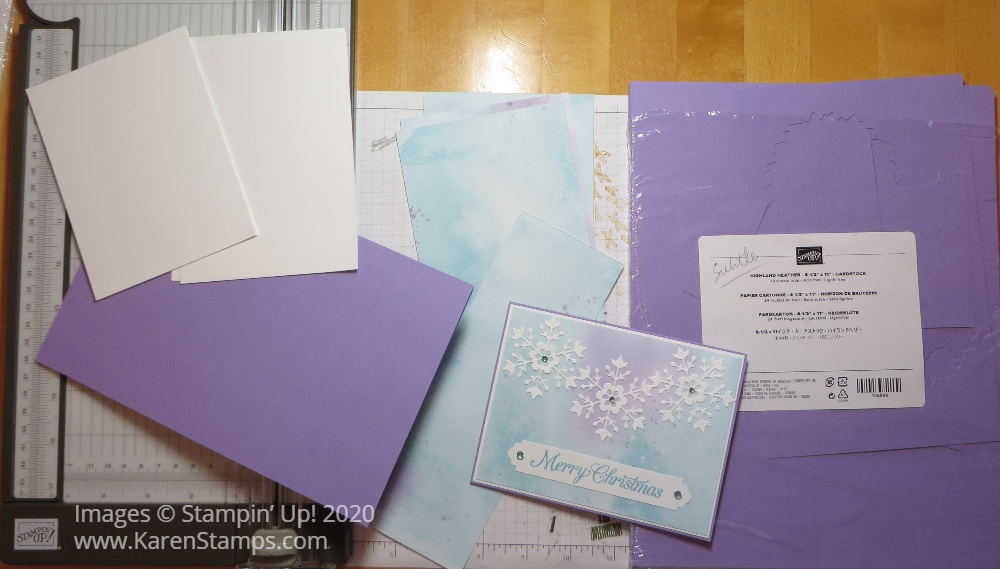
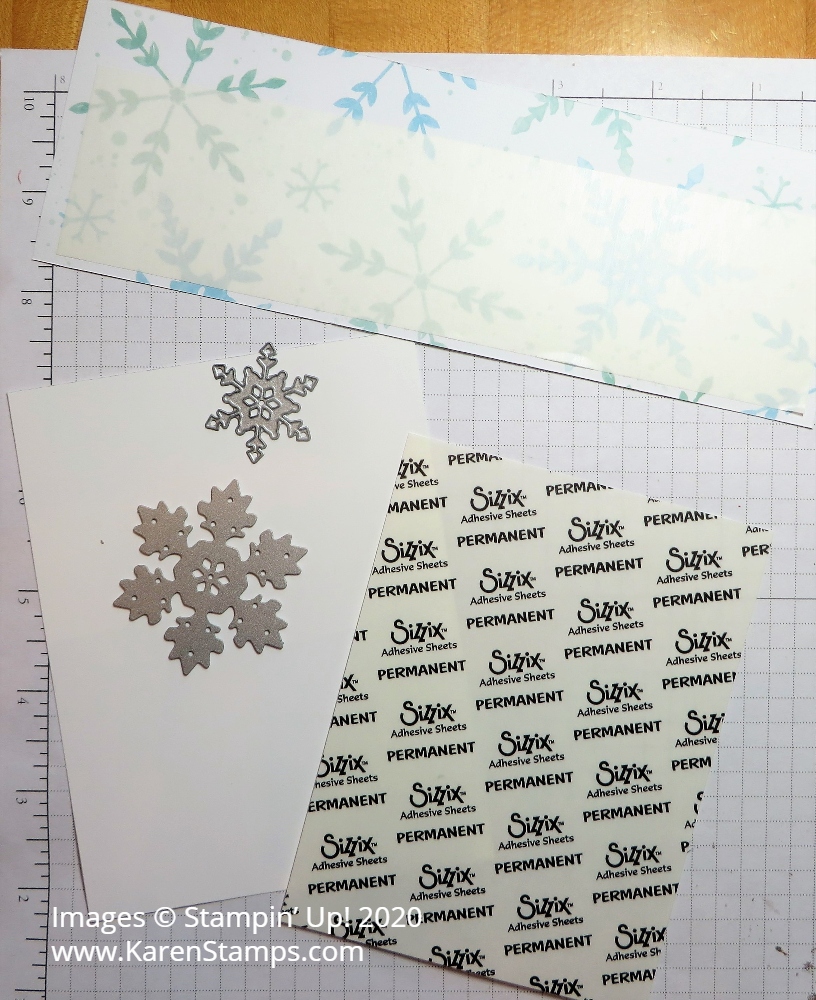
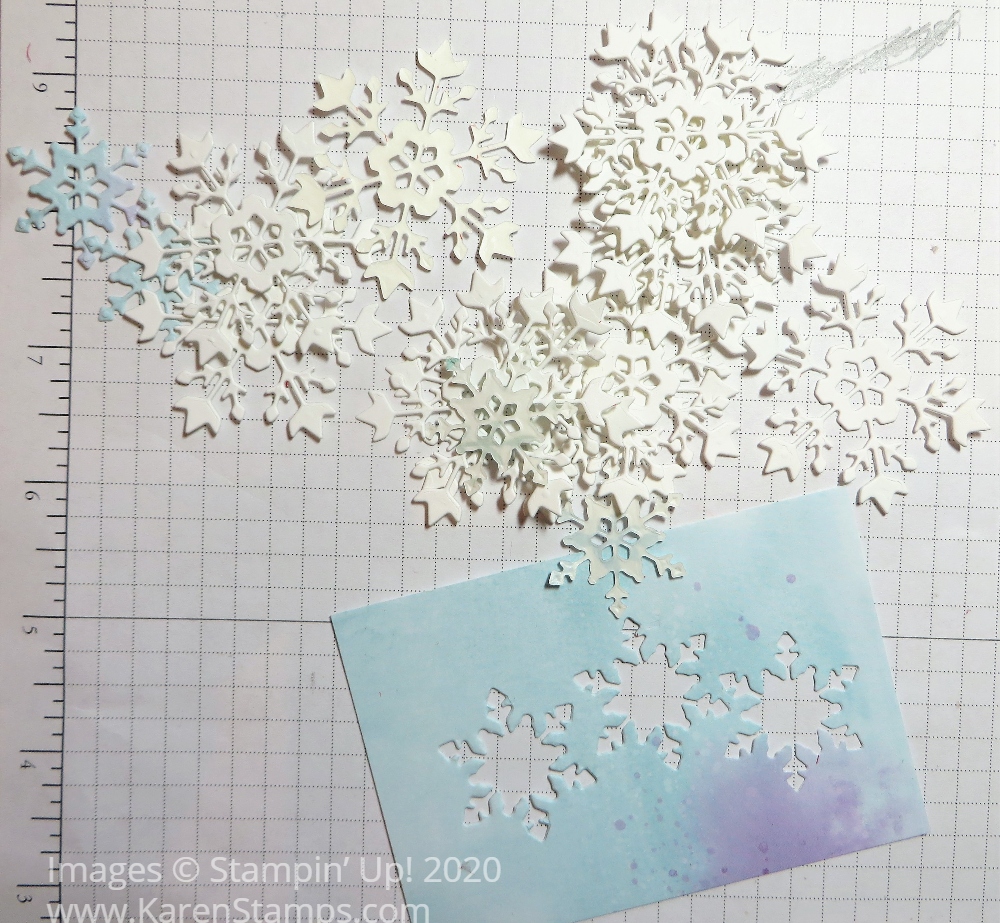
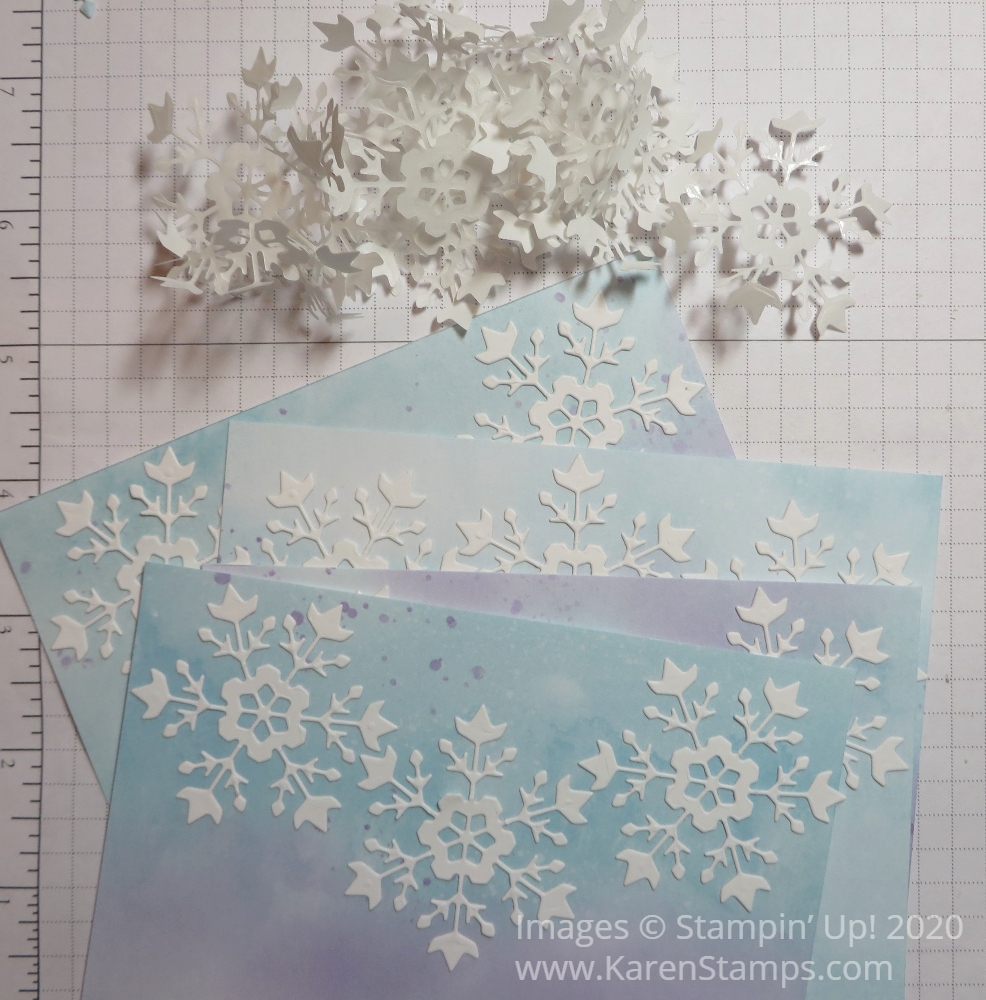
The card base is Balmy Blue with a layer of Whisper White. I die cut the largest snowflake from the So Many Snowflakes Dies in the Whisper White. Since I didn’t purchase the Snowflake Wishes Stamp Set (even Demonstrators can’t have everything!), I used some snowflakes in the Snowman Season Stamp Set to stamp some random snowflakes in Balmy Blue Ink on the front of the card.
For the sparkle under the die-cut, I adhered a piece of Balmy Blue Glimmer Paper. It’s always difficult to photograph sparkle and shine, but it looks very pretty under there! Then this Whisper White layer with the Balmy Blue Glimmer Paper underneath adhered to the Balmy Blue Cardstock card base.
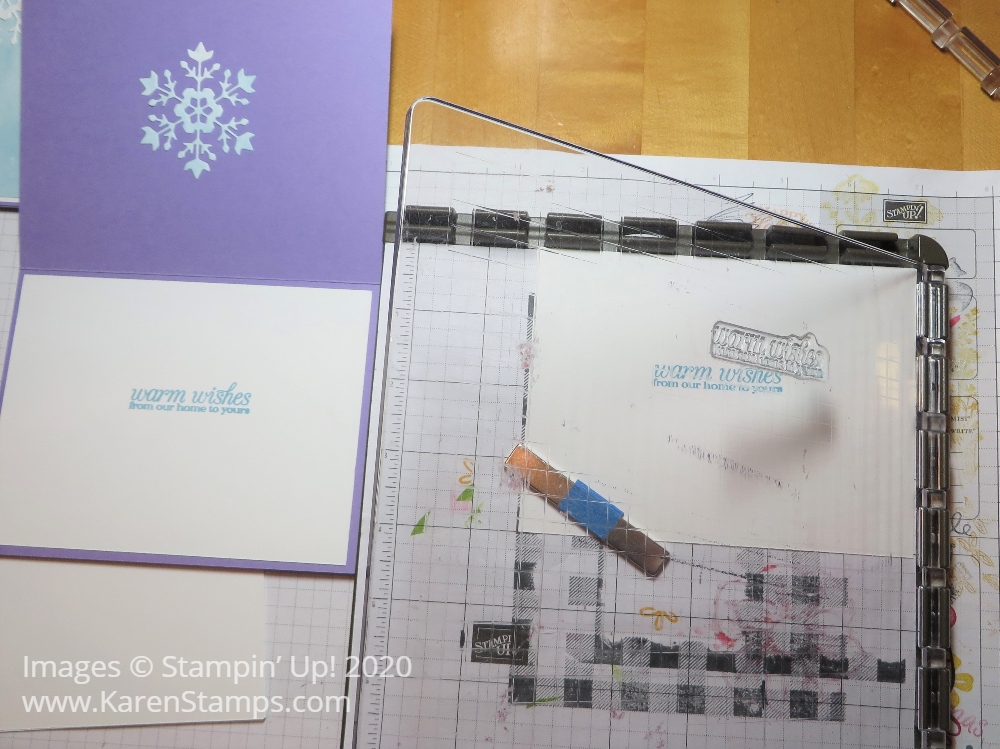
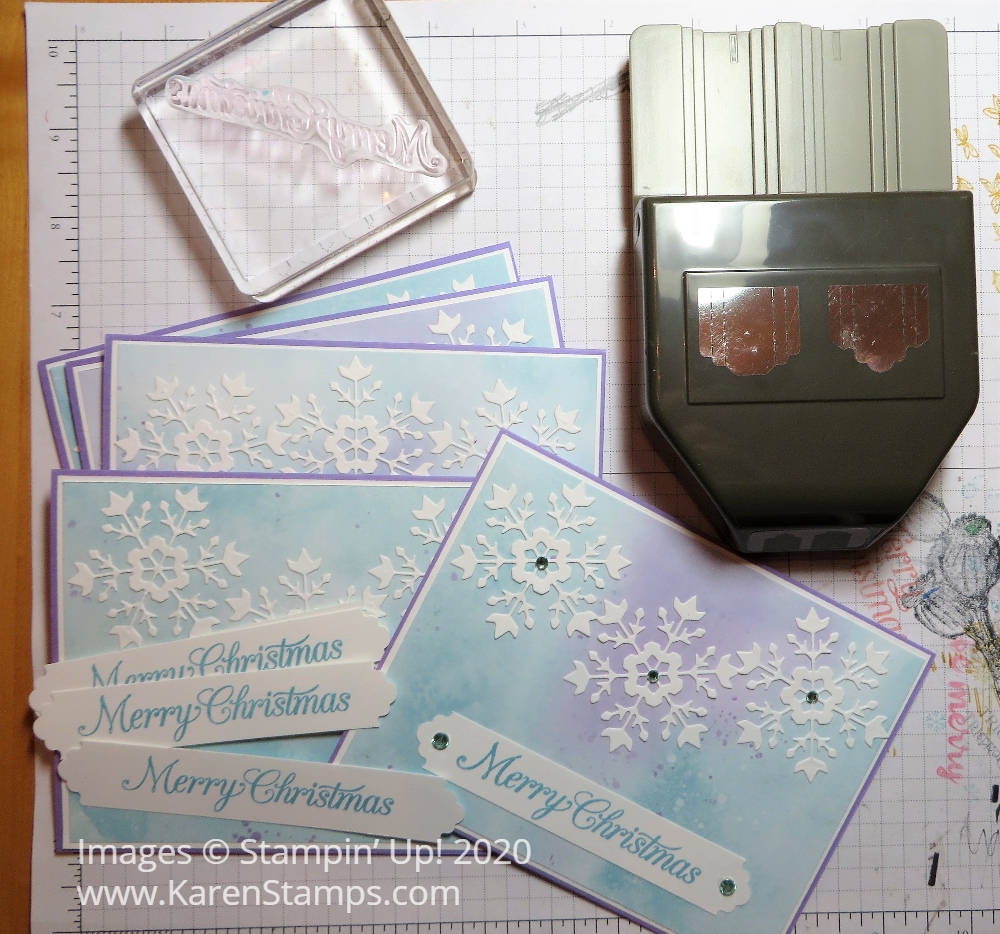
The greeting is from the Poinsettia Petals Stamp Set. It is stamped in Balmy Blue Ink and punched with the Lovely Labels Pick A Punch. I simply cut a little strip of Balmy Blue Cardstock to layer underneath the greeting to help it stand out a little and popped it up with Stampin’ Dimensionals®. For a final touch, I added two Adhesive-Backed Snowflakes. These are so fun to play with and easy to use with the adhesive already on them!
I think this would actually be an easy Christmas card to duplicate if you wanted several to send. It involves the die-cutting and punching the greeting, but you could make a simpler greeting by cutting a rectangle or using another die rather than the punch. Do it assembly-line fashion like I described yesterday in my blog post!