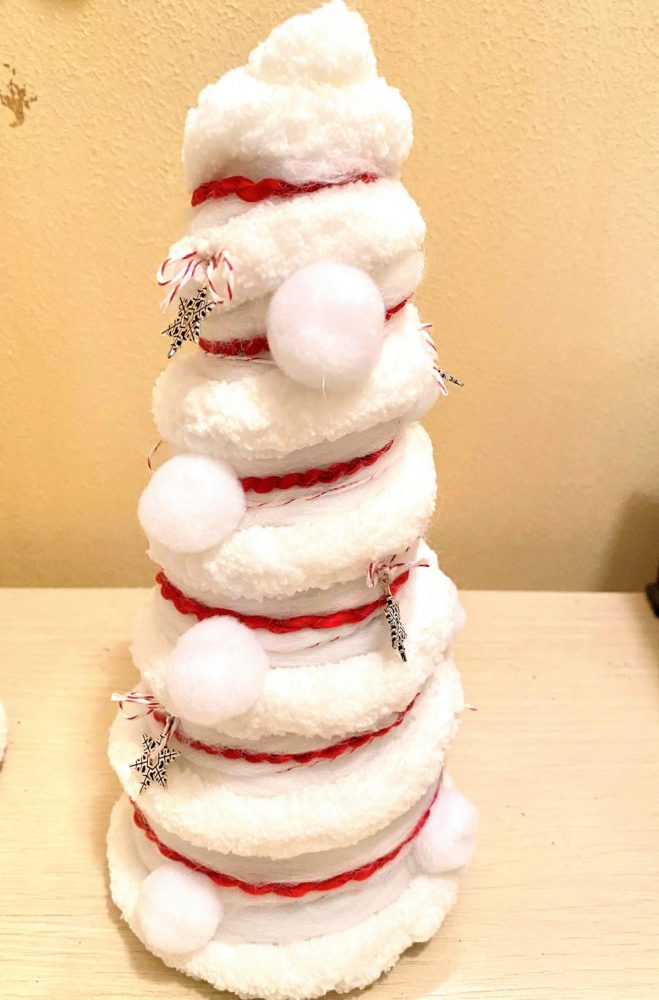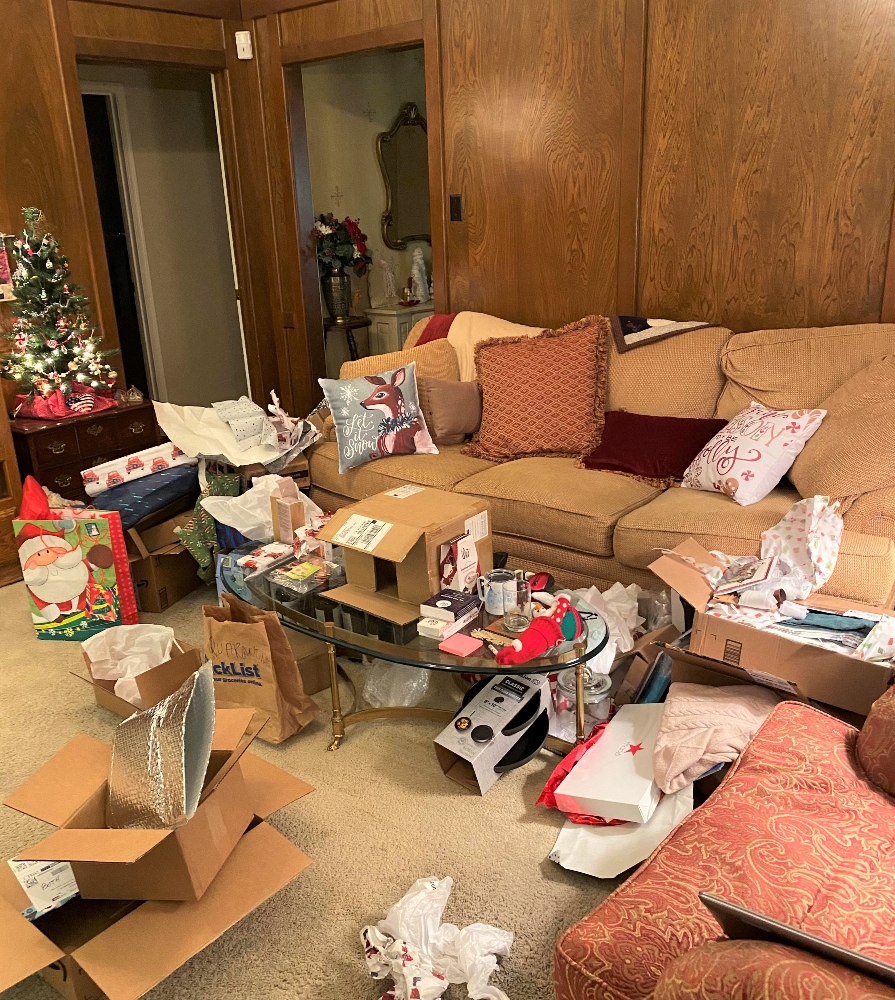
Happy Day-After-Christmas! I hope everyone had a wonderful holiday! Probably a different one for most of us, but I have to say, thank goodness for Zoom!! It’s the next best thing to being there! All our kids and spouses and girlfriends gathered on Zoom at 2 pm and opened our gifts! I didn’t know how that would work out but it was great and fun! This photo is of the aftermath!
The box in the middle of the coffee table is where I put my laptop and my husband and I sat on the sofa with our gifts nearby so we could open them. We are slow opening presents on a normal Christmas, taking all afternoon (we aren’t first-thing-in-the-morning people!) and being on Zoom was no different!
I have to say, being “with” our kids on Zoom kind of messed with our heads afterwards! I kept thinking they were around somewhere. My husband was thinking of things he wanted to say or ask them as if they were in the house. This morning when I looked out the kitchen window I wondered if they had seen the neighbor’s Christmas decorations! But really, it was a fun afternoon and now we have some nice and quite unique gifts to figure out and learn to use. USPS was only late with one gift and that has already been delivered in California very early this morning. Amazon and UPS did really well, I think, on almost all the gifts.
So if you didn’t receive everything you wanted from Santa, don’t worry! He is at Stampin’ Up! ready to pack up anything you want to order for yourself to get back at the rest of them who didn’t give you the perfect gift! Or maybe you just deserve to pick out something for yourself after taking care of everyone else! Did you see the skit on Saturday Night Live last weekend with the “family” singing about all the gifts they received and the mom says, “And I got this robe!” Then the kids say “and there are more presents!” and the mom’s face brightens in anticipation of more gifts for her besides the robe, but it’s really gifts for the dog! A rare, pretty funny SNL skit!
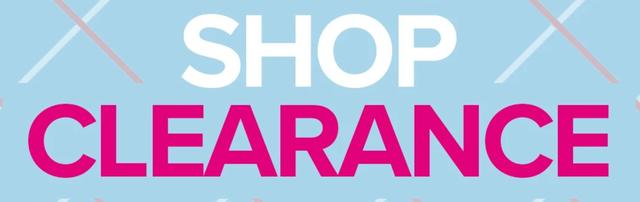
Go take a look around at Stampin’ Up! and see what you want for yourself! The store is always open! The Giant Year-End Closeout Sale is going on now with some bargains, plus a few things left on the Clearance Rack!
Hope you had a very happy Christmas!