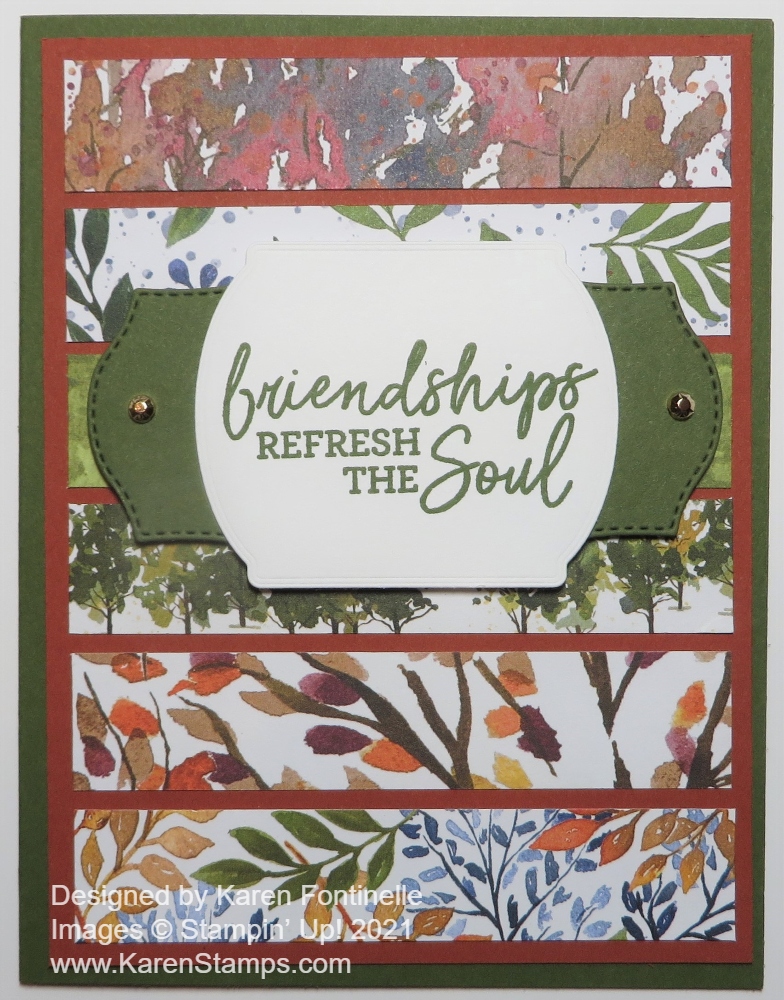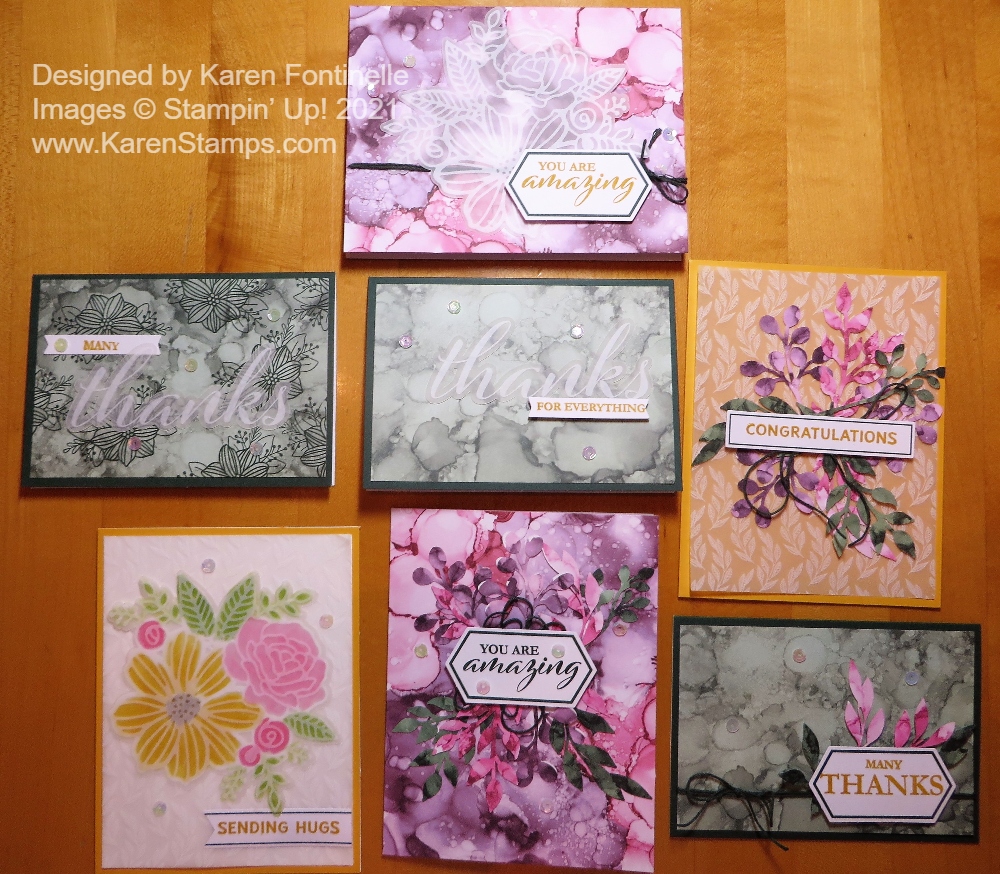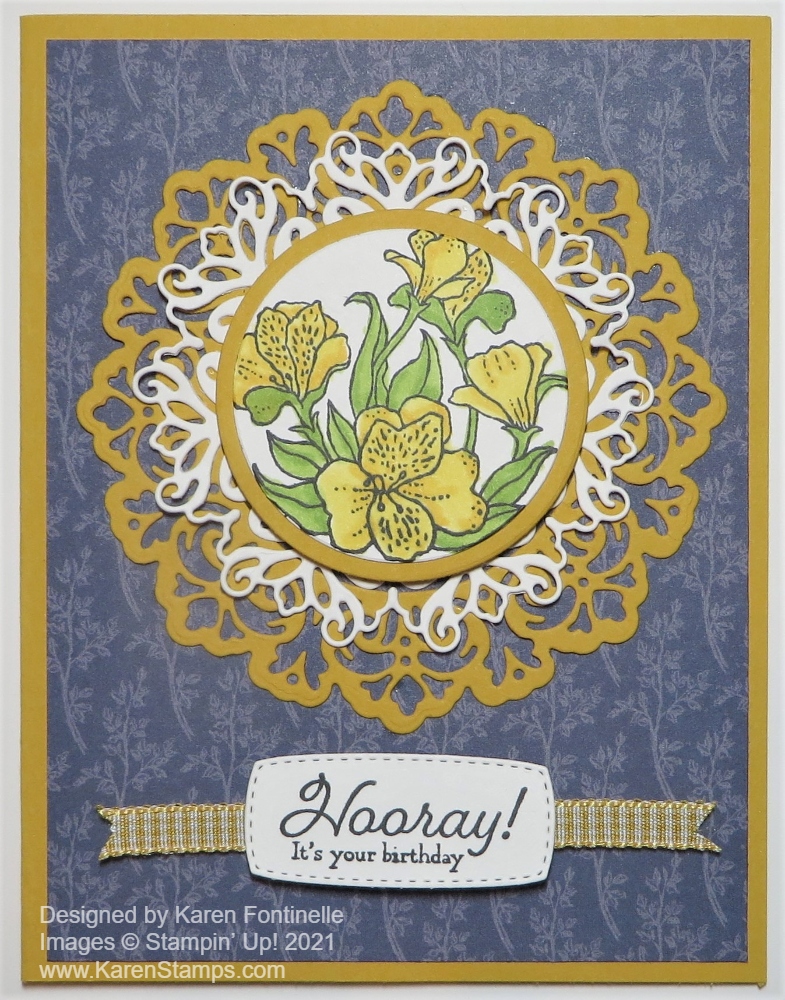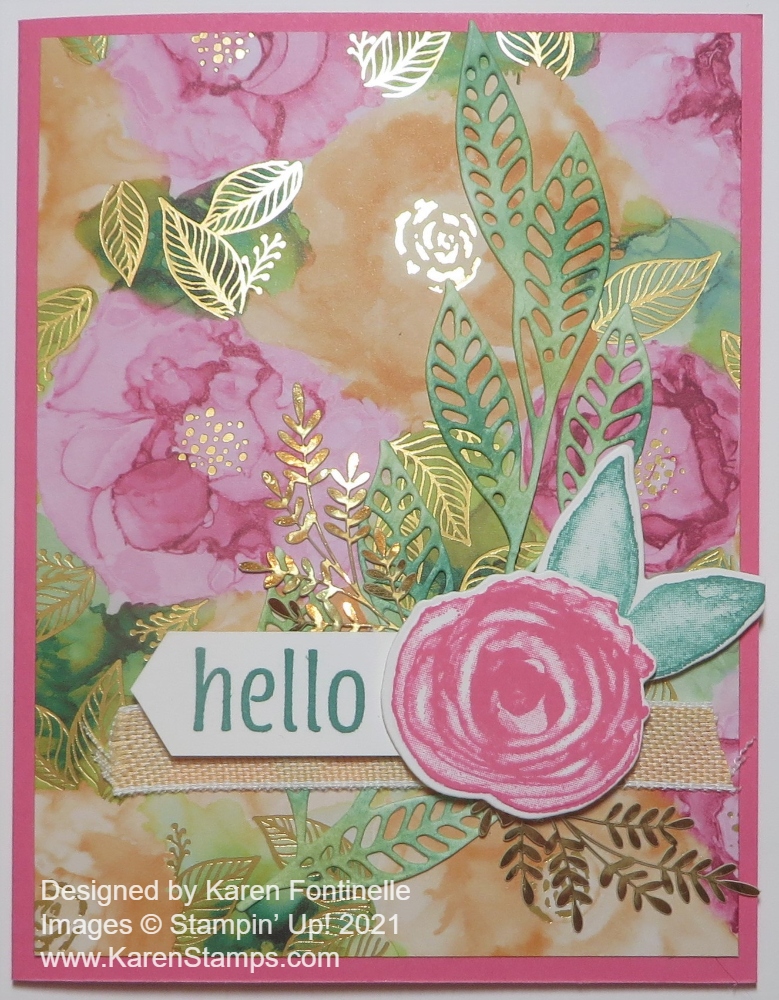
One day I made another card similar to this Expressions In Ink Hello Card and thought I might as well make another one while I had all this pretty paper out! I decided to pretty much copy the card on the front of the new Stampin’ Up! Annual Catalog except I changed the paper out to this gorgeous one with the gold foil accents!
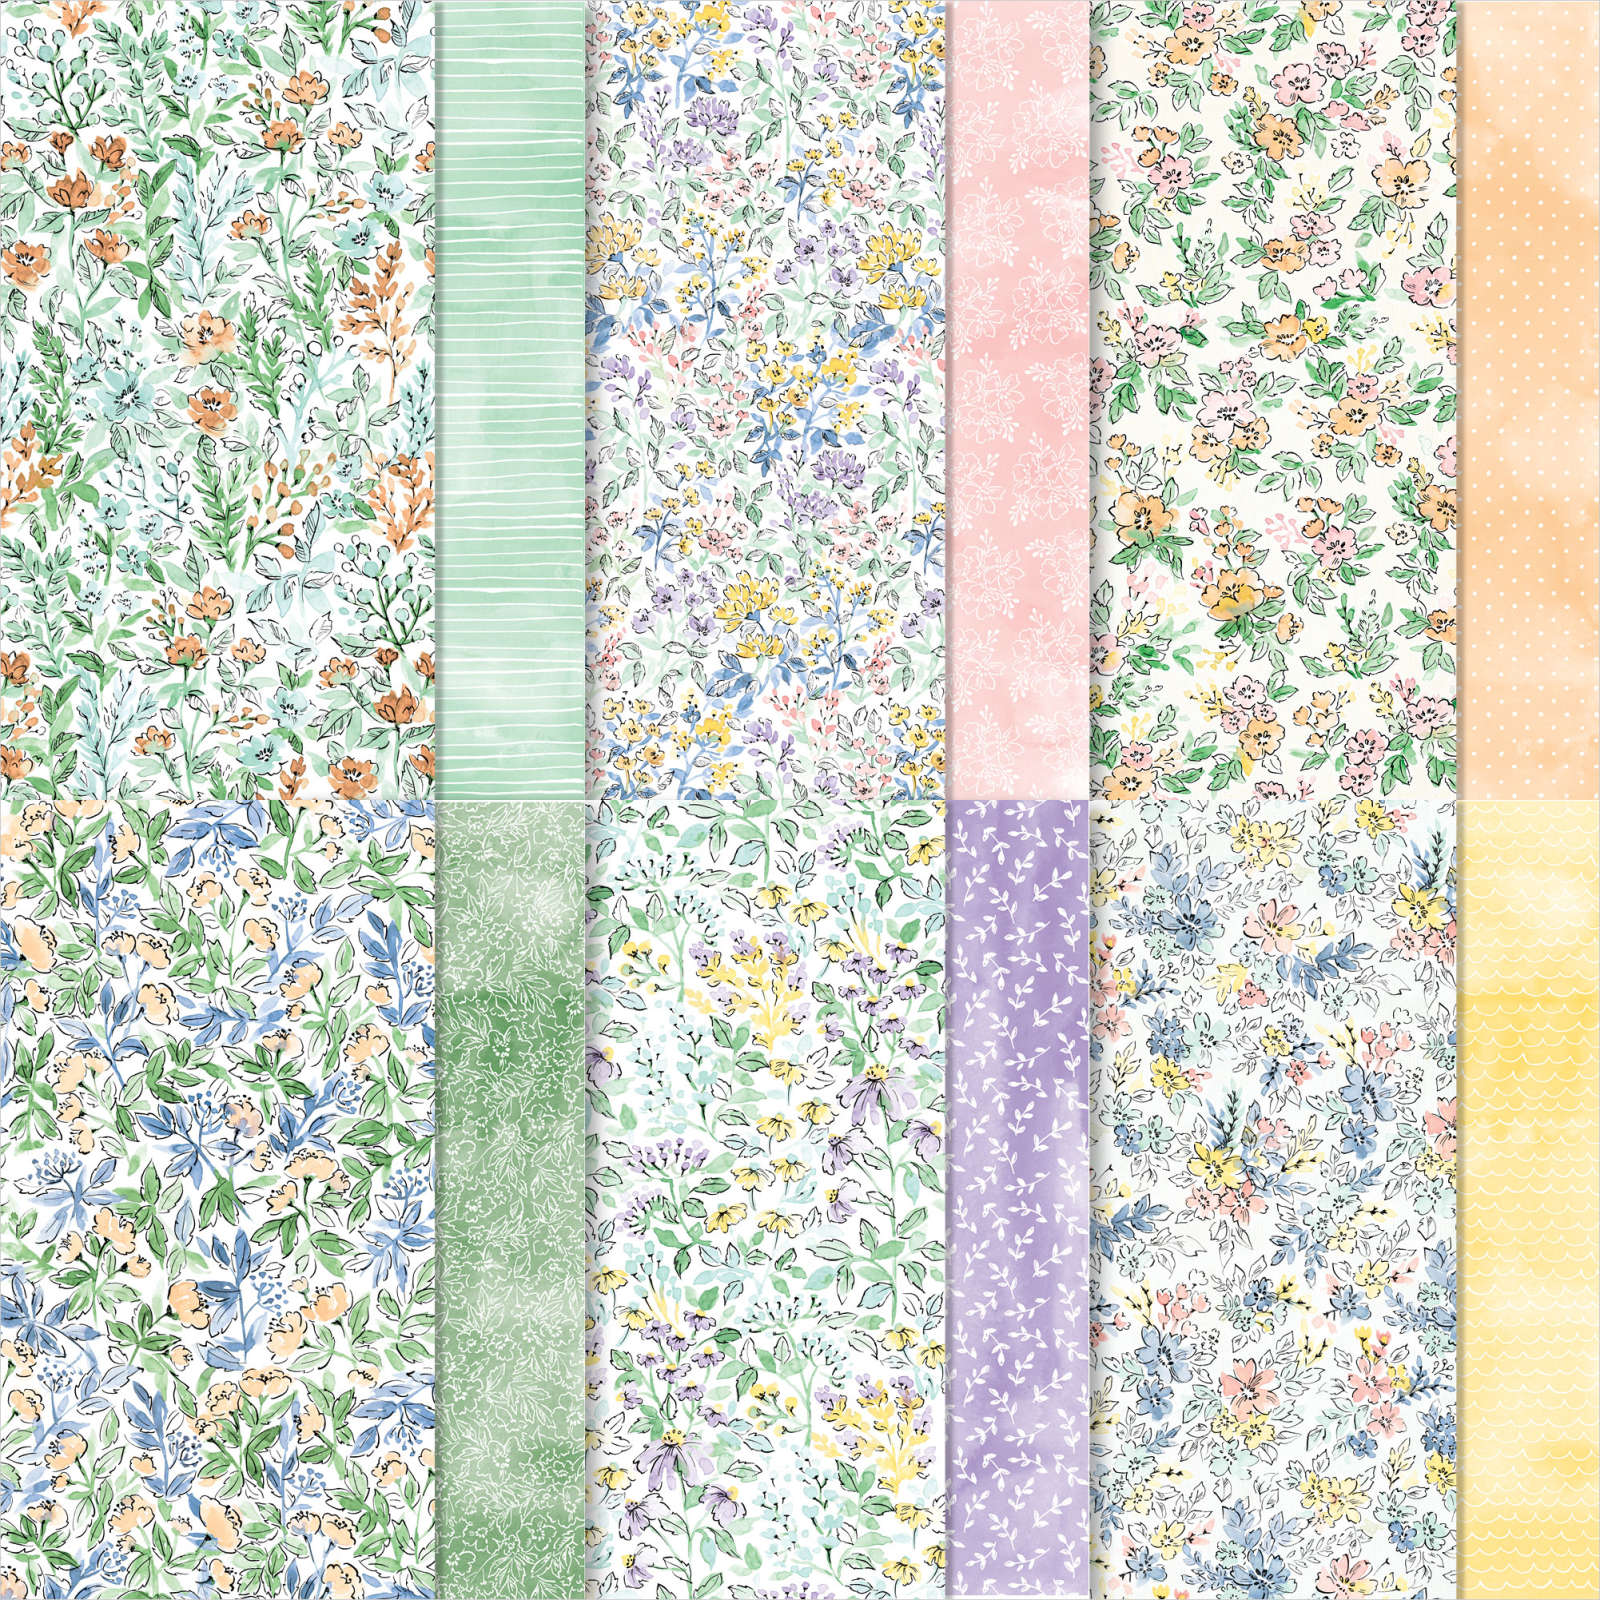
This card starts with a base of Polished Pink Cardstock. Then I added a layer of the Expressions In Ink Specialty Designer Series Paper, one with lots of pink and Pale Papaya flowers on it with some leaves, flower centers, and small blossoms in gold foil. It’s just beautiful paper!
I die cut the long leafy piece from the Artistic Dies and colored it with different shades of green ink applied with Blending Brushes. This die-cut piece went down first on the card to go underneath all the other extra pieces. As I have said before if only I had remembered to use Adhesive Sheets when I die cut this piece so I could just pull off the backing and I’d be all set with adhesive! I never think of it ahead of time, though, so I had to use teeny tiny drops of Multipurpose Liquid Glue.
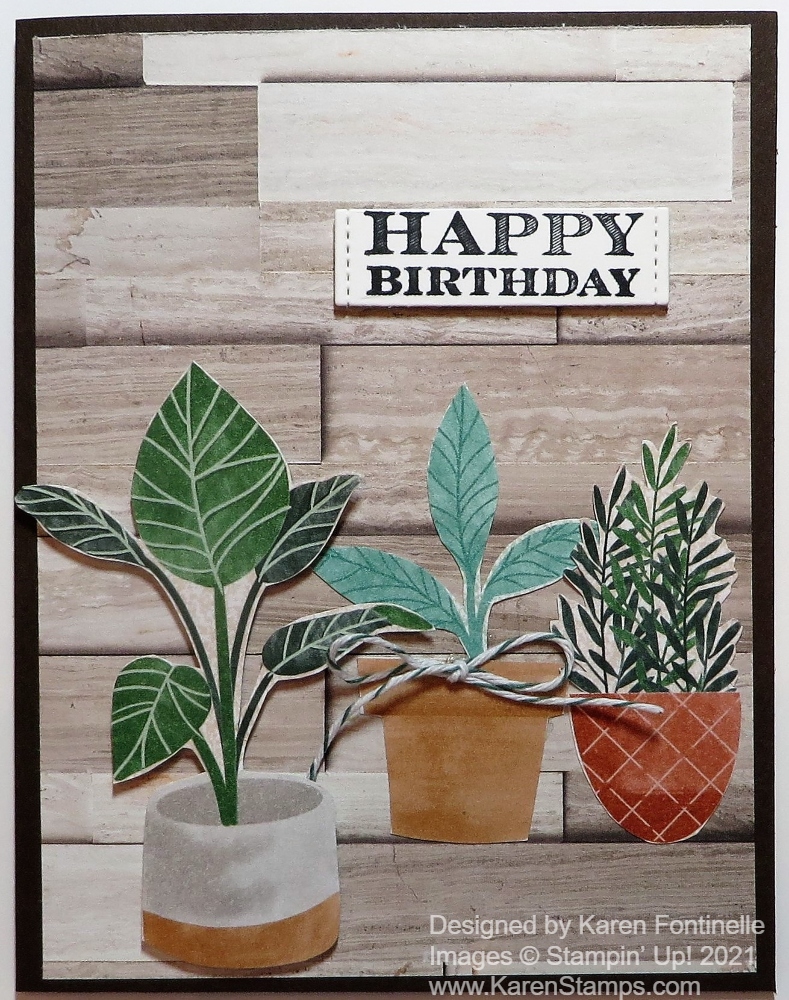
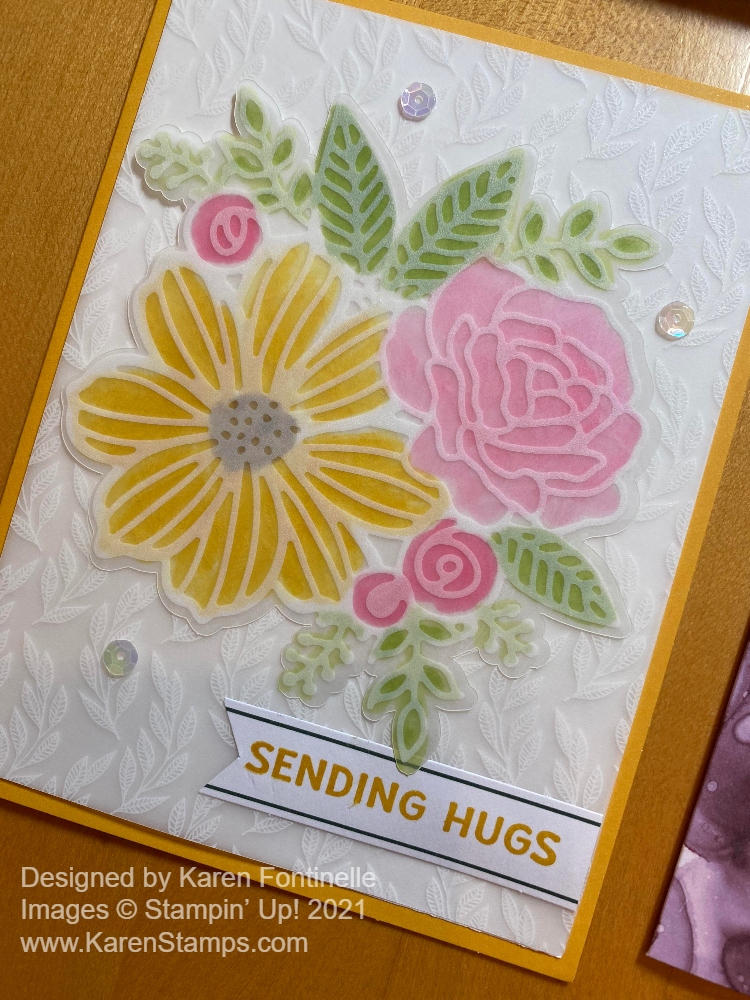
I stamped the flower in the Artistically Inked Stamp Set and die-cut it, as well as the solid leaves. Also stamped is the word “hello” and popped up over a strip of the Pale Papaya & White 1/2″ Ribbon. After that, the flower and leaves are popped up over the end of the greeting. I added extra little gold pieces from some retired product, but when it is available again, you could use something in the Expressions In Ink Ephemera Pack.
This Expressions In Ink Designer Paper is so gorgeous you almost don’t need very much else on the card. Here’s another card I made with one of the other sheets of the paper. I hope you feel very artistic when you use this lovely paper making cards of your own possibly similar to my Expressions In Ink Hello Card.