The tale of the Garden of Eden transcends the boundaries of a single belief system. Numerous accounts and adaptations of Eden’s events have appeared in Christianity, Judaism, Islam, legends and lore, ancient mythology, and more! No matter how the story is shared, the essence of Eden remains the same: it’s a place of paradise. Filled with fruitful and flourishing foliage, stillness and serenity, and an air of mystery, Eden is an ethereal utopia!
And you can purchase these new products TODAY!
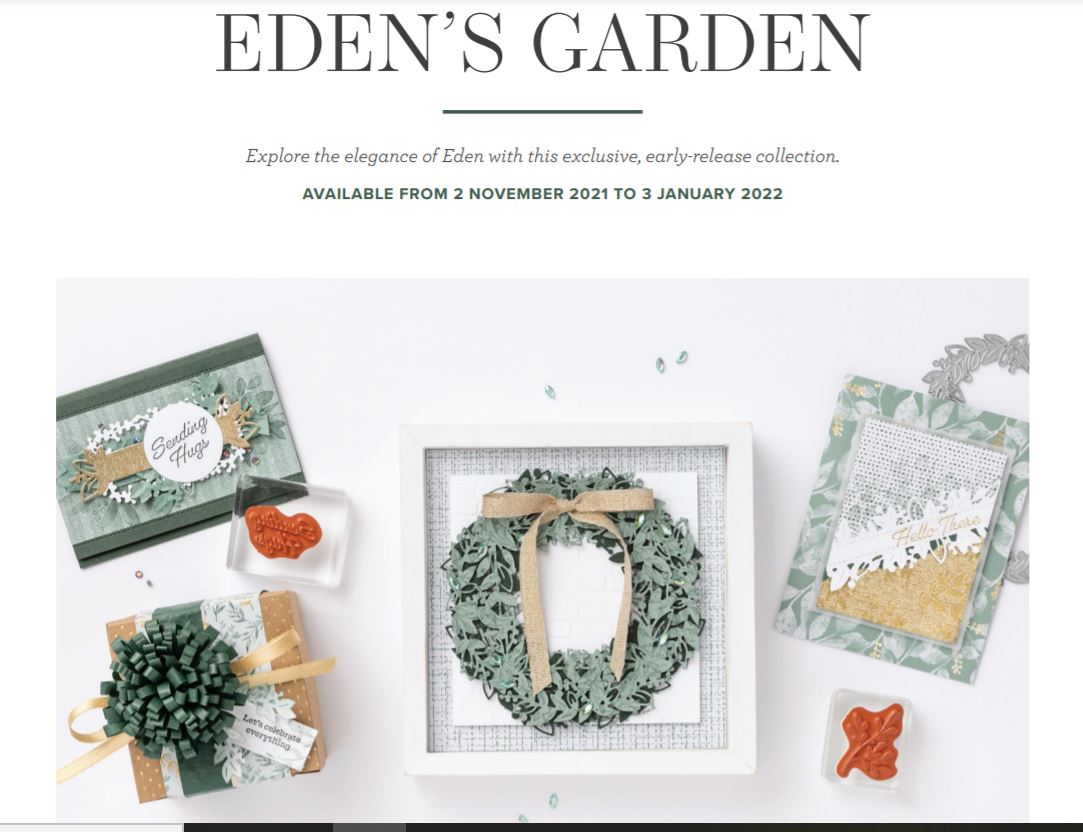
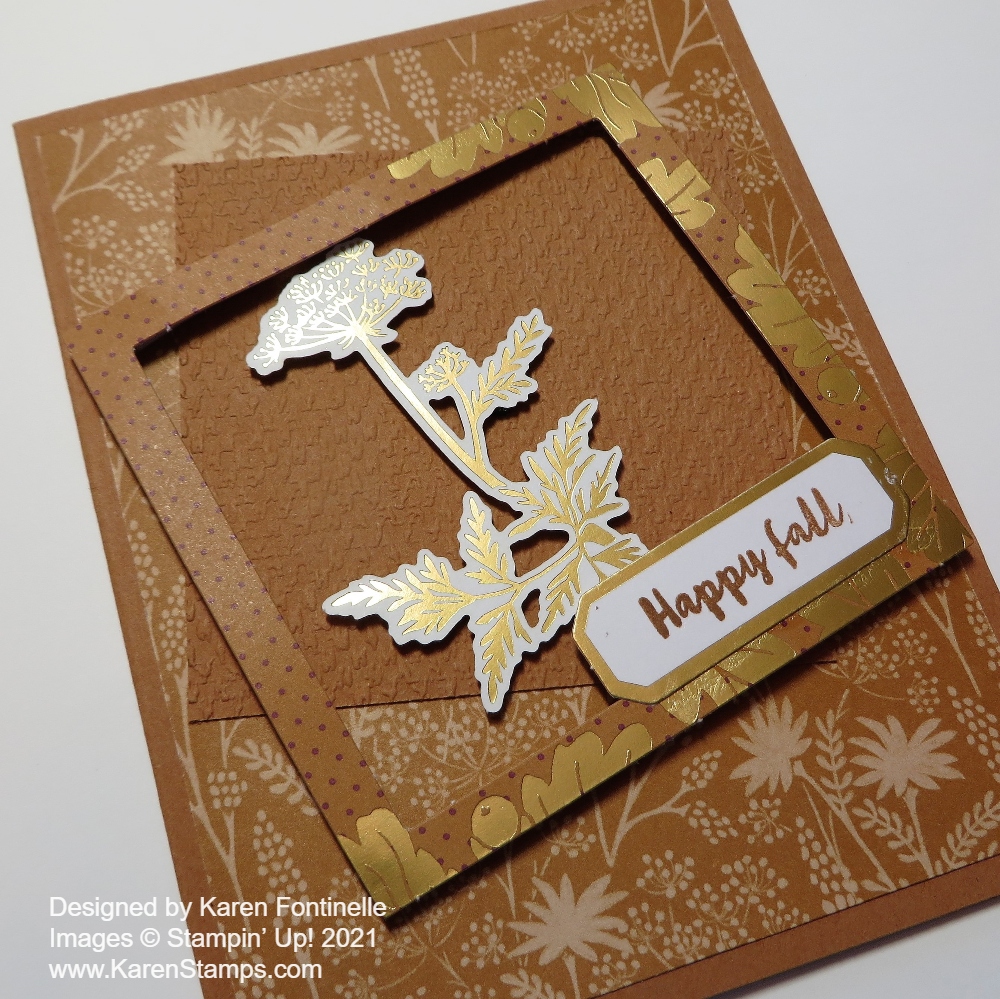
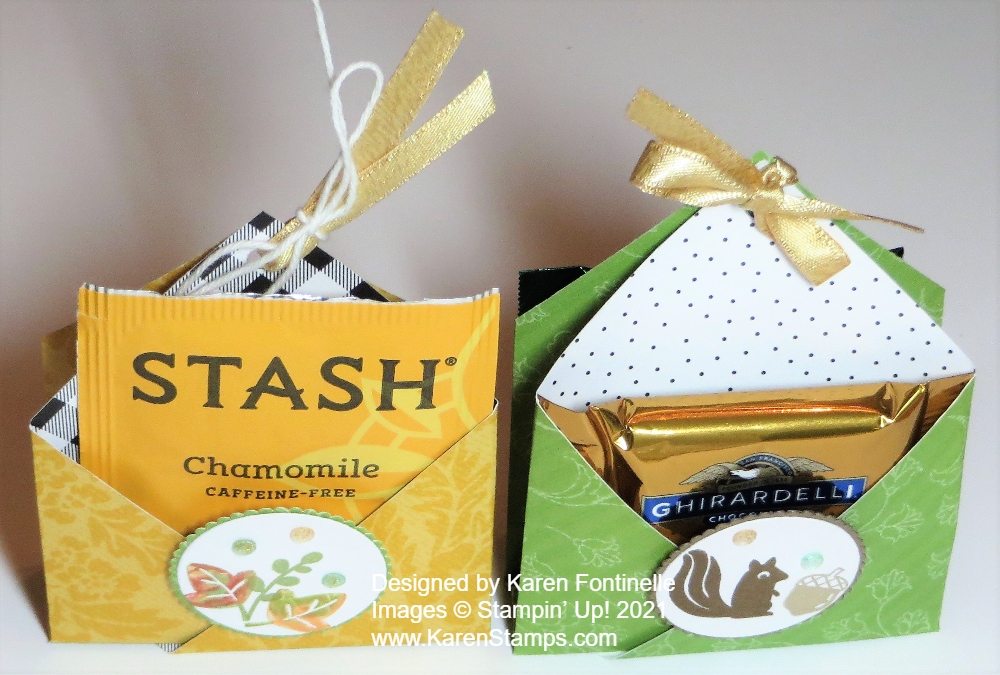
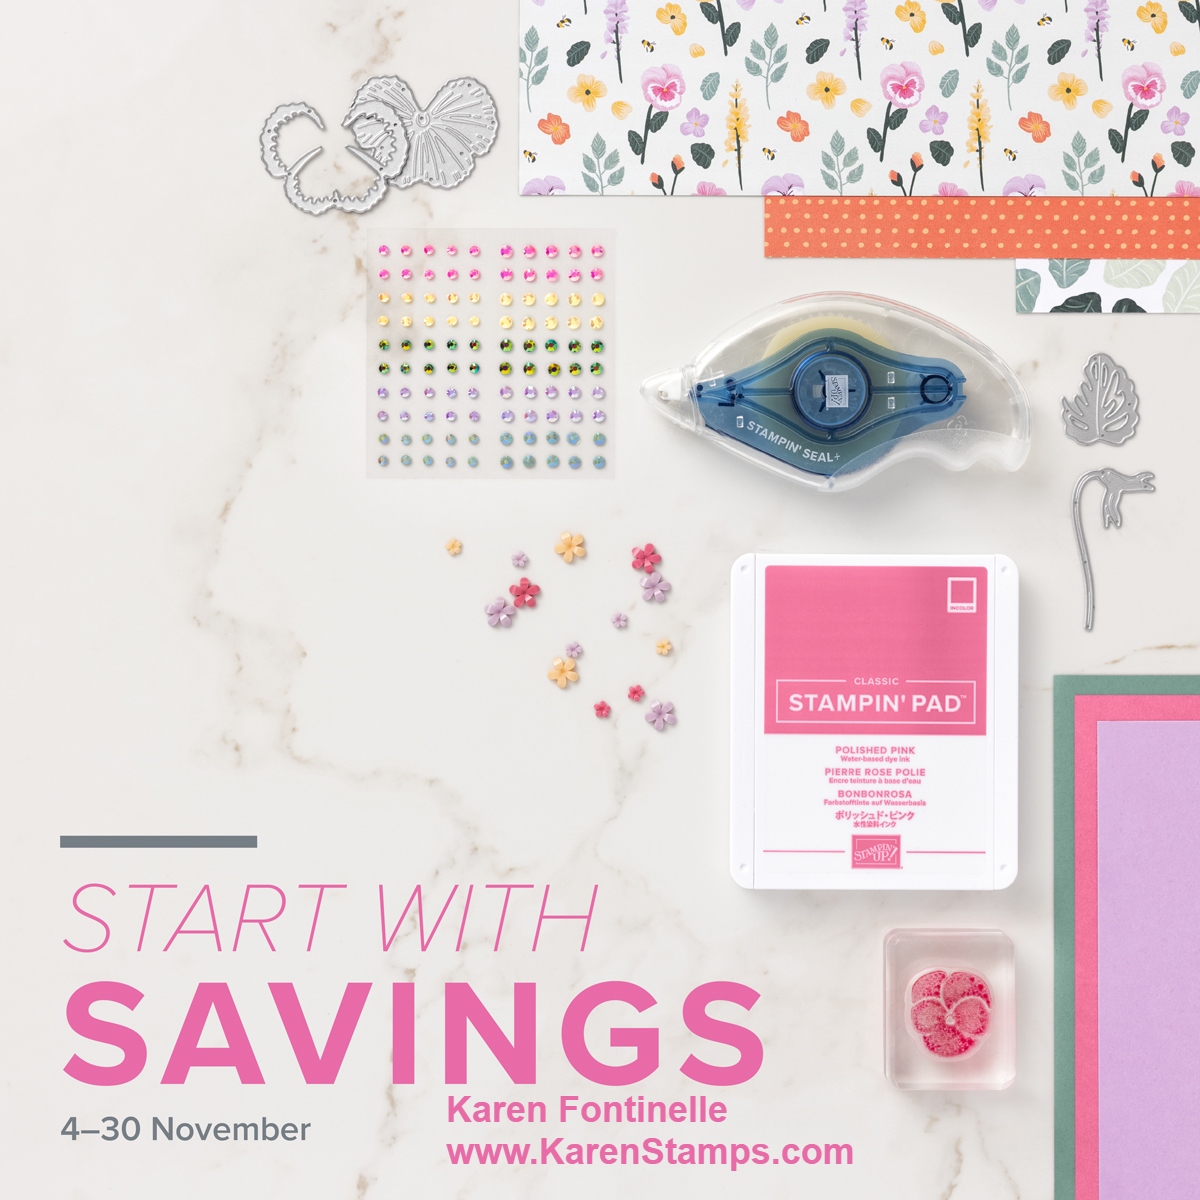
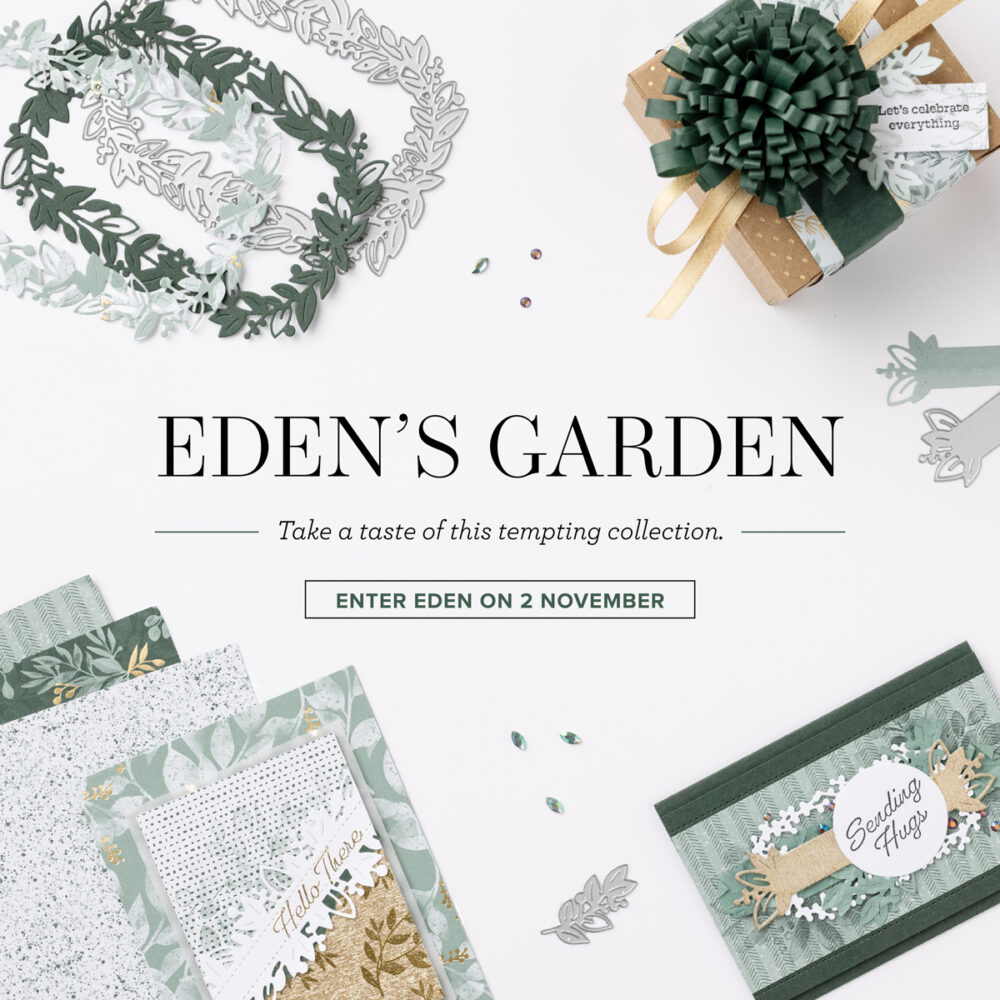
Enter and explore Eden with the Eden’s Garden Collection! This delightful and desirable collection includes early-release products from the January–June 2022 Mini Catalog—a bundle of stamps and dies that’s blooming with beauty and bounty. Plus, exclusive products you can’t uncover anywhere else—a pack of paper patterned with green and gold, a set of specialty sheets for gift-giving and textured touches, and a sparkling set of gleaming gems!
Just as the timeless tale can be told in a variety of versions, these paradisical products can be used to create projects for any occasion—and they make the perfect papercrafting companion.
PRODUCT DETAILS
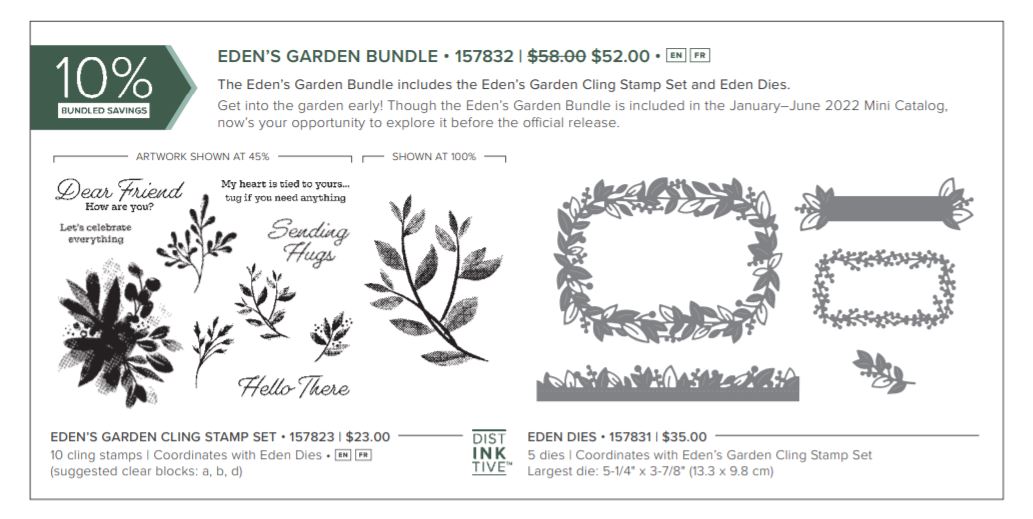
EDEN’S GARDEN CLING STAMP SET 157823
Early-release product from the January–June 2022 Mini Catalog. $23.00
EDEN DIES 157831
Early-release product from the January–June 2022 Mini Catalog. $35.00
5 dies
Largest die: 5-1/4″ x 3-7/8″ (13.3 x 9.8 cm)
Coordinates with Eden’s Garden Cling Stamp Set
EDEN’S GARDEN BUNDLE 157832
Includes the Eden’s Garden Cling Stamp Set and Eden Dies; an early-release product from the January–June 2022 Mini Catalog. $52.00
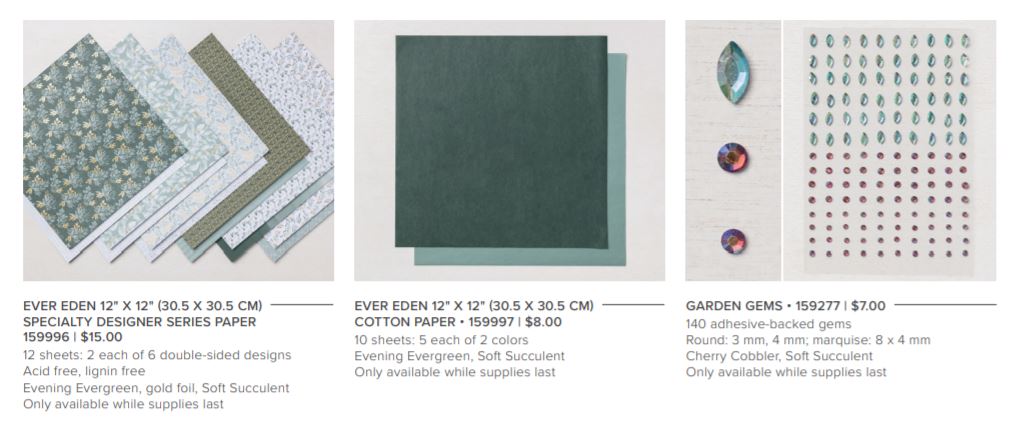
EVER EDEN 12″ X 12″ (30.5 X 30.5 CM) SPECIALTY DESIGNER SERIES PAPER 159996
Exclusive specialty Designer Series Paper; available only during the Eden’s Garden promotion. $15.00 12 sheets: 2 each of 6 double-sided designs Evening Evergreen, gold foil, Soft Succulent. Only available while supplies last.
EVER EDEN 12″ X 12″ (30.5 X 30.5 CM) COTTON PAPER 159997
Exclusive cotton paper; available only during the Eden’s Garden promotion $8.00
10 sheets: 5 each of 2 colors
Evening Evergreen, Soft Succulent
Only available while supplies last.
GARDEN GEMS 159277
Exclusive embellishments; available only during the Eden’s Garden promotion. $7.00
140 adhesive-backed gems.
Round: 3 mm, 4 mm. Marquise: 8 x 4 mm.
Cherry Cobbler, Soft Succulent
Only available while supplies last.
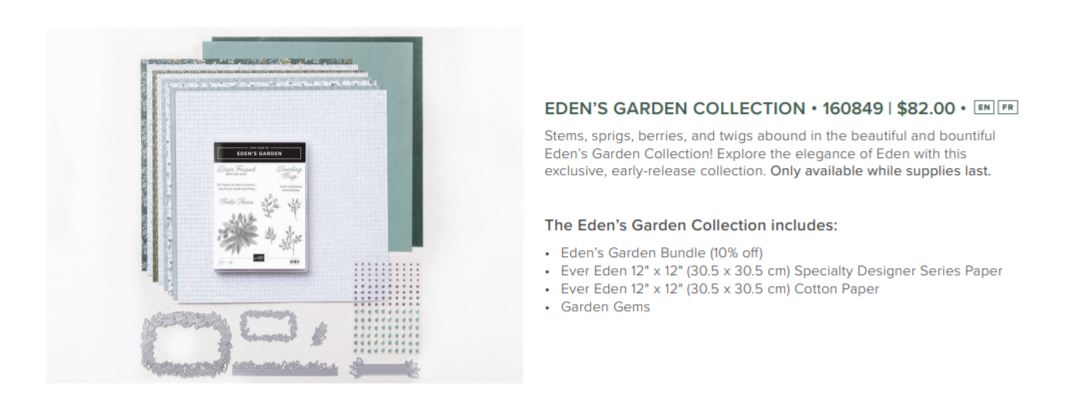
EDEN’S GARDEN COLLECTION 160849
The entire exclusive, early-release collection!
Stems, sprigs, berries, and twigs abound in the beautiful and bountiful Eden’s Garden Collection! Explore the elegance of Eden with this exclusive, early-release collection. Only available while supplies last. You get all these things:
- Eden’s Garden Bundle (10% off)
- Ever Eden 12″ x 12″ (30.5 x 30.5 cm) Specialty Designer Series Paper
- Ever Eden 12″ x 12″ (30.5 x 30.5 cm) Cotton Paper
- Garden Gems
AVAILABLE TODAY, NOVEMBER 2, 2021!
SHOP NOW!