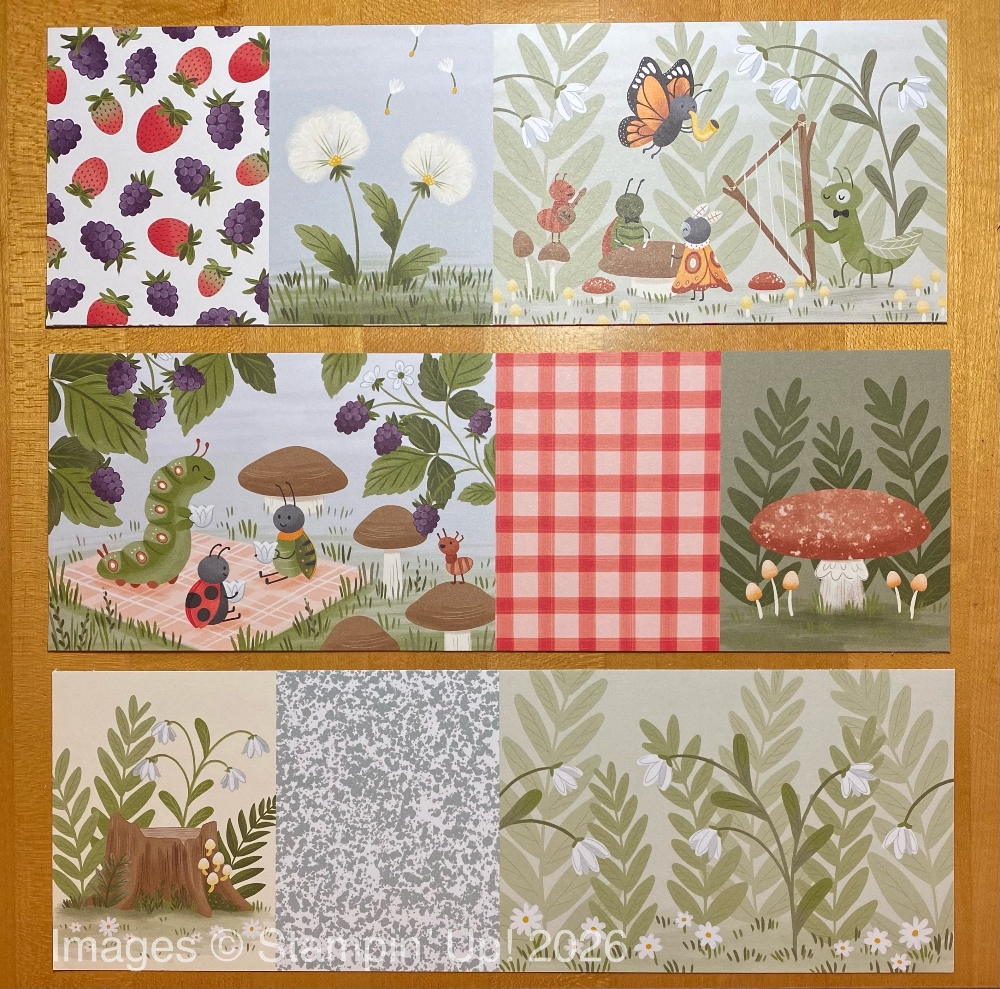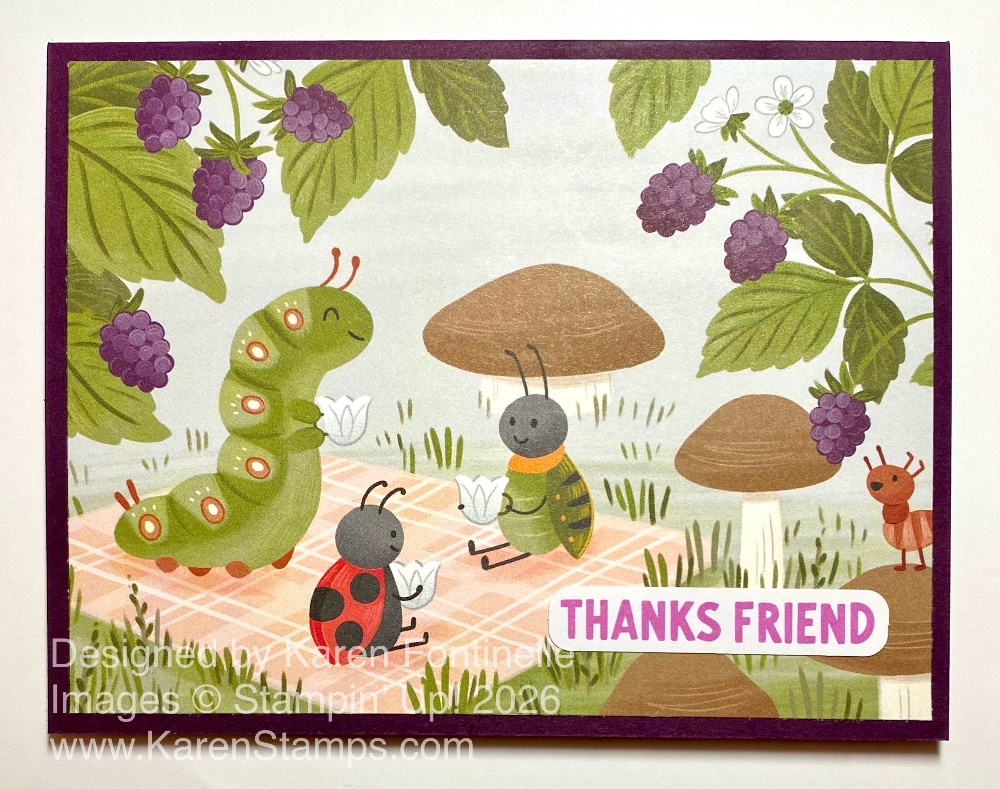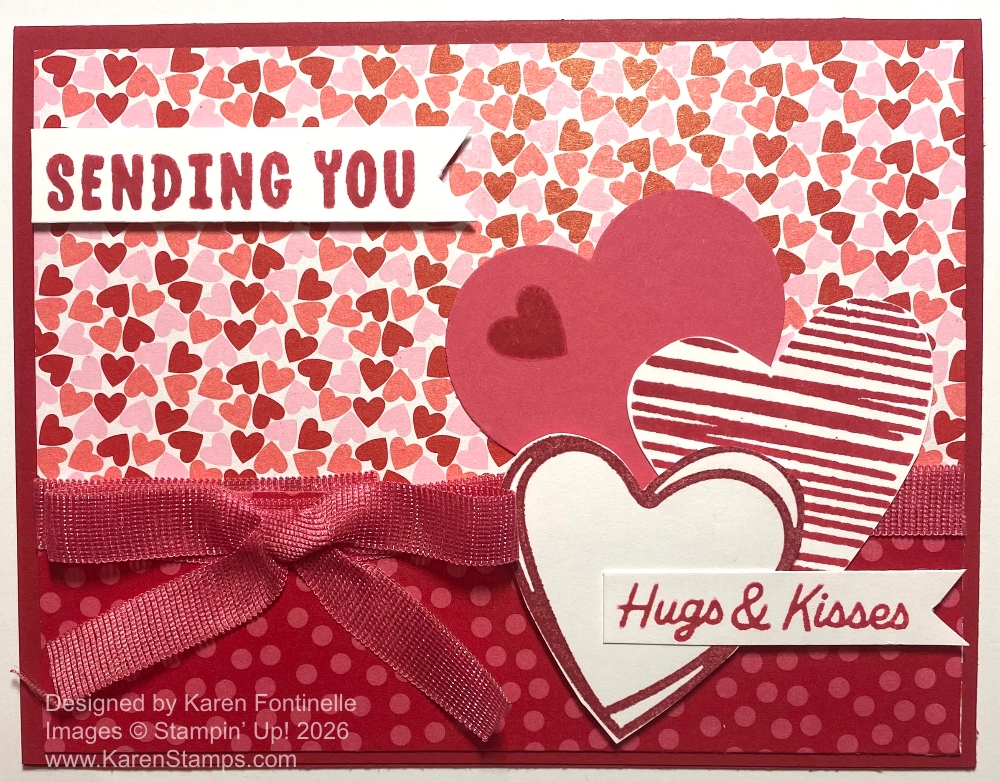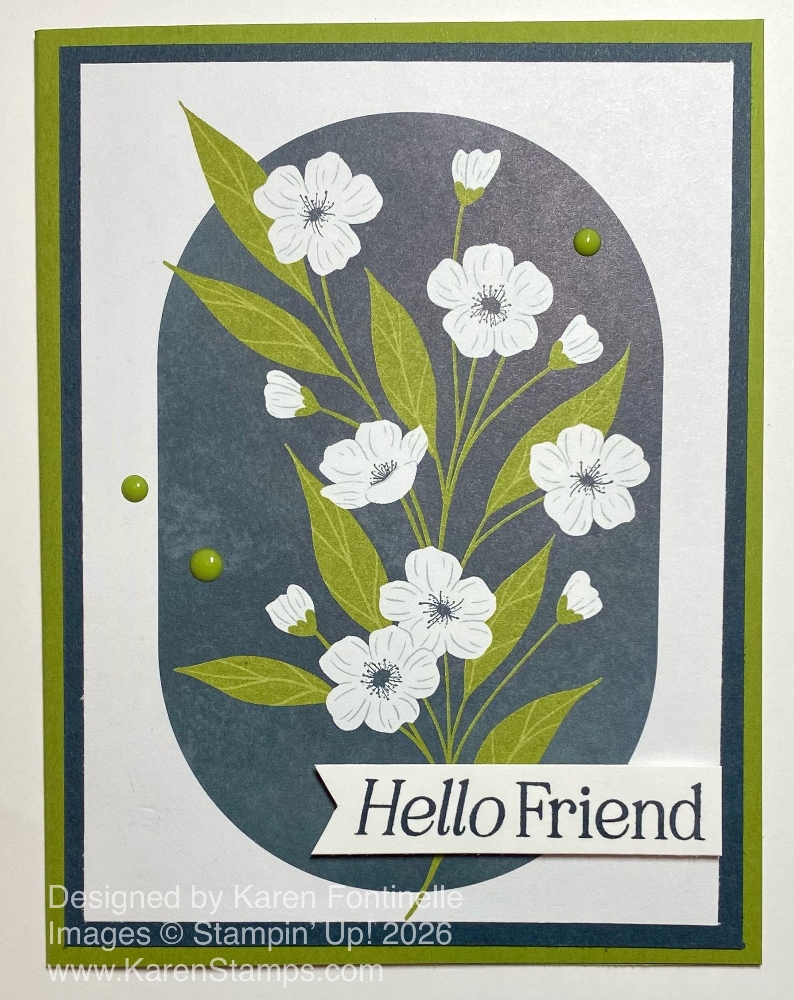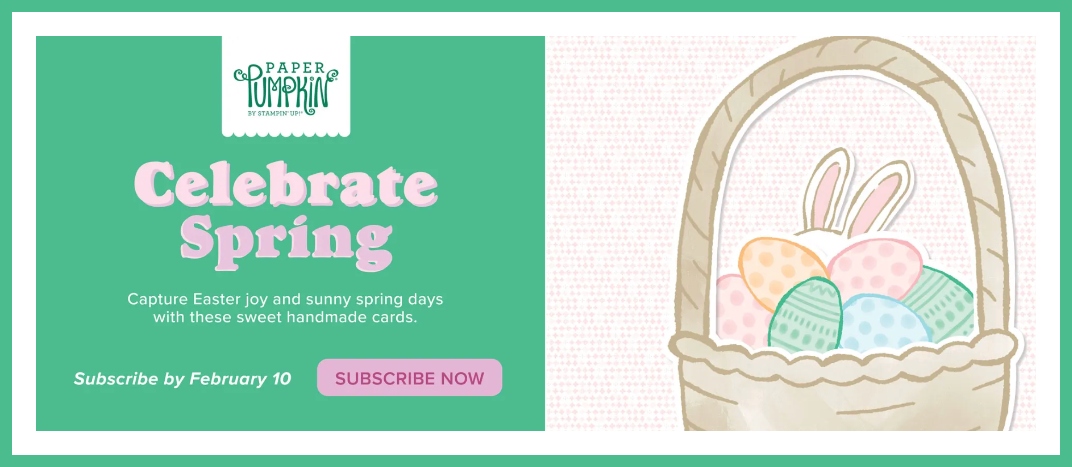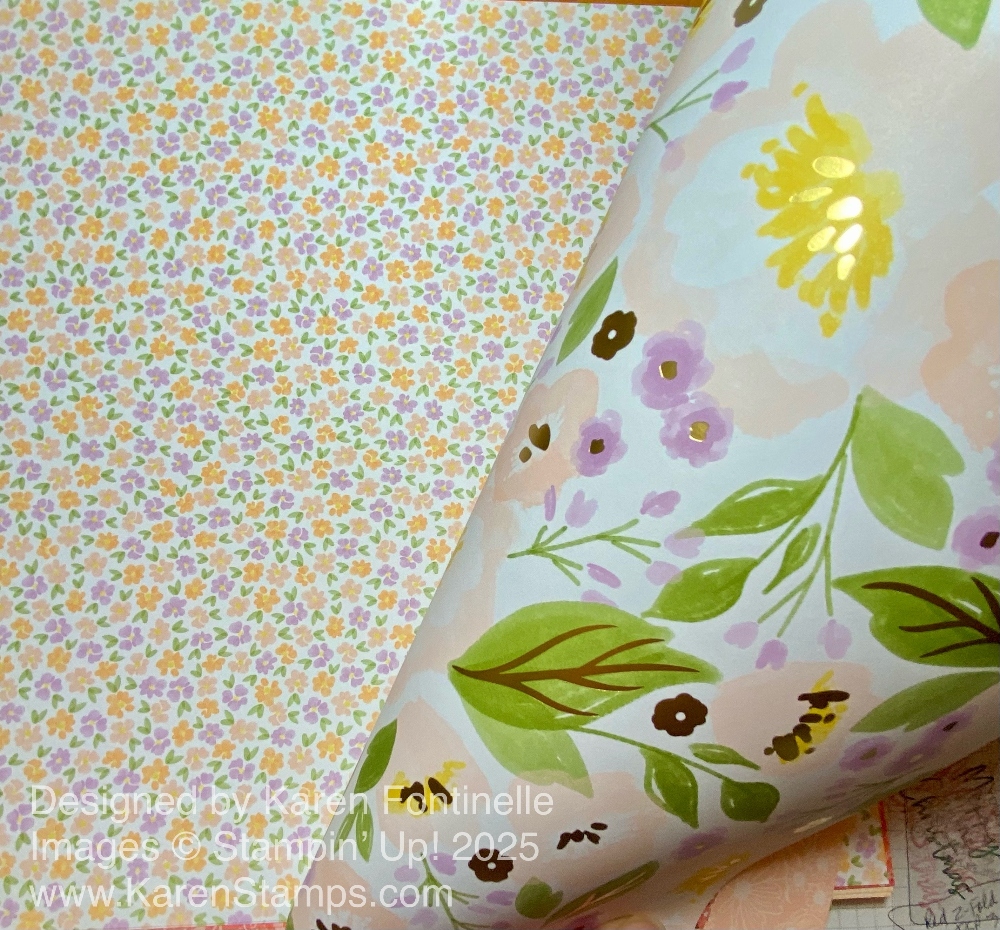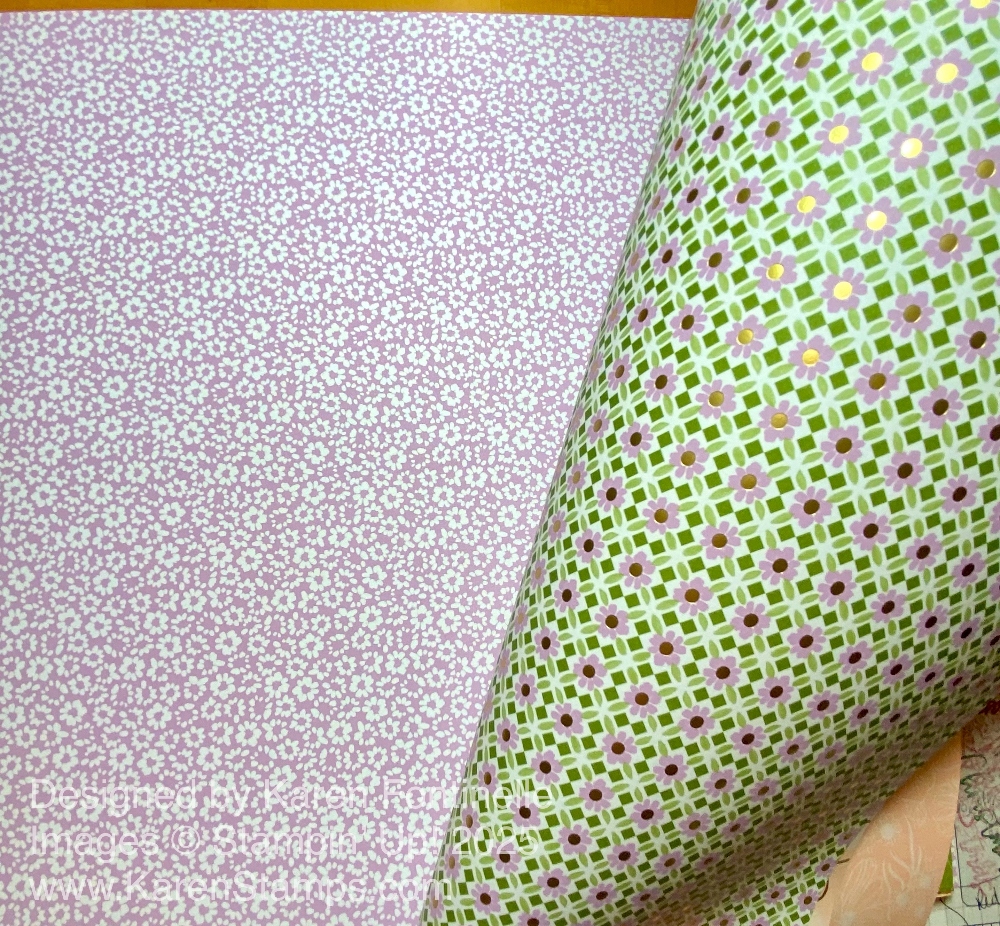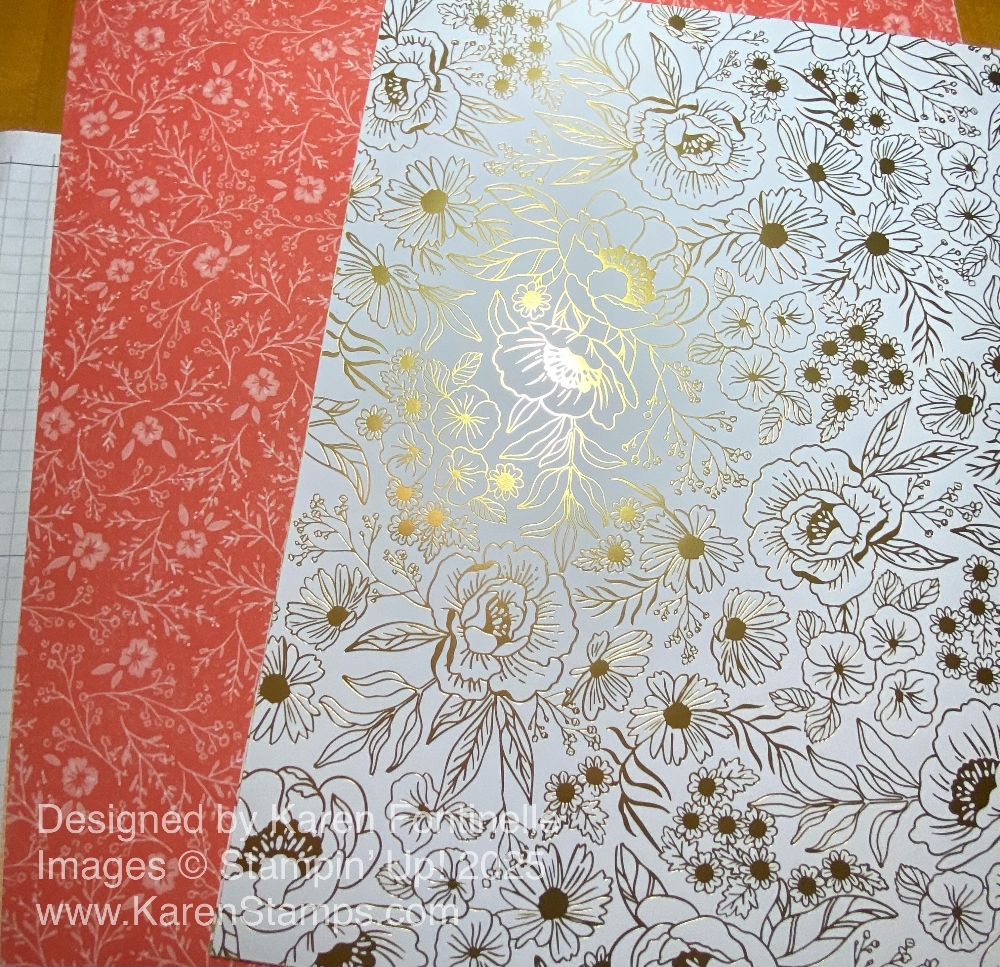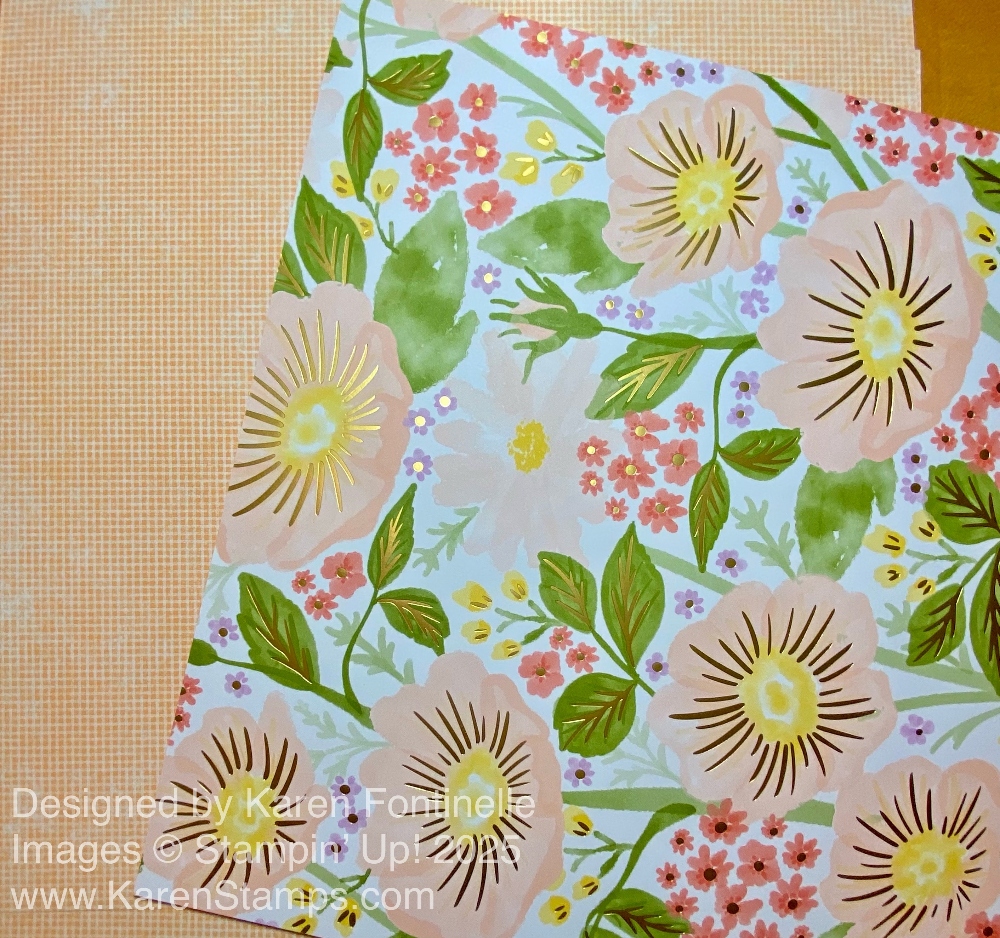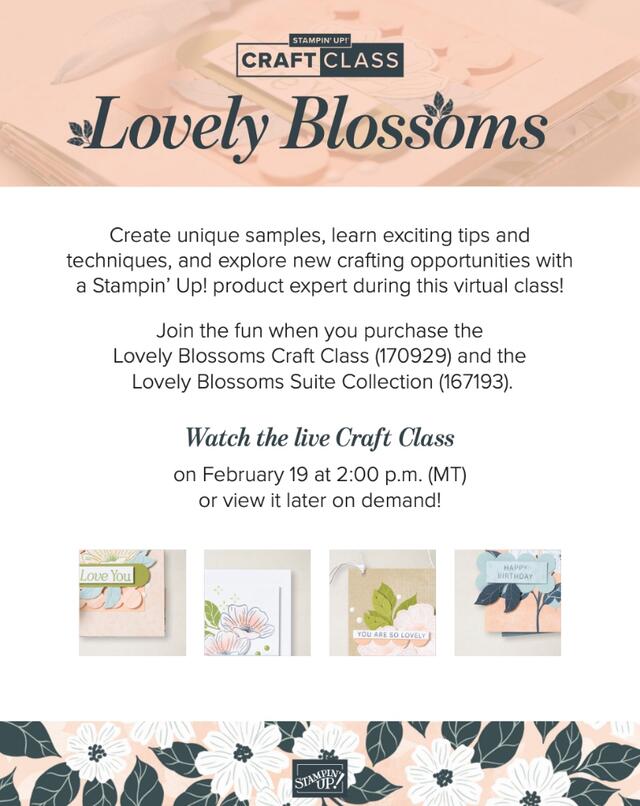
Stampin’ Up! will be holding a virtual craft class using the Lovely Blossoms Suite Collection in February. These craft classes are for Customers and Demonstrators alike!
- Make unique projects using detailed instructions as you craft along with our Stampin’ Up! product experts.
- Learn exciting tips and techniques to further your crafting experience.
- Be inspired to continue crafting long after the class is over!
The Lovely Blossoms Craft Class (170929) can be purchased in the Stampin’ Up! Online Store for $25 beginning Feb. 3 so I can’t link it yet. (Suite not included). It will be available for purchase beginning February 3 and the class will be held on February 19, 2026 in an exclusive Facebook group at 2:00 PM MT. If you miss the livestreamed class, it will be recorded, and you will be able to watch it later at your convenience.
The class will be available for purchase before AND after the class is livestreamed. The recording will be available immediately after the livestream.
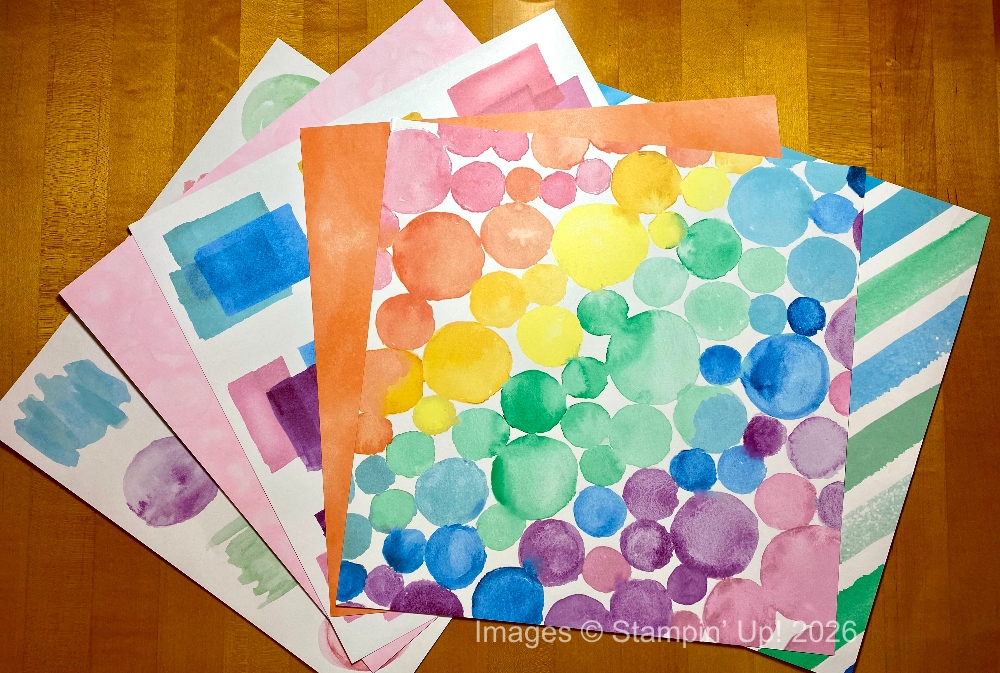
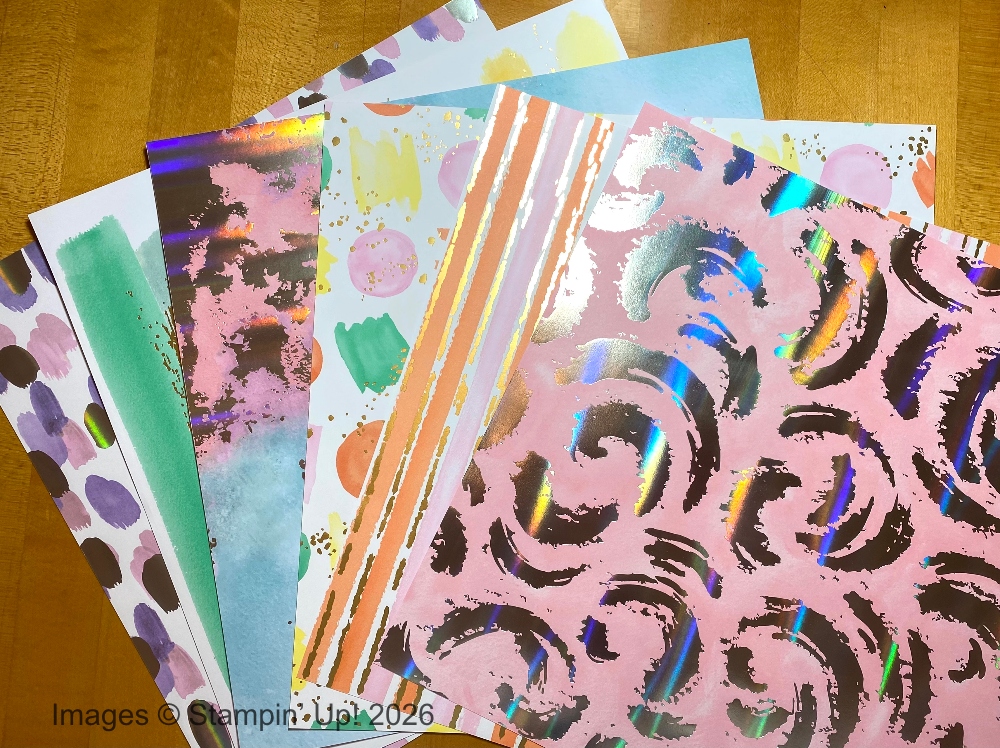
You are not required to purchase the Lovely Blossoms Suite Collection or any supplies. You could watch the class, use whatever supplies you have, or purchase a few things from the Suite and go back later if you wish and order some more! You will learn techniques for clean and simple projects.
Join the Craft Class Facebook group. After you purchase the Craft Class, you’ll receive an email with a link to an exclusive Facebook group. To view this group, you’ll need to enter the name and email address you used when you purchased the Craft Class; you’ll also need to enter your Craft Class order number. With this information, the group administrator can admit you to join the group. Please allow at least 24 hours for the group administrator to admit you. If you aren’t admitted to the group, you won’t be able to view the class. Once you’re on the Facebook group, you can download the instructions for the projects you’ll make during the class. We recommend you review the instructions before you view the class so you can have everything prepped and ready to go.
There are two previous craft classes also available for purchase in the Online Store….
Brushed With Beauty Craft Class
Traditions of Christmas Craft Class
Just put “Craft Class” in the Stampin’ Up! Search Box or click on the links here.
If you like watching other people stamp and show you tips and tricks as I LOVE to do, then try out one of these classes!