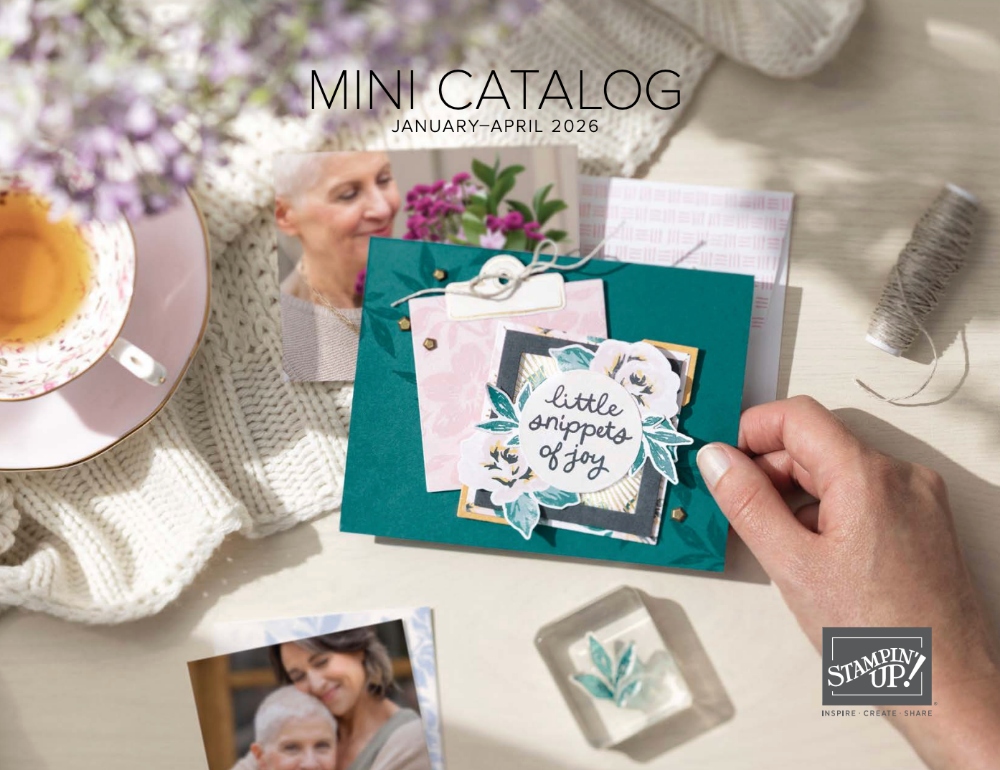
And not just the January-April 2026 Spring Mini Catalog will be available, but also new January Online Exclusives beginning January 6th! PLUS a new Product of the Month and three new Kits in the Kits Collection! Now that’s a day worth circling in red on your calendar! It’s all coming in the New Year on January 6th! At the same time, the Holiday Mini Catalog will end on January 5th, but now we have this new system of some carryover products being shown in the Online Exclusives and retiring products going in the Last Chance Category. I think I have that right, anyway!
Here are some sneak peeks of the new Mini Catalog and Online Exclusives products that I ordered before Christmas and barely got to look at until now.

These stamp sets are all in the new Spring Mini except for the Lovely Arrangements Stamp Set is an Online Exclusive in the Lovely Blossoms Suite Collection. The Easter Basket Dies (part of the Easter Basket Bundle which includes the stamp set and dies) is next to the stamp set and says “Stampin’ Cut & Emboss” at the top with the name of the dies in tiny print above the images. Remember, these are all in the new packaging of the plastic sleeves rather than the cases for the stamp sets so if you want to, you can slide the dies in with the stamp set. I haven’t thought about yet how I will organize these sets with the new packaging.

Three new Spring Mini ephemera packs, the bottom one being vellum with gold foil. I have been loving using the ephemera packs for “quick and easy” cardmaking or other projects!

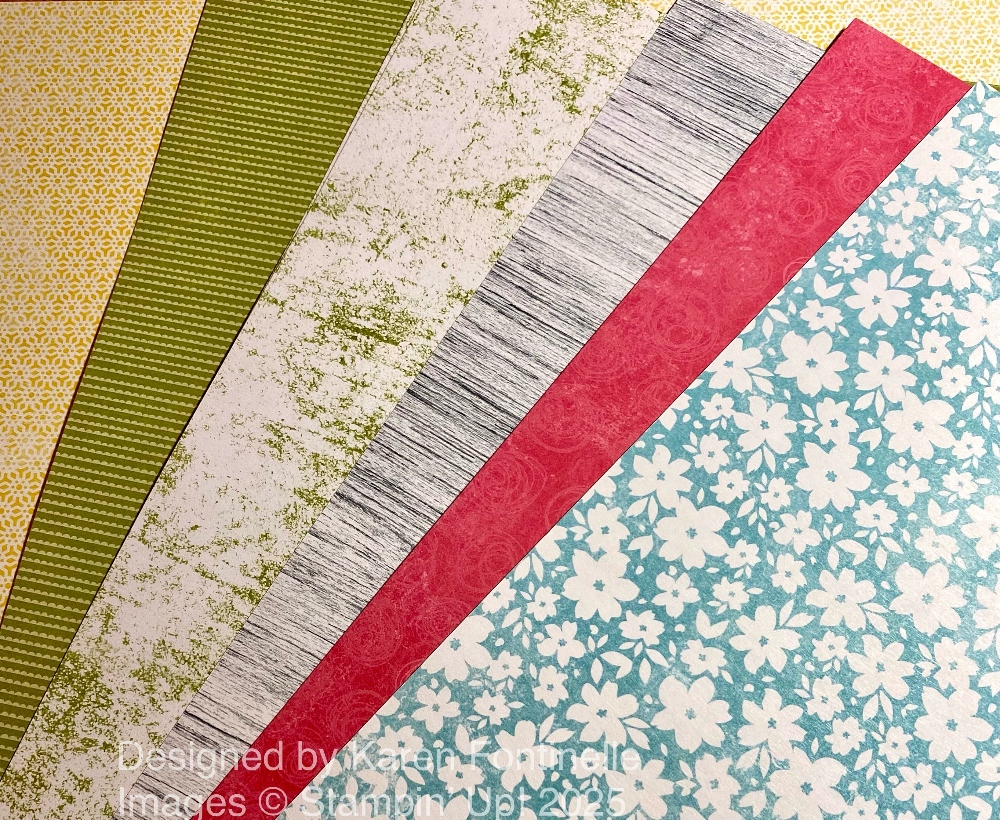
I didn’t open the packages, but here are the new designer series papers I ordered! Some floral, some Valentine’s, some Easter, and BUGS! Living in Houston, I’m not one to make any cards with bugs on them because we see too many of the real creatures in our daily lives living here in the tropics! But this Cute As A Bug Suite Collection is pretty cute so I did get some bug stamps and bug paper! However, the Cute As A Bug paper isn’t all bugs – it has strawberries and mushrooms on separate sheets as well so I can tolerate that! But these bugs are CUTE!
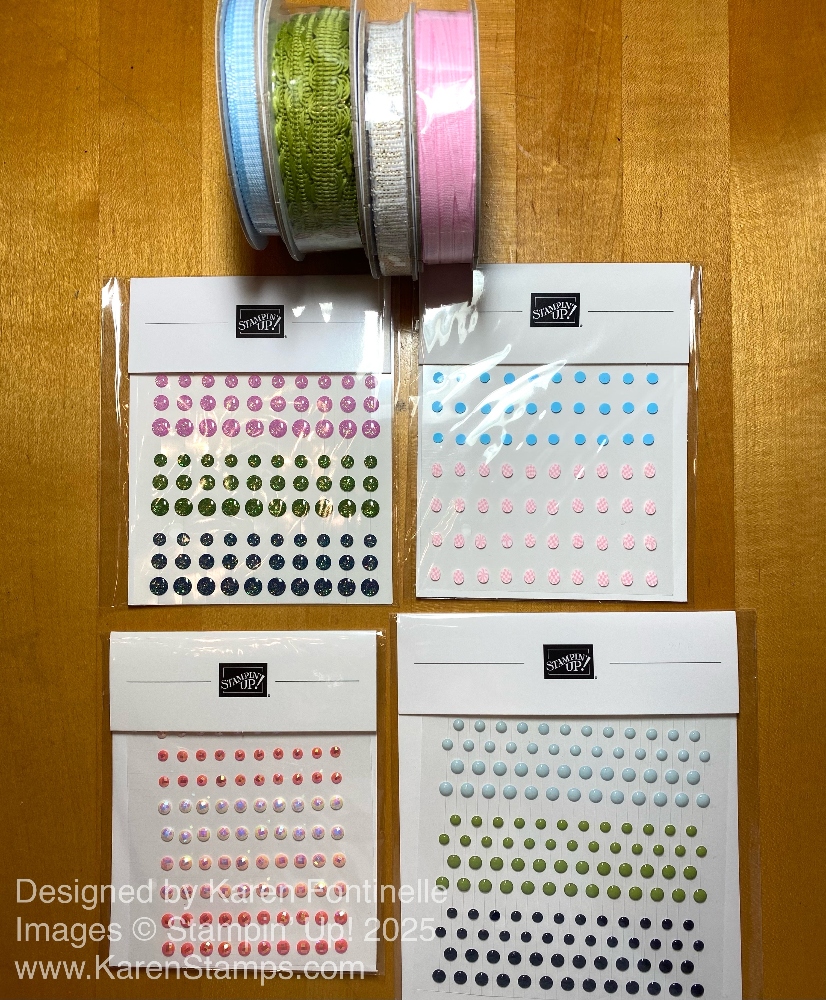
Some new ribbon and embellishments for all our fun projects!


The Product of the Month for December, True Blue Florals Designer Series Paper, is still available as I write this and can be purchased with a minimum order, after any Rewards or coupons, of $75. When the January POM comes out, if the December POM is still available, you can choose either one with your $75 order. One to a customer.

Beautiful Pastels Shimmer 12″ x 12″ Specialty Paper, perfect for springtime and Easter cards and projects! The colors are Bubble Bath, Lemon Lolly, and Pool Party.

The two photos above show both sides of the new Mixed Up Patterns 12″ x 12″ Designer Series Paper. This paper coordinates with Suites and products in the new Spring Mini.

If Christmas is over, Valentine’s Day is not far behind! This cute Love Notes 6″ x 6″ Designer Series Paper in the Spring Mini is much like other paper we have had with cut-apart smaller images to use as parts of your cards or other projects and scrapbook pages. But other sheets are regular 6″ x 6″ designer series paper so you get both in one pack!

This may be a little difficult to see, but it is one sheet of diecut flowers and foliage. This is the Covered In Flowers Accents. The whole sheet is white so you can use as is or color the pieces as you see fit. It is called “paperboard” and is thicker than designer series paper. I used it on a card my newsletter subscribers will see tomorrow (so sign up in the red box if you want to receive my newsletters on Tuesdays!) and I liked using the flower very much. They are diecut so you just poke out the pieces you want. For that card I just left my flower as is. Another time I will try coloring and see how it turns out. The only thing is, as I said, it is just one sheet, so you may want multiples.
So this gives you a little peek into what is coming next week, January 6th, in the new Spring Mini and the Online Exclusives for January. Plus there will be three new Kits in the Kits Collection and new Product of the Month (POM). Always remember to check the Last Chance list as well before you place your order and try to find a bargain!