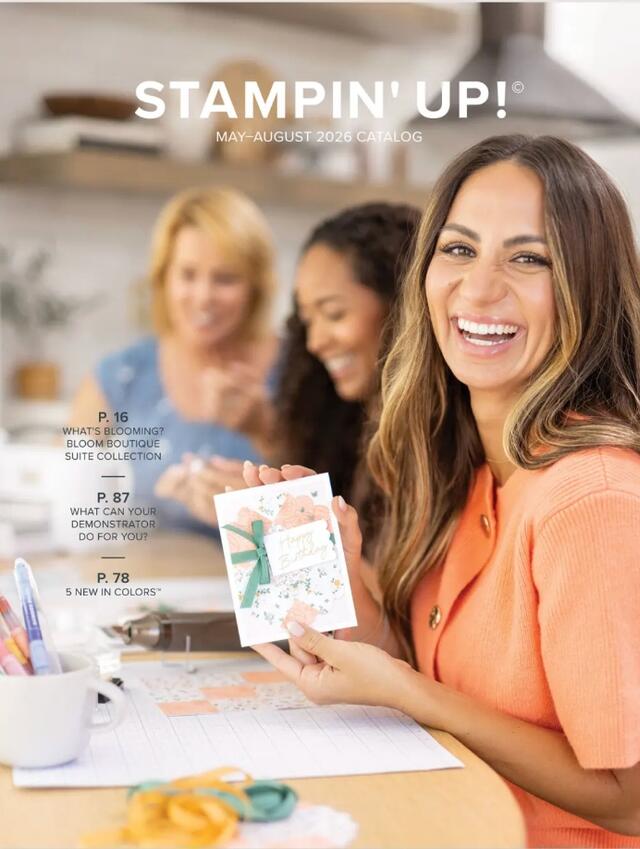
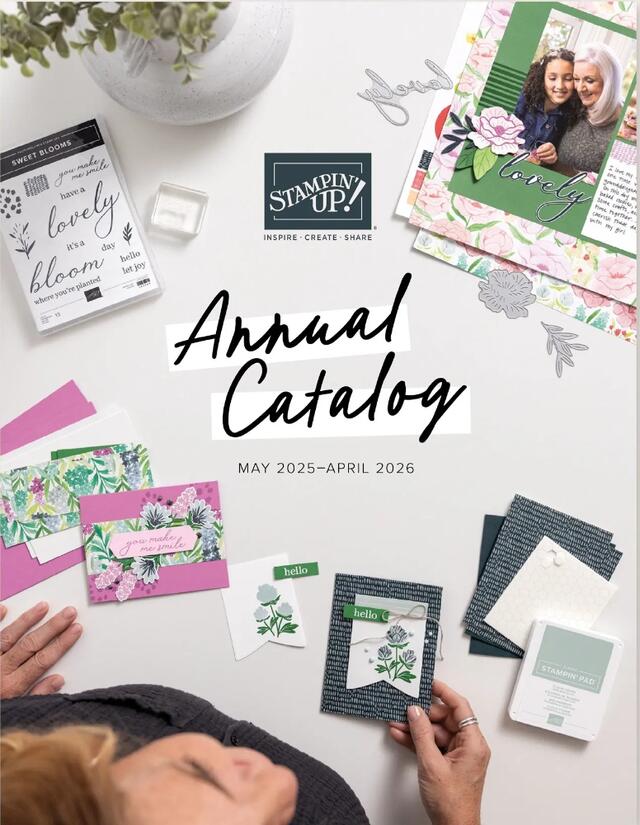
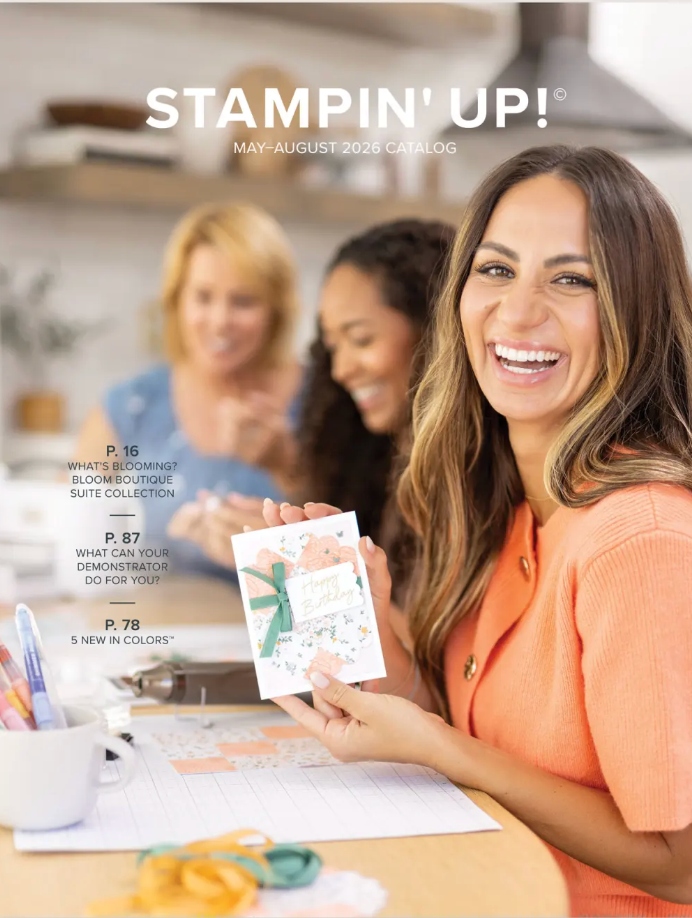
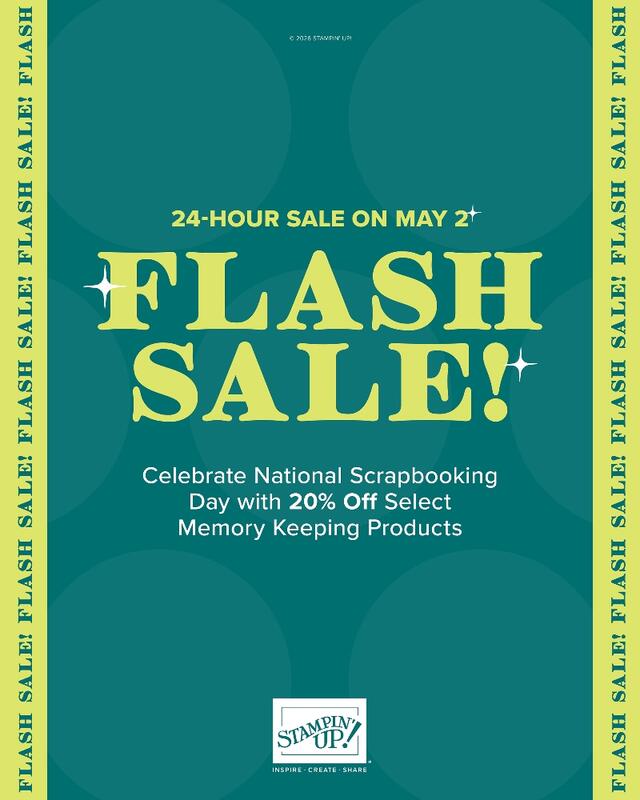
The newest Stampin’ Up! Catalog is about to be released in less than a week! It will be called the May-August 2026 Catalog, as Stampin’ Up! will have three catalogs a year, rather than an Annual Catalog and a couple of seasonal Mini Catalogs. We will also have new Online Exclusive products every other month, so it will be fun to have new products coming out so often, rather than once a year in the Annual Catalog.
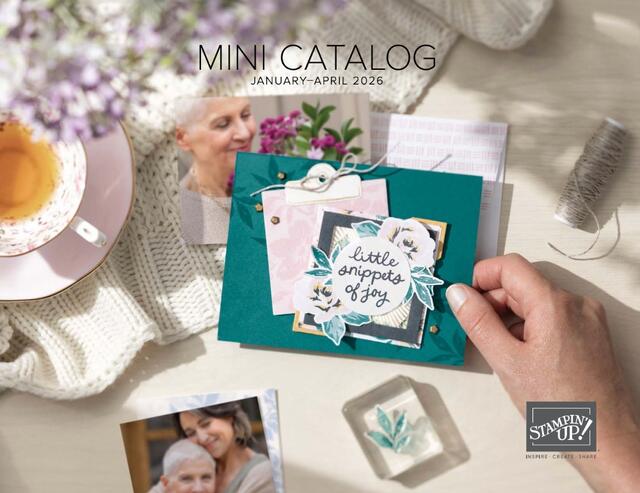
Demonstrators are able to preorder new products so that we can become familiar with them so we can tell our customers about them. Here are the products I preordered from the May 2026 Catalog, which will go live on Tuesday, May 5th! Last day for the current Annual Catalog and Spring Mini Catalog will be Monday, May 4th.
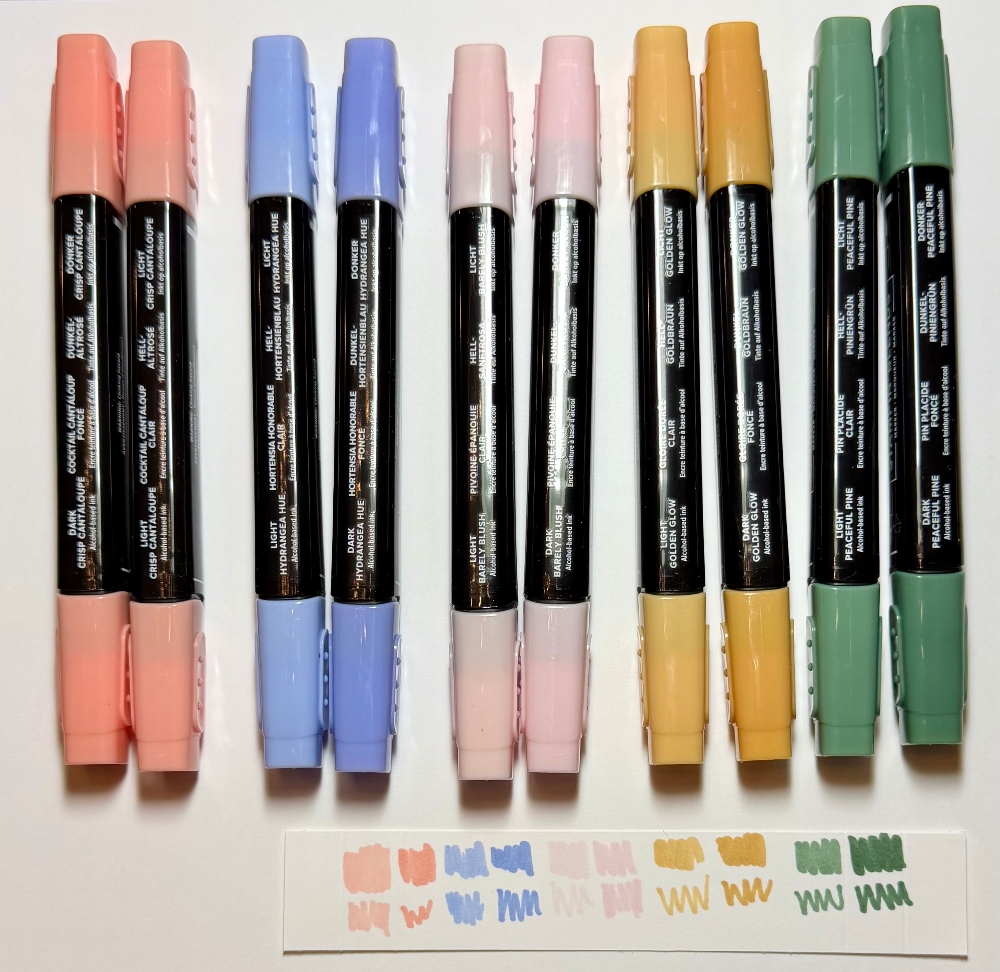
Here are the new In Colors 2026-2028. From left to right, Peaceful Pine, Barely Blush, Hydrangea Hue, Golden Glow, and Crisp Cantaloupe. Barely Blush is very light. Crisp Cantaloupe is a color we had as an In Color in 2013-2015 so you may still have the ink pad or cardstock if you have been stamping for years!
Always check your new Stampin’ Blends to make sure one isn’t dried out or defective. These were all perfect. I used a scrap piece of Basic White to just scribble a bit with each color, both the brush end and the bullet/fine tip end. Crisp Cantaloupe, Hydrangea Hue, Barely Blush, Golden Glow, and Peaceful Pine.
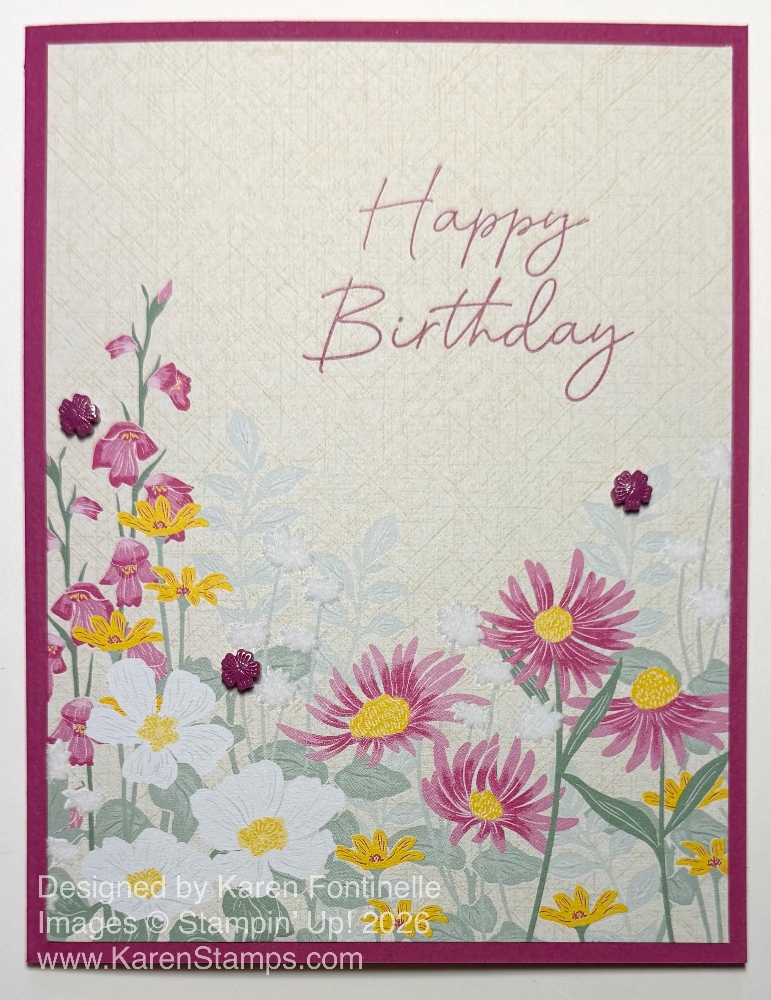
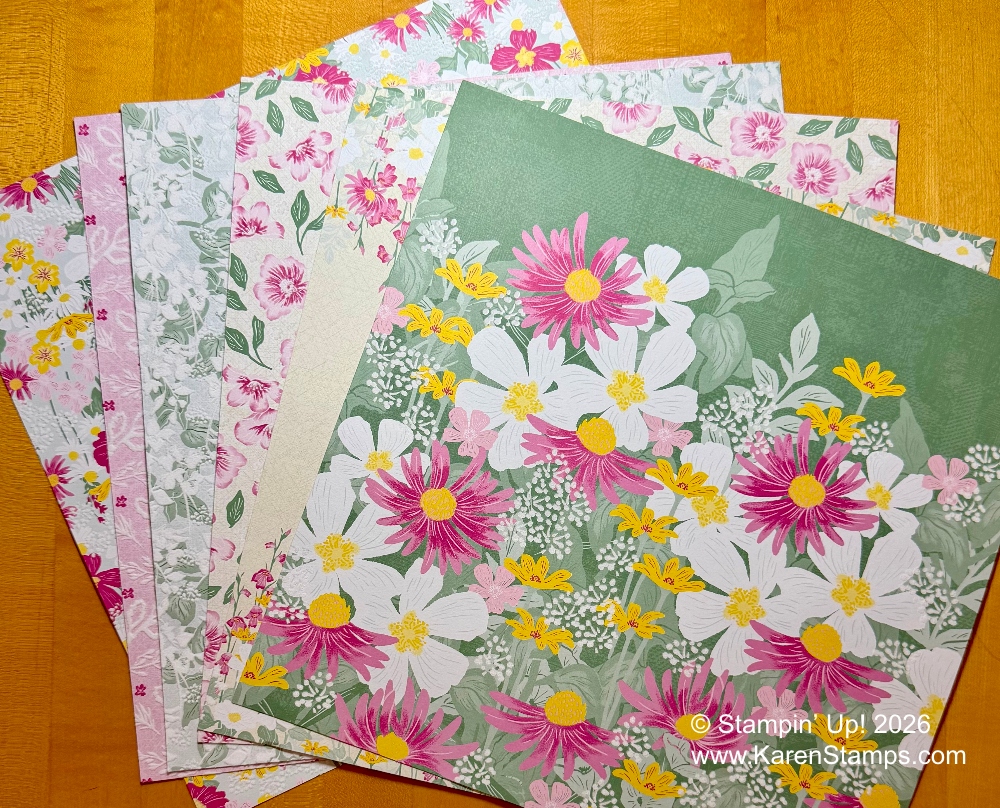
This Velvet Meadow Designer Series Paper actually has specialty flocking on these main sides and soft, generic patterns on the other sides.
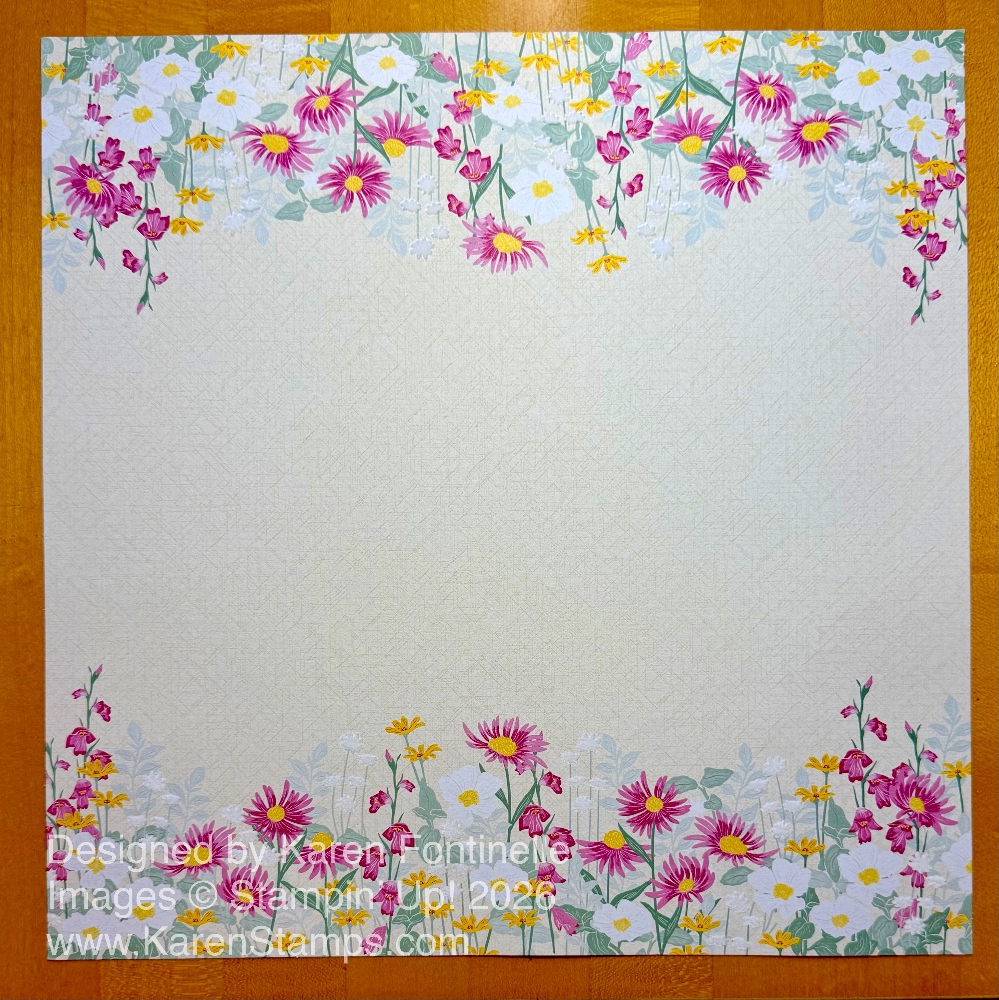
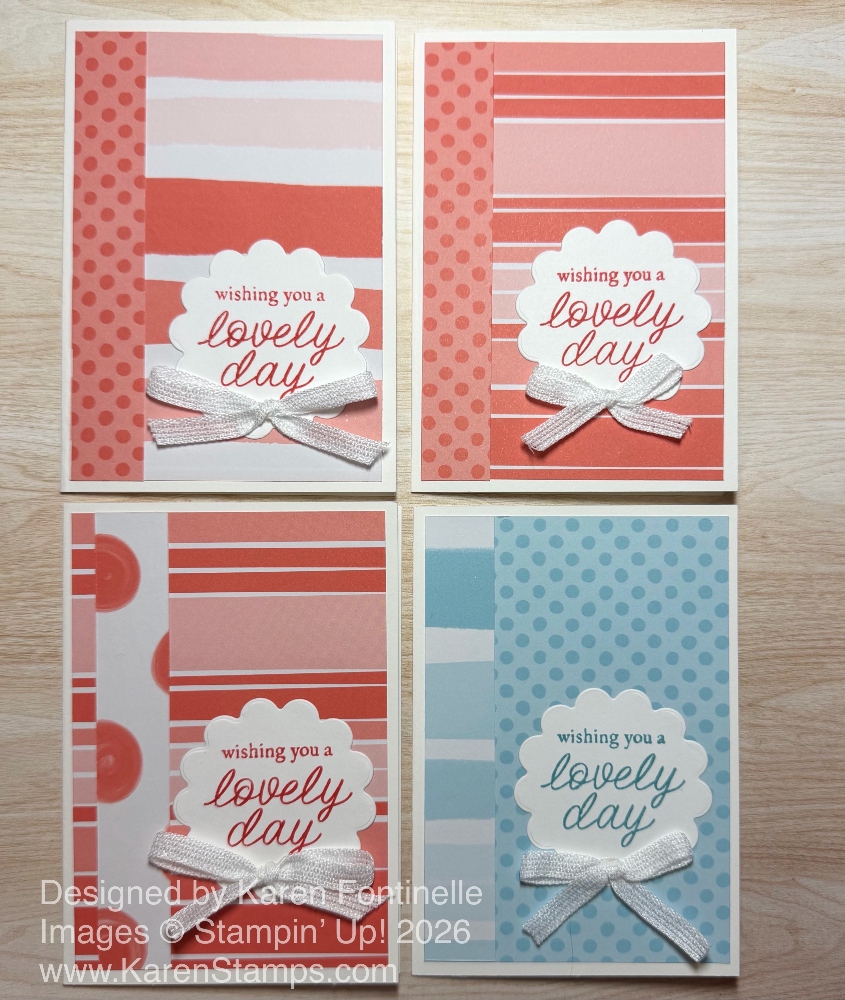
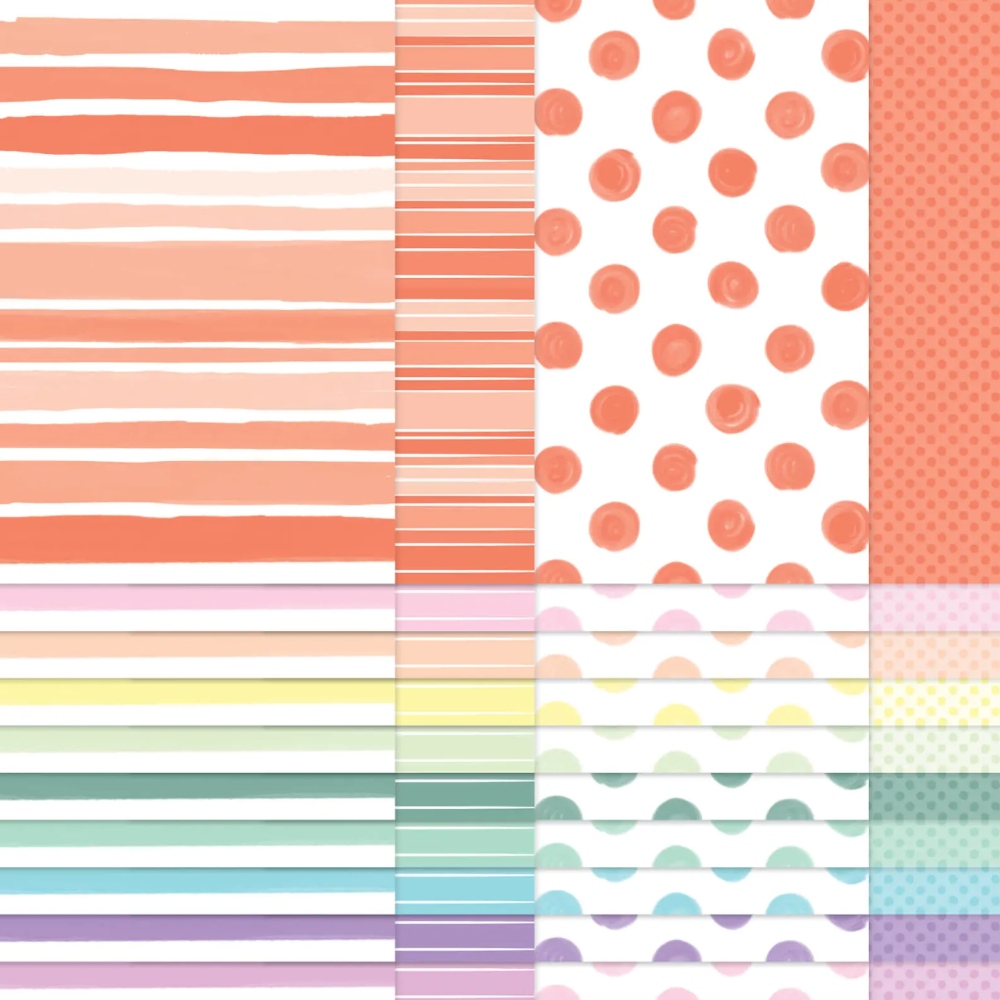
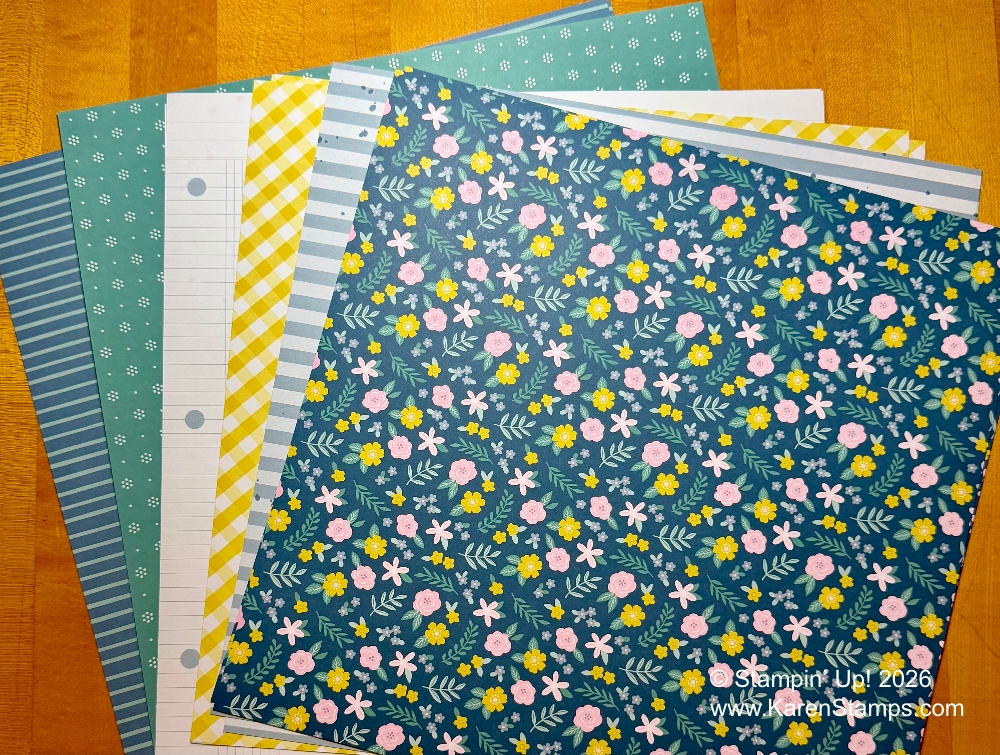
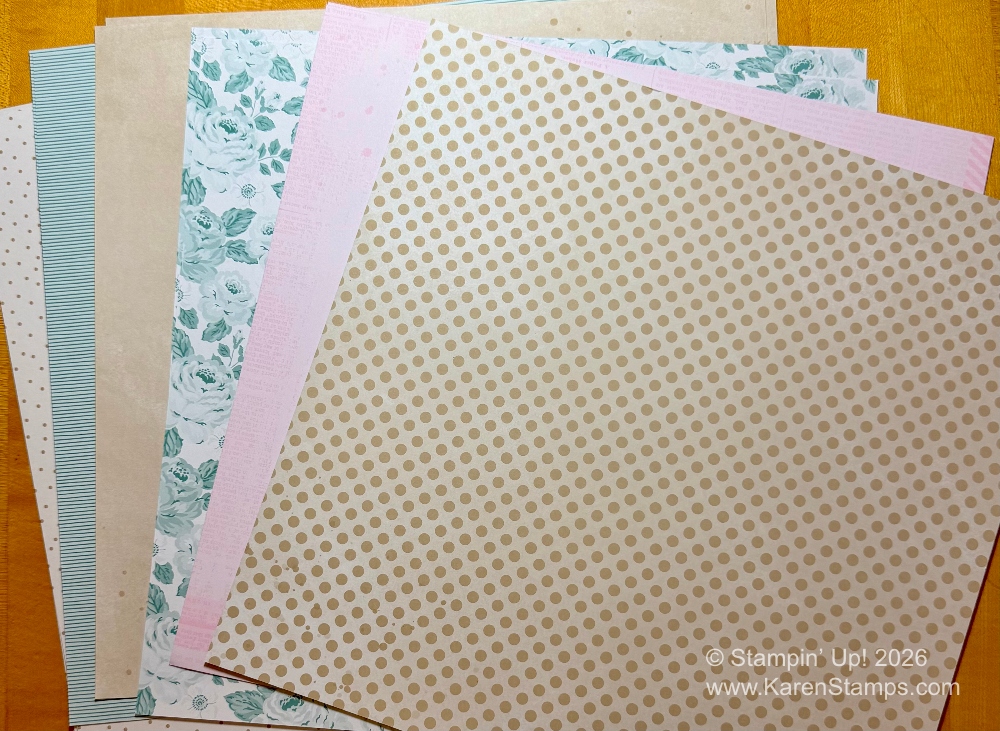
This is the Everyday Essentials Mix & Match Designer Series Paper, which just has an assortment of all kinds of patterns to “mix and match” with a variety of themes, occasions, and styles.
This paper is “the other side” of the above Everyday Essentials Mix & Match DSP.
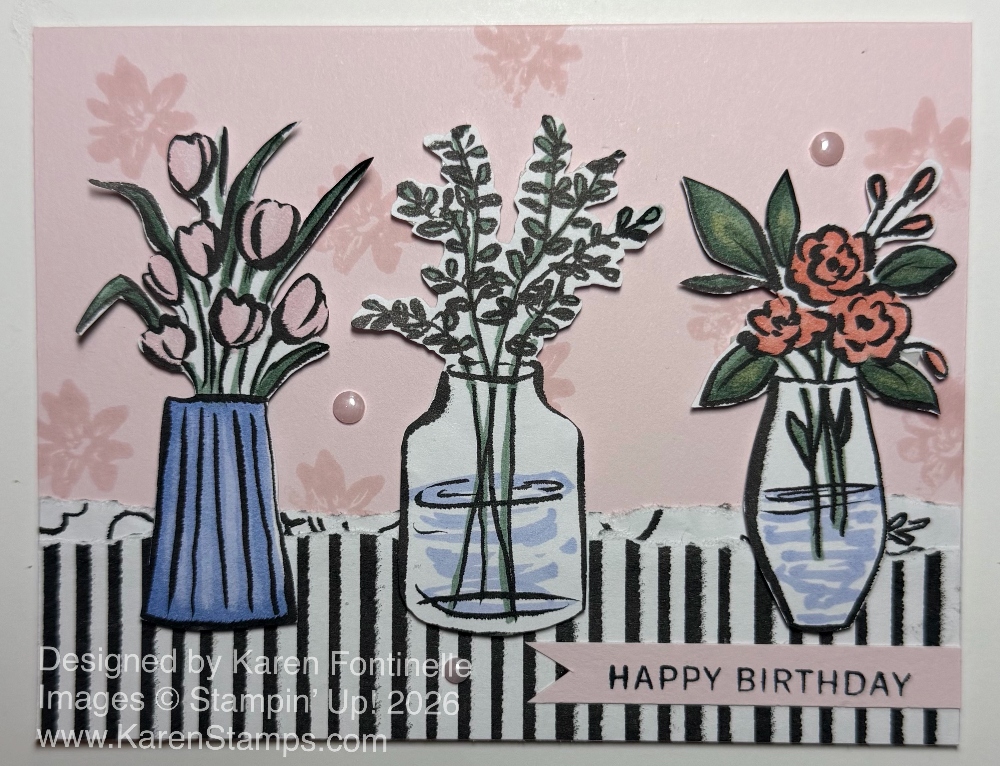
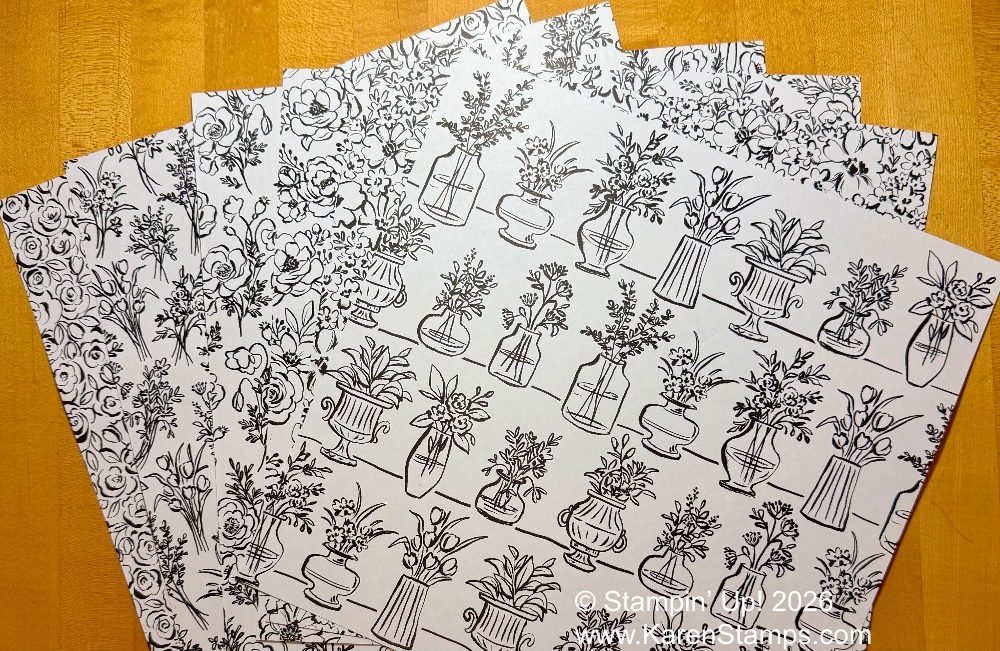
This is the Artisan Sketched Garden Designer Series Paper. If you like black & white and/or you like coloring, this paper is for you! I only photographed one side but besides the florals, there are dots, stripes, and more so you will something for anything!
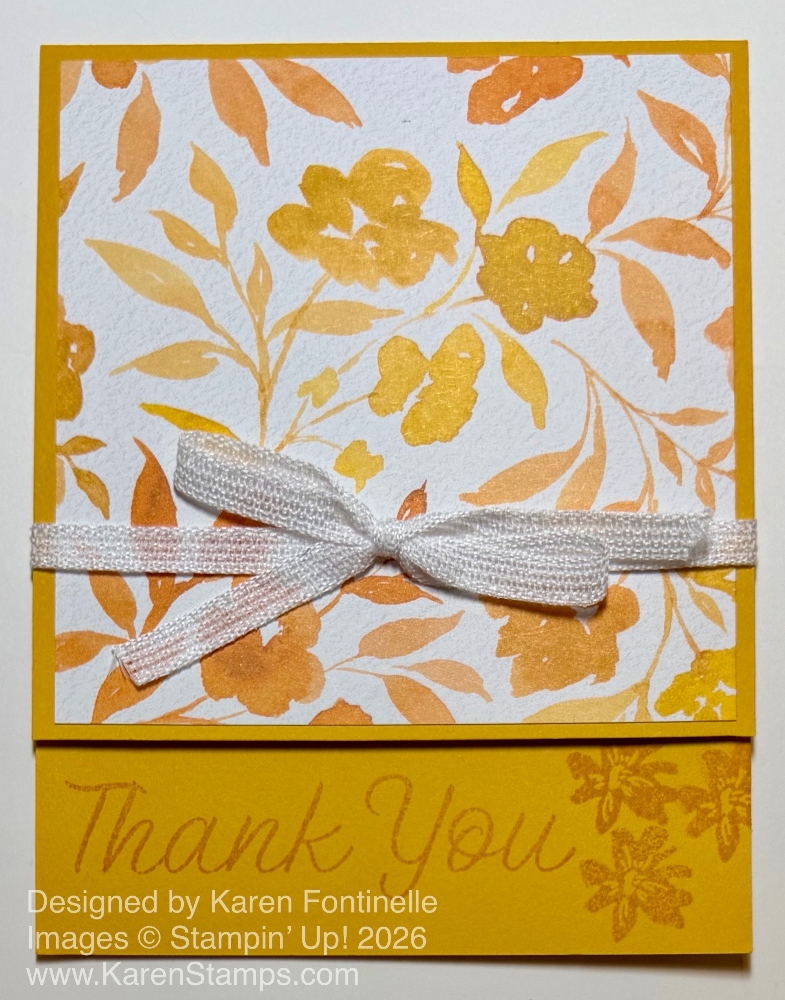
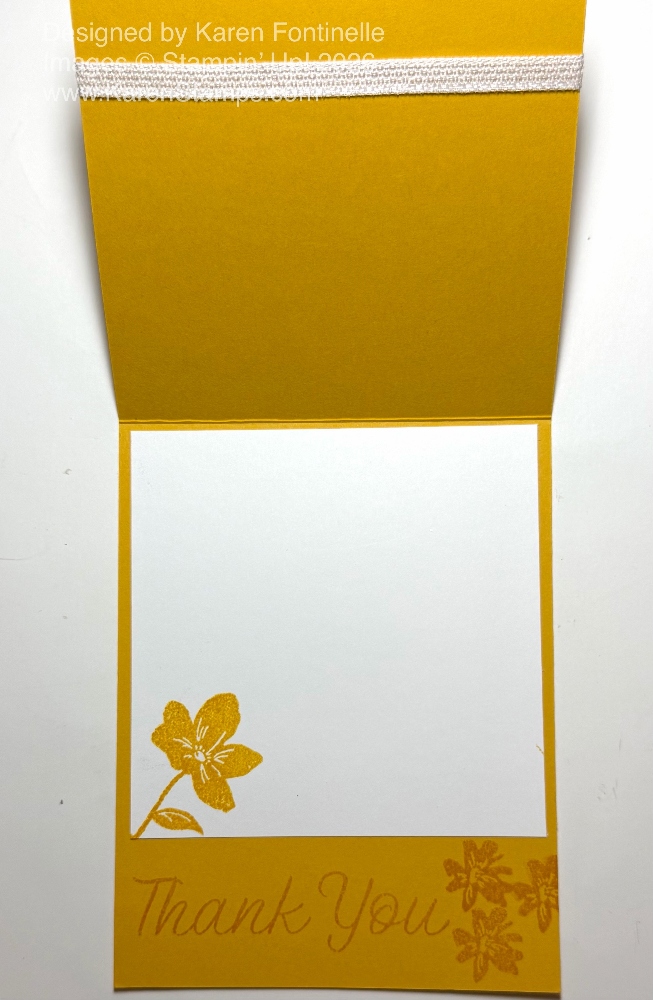
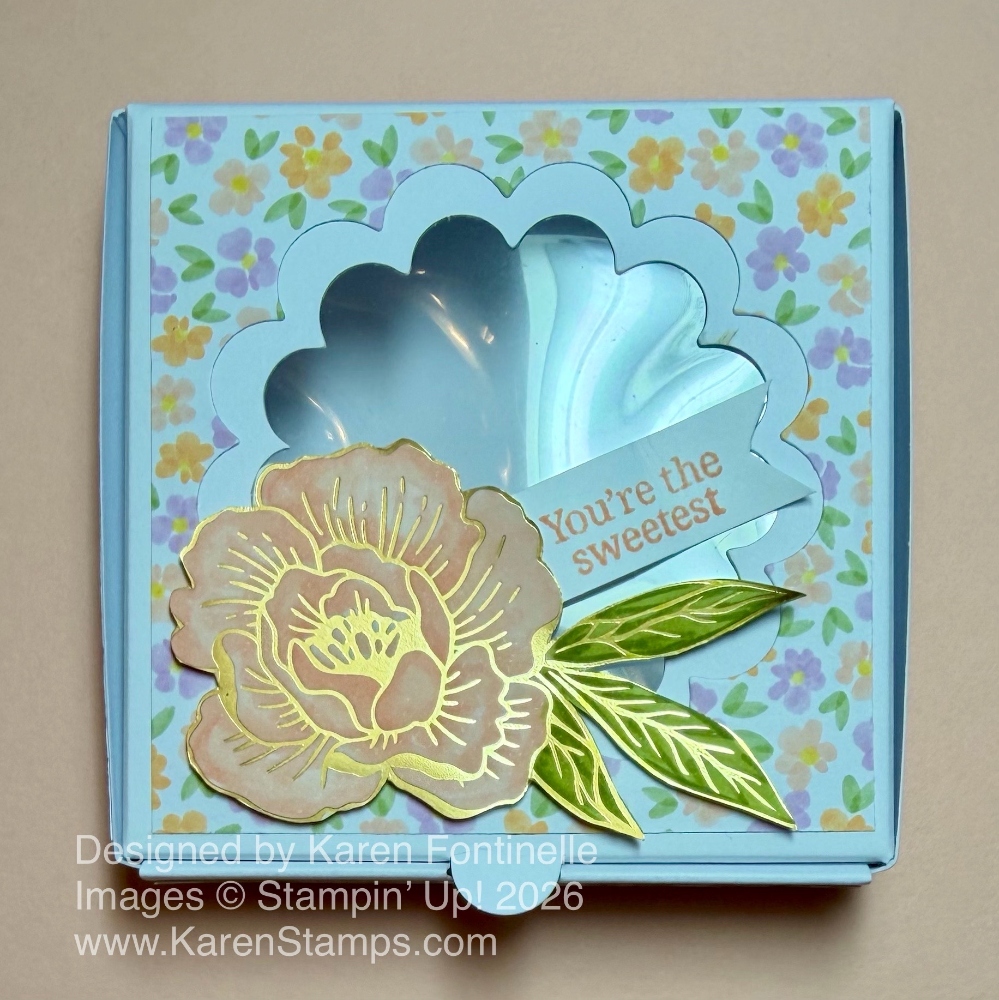
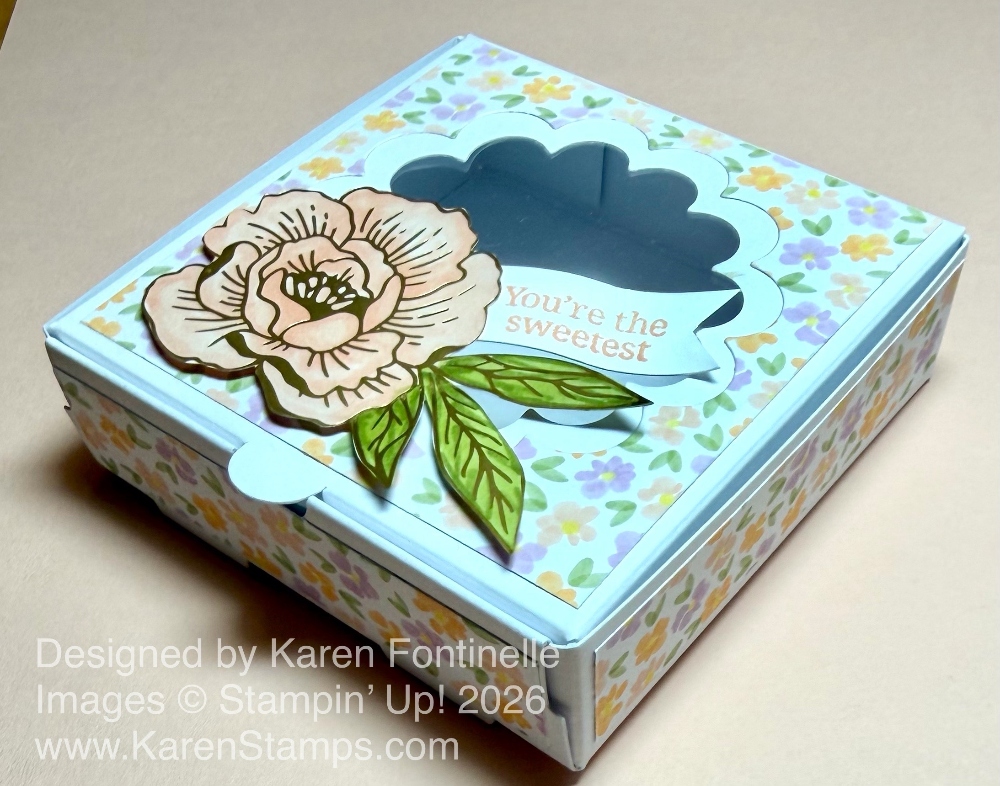
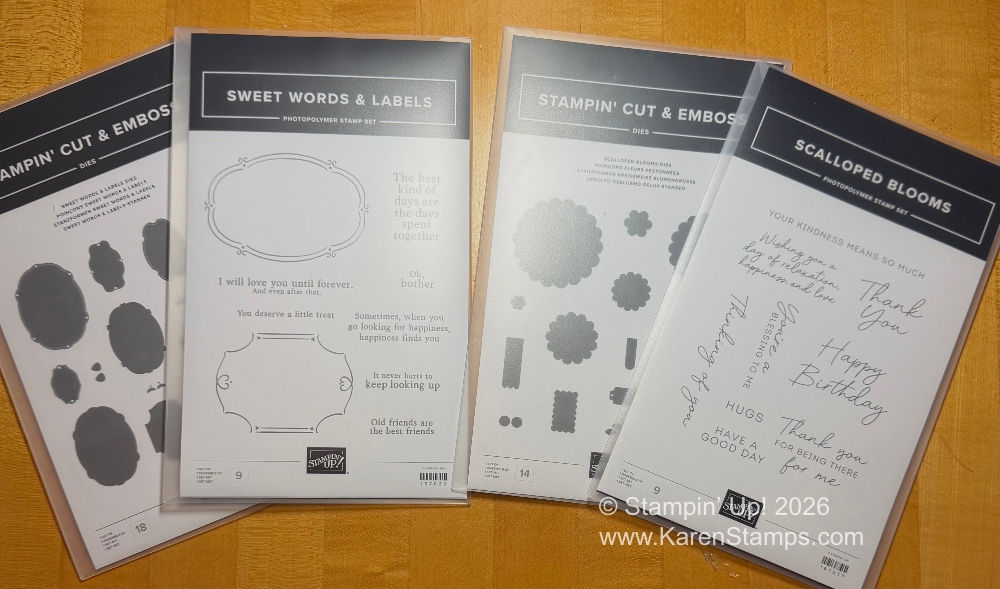
These are two Bundles, the Sweet Words & Labels (in the Online Exclusives) and Scalloped Blooms.
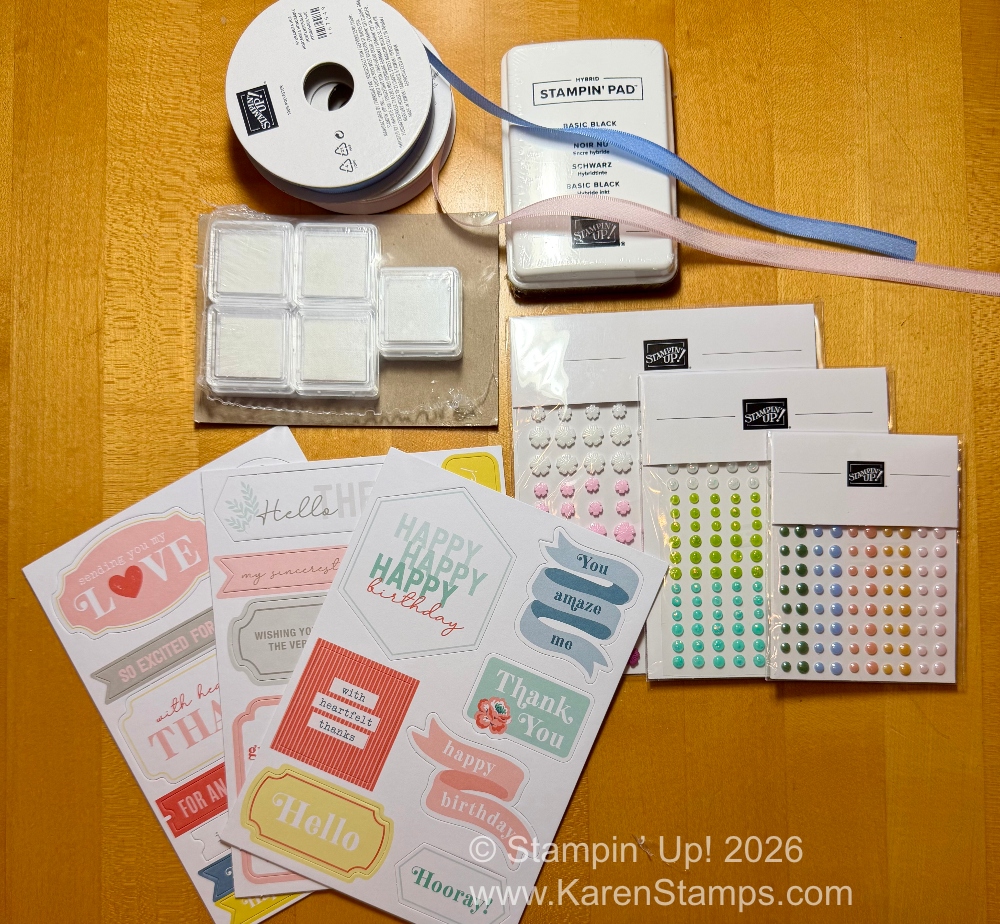
Here is an assortment of new things! At the top are two new In Color Ribbons, Barely Blush and Hydrangea Hue and the new Basic Black Hybrid Stampin’ Pad. This is an all-purpose black ink pad that you can use with alcohol markers AND watercoloring. The little white squares are Uninked Stampin’ Spots with which I intend to make into the new In Colors. The ephemera pack is called Sincerely Noted. I love using ephemera images and greetings for a quick card. And then I have three packs of embellishments – Shimmering Dots, 2026-2028 In Color Dots, and the fun Dreamy Flowers.
If you are a Winnie the Pooh fan, the first thing you will want to order is the Silly Old Bear Suite Collection or some parts of the Suite, in the May Online Exclusives. This is likely to be very popular!
Yes, it’s almost time for that exciting day of a new Stampin’ Up! catalog being released on Tuesday, May 5th! Tidy up your crafting space, take a nap to make sure you’re well-rested, eat well, and have a Coke and chocolate handy for looking at the new catalog online or in your hot little hands!