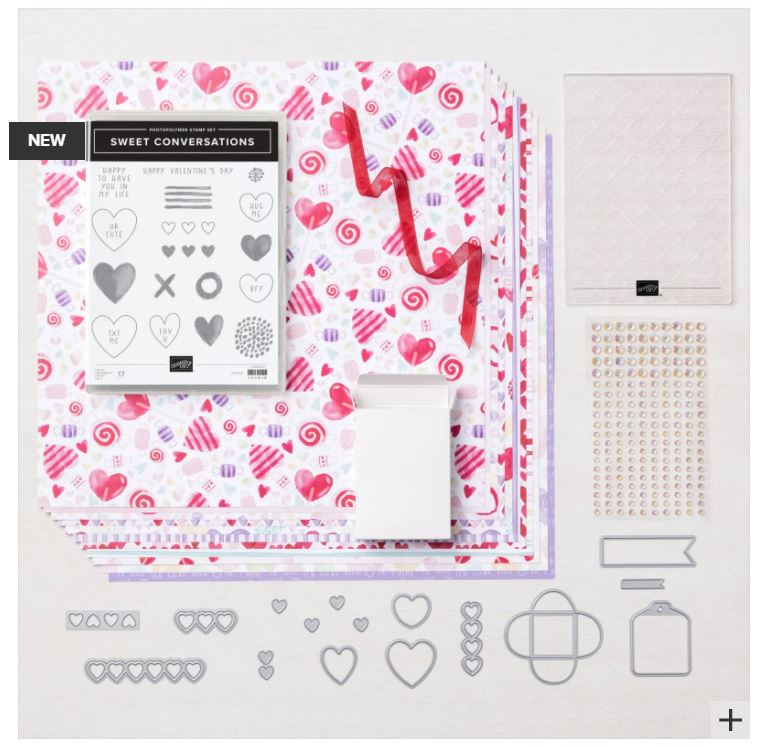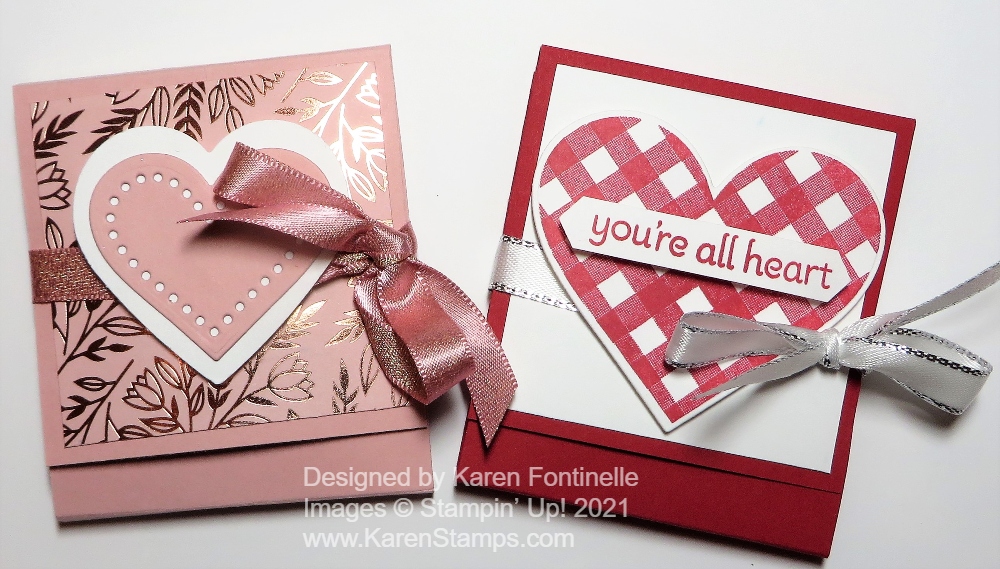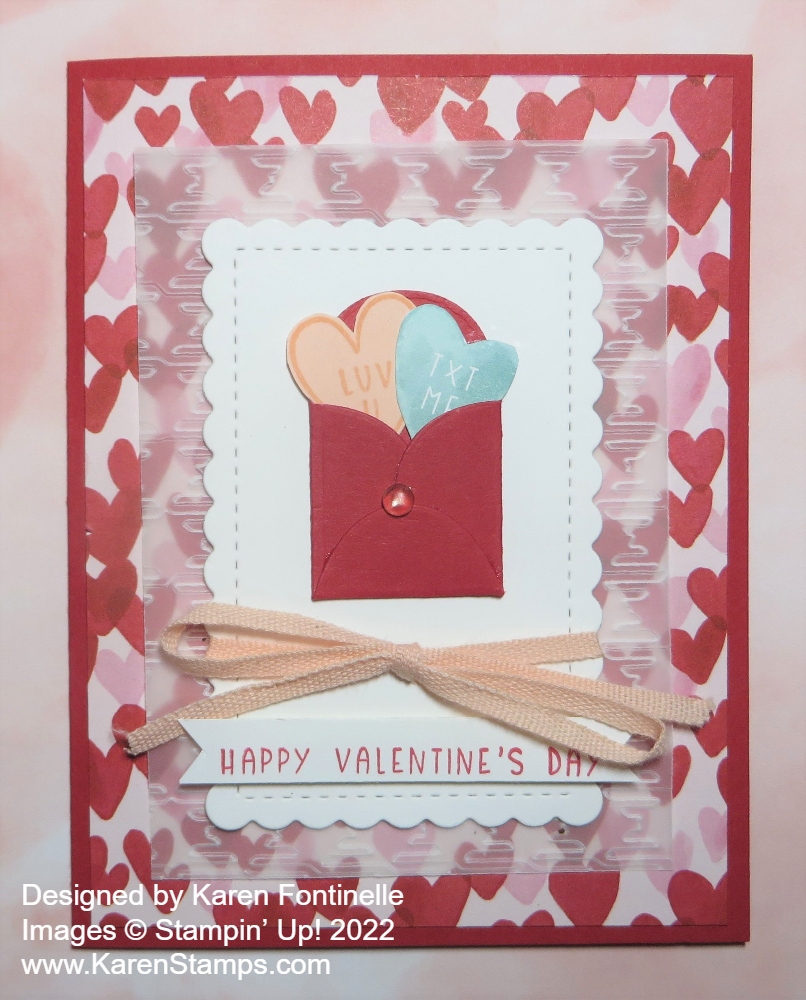
We have this week and next to make valentines for our loved ones and friends so here is another card idea. I got this idea, Sweet Conversations Envelope With Hearts Card, from a similar one I saw on the virtual Stampin’ Up! event OnStage I watched back in November but reviewed the other day to make sure I got all the notes I wanted from it!
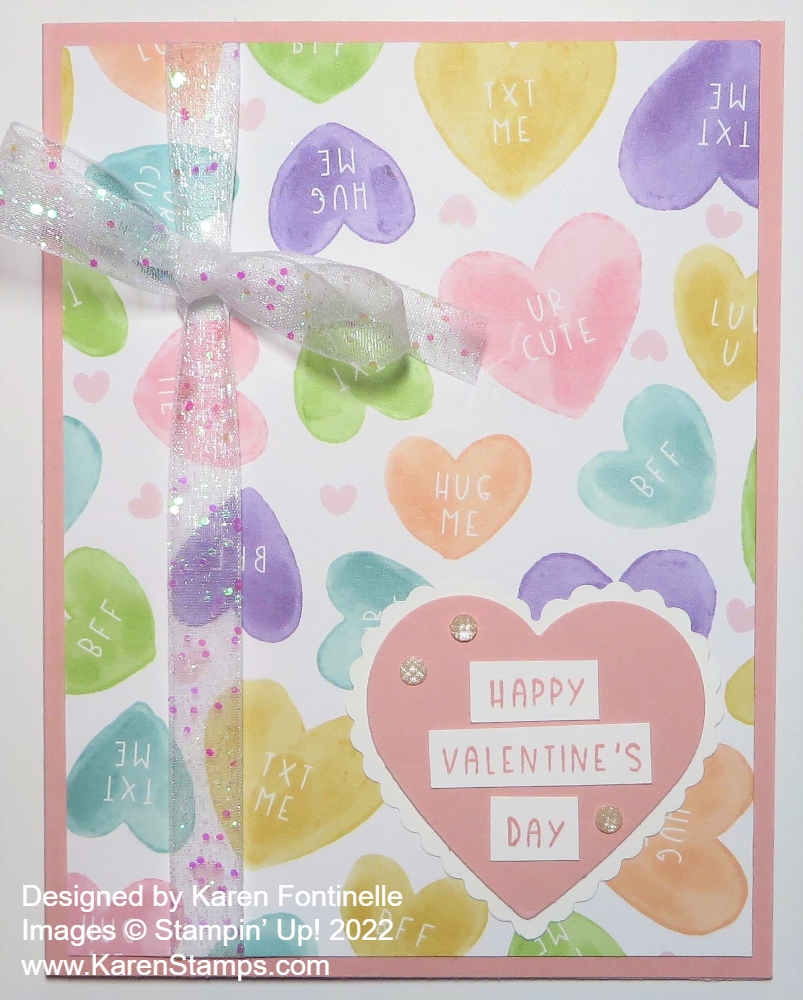
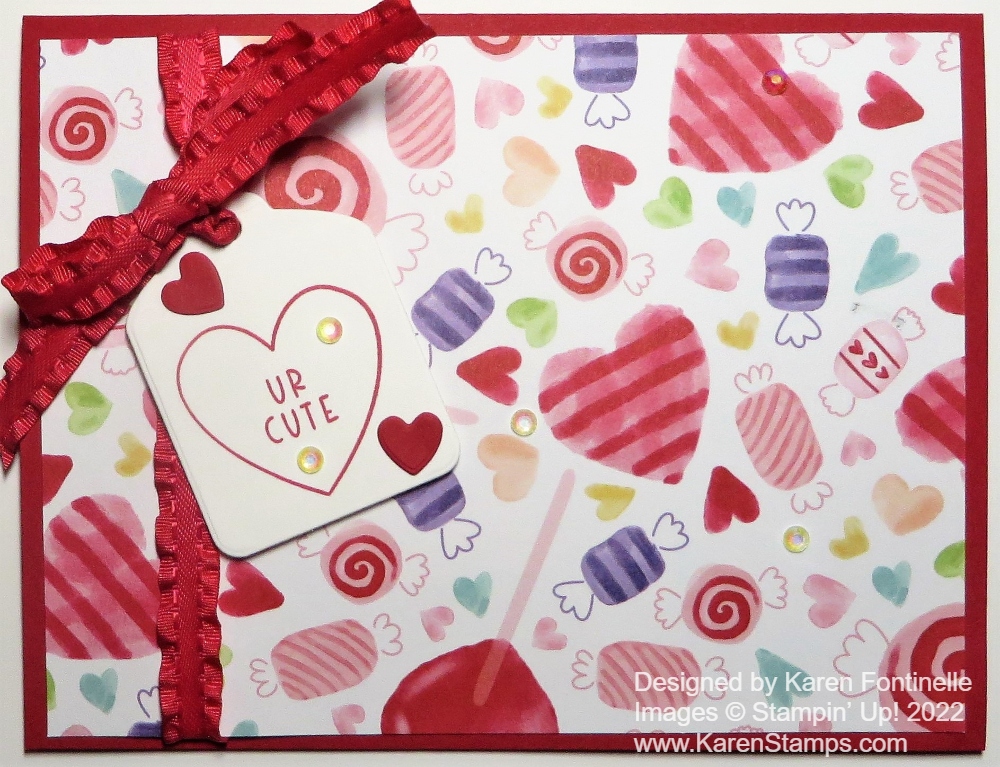
This card has a Real Red card base and a layer of pink and red hearts on a pattern from the Sweet Talk Designer Series Paper in the Spring Mini Catalog. This has been a really fun designer paper to work with and one of my favorite valentine’s papers! However, we will be able to use the “other side” of the patterns that look more “valentine-y” for more cards throughout the year. I love the stripe on one of the papers, for example!
Copying from the OnStage card I saw, I cut a piece of Vellum Cardstock smaller than normal for a layer and embossed it with the Gingham Embossing Folder. It is cut at 3 1/4″ x 4 1/2″. This Gingham Embossing Folder will be good for almost any background, very versatile.
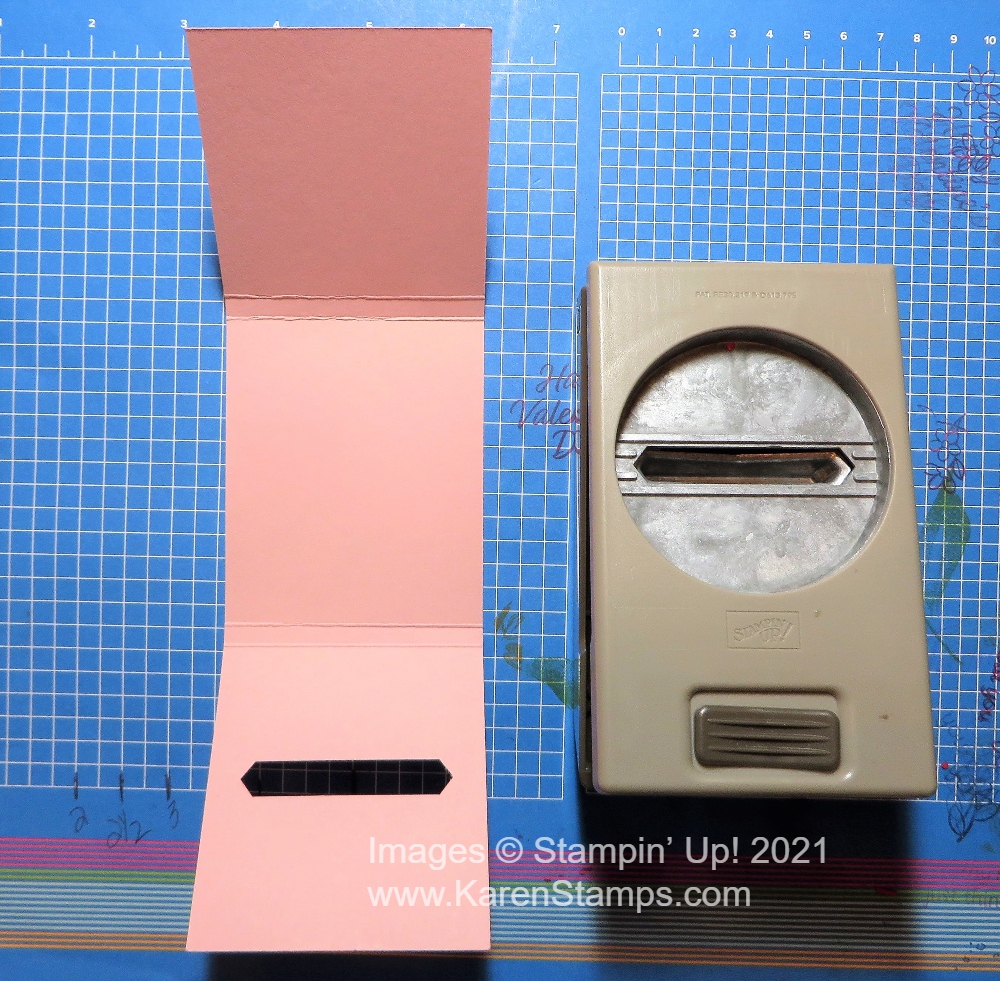
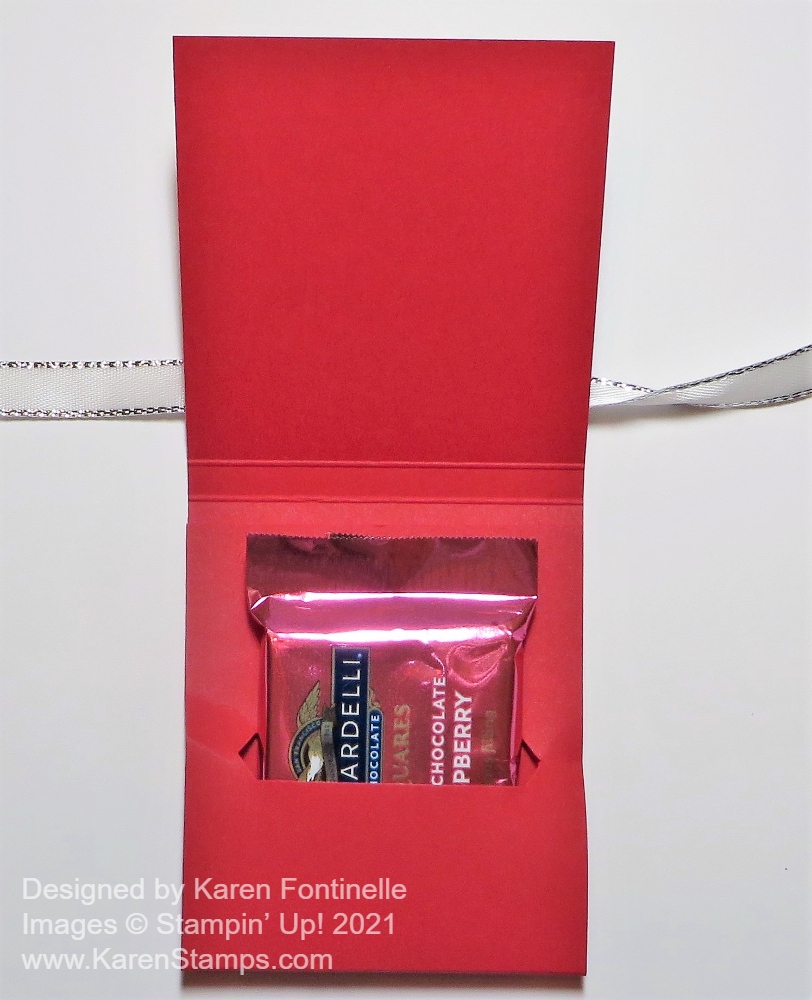
On top of the vellum is a die-cut rectangle from the Stitched So Sweetly Dies in Basic White. The cute little envelope on top is made with one of the dies in the Sweet Hearts Dies. This die will be cute to use on future cards, as well, not just Valentine’s Day. Just cut it out, then fold on the already scored lines and add a little glue where the edges overlap, especially being careful if you want to stick something down into the envelope. I stamped and cut out two hearts from the Sweet Talk Designer Series Paper or you could stamp them from the Sweet Conversations Stamp Set.
Before adhering the rectangle to the card, I wrapped around the pink ribbon in the 1/8″ Cotton Ribbon Combo and tied a bow. Before adhering the vellum to the card, see where the embossed vellum is going to be and then add adhesive underneath where that rectangle will be placed so the adhesive will not show under the vellum as it is prone to do with vellum.
The greeting is stamped on a narrow strip of Basic White from the Sweet Conversations Stamp Set and flagged the ends to look like a little banner. It is popped up on Stampin’ Dimensionals®. And finally, a Polished Dot embellishment was added to the cute little red envelope adhered to the scalloped rectangle.
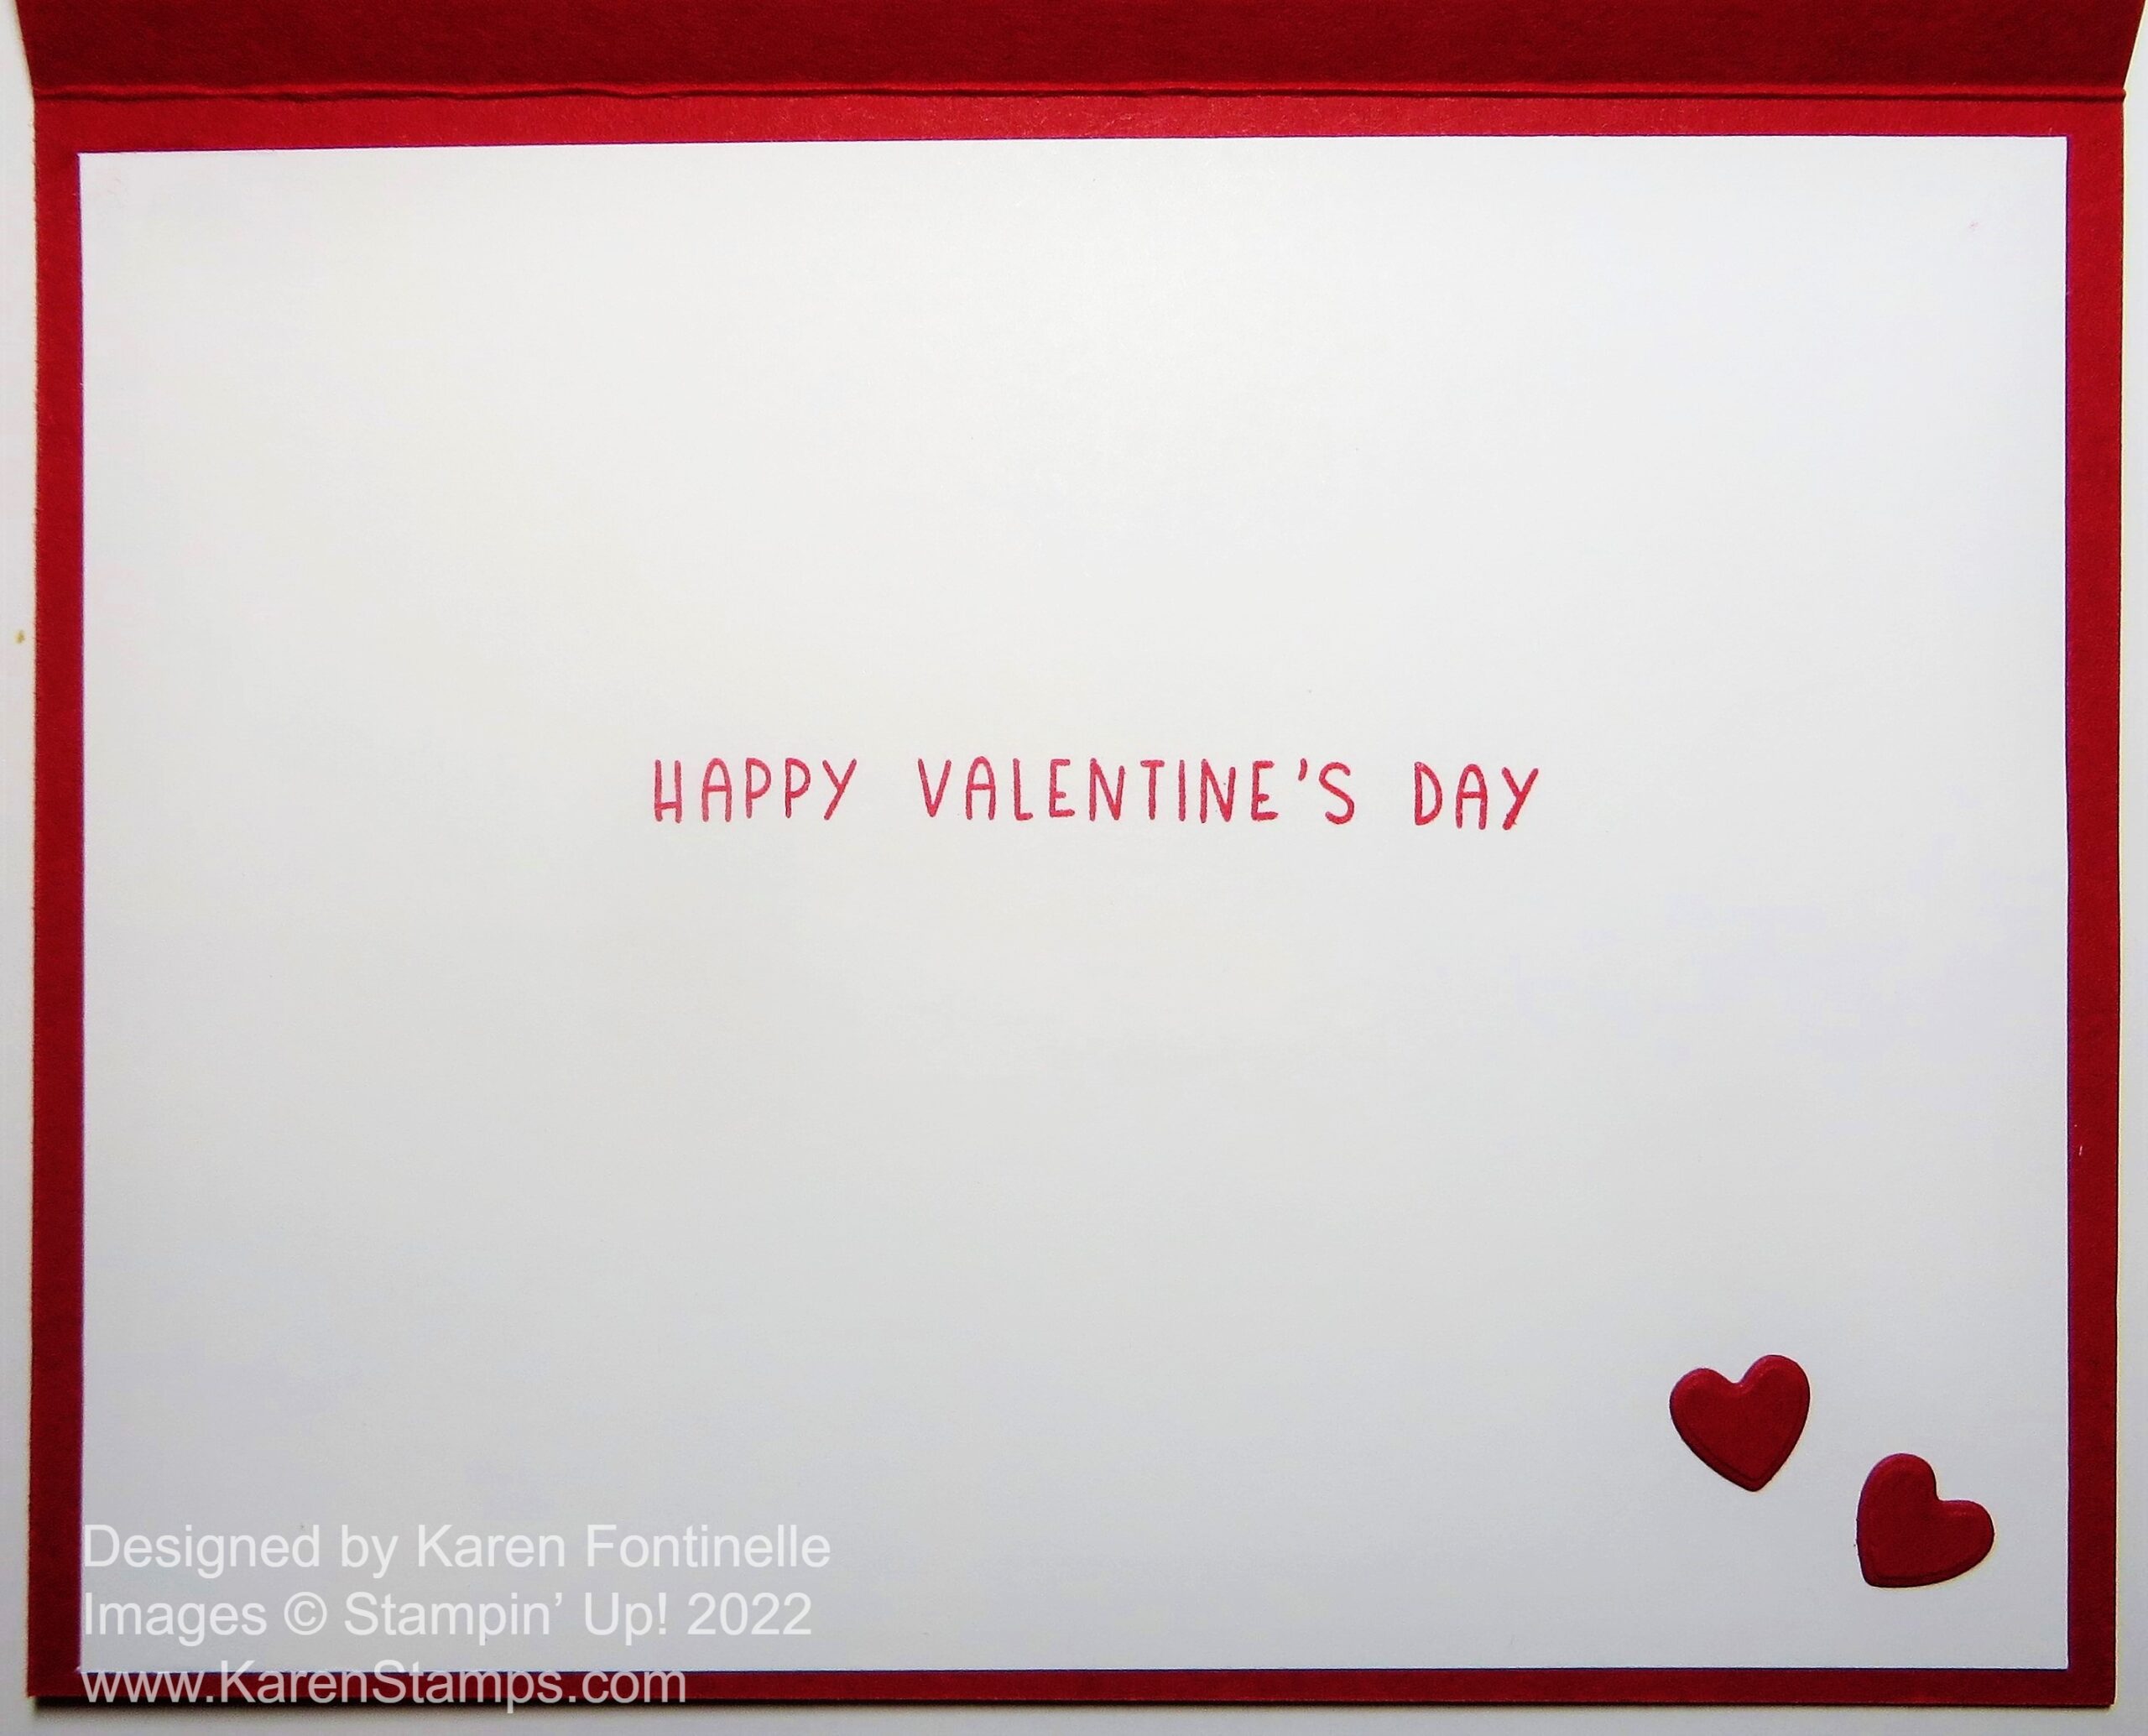
On the inside, I added a piece of Basic White on which to stamp a greeting or write a message. To decorate that a bit, I had a scrap of the hearts designer paper 3/4″ x 4″ that I adhered to the bottom of the white cardstock. You could also stamp a few hearts or cut out hearts from the designer paper.
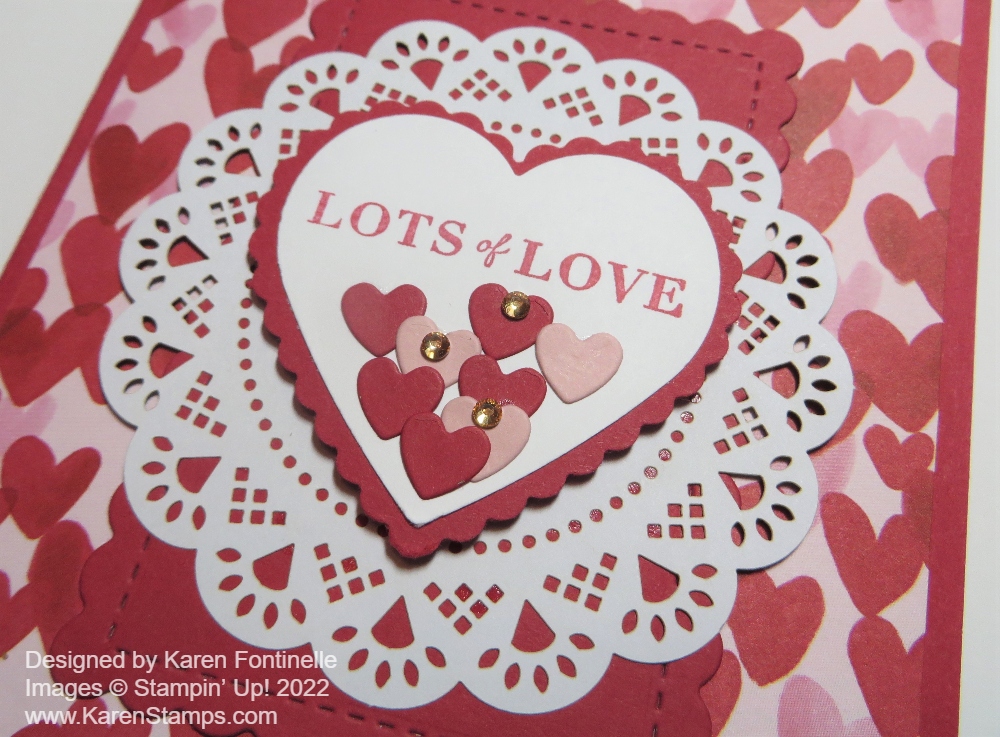
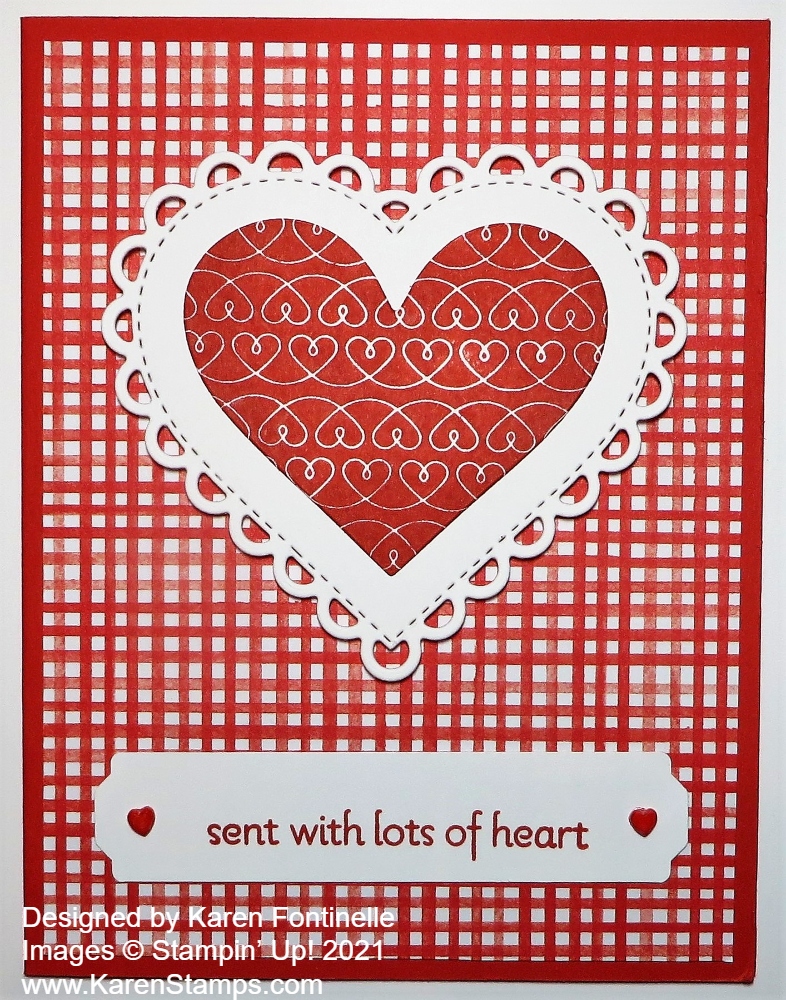
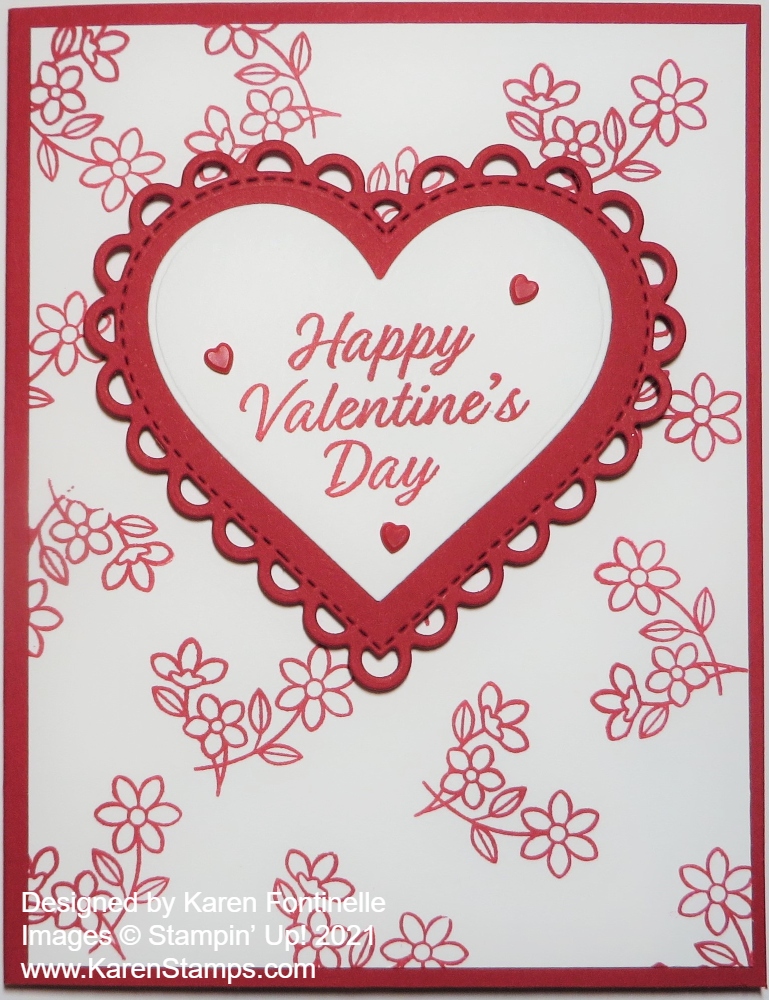
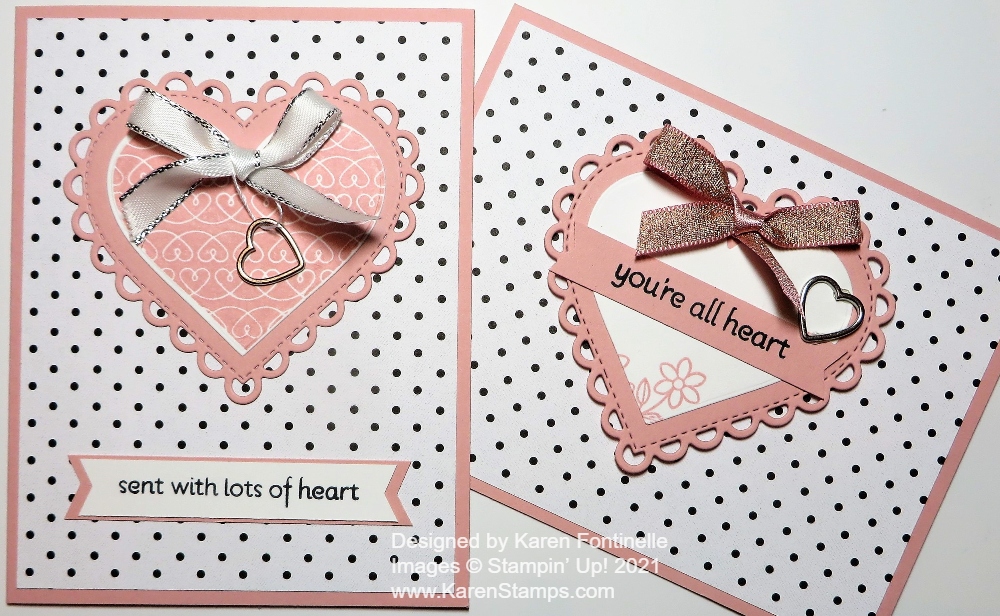
Time to make those valentines and get them in the mail soon if need be! If you’d like to see another card using this same hearts pattern of designer paper, click HERE to see this post. It’s actually a similar design using the rectangle in the center with a decoration on top of it. To see more Valentine ideas, click on the Valentine category in the right sidebar of my blog under “Categories”. I hope you can get some ideas from this Sweet Conversations Envelope With Hearts Card!