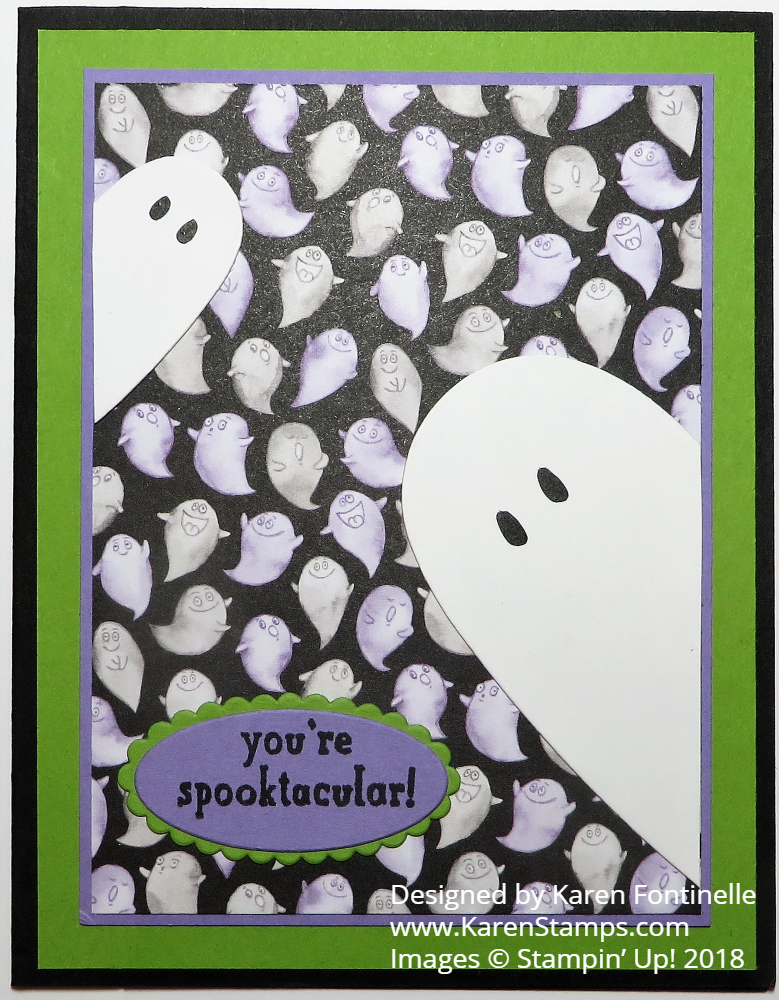
I’m beginning to realize how close we are getting to all the fun holidays coming up! This Flying Ghost and Pumpkins Halloween Card is a card I made by creating a little spooky scene using stamps. You can be playful with your stamps and tell a little story!
This card starts with a regular-size card base of Basic Black. Then I used other colors I like against the black for Halloween – Pumpkin Pie and Highland Heather. These are cut at different size layers that I normally use. The Pumpkin Pie cardstock is cut at 3 1/2″ x 5 1/4″ and the Highland Heather cardstock is cut at 3 1/4″ x 5″. The front panel is Basic White, or used to be before I colored it! It is cut at 3″ x 4 3/4″.
For this card, I used the Playful Ghosts Stamp Set and tried to create a spooky scene for Halloween night. To begin, I colored the Basic White cardstock using the Small Blending Brushes and several different colors of ink. I simply colored different overlapping areas of the background. You can use whatever colors you like or make it darker than I did. Some colors I used were Misty Moonlight, Pool Party, Pumpkin Pie. and Gorgeous Grape. The clouds are inked with Night of Navy.
The ghost on the broomstick is stamped with Stazon ink in black, colored in, and cut out by hand. Yes, it’s a little tricky but you can do it! For a change, I used both sets of Watercolor Pencils to color in everything. Then very lightly, I smoothed out the colors using a Blender Pen. This technique is one that I used a LOT when I first discovered stamping and Stampin’ Up! I loved the texture of the Watercolor Pencils and I loved using the Blender Pen over the pencil to make it look a little neater and smoother.
At the bottom of the card, the line of pumpkins is stamped using the stamp of two pumpkins also in the Playful Ghosts Stamp Set. If you create a mask you can stamp over the mask and make the pumpkins look side by side or one behind the other. Then I cut around the tops of the pumpkins to leave a bottom edge that I could color in with grass with a Watercolor Pencil. The pumpkins are colored with Watercolor Pencils also.
The ghost and the strip of pumpkins are adhered to the Basic White background. You could also pop these up on Stampin’ Dimensionals. I added a few stamped bats and stars in the background also.
The greeting from the stamp set is stamped in Black Stazon ink on Highland Heather cardstock and then diecut with the Perennial Postage small die. I wanted a smallish greeting so as not to take up much space in my little Halloween scene! For some embellishment, I added some Adhesive-Backed Shiny Sequins in Lemon Lolly. There are four colors of sequins you can use.
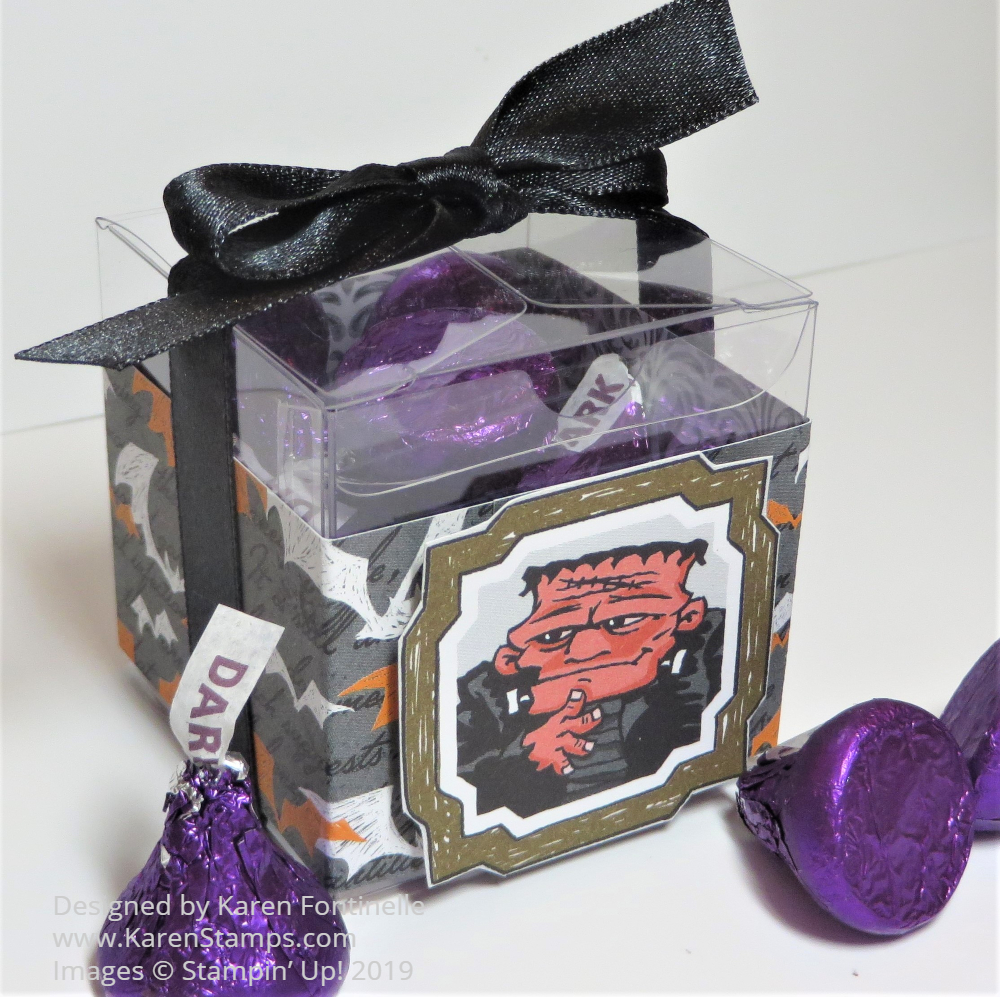
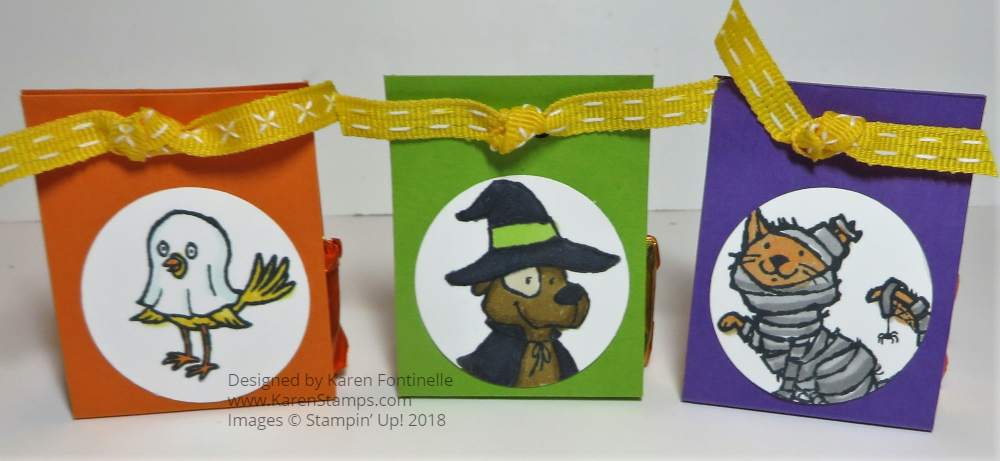
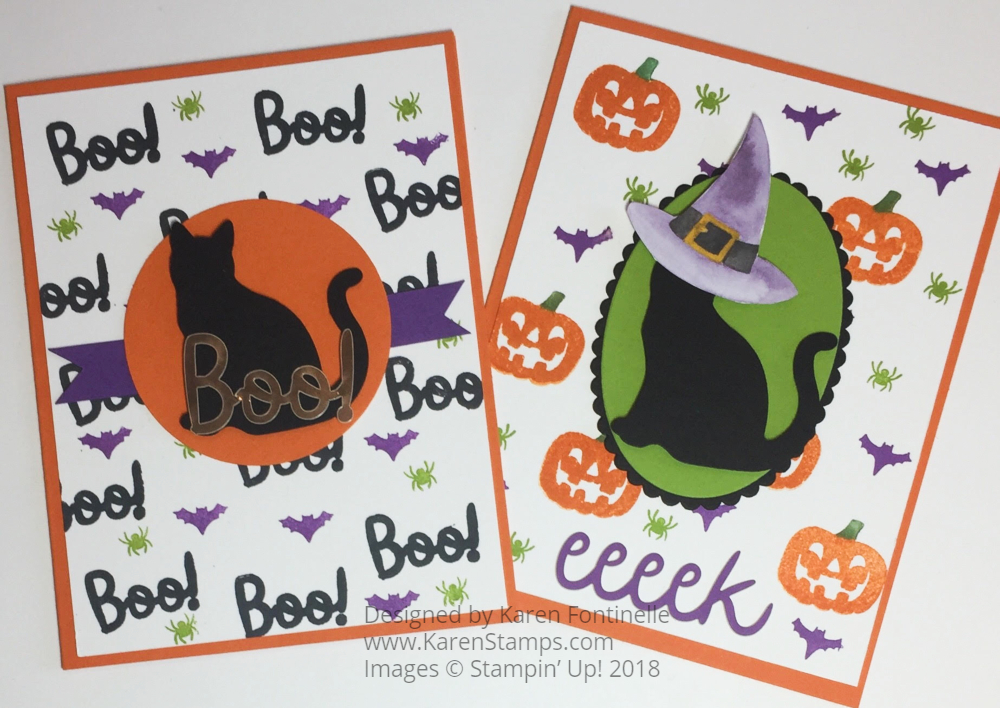
Halloween is fast-approaching! If you like making Halloween cards and decorations as I do, this is our season coming up!