Only a few days left to get signed up for this October 2020 Paper Pumpkin Kit! Paper Pumpkin is a papercrafting kit sent to you in the mail once a month with all the materials you need to complete the project inside! So easy for you whether you are a novice or an expert! Even experts sometimes like to just sit down and make something without thinking up a design and gathering the supplies!
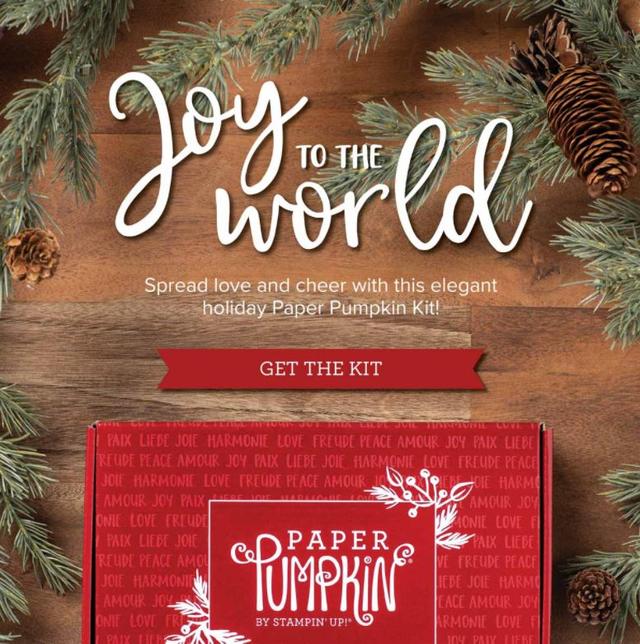
The Joy to the World Paper Pumpkin Kit has been thoughtfully released in preparation for the season of spreading joy. October’s Paper Pumpkin kit was designed to bring people together—connecting them with one another and spreading joy with each other around the world! With die-cut sentiments in English, French, and German, subscribers can send holiday cheer to their friends across the globe—in their language.
To connect and spread joy with international customers and demonstrators through the Joy to the World Paper Pumpkin Kit, join our Facebook group: Joy of Paper Pumpkin! When connecting with your new friends, don’t forget to share your experience with the #joyofpaperpumpkin hashtag.
Be sure to get signed up for Paper Pumpkin by this Saturday, October 10th.
Here is my personalized link to go directly to my page to sign up!
OR
If you are placing a Stampin’ Up! order by October 10th, you can add a Prepaid subscription to your order, particularly if you are trying to reach $150 or more in Stampin’ Rewards. The Paper Pumpkin subscription of whatever length you choose will count toward your total Stampin’ Up! order.
Once you submit your Stampin’ Up! order, you will receive an email telling you how to set up your Paper Pumpkin account. Be sure to do this by October 10th so you will receive this October Kit. If you need help, let me know.
Paper Pumpkin is a present you give yourself every month! Have fun making the project inside the box or use the supplies to make something to your own liking! There are always a multitude of alternative projects posted online, even on the Paper Pumpkin directions, if you prefer to make something a little different. Have fun! Be creative!