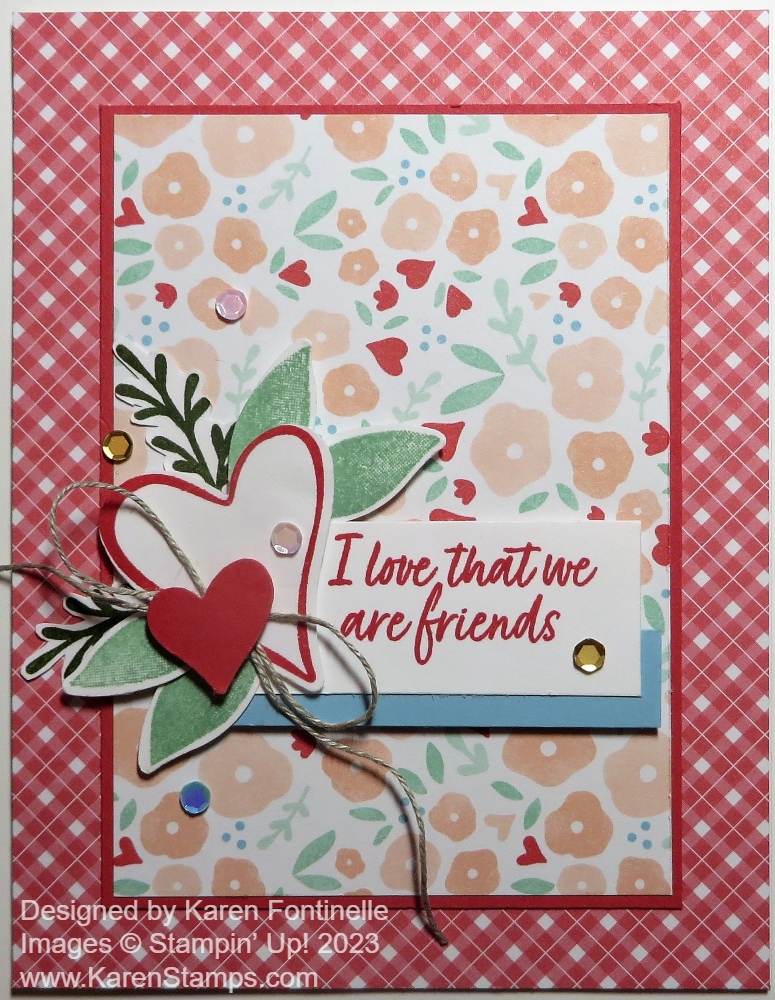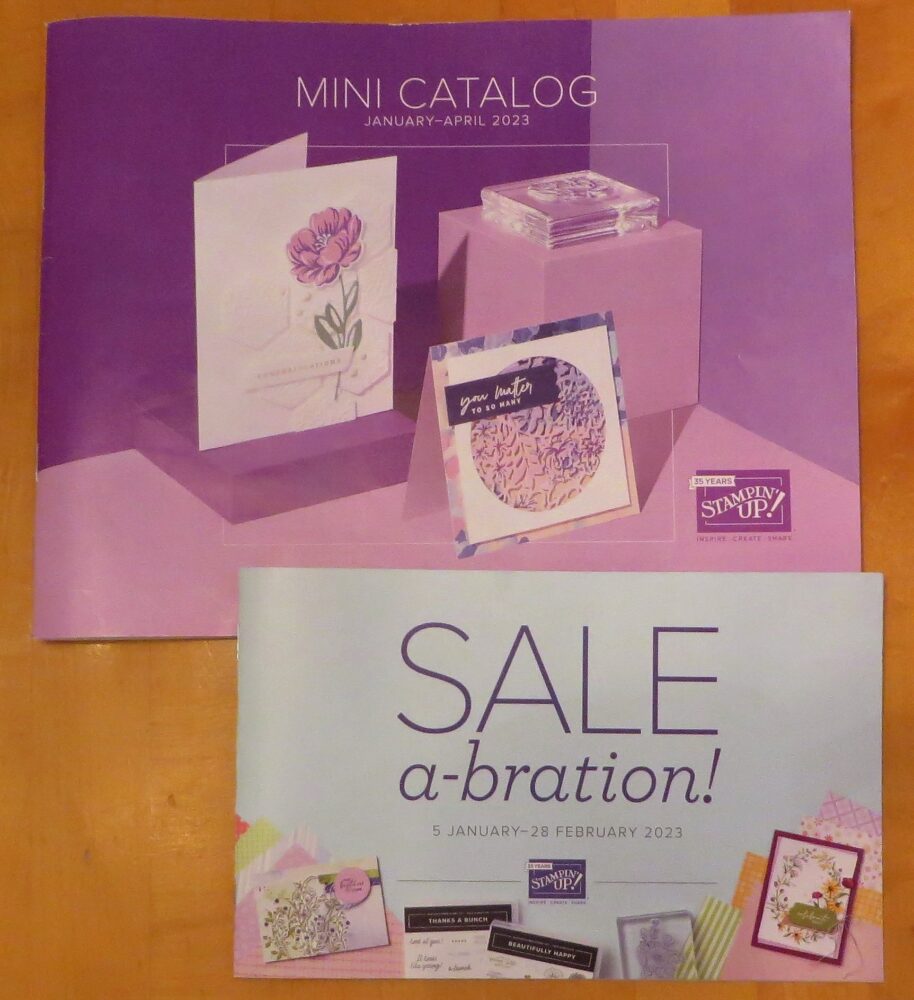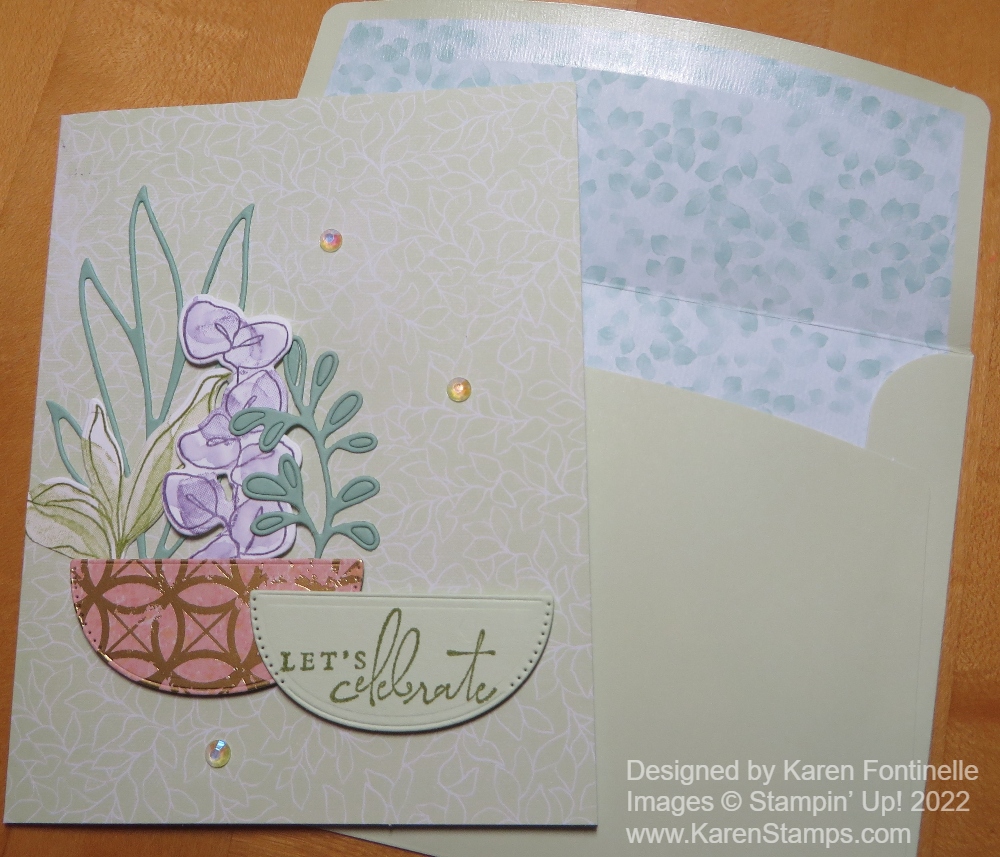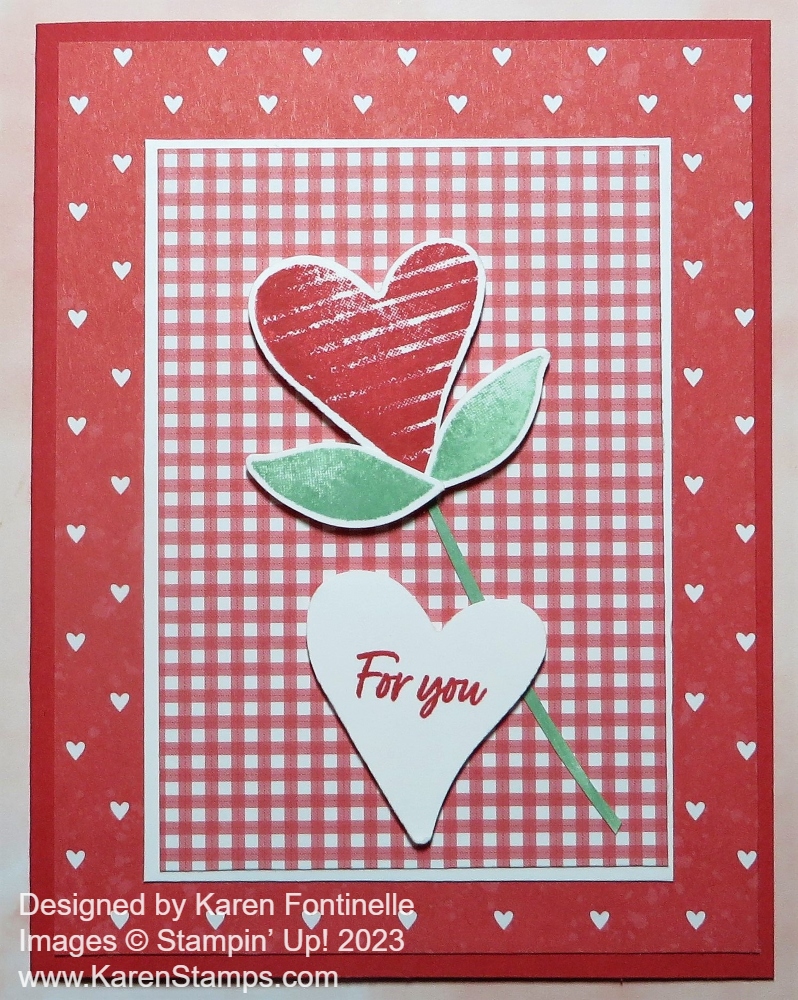
Once again, the Stampin’ Up! catalog was the inspiration for this card. I noticed a sample on page 8 in the new Stampin’ Up! Spring Mini that is really a candy bar treat holder, but I made this Country Bouquet For You Card instead of a treat holder.
This card uses the two kinds of designer paper in the Country Floral Lane Suite plus the Country Bouquet Bundle. If you want it “all”, as they say, just order the Suite Collection (160390)! That saves you from entering all the product numbers!
The card base is Sweet Sorbet with a layer of the paper with tiny white hearts in the Country Floral Lane Designer Paper. Then I added a smaller layer of the Sweet Sorbet gingham pattern in the Country Gingham 6″ x 6″ Designer Series Paper. It is 2 7/8″ x 4 1/8″. To help it stand out a bit, I adhered that gingham paper to a layer of Basic White that is 3″ x 4 1/4″.
The heart and leaves in the Country Bouquet Stamp Set are stamped with Sweet Sorbet and Mint Macaron inks then punched with the new Country Bouquet Punch. You can purchase the stamp set and the punch in a Bundle and save 10%. You can swipe some green ink on a scrap of Basic White and then cut out a stem or just cut it out of cardstock. The heart and leaves are popped up on Stampin’ Dimensionals. The stem is adhered flat on the card.
The plain Basic White heart is just punched out and then stamped with a greeting in the Country Bouquet Stamp Set. This card could be a Valentine or it could just be an all-occasion card to send a happy greeting to a friend or loved one.
You can keep this card simple as is, or add some jewel embellishments of some kind or more hearts or whatever you like!
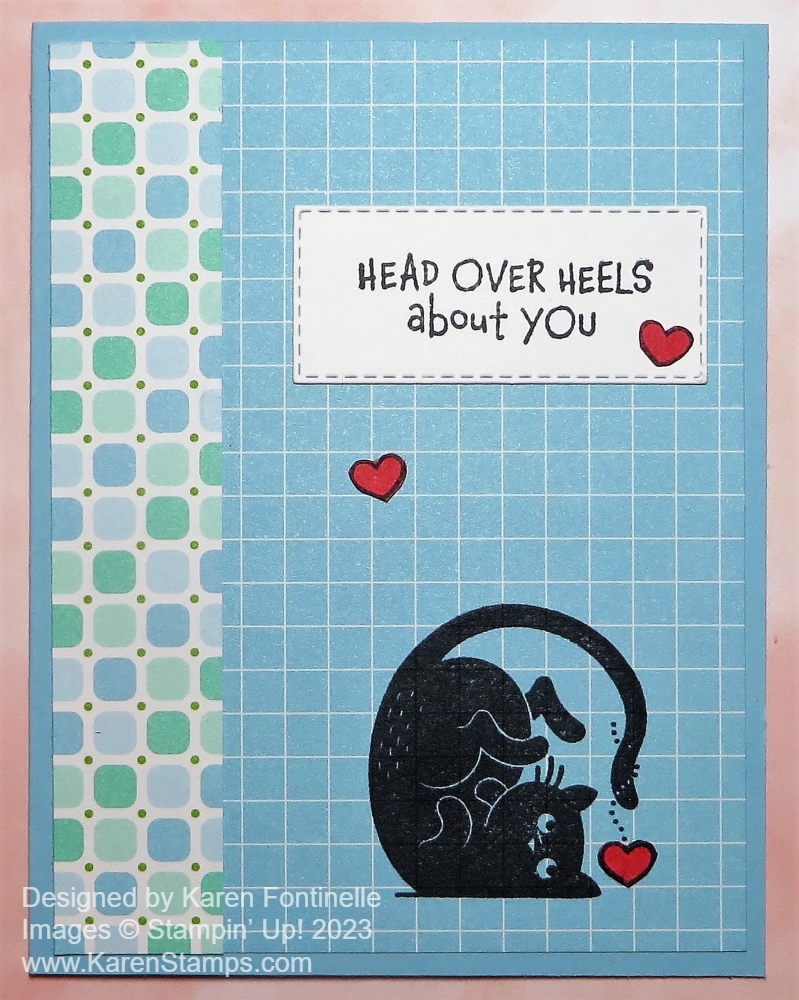
This Country Floral Lane can definitely be for Valentine’s Day but it can easily be for any cards. Check out this card I made on the first day of the Spring Mini.
Buy the Suite and add a little more and get TWO $50 Level free products during Sale-A-Bration or choose a special $100 Level free product! You will be all set for making valentines to send! Maybe instead of making a card like this Country Bouquet For You Card try making a treat holder like the sample in the catalog!