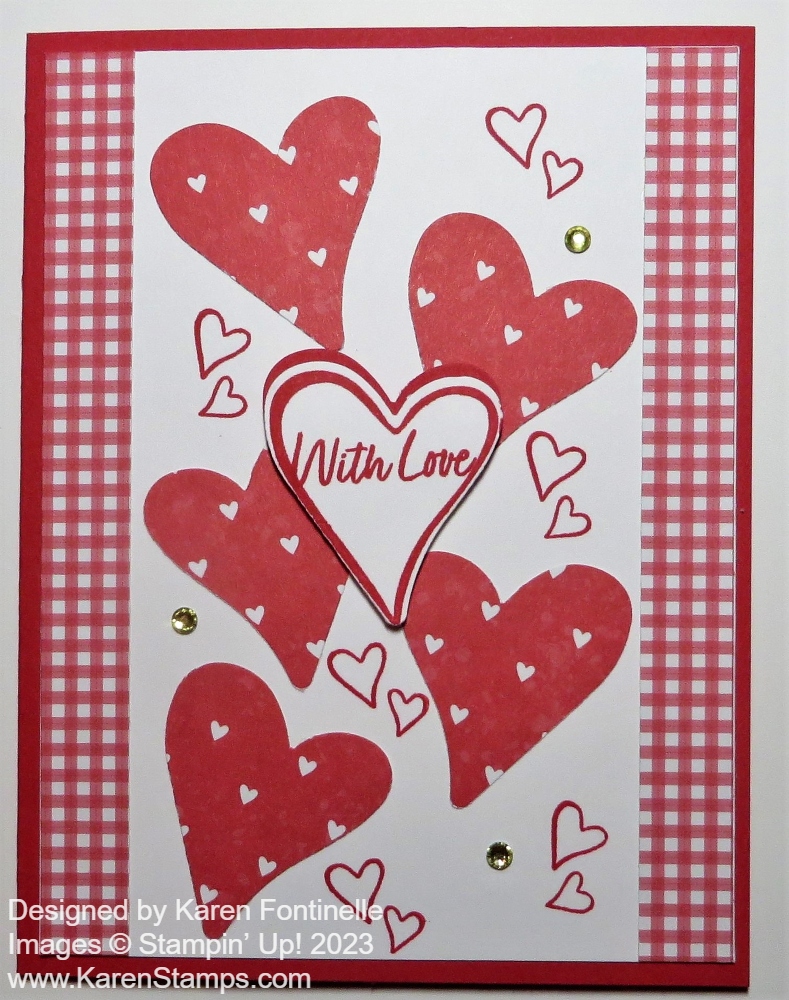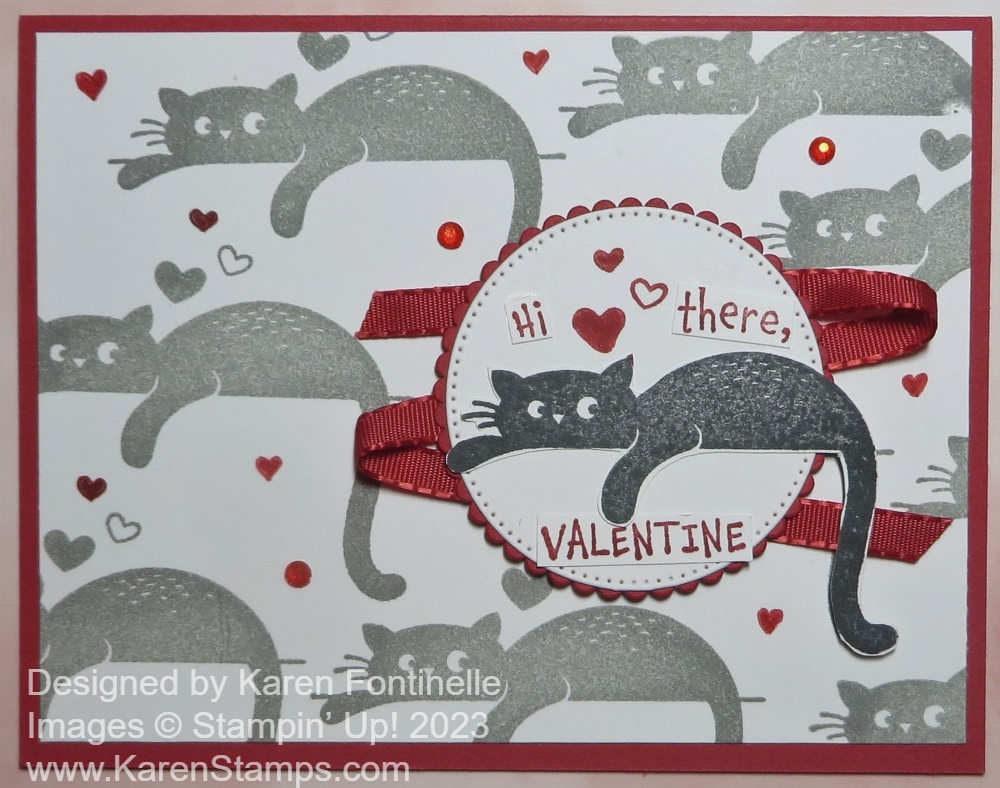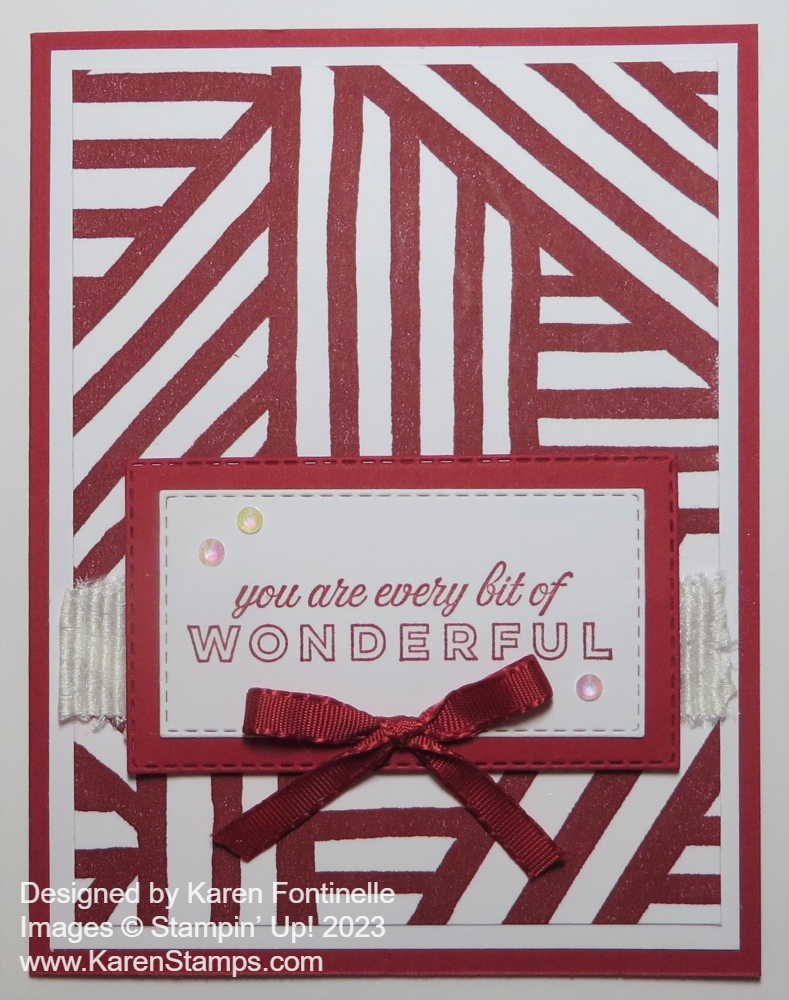
Like my card from yesterday, I will ask if this Layered Stripes Wonderful Card is a Valentine or just a “regular” card. What do you think? I think it could be either one! It’s Real Red so it certainly could be for Valentine’s Day! The greeting could be for Valentine’s Day OR just a nice greeting to send to someone any day!
This card is stamped with the large background stamp in the Spring Mini Catalog called Layered Stripes. You’ll find it on page 28. I forget what compelled me to buy this stamp because I think I would normally skip over it. And now I finally got around to playing with it! I used my Stamparatus to stamp it to get a solid image. If I needed to stamp it more than once, I could do that since the Stamparatus holds it in exactly the same place. The stamp is actually larger than a layer you would use on a card. You could have the background stamp stamp-side up, apply ink, and then lay the piece you want stamped on top of it carefully. Or you can stamp the image on a larger piece of paper and then trim it down to the size you want it.
My card base is Real Red and I added a layer of Basic White to help the stamped stripes stand out a little bit more against the white instead of the red card base. The greeting is from the Celebrating You Stamp Set and then diecut with one of the Stitched Rectangle Dies. I also cut out the next larger rectangle in Real Red so have a layer. I still had to play around with it on the card to see how the greeting was going to look the best because obviously the background of the card is pretty bold.
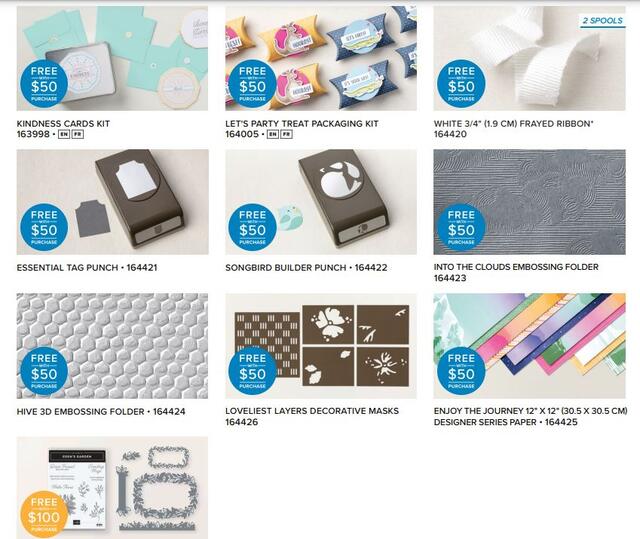
Finally I settled on using the Real Red layer behind the greeting but I adhered it over a piece of White 3/4″ Frayed Ribbon. (You can choose this ribbon (2 spools!) FREE during Sale-A-Bration with a $50 purchase of Stampin’ Up! products.) The greeting is popped up on Stampin’ Dimensionals. I also added a small bow of Real Red Ribbon in the Real Red & Burlap Ribbon Combo Pack. And for a little sparkle, I added three small Iridescent Rhinestone Jewels. I love these things! They go with just about anything and always add a nice touch to your project.
I think there are other fun techniques to use on a stamp like this Layered Stripes background stamp, like applying different colors to the stripes for one. It will be fun to experiment with I’m sure!
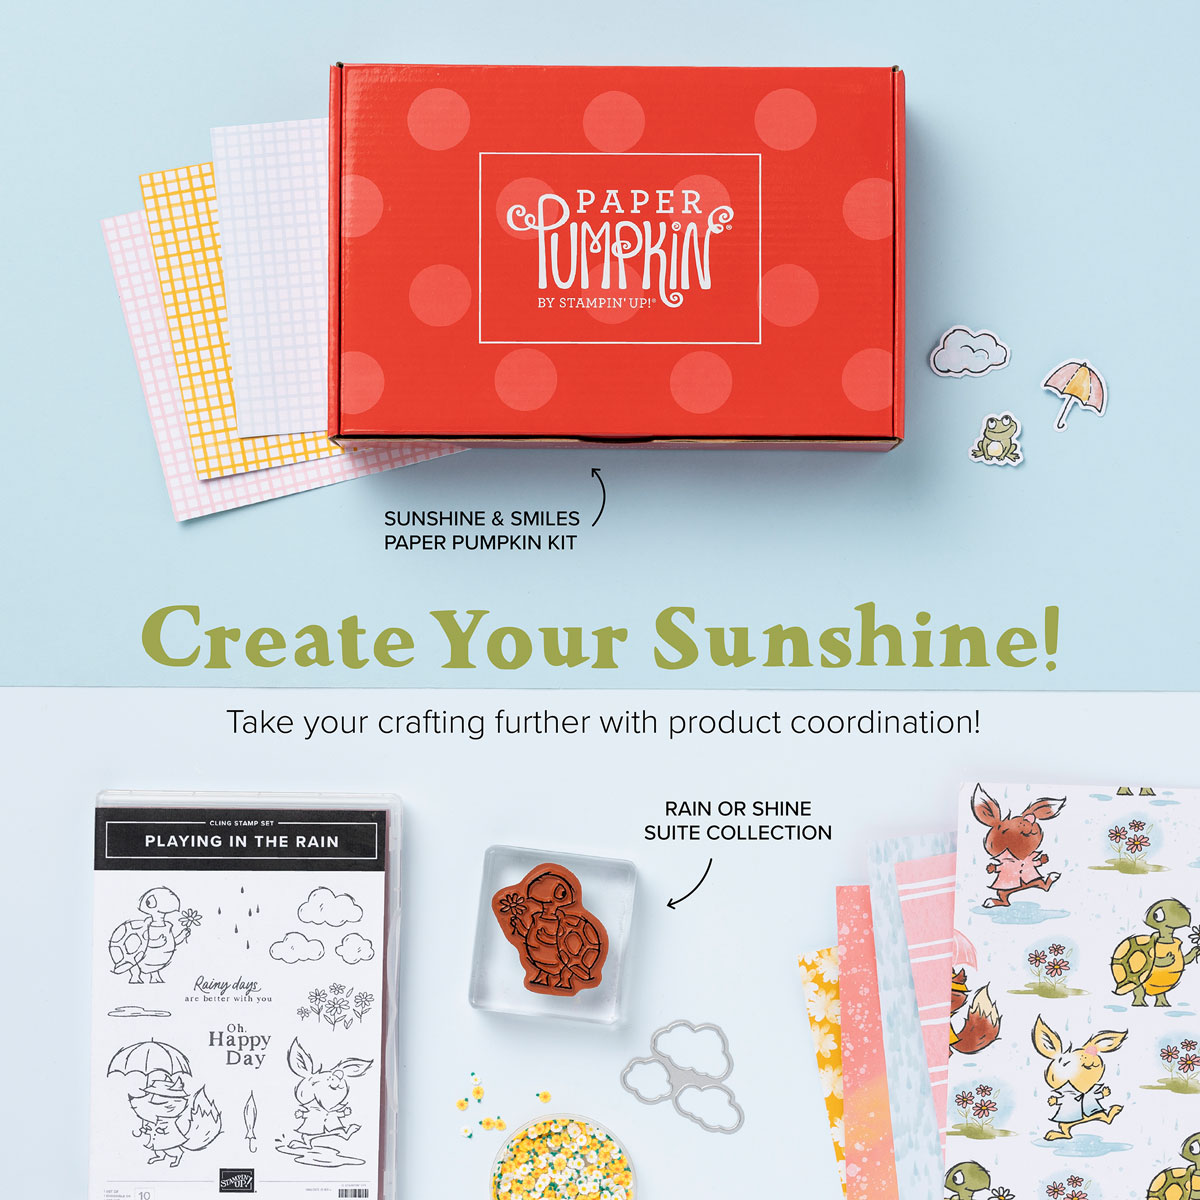
Remember, there were some extra products added to the list of Sale-A-Bration products to choose from with $50 or more purchases and a couple special ones with a $100 purchase instead of two $50 Level products. Check out the flyer below! To see ALL the Sale-A-Bration choices, click HERE to see them in the Online Store. Remember Sale-A-Bration ends on February 28, 2023.