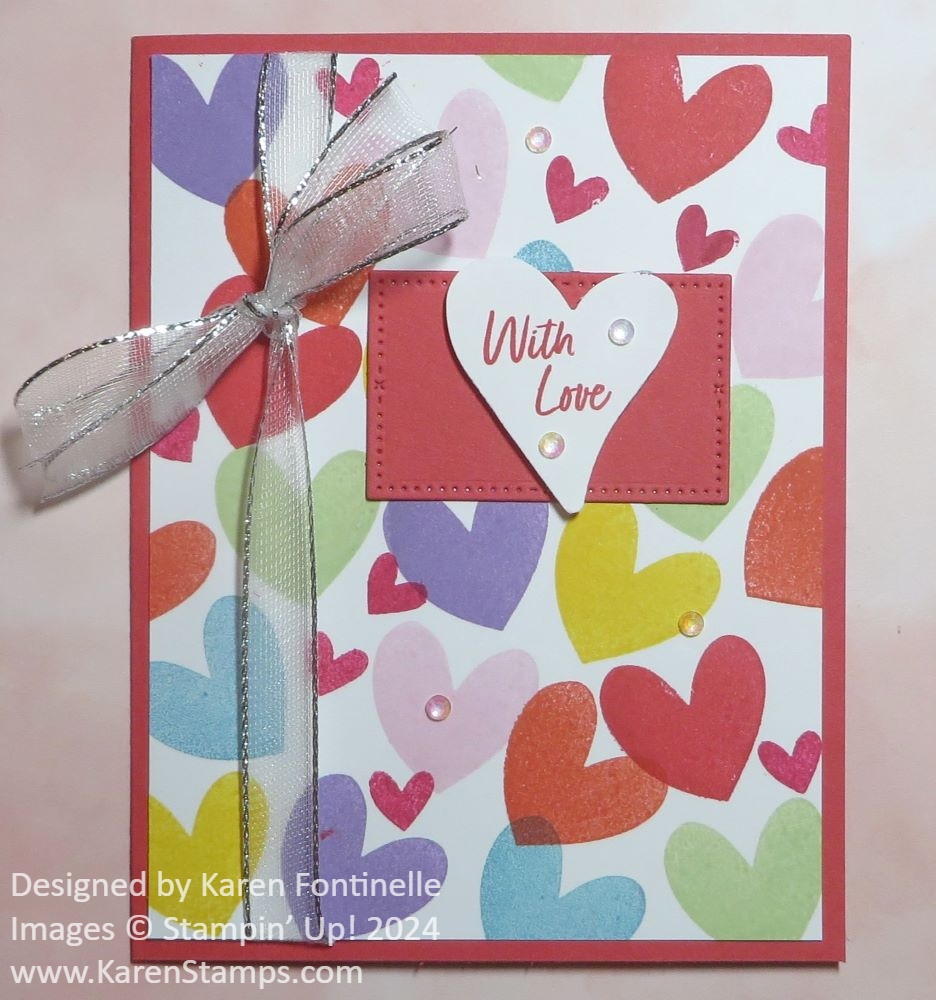
HAPPY VALENTINE’S DAY!!
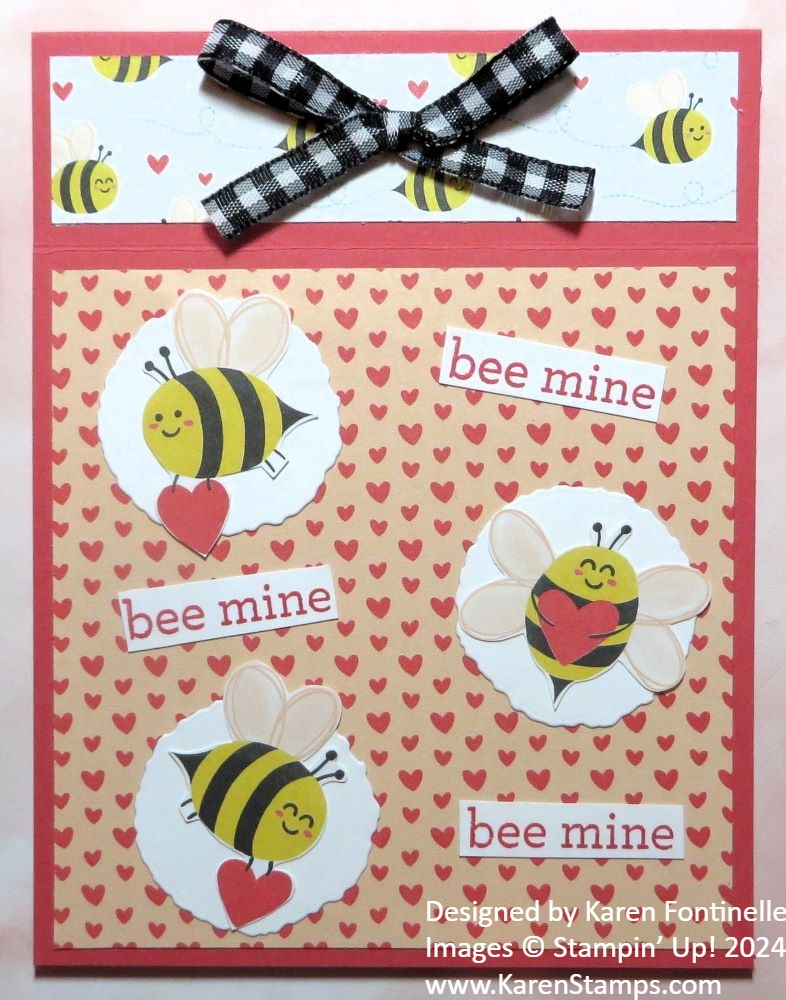
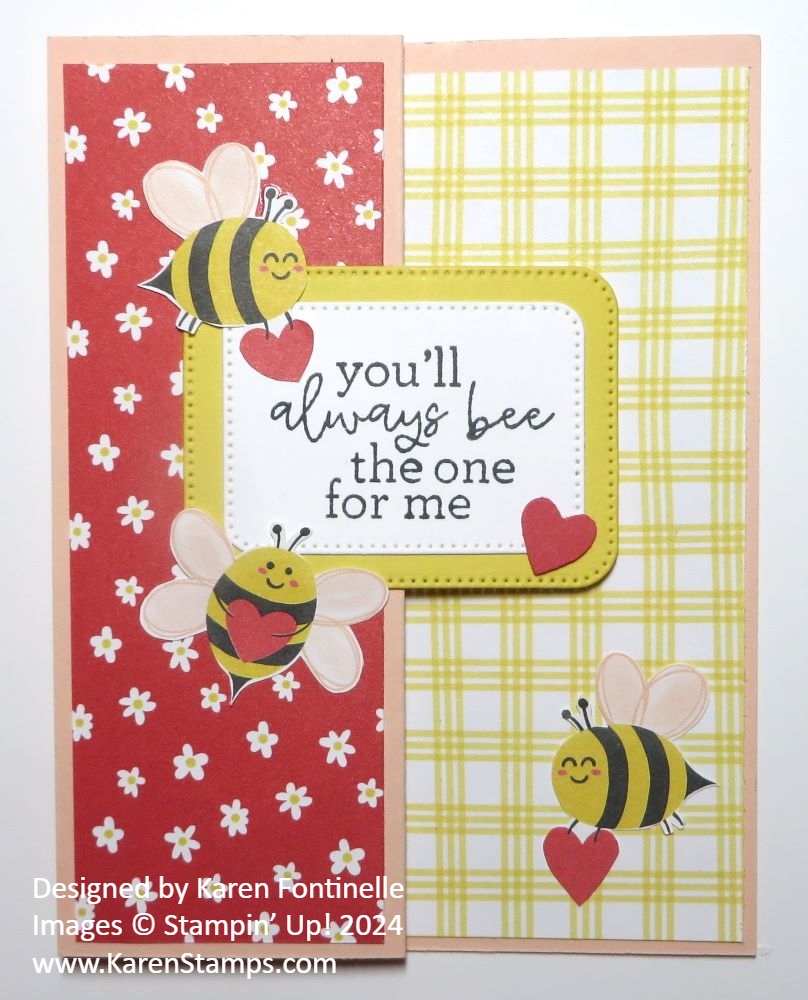
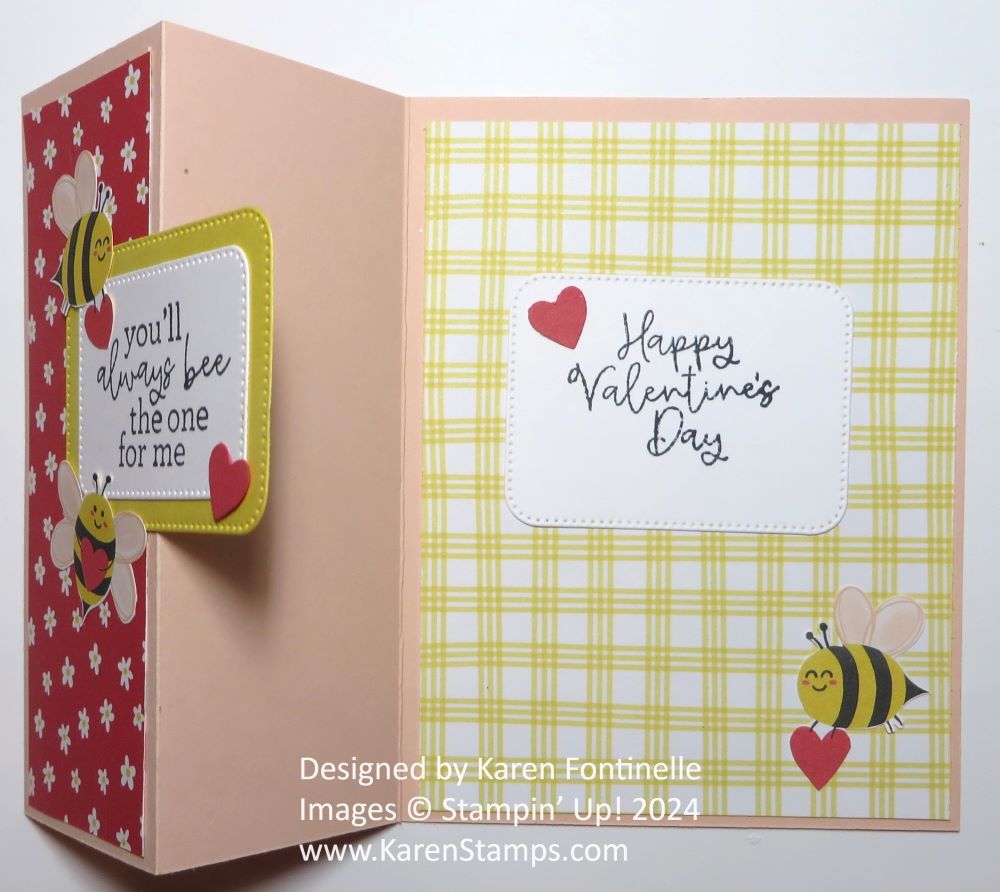
If you are looking for one last card idea for Valentine’s Day, here is a card I got from my very dear friend! She always makes beautiful cards! I called this the Bee Mine Bees Valentine Card! It is made with the Bee Mine Designer Series Paper. I didn’t think I was into bees, but as soon as I started working with this paper it was just so cute! I loved cutting out the medium-sized bees on one of the papers and using them for embellishments! And the paper is not just for Valentine’s Day. The patterns will mix and match and not all of them have hearts. But hearts are for any time so don’t be afraid to use the cute bees with hearts!
This card uses several of the products in the Bee Mine Suite Collection in the Spring Mini Catalog. If you want to use just one item number for ordering all the products in the Suite, you will get the Bundle price on the stamp set and punch. Otherwise, just order the products individually that you want and/or the Bee Mine Bundle. Remember to think in terms of spending increments of $50 so you can earn FREE Sale-A-Bration products until February 29th!
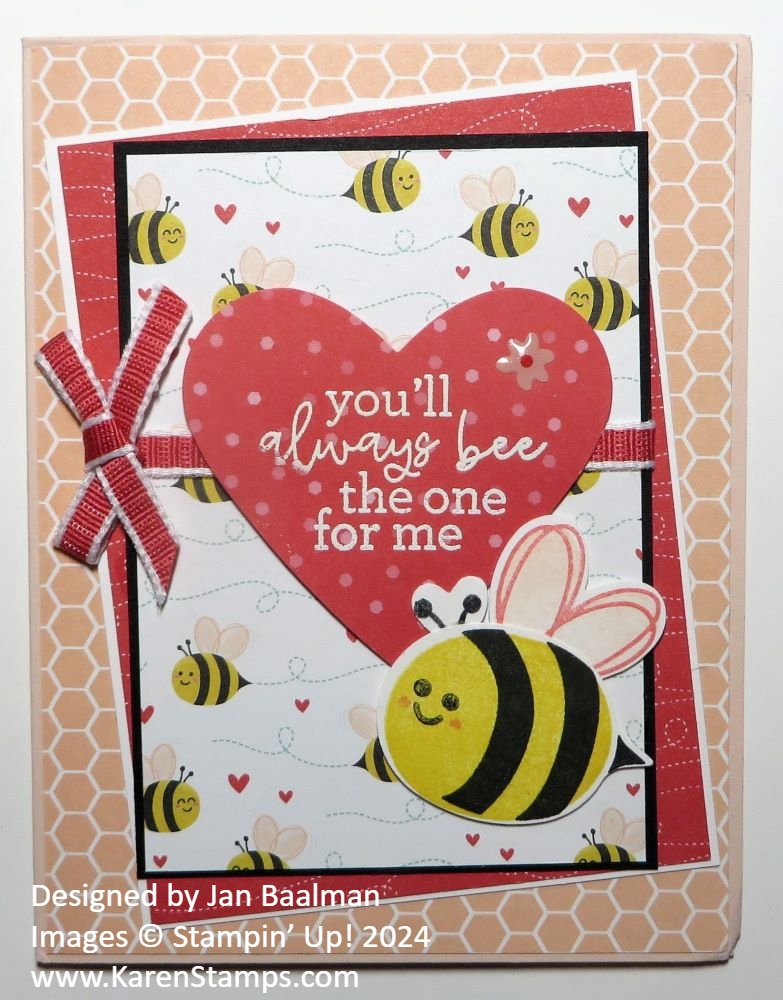
This card uses the Petal Pink honeycomb pattern for the card front and then two other papers layered on diagonals. The Sweet Sorbet paper with the squiggly bee flight lines is layered on Basic White and the paper with the little bees is layered on Basic Black. The large heart on the front has a greeting embossed in white from the Bee My Valentine Stamp Set. That’s such a cute saying I think! There is one of the cute little flower embellishments in the Suite, the Adhesive-Backed Hearts & Flowers, on the heart. Wrapped around the bee paper and under the popped-up heart is the Sweet Sorbet 1/4″ Bordered Ribbon. And of course, we have a cute Valentine bee, stamped and then cut out with the Bee Builder Punch which cuts out the bee body and the wings which could also be hearts plus a little bitty heart, which could also be little bitty wings. It’s really a more versatile punch than it looks like!
Are you doing something special for Valentine’s Day today?