I already had this Petal Pink cardstock made into a Z-Fold card base in my package of paper so I started with that. I must have gotten that far one day and then changed my mind about the card! But this day, it was perfect! This Bee Mine Z-Fold Valentine’s Day Card is one of those cards that I was pleased about how it all came together!
Let’s start with the basics. A Z-Fold card starts as a regular card base, but the front of the card is scored down the middle and folded back on itself! You don’t even need to score the front of the card, just fold the right side back even with the fold on the left side of the card. If you do want to score the cardstock, score the 8 1/2″ x 5 1/2″ paper at 2 1/8″ and 4 1/4″. Fold in half, then fold the 2 1/8″ score line back to the fold.
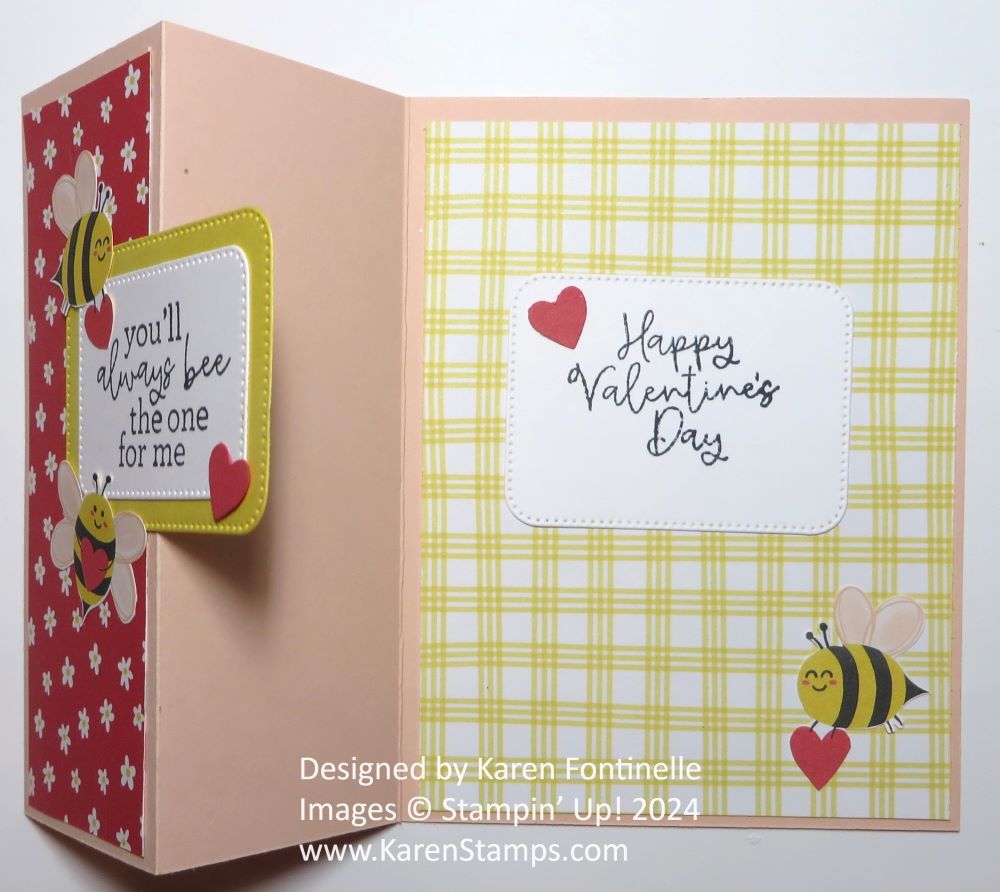
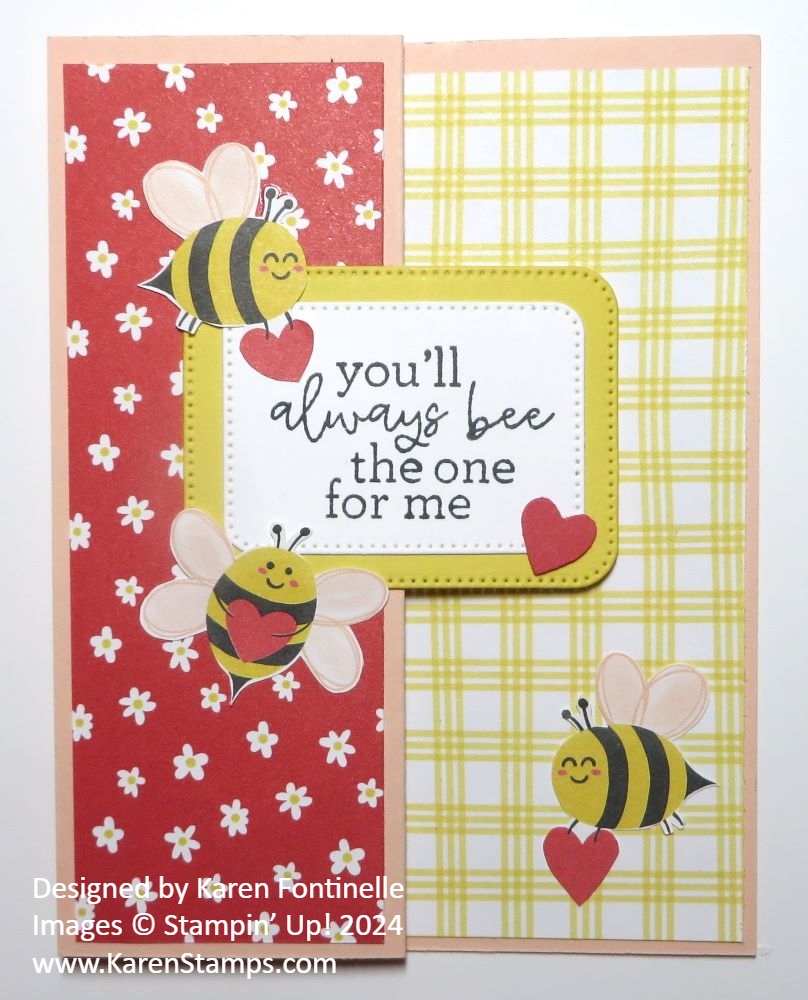
For this card, I used the very cute Bee Mine Designer Series Paper. I wasn’t so much into bees when the Spring Mini Catalog came out, but the paper has won me over! It just makes me happy to work with it! For the front Z-Fold panel, I used this super-cute red pattern with little white flowers. On the inside, I used the pattern with the Daffodil Delight plaid lines.
The greeting is in the Bee My Valentine Stamp Set and is stamped in Memento Black ink on Basic White. It is diecut with a rectangular shape in the Nested Essentials Dies and then layered on a larger Daffodil Delight layer. When you adhere the greeting to that Z-Fold make sure you are only putting glue on the correct half and not the whole area so that the card will still open!
Since I put designer paper on the inside of the card (or if you have a dark-colored cardstock, you may need a lighter piece to stamp or write a greeting on the inside of the card. I die-cut a piece of Basic White to match the Daffodil Delight diecut piece and made sure it was placed directly behind the greeting on the front of the card. Put the card face down, and lay the inside diecut piece face down along the backside of that greeting. Apply glue, then fold the back of the card over so that it adheres exactly in the right place. When the card is closed, you don’t want the inside greeting itself or the diecut piece showing from the front if possible.
To embellish the card, I cut out bees from the designer series paper and adhered those to the front and inside of the card. I also used the Bee Builder Punch to punch out some Sweet Sorbet hearts to use, also.
Try this Z-fold card if you haven’t already. Here’s another example of a fun Z-Fold card. I think it is an easy way to make a card seem extra special!
SHOP STAMPIN’ UP! ONLINE HERE!