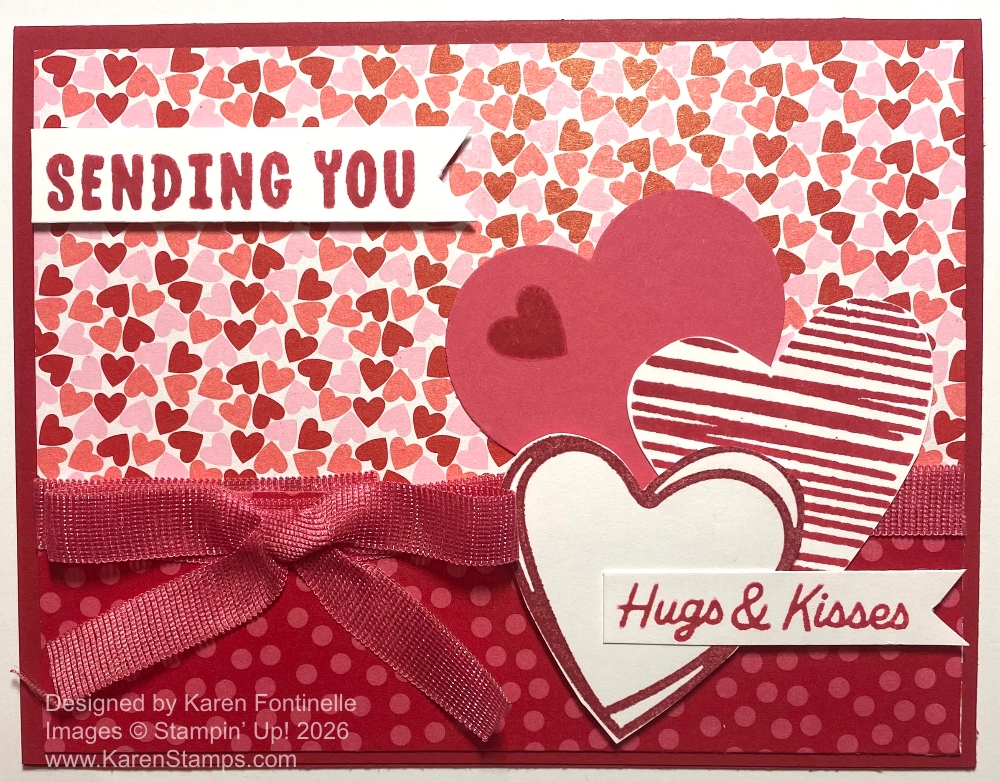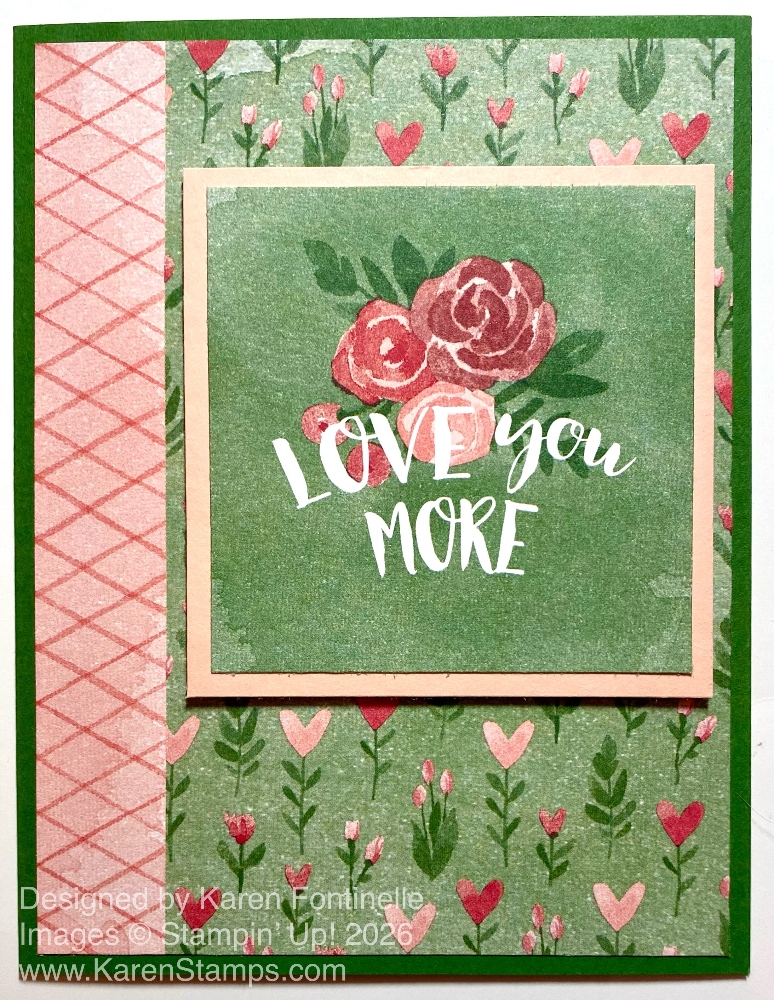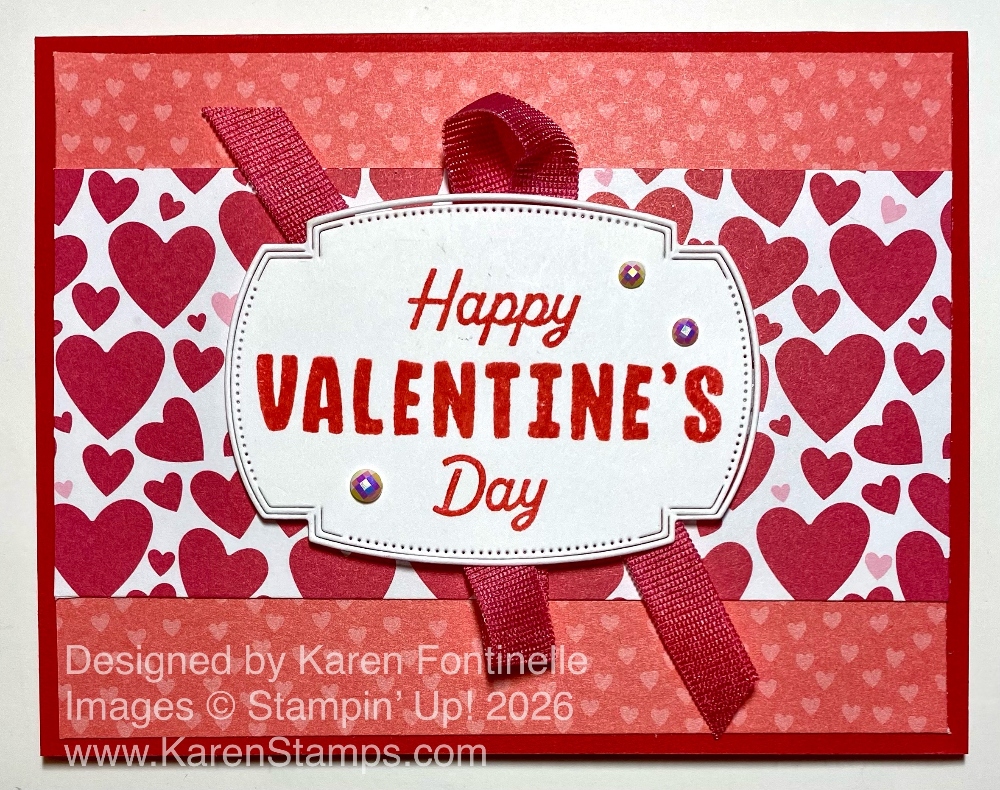
If you want a less-than-traditional Valentine, try this Splash of Sparkles Endless Love Valentine Card. Valentines can be almost any style, so if you want something other than the traditional red and pink, you can use any colors, any paper, any design that is pleasing to you or to the person to whom you are sending the valentine.
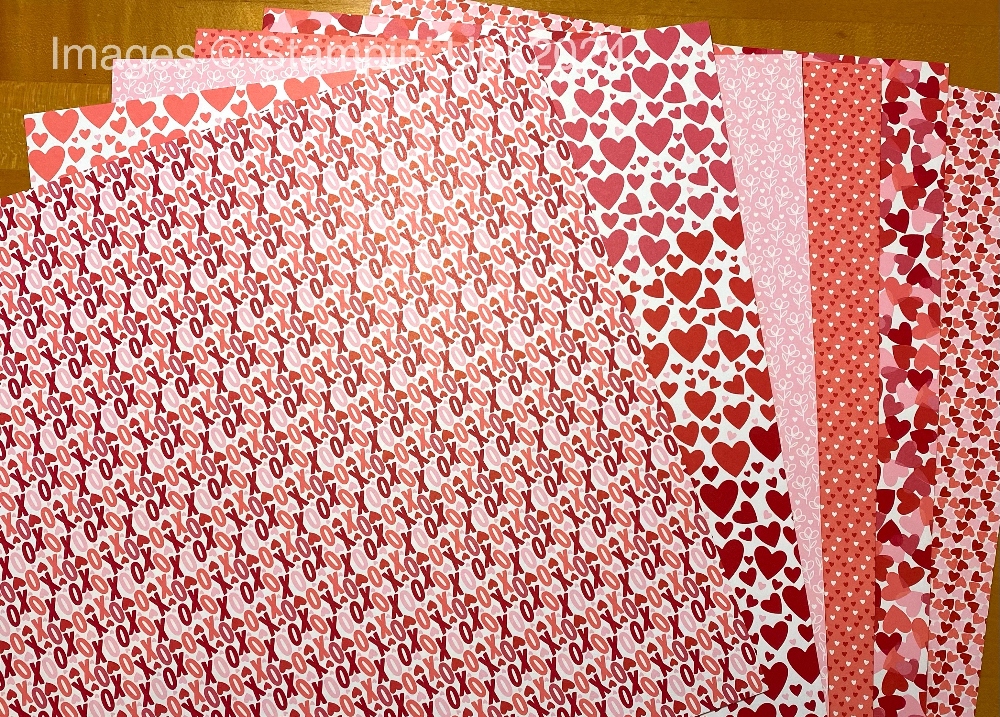
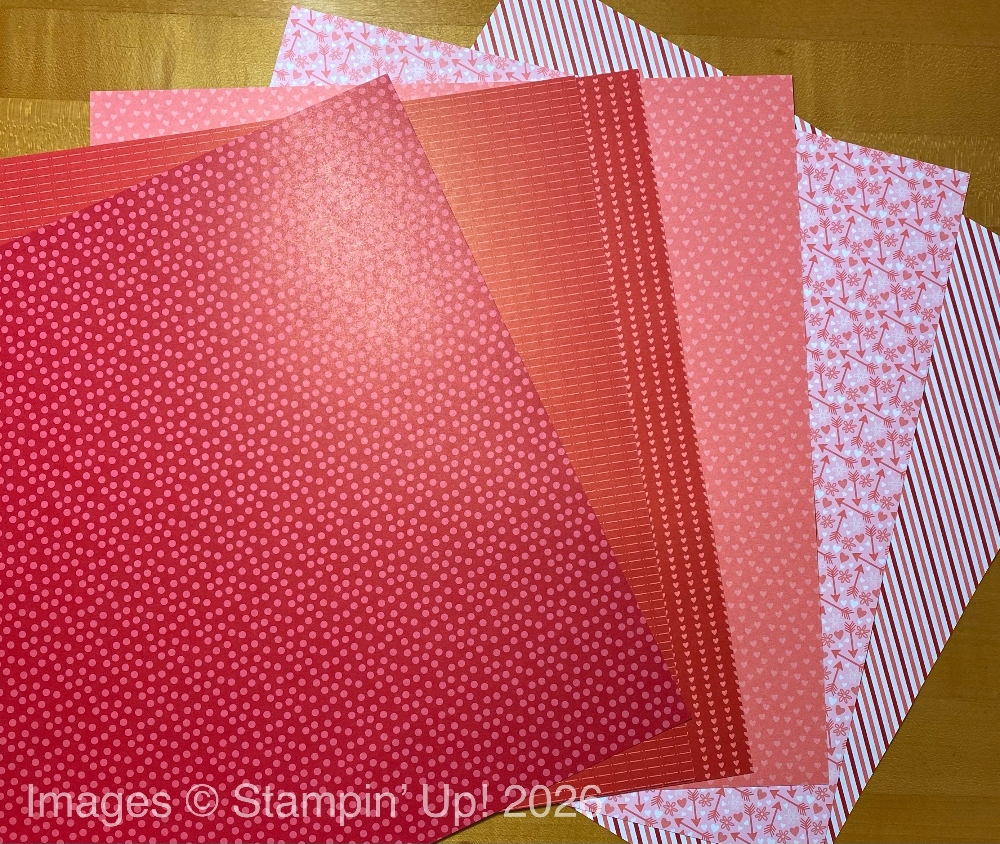
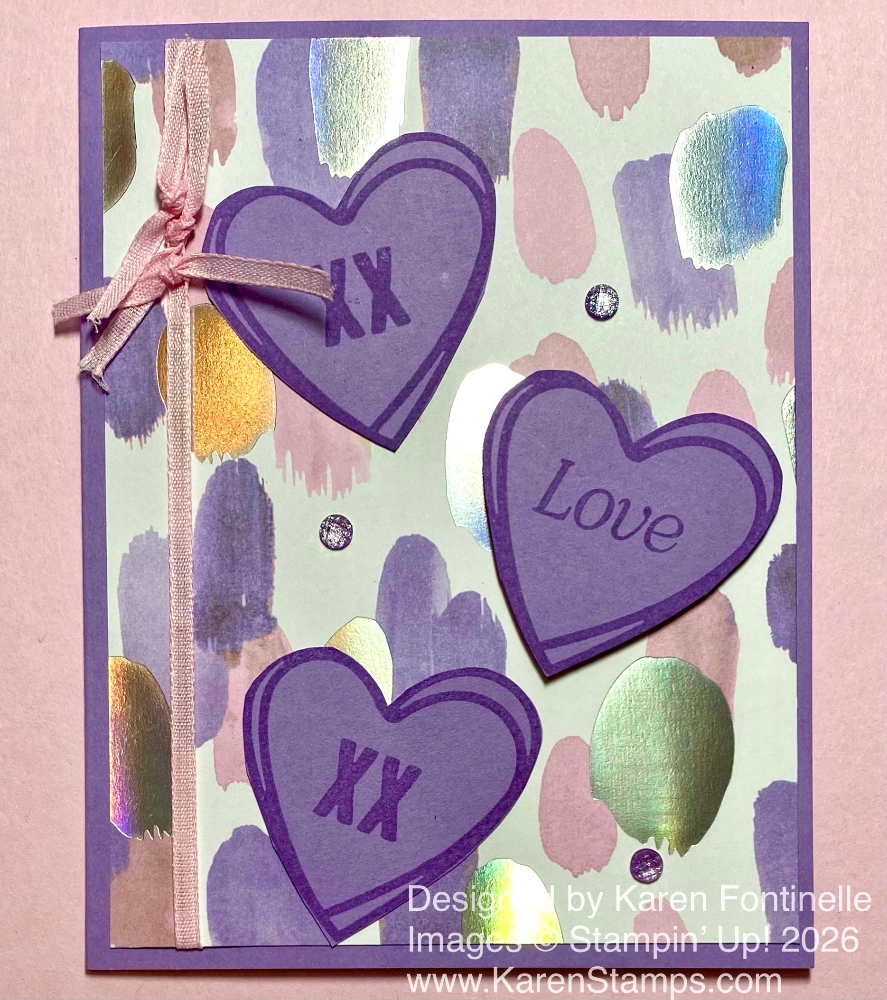
For this valentine, I chose to use the Splash of Sparkles Specialty Designer Series Paper. I love this paper because it is so colorful and artistic! The gold and iridescent foil really makes it special and sparkly! It could even be called Splash of Color! I chose this pattern with “splashes” of purple and pink blotches along with the foil colors for the background paper on this card. The card base is Highland Heather cardstock, one of the coordinating colors with this designer series paper.
Before adhering the designer paper to the card base, I added a piece of the Bubble Bath 1/8″ Faux Linen Ribbon. This ribbon is part of the Made With Love Suite Collection in the January-April 2026 Mini Catalog. This ribbon is great because it is so narrow so it works well in certain cases. On this card, I didn’t want anything covering too much of the designer paper. Instead of a bow, I just tied three pieces of ribbon in knots at the top.
The hearts are stamped with Highland Heather Ink on Highland Heather cardstock using the Endless Love Stamp Set, also part of the Made With Love Suite. I liked these open hearts because then I could add the XX from the same stamp set and the word “Love” from the Lovely Arrangements Stamp Set. This stamp says “Love you” so I only inked up the word “Love” and stamped that. Then the three hearts were cut out. The two hearts were glued down flat on the card and the Love heart is popped up on Stampin’ Dimensionals. I really felt this Valentine called for a bit more sparkle, so I chose the Purple Fine Shimmer Gems, in the Annual Catalog. These were the perfect addition on this card!
As you can see, we can use something other than red, white, or pink for valentines! All that really matters is the thought and the message. Inside the card, I added a Basic White layer and stamped “Happy Valentine’s Day” using the Endless Love Stamp Set.
I hope you are working on your valentines because Valentine’s Day is coming up really quick! Have fun making them!