
This paper is the Dainty Flowers Designer Series Paper that you can earn FREE during Sale-A-Bration with only a $50 purchase. I knew some of the patterns were in this pastel watercolor design. It is on the back of two of the floral sheets….but oh how we hate to cut up paper when we also love the other side! But it had to be done, to see what I could make with the watercolor side of the paper!
This layer of designer paper is the “other side” of the sheet with the floral ovals and the stems of flowers in the center of that paper. Those floral ovals make beautiful, super easy cards so it’s hard to use the other side of the paper instead! But I did!
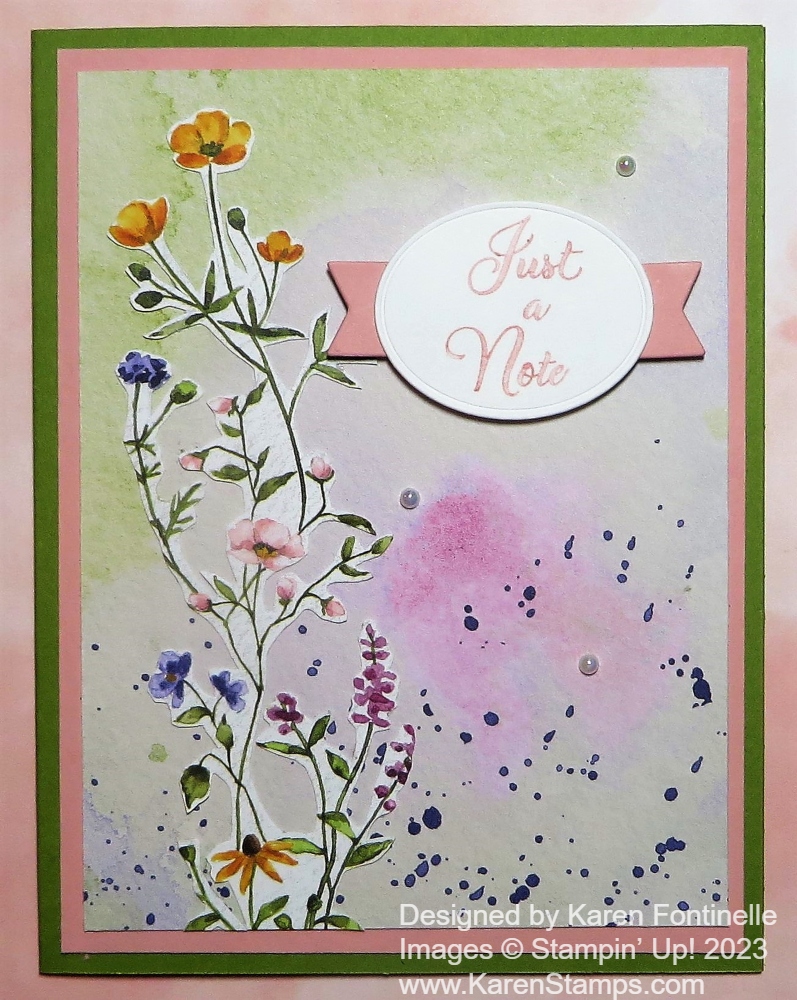
The card base is Old Olive, layered with Blushing Bride, and then the designer paper. Since I had to cut into those floral designs on the other side, I decided to really cut into the stems of the flowers. The term “fussy-cutting” really applied to how I cut out these flowers! You really need a small type of scissors like the Stampin’ Up! Paper Snips. You need some small, sharp scissors to twist and turn your way through these tiny flowers! Of course, I did not cut into every single little area of this design and you could not cut into so many areas as I did. But I do like the way it turned out. I used the Multipurpose Liquid Glue to put tiny dots on this piece in as many places as I could to adhere the flowers to the card front.
I wanted the greeting to be smaller than it is on the stamp in order to fit into the space on the card so I stamped each word after inking it with the Blushing Bride Stampin’ Write Marker (not the Stampin’ Blends marker). I was careful to clean the stamp well after each word and tried to line it up as well as I could. I think it turned out pretty well. Then I diecut the greeting with the oval in the All That Dies. The greeting is in the Go To Greetings Stamp Set. It’s a great stamp set for greetings you will need often and they are in different sizes and fonts! So versatile and so clever!
When I got out the dies to cut out the greeting, I noticed the little flag ends I could also die cut so I cut those out of Blushing Bride cardstock. Since the space on the card was small, I even trimmed down the length of the flags to fit on each side of the oval. I just glued those on to the back of the oval and popped up the whole thing on Stampin’ Dimensionals. I added three Iridescent Pearl Basic Jewels scattered on the card front. I might have added two on the greeting but since it is already popped up, I didn’t want to add some other things sticking up that poke holes in envelopes when you mail them.
Just keep in mind that “the other side” of the designer papers of the patterns we love often can also make beautiful cards! Get this Dainty Flowers Paper FREE during Sale-A-Bration through the end of February or while supplies last so don’t wait too long!