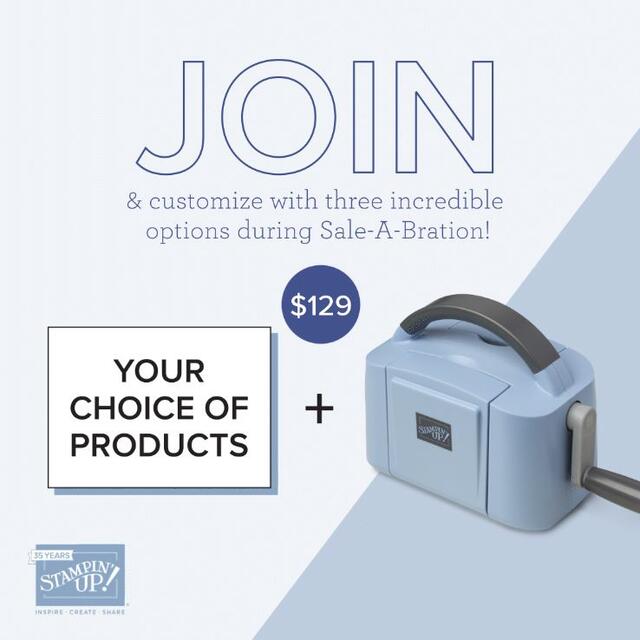
Stampin’ Up! has added some new products today to keep things fresh and fun! These will be called “Online Exclusives“ and will not be in any catalog. And there’s no end date for the sales period! Some products will be reordered when inventory is low, and others will only be available while supplies last. This way Stampin’ Up! can offer even more new products throughout the year. New products mean new inspiration and new ways to express your creativity!
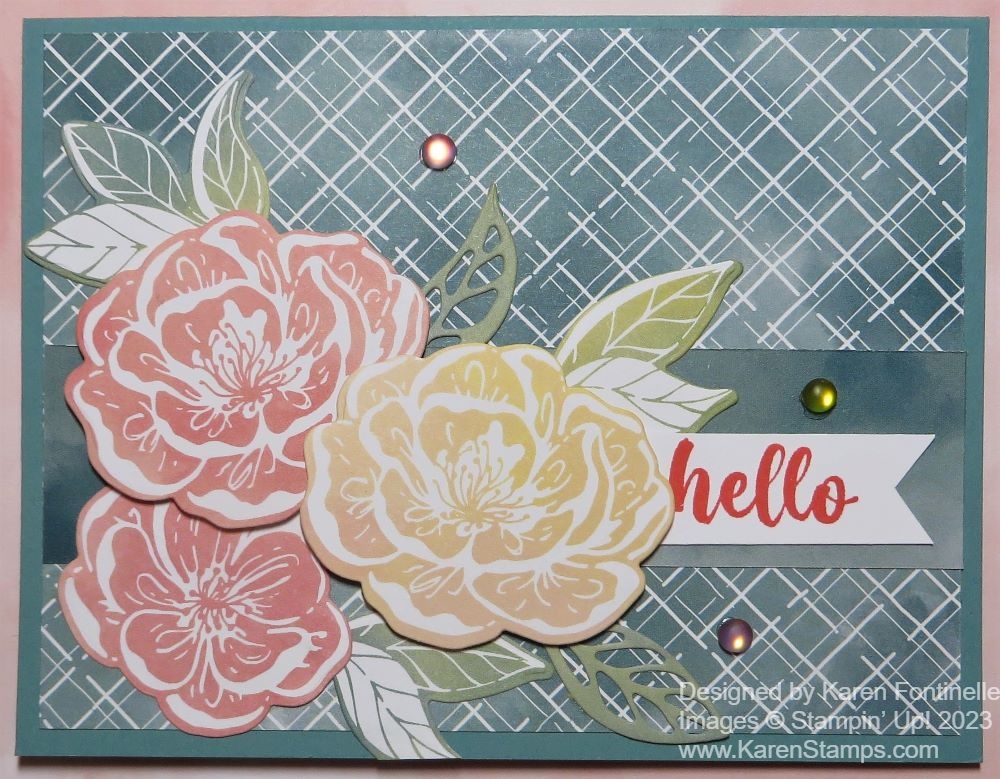
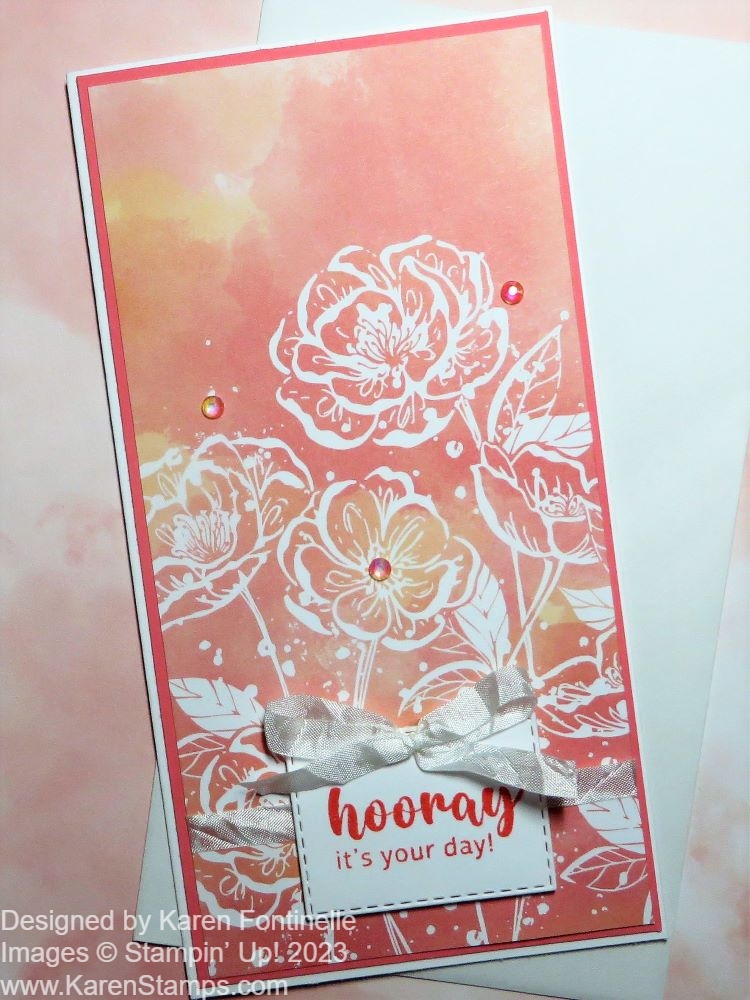
My Irresistible Blooms Hello Card is made with new things!! Well, and one old thing that apparently is going to be new again! If you have been around Stampin’ Up! for a while, do you recognize the cardstock I used? It is Lost Lagoon, one of the 2014-2016 In Colors! When I saw that was one of the coordinating colors with the new designer paper in the Online Exclusives, I dug around in my stash and found a package! Pretty Peacock is another returning color, apparently, but I haven’t found that yet! Hopefully, I still have the ink pads and reinkers somewhere, but who knows?
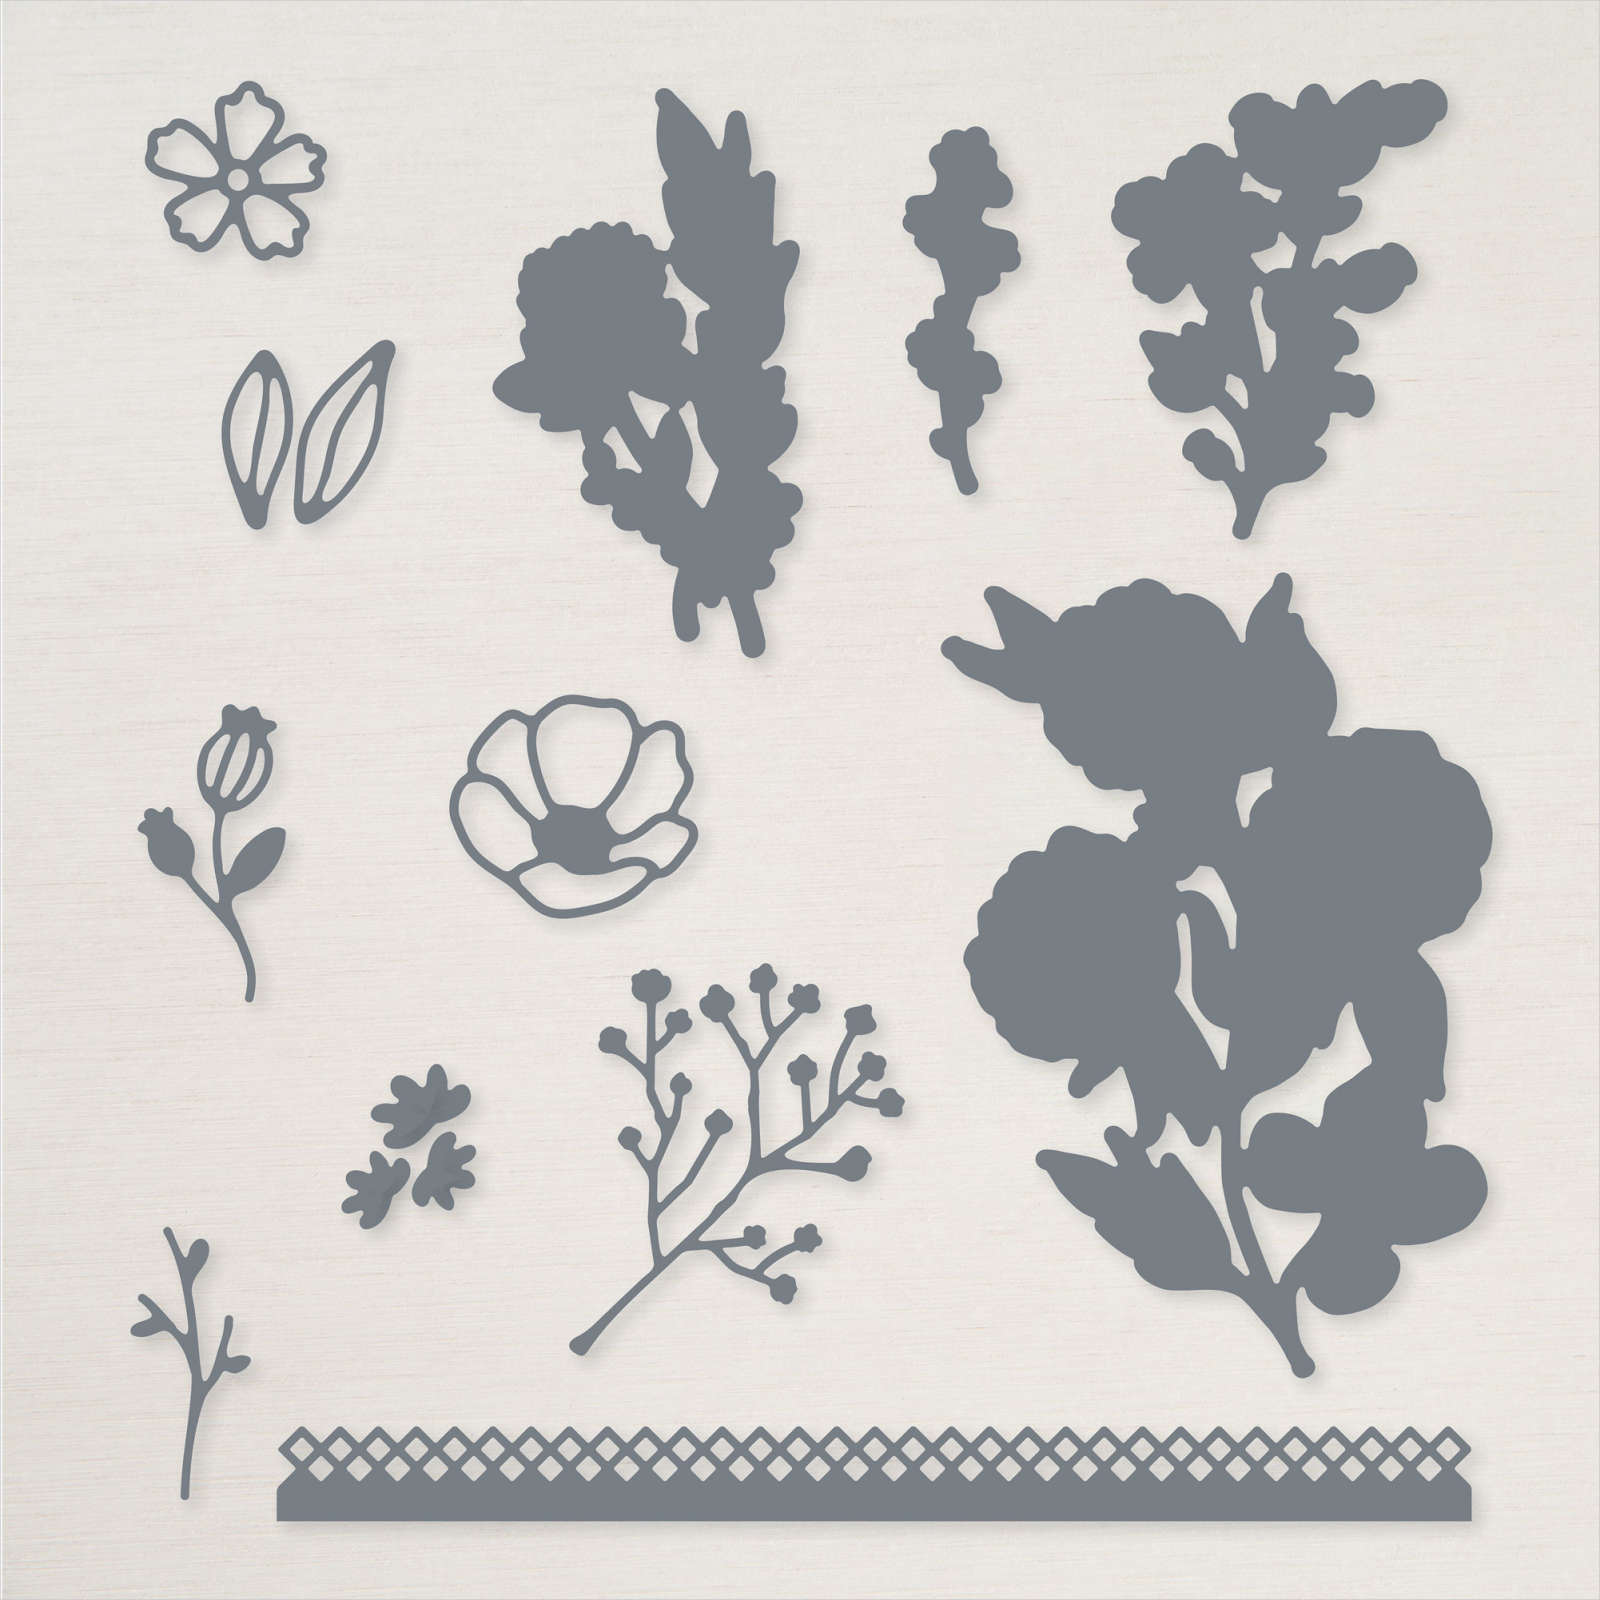
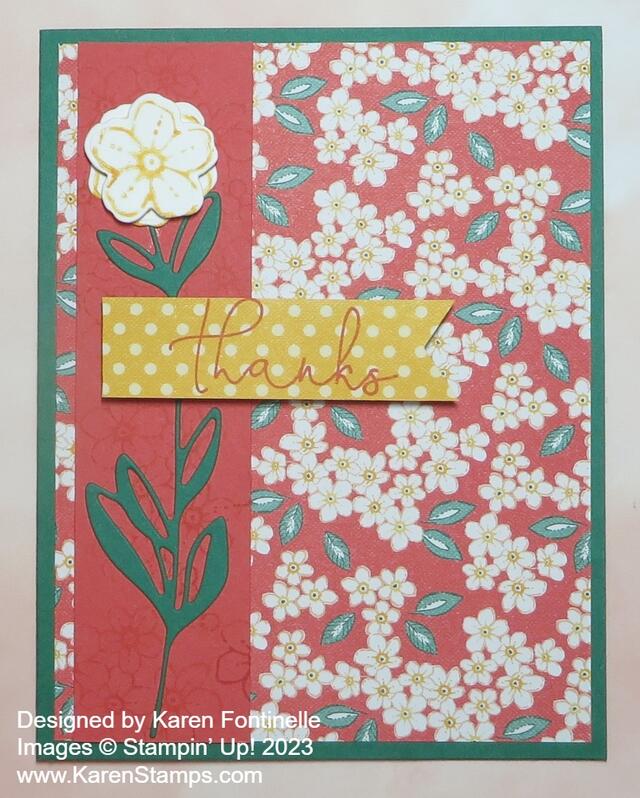
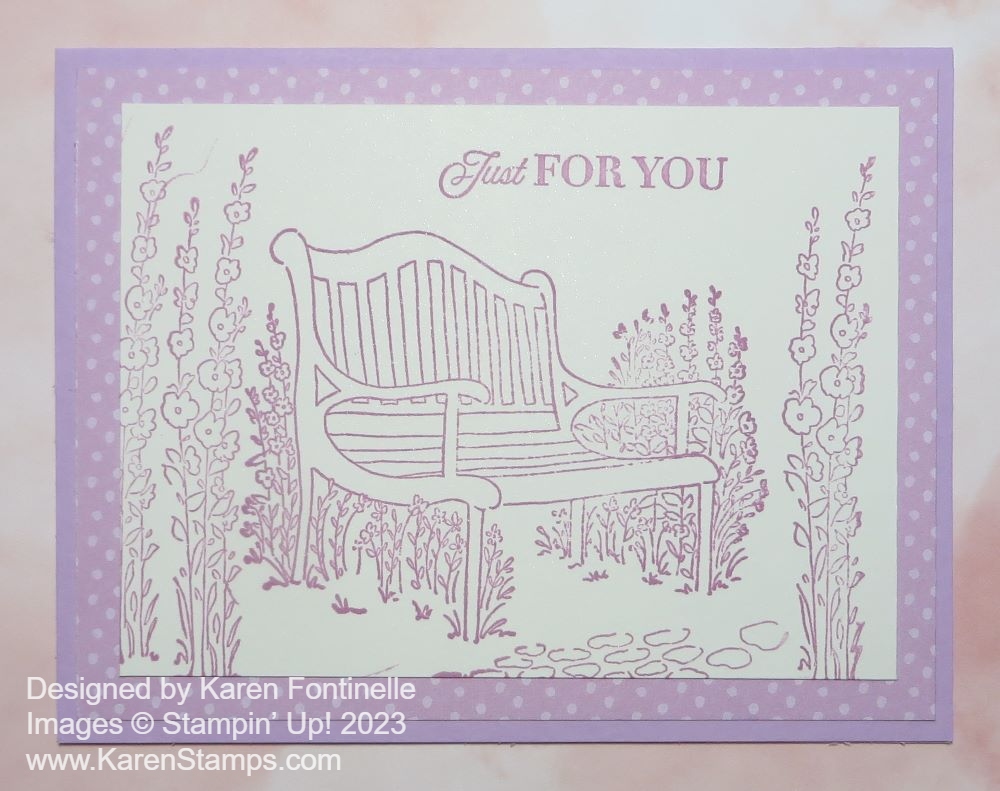
Back to this card…it was made with the new Hello, Irresistible Suite Collection. Yes, it is more flowers, but it is a really pretty collection! You can stamp, you can die cut, or you can cut out! Whatever you like! Some of the dies work on some of the designer paper patterns as well as the stamped images and that’s always an advantage when you can die-cut designer paper.
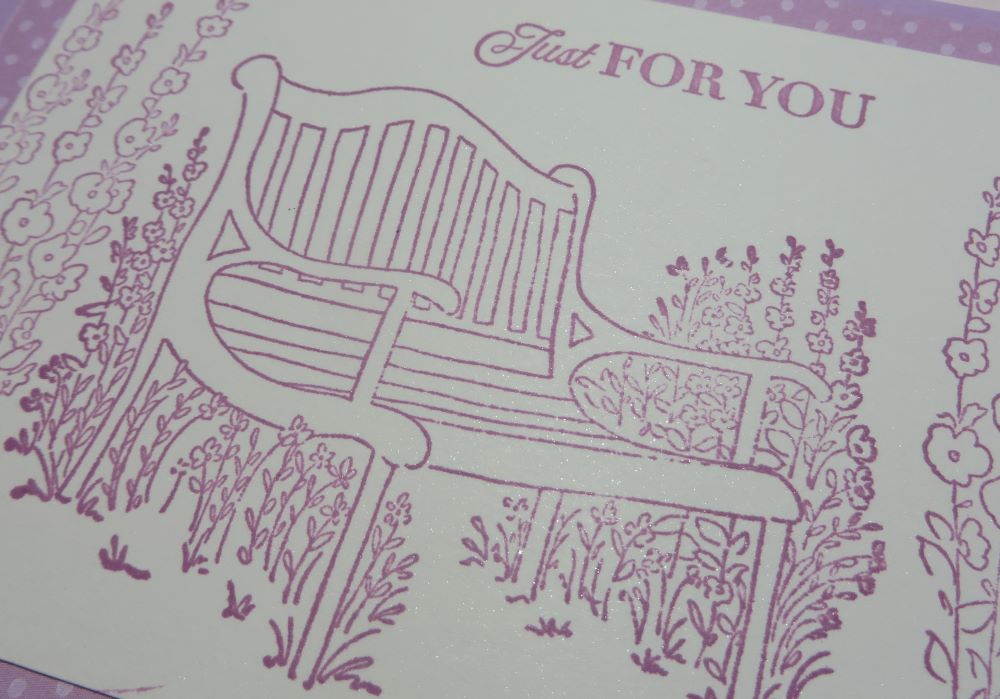
The card has a Lost Lagoon cardstock card base with a layer of the new Hello, Irresistible 6″ x 6″ Designer Series Paper. I like the criss-cross design on this paper and the other side is a watercolor wash. I used “the other side” for a strip across the lower middle of the card because I couldn’t resist using it! The flowers are all die cut from the designer paper as are the leaves. The flowers have the look of “emboss resist” without the work. I die cut several leaves and just stuck them around the flowers. One pink flower and one yellow flower are popped up on Stampin’ Dimensionals and the third is flat on the card.
The greeting is stamped with the Irresistible Blooms Stamp Set. You can purchase the Irresistible Blooms Dies along with the stamp set in the Irresistible Blooms Bundle and save 10% if you want both. For some bling, I added three of the Loose Frosted Dots. These come in three colors and three sizes. They do not have adhesive on the back which is a little inconvenient but you can work around that. On the larger size, you can place the Frosted Dot on a Glue Dot right on the roll. Then take it off and adhere it where you want it. For the smaller sizes, you could put a teeny tiny drop of glue where you want the dot to go on the paper and place the dot on the glue using the Take Your Pick Tool (if I could find mine!). Don’t try to apply the glue to the dot. Or you could try rolling a Glue Dot into a tiny ball and use that for adhesive. Whatever works for you! The Loose Frosted Dots are pretty and will be fun to use.
On the inside of the card, I adhered a piece of Basic White cardstock since the Lost Lagoon cardstock is rather dark for a message or stamped greeting. I added another diecut flower and leaf in the corner. You could also, or instead, use a narrow strip of designer paper to match on the inside. Make the inside fun, too!
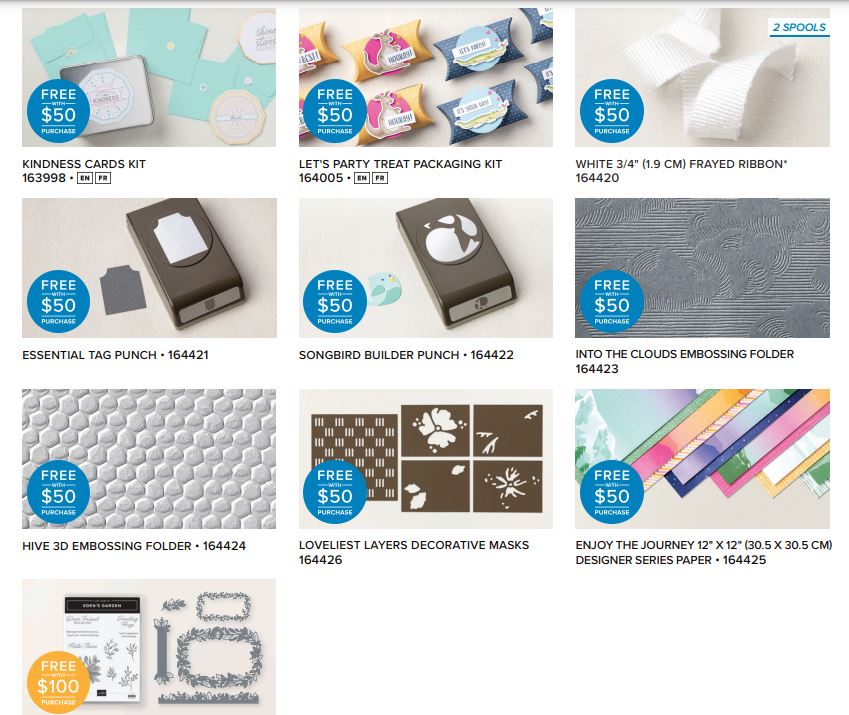
Demonstrators were able to preorder some of these Online Exclusive products, but there are even more new products available today! I urge you, for anything you really really want, to order it early. Some products in the Online Exclusives may go on backorder and be re-supplied, some may be gone for good, some may last forever. We won’t know, so when you see something you want, order it!
Have fun checking out the new Stampin’ Up! products!
SHOP STAMPIN’ UP! ONLINE HERE!