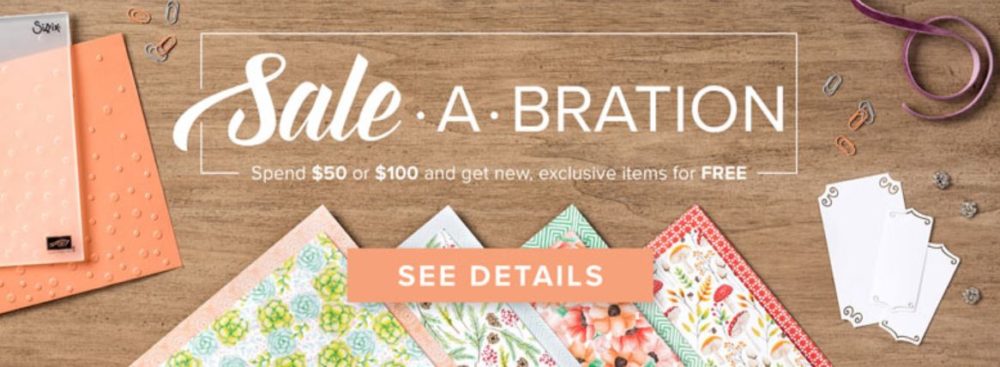
Hard to believe, but this is the last weekend for Stampin’ Up! Sale-A-Bration! Seems like the holidays just ended, the new Occasions Catalog came out and Sale-A-Bration started! Whether you have already placed your order or not, the deadline is tomorrow night for sure! We all like free stuff and what is better than Stampin’ Up! free stuff during Sale-A-Bration!
Here are some of my favorite projects I made with SAB products!
Those are just a few projects I’ve made during these Sale-A-Bration months! I thought this year had really good products to choose from. Obviously, they were great because several sold out! But we knew it was “while supplies last”. And this year, the supplies did not last!
Be sure to check your Wish List and basic supplies. Maybe you just want to stock up on ink refills, adhesives, new ink pads, cardstock, ribbons, whatever! You can get to $50 easily….and more, for sure! Or splurge on something like the Stamparatus!
You can also order a 3-month Prepaid Paper Pumpkin subscription to get SAB credit, even if you already are on a month-to-month subscription. It will work out!
Go ahead and shop and then choose your free Sale-A-Bration items with every $50 you spend!
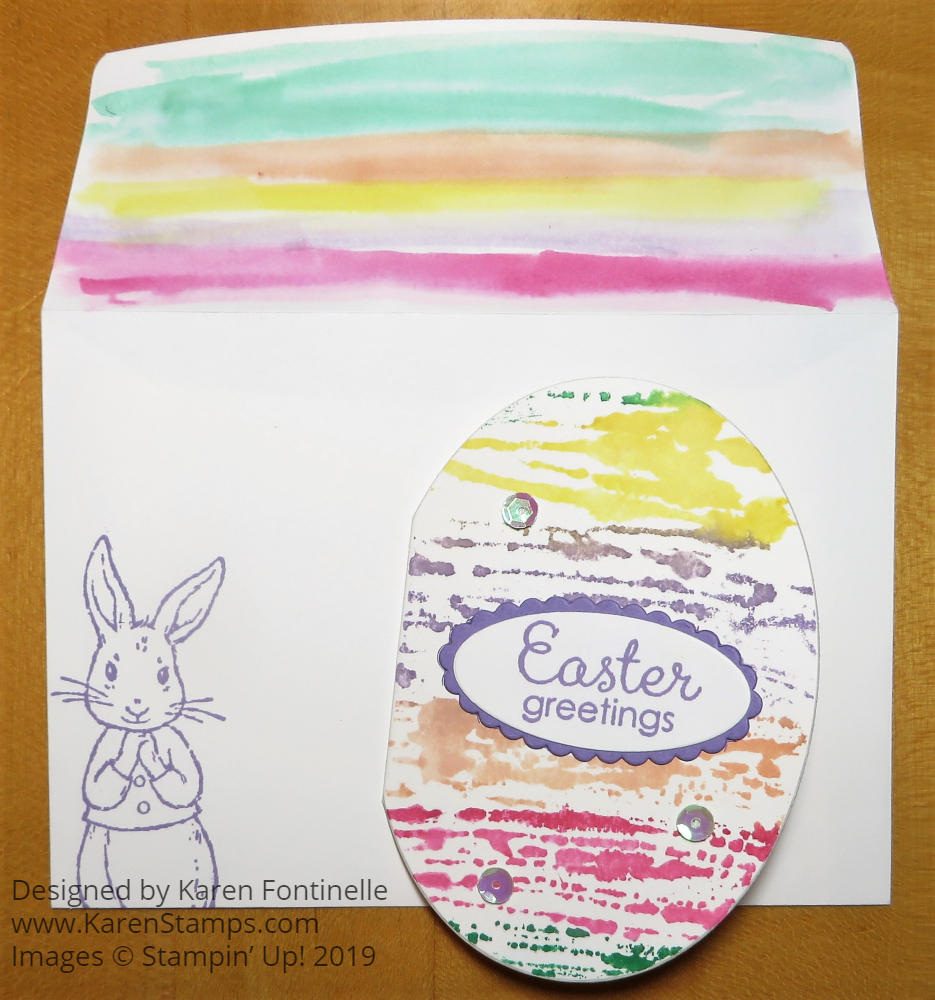
The other day I saw on Facebook a Stampin’ Up! post of a stamping technique that a French Demonstrator, on the Artisan Design Team, had used on a card using the acrylic blocks. I had already been reminded of an Easter card I made of an oval shape and decorated like an Easter egg, so I used her technique to make a Watercolored Easter Egg Notecard.
You can use the largest oval framelit in the Layering Ovals Framelits Dies to make this card although it is a little small. If you want a larger card you will need some kind of template. I just used a notecard in the Note Card & Envelopes since the egg will be small anyway. Fold the note card and position the largest oval die over the note card (closed) but having it off the card a bit over the fold. In other words, you do not want to cut a portion of the fold. If you do, you will have two ovals cut out of the Note Card but they won’t be connected by the fold. Just slide the oval off to the left a little bit so you will still have a fold.
You can see how I made an Easter egg-shaped card HERE a few years ago. The die will cut through the two layers of the card and still have a fold as long as you move the die to the left of the fold.
This is how I colored my egg card. I used a larger acrylic block that the egg could fit on. Then I chose several colors of ink pads and picked up ink from each color with my Aqua Painter one at a time and colored it onto the acrylic block. Instead of picking up the block and stamping it on the card, I placed the front of the egg card down onto the acrylic block loaded with stripes of colors of watery ink. Just press and then lift up carefully.
Depending on how much ink and how much water from your Aqua Painter (or brush) that you use and how you lay down the colors, you will get a different look on your card each time you make one. It’s really fun to do a technique where each time the final look will be a surprise! You could also color directly on the card, but Whisper White cardstock doesn’t hold up really well to very much water. I would recommend using Shimmery White Cardstock.
To decorate my Easter card, I used the Easter greeting from the Fable Friends Stamp Set. It is stamped in Highland Heather ink and layered on Highland Heather Cardstock, both die cut from the Layering Ovals Framelits Dies. For a little bling, I added some self-adhesive Basic Sequins.
As I was getting an envelope for the note card, I decided to color the envelope flap to match. It doesn’t match exactly because I didn’t use an acrylic block, I just colored directly onto the envelope flap. This does make the flap a little “warpy” and the glue on the flap inside gets a little damp so make sure the flap is open. And finally I stamped the bunny from the Fable Friends Stamp Set in Highland Heather on the front of the envelope.
This is a pretty small little Easter egg card but very cute and fun! You can try this technique or you can make one like the one I linked to from three years ago. Of course you can use this ink-on-the-acrylic-block technique to make lots of different kinds of cards, even just stamping the block onto cardstock and leaving a rectangular stamped shape as the Artisan team member did. Get out some ink and an acrylic block and experiment for yourself in making whatever cards you like or one for Easter like my Watercolored Easter Egg Notecard.
March 31, 2019 is almost here, so time is short! Sale-A-Bration comes to an end that night and the “free stuff” will be all over! Don’t miss out! Stock up on some basics for your stamping or choose those things you’ve been lusting after in the Stampin’ Up! catalogs. With every $50 you get to choose a FREE Sale-A-Bration item. Upon reaching $100, you can choose two free items OR one $100 category choice…..and so on! No limit! And with a $150 you also get Stampin’ Rewards….and with a $250 order you earn an EXTRA $25 in merchandise (plus Stampin’ Rewards).
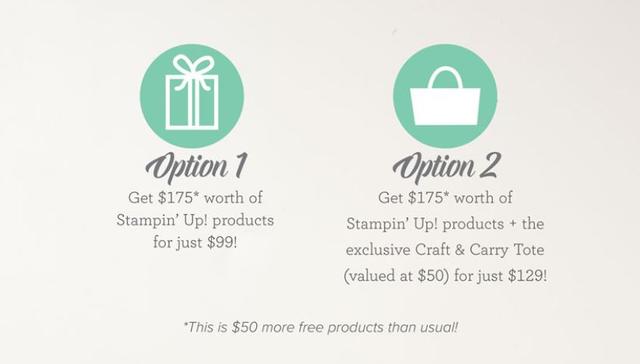
If you would like to JOIN Stampin’ Up!, this is the week! Check out the extra benefits PLUS you can choose to get the special Craft Tote Bag along with your Starter Kit.
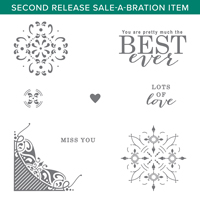
Here are the Sale-A-Bration choices (as I write this!):
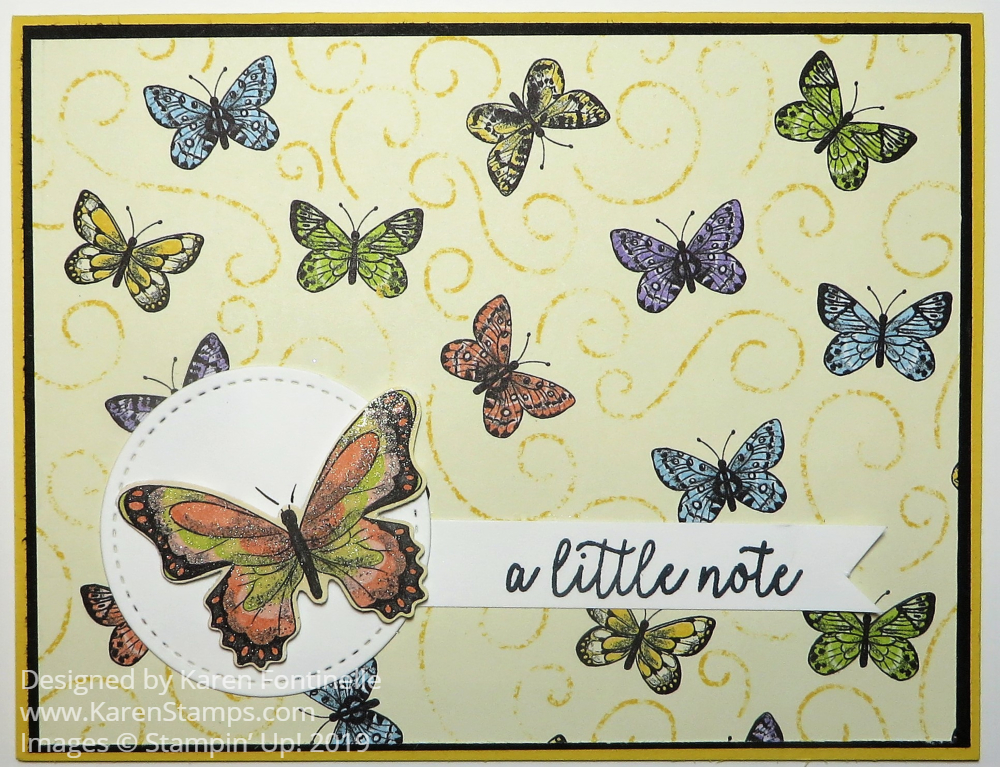
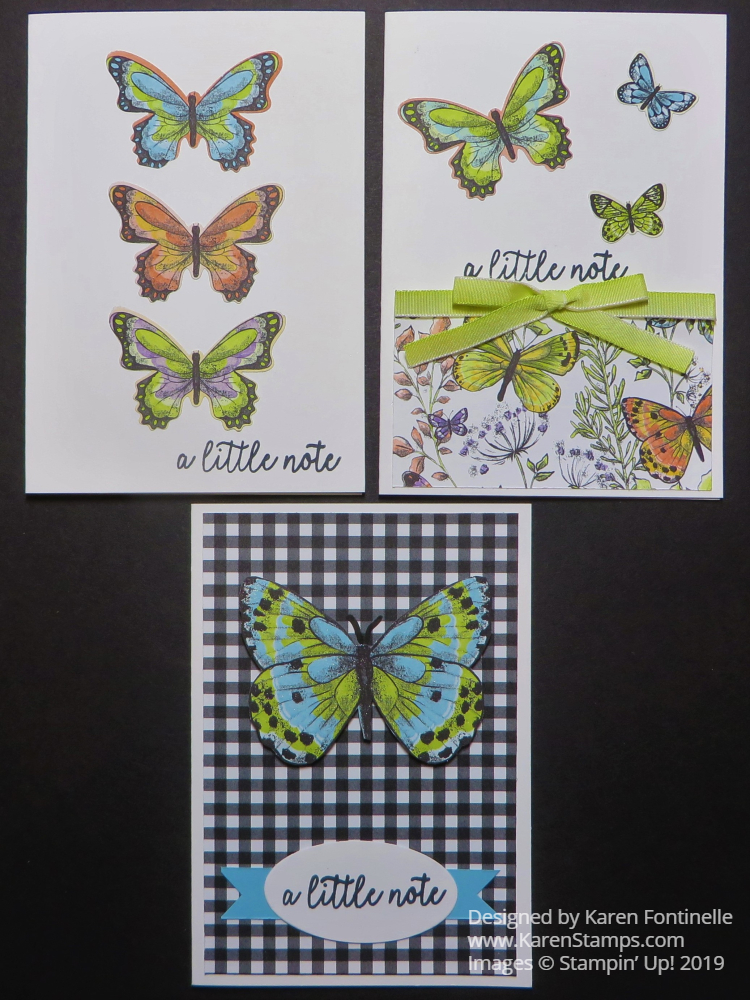
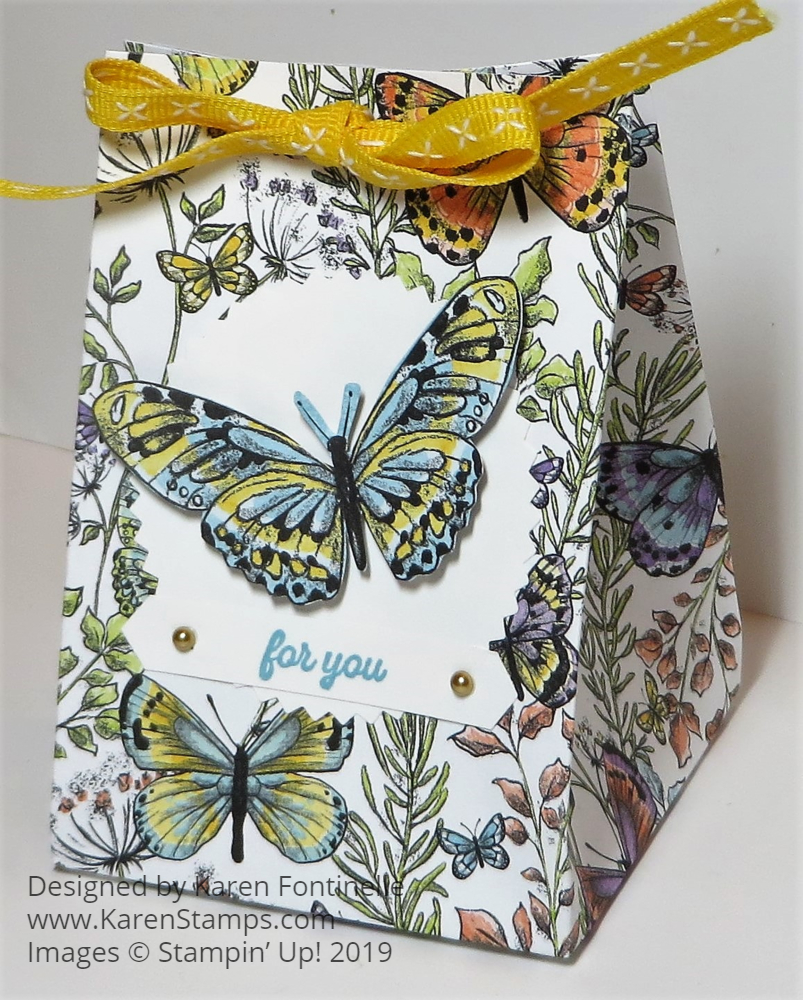
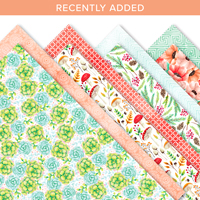
When my daughter was here for a visit last week and pulling out lots of paper and stamps, some retired, when we went to put away the Garden Impressions Designer Paper I honestly couldn’t remember if it was current or retired! I hadn’t used it in a long time! So I thought it was time to USE IT, along with the Butterfly Gala Stamp Set and the Butterfly Duet Punch to make this Butterfly Gala Thank You Card With Floral Garden Impressions.
The Garden Impressions paper is a pack of 6″ x 6″ sheets so it is a little easier to work with. So many pretty floral patterns and on the other side a more generic, plain design. This pattern with the Night of Navy background and So Saffron flowers jumped out at me so I chose to use that. The card base is Night of Navy with a Whisper White layer. The strip of designer paper is 5 1/4″ x 2″. The ribbon is the beautiful Gold 3/8″ Metallic-Edge Ribbon, so useful to have on hand.
The butterflies are stamped with the Butterfly Gala Stamp Set, colored with Stampin’ Blends markers and punched out with the Butterfly Punch. Unfortunately, at the moment, the punch is back ordered and unable to be ordered until they get more in stock.
The greeting on the card is from the same Butterfly Gala Stamp set, along with some other very nice greetings. Luckily I didn’t mess it up when I stamped it just above the ribbon. Well, somehow I did get a slight black ink smudge in the upper left corner, but I was able to cover it with the butterfly wings! The large butterfly is popped up with Stampin’ Dimensionals and the other two are just adhered flat with Glue Dots.
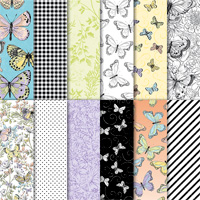
Remember, Sale-A-Bration is going on just one more week!! Wow, does time fly!! You can still get the Botanical Butterfly Designer Series Paper FREE with a $50 purchase, at least as I write this! I’m surprised this paper didn’t sell out early on because it is so fun with the butterflies on one side and some black and white designs on the other. If you like butterflies, you do want this paper!
If you didn’t want to take time to color in butterflies, you could simply make this same card without them! The Garden Impressions 6″ x 6″ DSP is pretty enough! Stamp a greeting, maybe add a ribbon and you’ve got a lovely card. Check out these products in the Stampin’ Up! Online Store and get your Sale-A-Bration order in before you miss out!
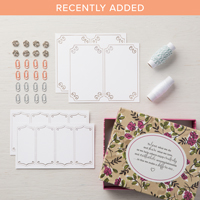
It’s time to get signed up for Paper Pumpkin, the papercrafting kit that Stampin’ Up! sends right to your mailbox each month with a fun project inside, all materials, stamps, and ink included! What could be more fun to look forward to!
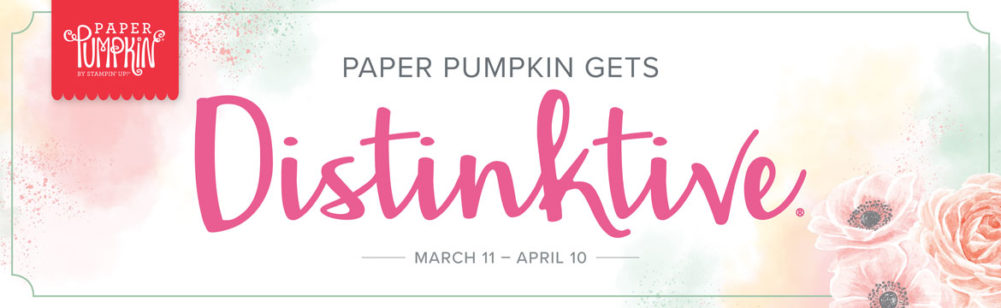
The April Paper Pumpkin Kit is going to have something different….brand new Stampin’ Up! Distinktive® stamp images.
What are Distinktive stamp images? Stampin’ Up! says…….
Distinktive stamps give you photo-realistic images with just one stamp. They have a special texture that gives added depth and dimension in a single step.
These stamps are available only from Stampin’ Up! and are made using a patent-pending process.
Distinktive stamps are available in red rubber and photopolymer; Paper Pumpkin’s April kit includes photopolymer stamps.
Shop Distinktive stamps in the online store by searching “Distinktive,” or look for the Distinktive icon in Stampin’ Up! catalogs.
Join Paper Pumpkin today and be all set to receive the April Paper Pumpkin Kit in the mail mid-April. Get the first set of Distinktive stamps to appear in Paper Pumpkin. You must subscribe (or reactivate) your subscription by April 10th to receive this kit. Do it now so you don’t have to put it on your “To-Do List”!
The link above is my personalized link for my Paper Pumpkin page to make it easy for you to sign up. If you have a Demonstrator you want to use, then go to Paperpumpkin.com and search for their name.
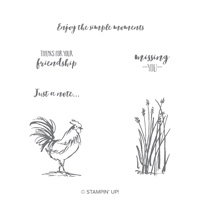
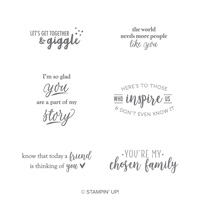
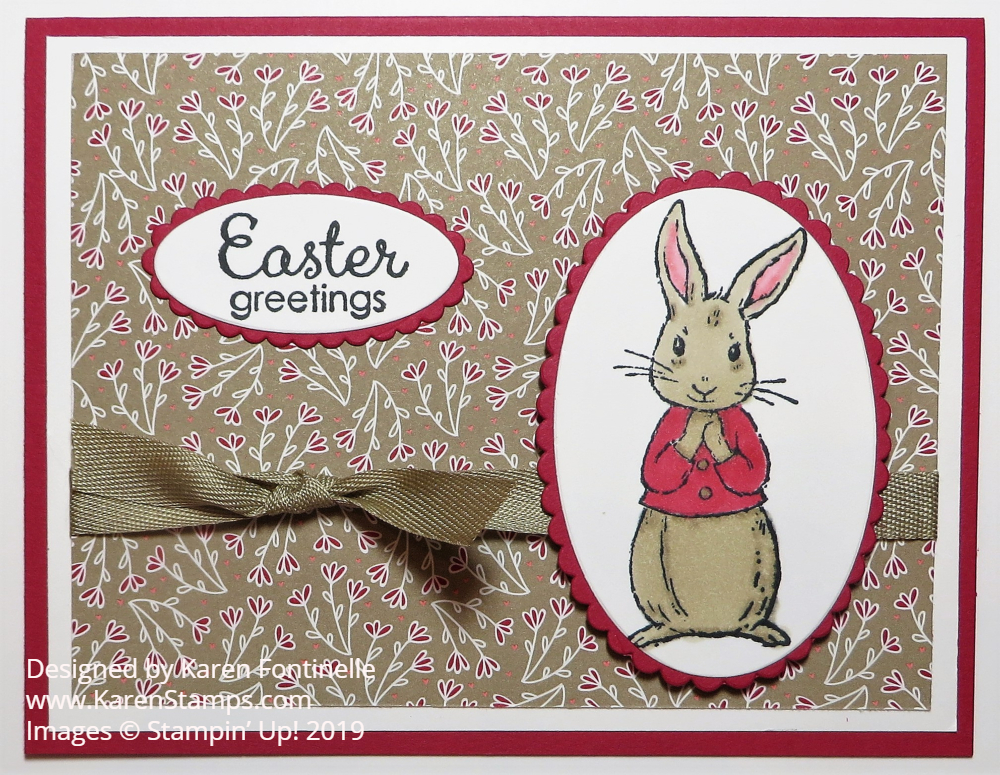
It’s time to start making Easter cards like this Fable Friends Bunny Easter Card. Isn’t that bunny the cutest thing?! This is an easy card to make so you could make multiples and make lots of people happy to receive a card from you during the Easter season. The Fable Friends Stamp Set is great for Easter but you can also use it for other cards, like for a baby.
The card base is Lovely Lipstick with a layer of Whisper White under the designer paper which is from the All My Love Designer Series Paper. Don’t tell anybody, but I stamped the bunny on the middle part of the Whisper White paper, die cut it and then used that piece as the layer. Nobody will ever know that there is an oval hole in the Whisper White layer unless they take the card apart! You can save a little bit of paper this way although I don’t always think of doing that little trick.
The bunny is stamped in Memento Black Ink. This is the ink that works with the Stampin’ Blends alcohol markers. I love to color with these markers! Just pick out whatever colors you like. The bunny is easy to color! This oval piece is layered on a scalloped oval Lovely Lipstick piece.
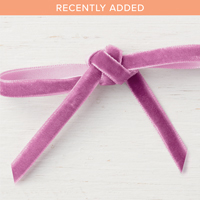
The ribbon is the Crumb Cake 3/8″ Classic Weave Ribbon . This ribbon has a very nice soft feel to it. I just tied a knot to keep it simple and popped the bunny up on Stampin’ Dimensionals.
The greeting is from the same Fable Friends Stamp Set and layered on a piece of Lovely Lipstick.
That’s it! That’s all there is to this easy Easter card using the Fable Friends stamp set. Easter is a month away so you have time to order this stamp set, add a few things, and reach $50 so you can take advantage of Sale-A-Bration! Get a free product with each $50 you spend. Don’t miss it!
I might not have little kids around the house any more to brag about the cute things they said or did, but a mother can still brag about her adult daughter’s artistic creation, this Beautiful You Card! I suppose I could say happiness is when you ask your daughter what she would like to do the next day of her visit and she says, “Stamp!” That’s never happened before!
She does enjoy doing the Paper Pumpkin Kits I send her but she doesn’t want the ton of supplies her mother has, which is one of the great reasons for people to subscribe to Paper Pumpkin – get all the supplies and design you need to do some crafting once a month without buying and carrying an “inventory” of stamps, paper, and ink! This time she was interested in creating some of her own cards and projects for friends getting married or having babies or celebrating birthdays!
We also tried out several techniques, like salt and ink, alcohol and ink, embossing, watercoloring with ink refills, watercoloring with Brusho crystals, embossing with the Big Shot, die-cutting, coloring with Stampin’ Blends, using Sponge Daubers, and many other things. She had already picked out this Beautiful You Stamp Set to use so she used one of her backgrounds for this stamped image which she had colored and cut out. Then, just like her mother, she played around with several choices of ribbons until she was happy with the look and figured out a way to incorporate the Lemon Lime Twist Ombre Ribbon with the Whisper White Polka Dot Tulle Ribbon.
Some projects she didn’t have time to pull together but she has paper and stamped images and ribbon all ready to take home with her to complete. I’ll be interested to see what she eventually makes for her friends out of her new stash!
It was nice to have a stamper in the house and nice to have a relaxing visit without the Christmas hoopla going on, as nice as that is at the time with everyone home! It’s always nice to visit with one child at a time, or even two when her brother came home to visit her over the weekend! She wishes she could stay longer but the airfare would be $400 more to stay another couple of days! Crazy! We didn’t even run around to go out and do “fun” things because we were already having plenty of fun staying home, relaxing, stamping, even baking bread and pizza and making a chocolate tart! (Check out www.thefoodnanny.com, my new passion, I don’t even know why!)
So try to go back in your mind and think like a new stamper! Try your supplies in new ways, try out a new technique just for fun. You don’t have to create a masterpiece at the end, just try something new or something you haven’t done in a long time! Everything old is new again….or whatever the saying is!
And don’t forget Sale-A-Bration only has about another week to run! Purchase $50 worth or more, or multiples of $50, to get your FREE Sale-A-Bration products. Maybe you’d like this lovely stamp set in the Annual Catalog on your order so you can make a card like my daughter’s Beautiful You Card.
Late yesterday spring arrived, finally, and here is a Floral Card For Spring With Brusho to celebrate! My daughter has been visiting for a week (not long enough!) and she wanted to stamp and learn some new techniques! We played around with several things including the Brusho Crystal Colour (yes, that’s how it is spelled!). I haven’t used it much, even though it was something I wanted right away when it came out! There are different ways you can use Brusho. Mostly you just need to play with it!
We used real Watercolor Paper by Stampin’ Up! because that works the best, along with the Aqua Painter. You can apply water to the paper with the Aqua Painter or move the ink crystals around with it. You can also just pick up with crystals mixed with water and use as a watercolor paint to color in an image. The Watercolor Paper is a high-quality cotton paper that absorbs the water and doesn’t pill like Whisper White Cardstock does when you use water on it and try to move color around. Even if you don’t use watercolor paper often, you might like to keep a package or two on hand in case you come across a project you want to try with watercoloring.
The Brusho is fun to use because you get five little pots of color – Brilliant Red, Gamboge (orange), Moss Green, Prussian Blue, Yellow. You can use them individually or combine them or do whatever you want! It is recommended you do not even OPEN the pots as the powder is so fine and you’ll have tiny crystals all over. Just poke a hole or several holes in the lid with a Paper Piercing Tool or push pins or something so you can shake out minute amounts of color when you want them.
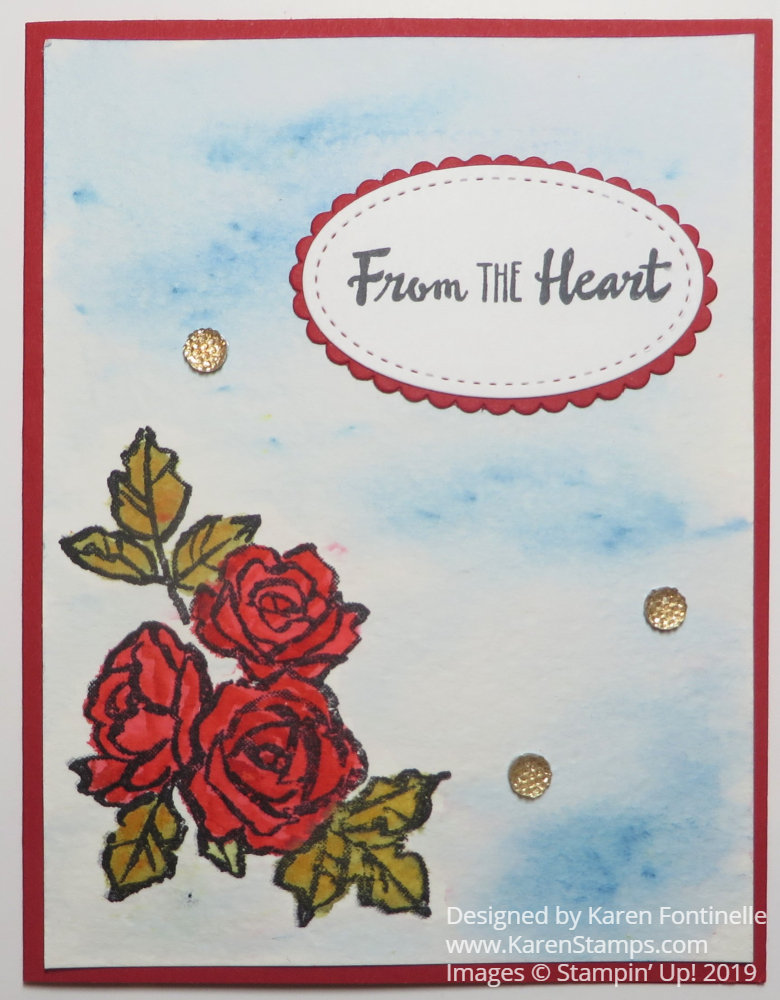
For my card, I stamped the flowers from the Petal Palette Stamp Set with Stazon Ink since it is waterproof. Then I just shook out a tiny amount of Brusho onto a clear block and picked it up with my Aqua Painter to color in the flowers and leaves. If the shade isn’t exactly what you wanted, you can go back and add more color for a deeper color or shading or blending.
I just wanted kind of a light blue, sky background for the card so I sprinkled just a very few crystals on the wet watercolor paper (I applied water around the flowers with my Aqua Painter) and kind of let it move on its own and helped it with the Aqua Painter so it went where I wanted it. Very easy and simple, not to mention fun!
The card base is Real Red to match the flowers and the greeting is from the Petal Palette Stamp Set. I had to add a little bit of bling with the Gold Faceted Gems.
My daughter and I also made some backgrounds while we played with the Brusho so we will have to make those into cards or something.
Take some inspiration from this Floral Card For Spring With Brusho and make your own card for spring to send to someone who just might really need a card that day!
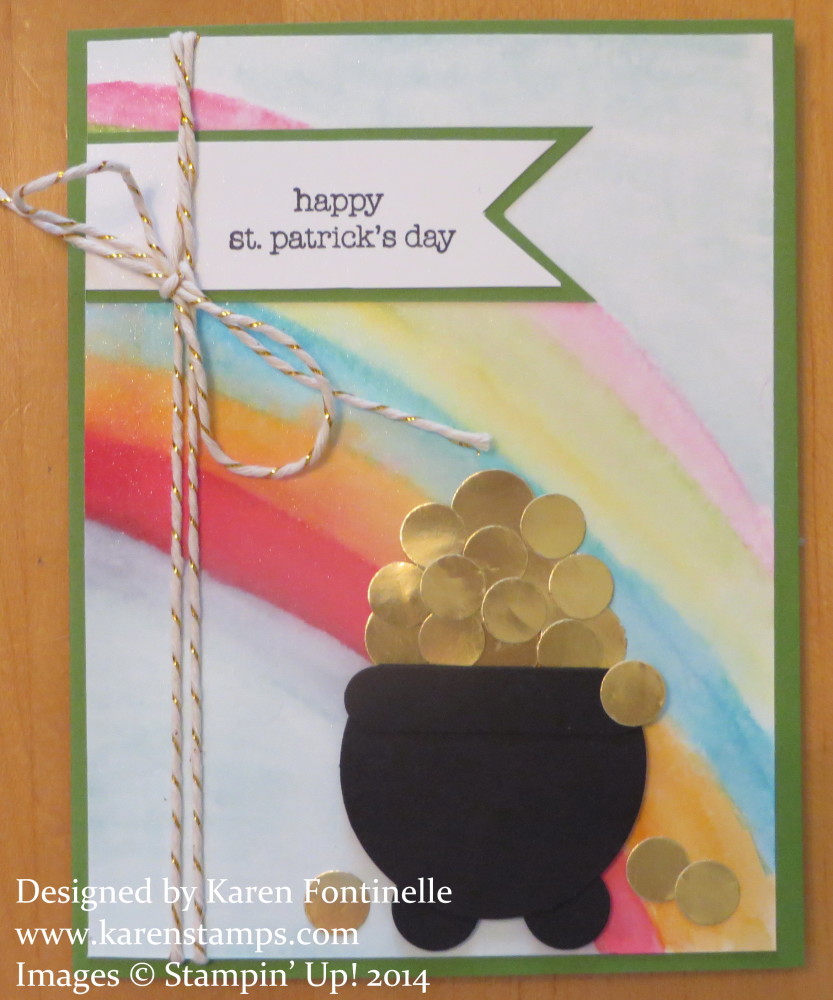
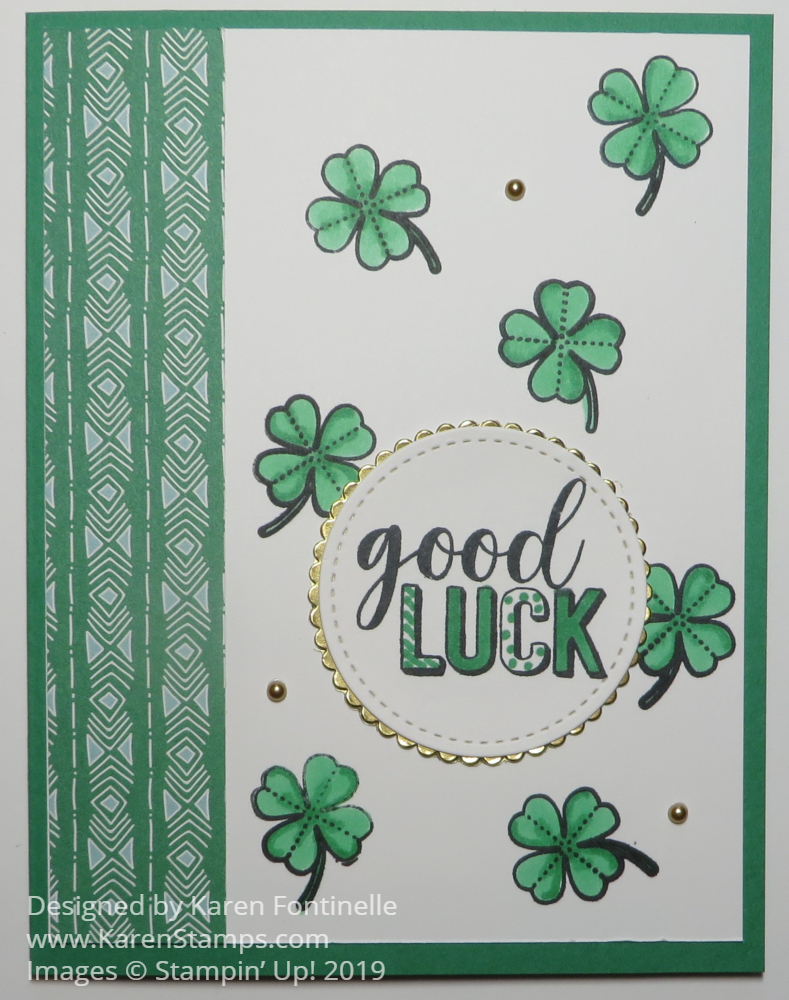
St. Patrick’s Day is coming Sunday, March 17 so here is a fun St. Patrick’s Day Shamrock card you can make or get an idea from to make your own card. I imagine people will be celebrating St. Pat’s all weekend!
My husband went to an engineering college in Missouri and since St. Patrick was the patron saint of engineering, St. Pat’s weekend was quite the party weekend there – actually the whole week was I think! I guess I went to two of them when we were dating and he was still in college. I think I remember someone (some people?) being thrown into a vat of awful green stuff. We were reminded of some of this disgusting stuff that went on, all in the name of college and fraternity fun back then, when we went back for a reunion and new fraternity house last fall. One of the men was wearing his St. Pat’s jacket from when he was on the St. Pat’s board during college. Apparently it was quite the honor to own that jacket, although technically it must be a biohazard from the tales he told of what was done to that jacket before it was given to him, with the admonition never to clean it! So even though we are not Irish, St. Patrick’s Day holds those college memories for us. I think I have a green garter from the occasion and probably a green sweatshirt or t-shirt or other souvenirs.
If you are Irish or know someone you want to give a card or St. Patrick’s Day treat to, here is a fun card to make. If you don’t have a shamrock stamp, just find some little hearts and stamp those together to make a shamrock! Or punch out some hearts, big or little. Add a touch of gold and a greeting and you’ve got it!
My card uses Call Me Clover Cardstock (pretty appropriate for St. Pat’s, don’t you think?) for the card base with a Whisper White layer. I put a strip of green patterned designer paper along the side. The paper on the other side has alligators from the Animal Expedition Designer Series Paper. I just wanted some strip of green paper so look for whatever you have, but I can say the Animal Expedition Paper is super cute!
The greeting is from the same stamp set. I stamped that in Memento Ink also and colored in the letters with my marker, even adding some stripes and dots for fun. I had a scrap of Gold Foil so I die cut that to fit to add a touch of gold. Of course, I had to add a bit more bling and gold, so I added a few gold Metallic Pearls on the front of the card.
If you are celebrating St. Patrick’s Day on Sunday or this weekend, make a little something green with whatever you have in your stash! You might be surprised when you look through your stamp sets to find a shamrock or St. Pat’s greeting or balloons you can color green or any number of things. Try something today!
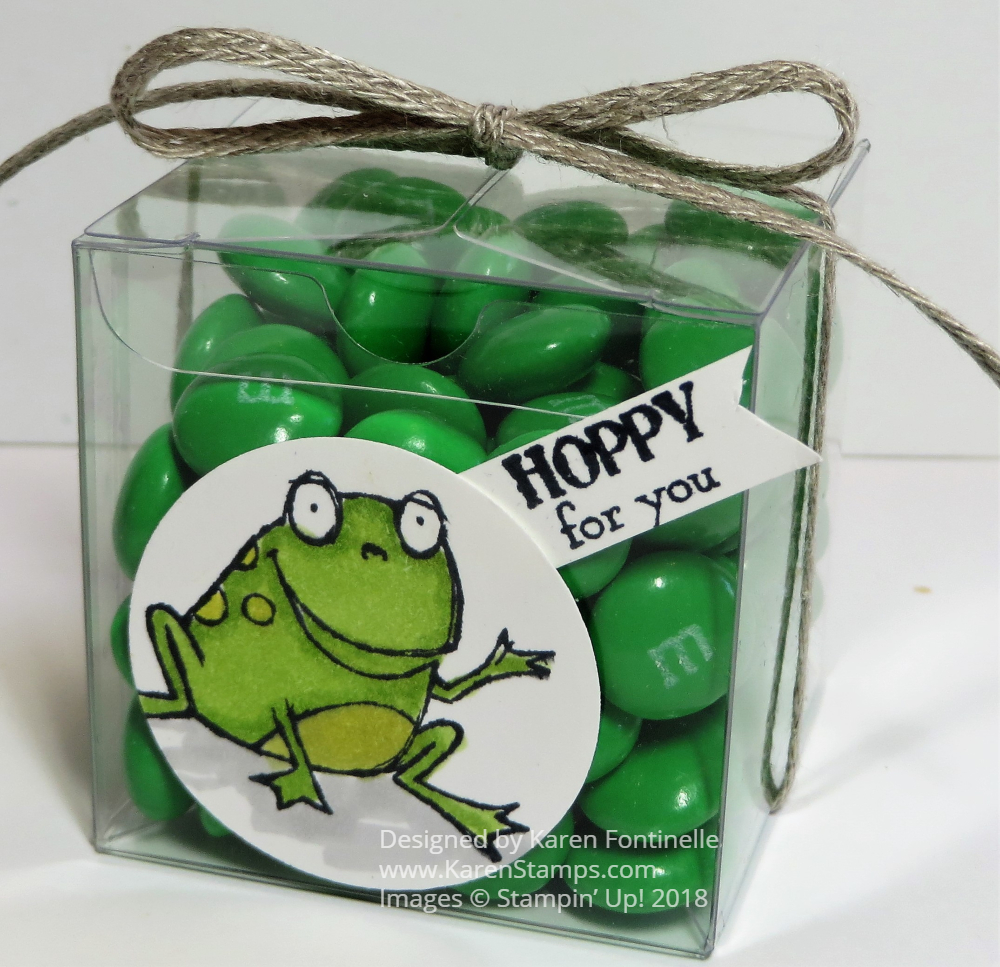
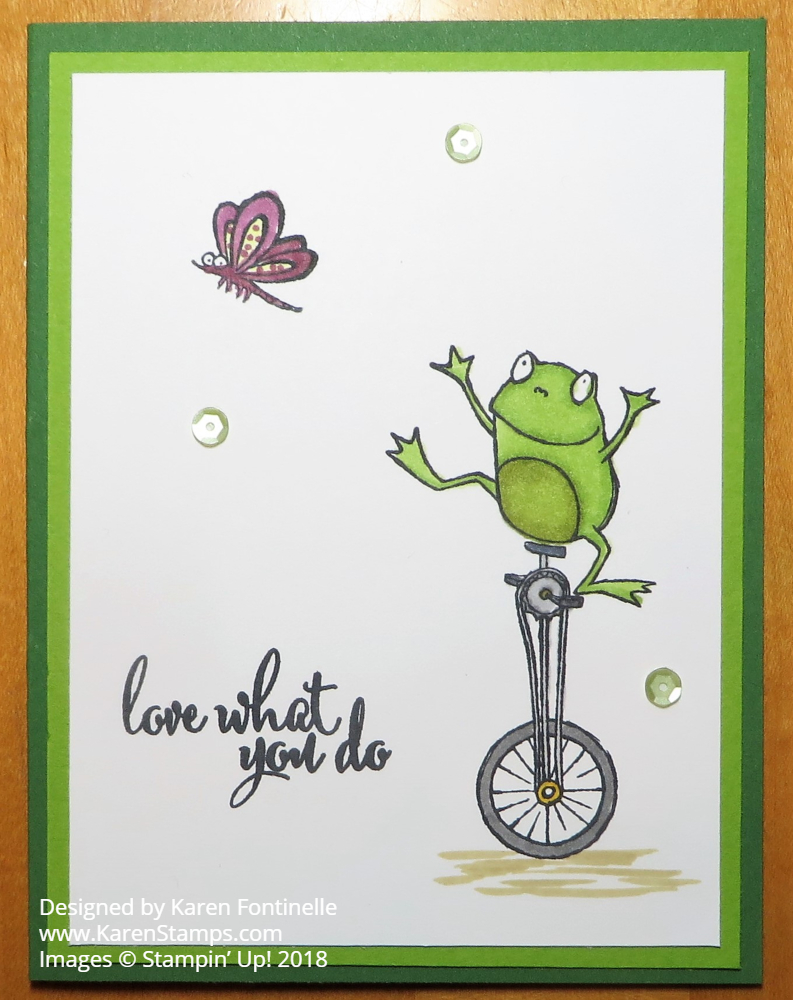
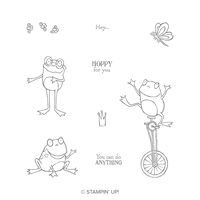
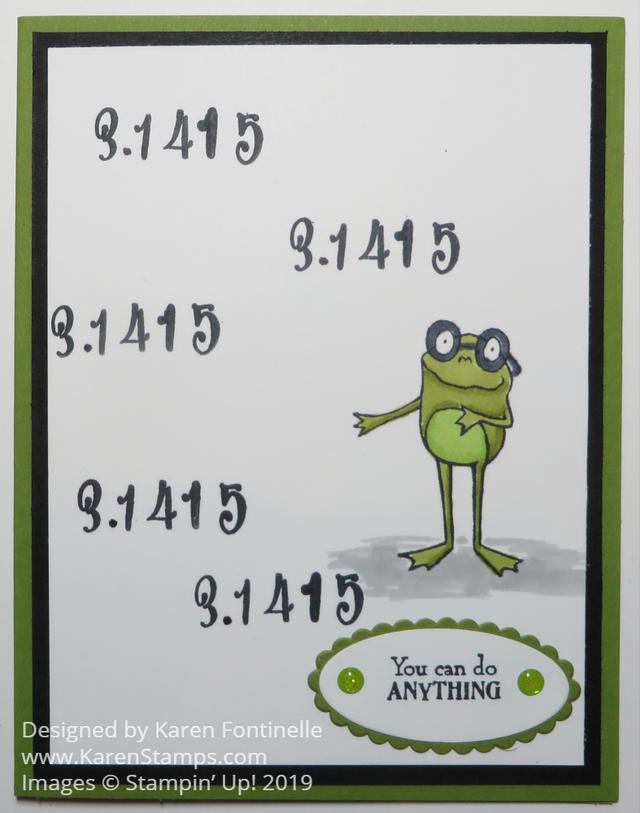
Today is Pi Day and I thought this frog looked much like a professor, or at least math nerd, teaching about Pi.
This is what you need to know about Pi, on this Pi Day:
It’s about circles! The distance around the circle is the circumference.
The distance across the circle through the center is the diameter.
The ratio of the circumference to the diameter for all circles is pi.
Pi is an infinite decimal. It never stops and never repeats.
I’m sure I knew about Pi once upon a time ago, like in high school math class, but that’s as far as it goes…except that when my youngest son was in high school taking calculus, he memorized pi out to 500 digits in his Calculus class! He had a great teacher and this was something the teacher did every year. My son held the record for at least several years, but then he heard someone else broke it! He got a Pi t-shirt, too! He had some system for memorizing that many numbers. I still can’t imagine how he did it! I think the teacher’s young little daughter was there that day and was quite impressed. Maybe she asked for his autograph or something, I don’t remember. He was probably more amused by that than that he knew 500 numbers of pi!
In case you want to get started for next year so you can show off to your friends, here is a website, Pi Trainer, that will help you!
Anyway, I thought this frog from So Hoppy Together looked like a professor or really smart guy who could teach about Pi! The card base is Old Olive with a layer of Basic Black. I stamped the frog and colored him with Stampin’ Blends markers, one of my favorite things to do!
To stamp pi, I happened to think of the Make a Difference Stamp Set which has individual letters, numbers, and a few phrases in it. I managed to get the numbers lined up pretty straight on a block and stamped. I had to go back and put in the extra “1”. I thought it worked out pretty well.
Then I noticed that one of the sentiments in the So Hoppy Together Stamp Set was “You Can Do Anything” and I thought how appropriate for this card! I stamped the words, die cut with an oval framelit die and layered it on a scalloped oval die. Couldn’t resist adding some “bling” with the two Glitter Enamel Dots.
My son is coming home this weekend so I will give him this card so he knows we were still remembering and celebrating one of his favorite moments of high school.
You can celebrate Pi Day by stamping some circles or smart-looking frogs or maybe even baking a real PIE! Or make a Pi card like this one and send it to one of your math friends!
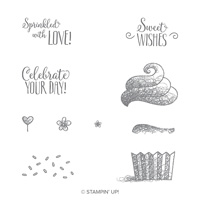
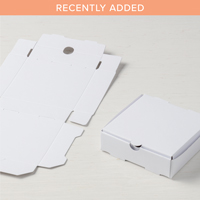
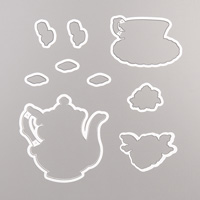
Be sure to shop Stampin’ Up! this weekend coming up. More and more products are selling out, both from Sale-A-Bration and also the Occasions Catalog. The longer you wait, the higher the chance you can’t get something you wanted. The Cupcake Framelits and the Bunny Builder Punch are two of the most recent casualties, not to mention a problem with the die manufacturer possibly creating a quick retirement of certain dies. The good thing is Stampin’ Up! knows how to choose products that are popular with everyone, but sometimes it makes for supply problems. If you have any specific questions about what’s available and what’s not, just ask.
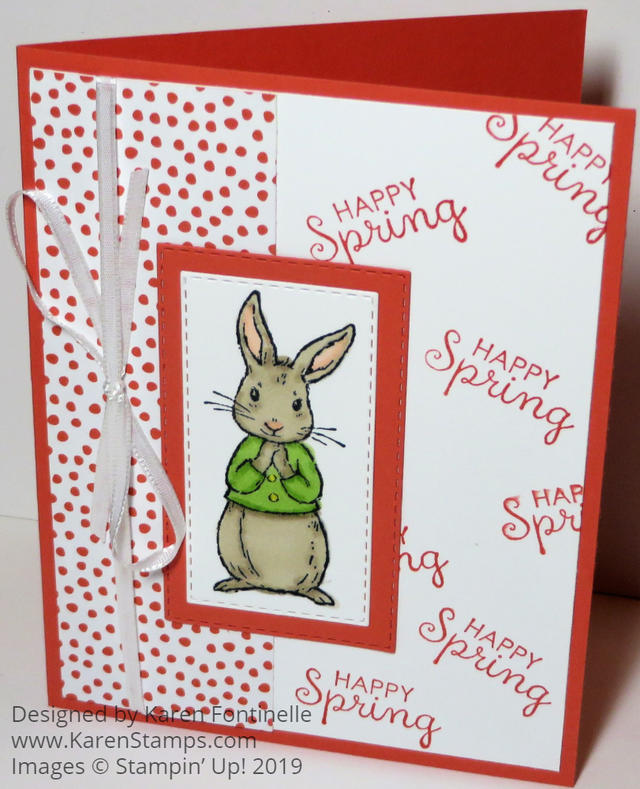
Spring is really coming, in just one week, so here is my Fable Friends Happy Spring Card With a Bunny looking forward to that! I just got the Fable Friends Stamp Set and couldn’t wait to play with it! It is perfect for Easter cards and projects and with the “Happy Spring” sentiment, we can use it to celebrate spring! There is also a baby greeting and one for a friend. Such a cute set!
The card is made with Calypso Coral Cardstock and a piece of paper from the Happiness Blooms Designer Paper. Even though this paper has a lot of bold patterns, there are more generic, simpler ones like this one with dots. The strip of designer paper is ultimately layered on the side of the Whisper White layer which has first been stamped with the “Happy Spring” greeting randomly on the paper in Calyso Coral ink.
The bunny is stamped with Memento Ink on Whisper White and then colored with Stampin’ Blends alcohol markers. I love coloring with these markers! Have I ever said that before?? Then I cut out the bunny with the new Rectangle Framelits Dies plus the Calypso Coral layer underneath. And before adhering all this to the card base, I attached some Whisper White 1/8″ Sheer Ribbon around the layer.
If you purchase this stamp set and a few other products to reach $50, then you can earn a free Sale-A-Bration item! You will be able to use this stamp set now for spring and/or Easter, for a baby card, to send to a friend or lots of other occasions. Then there are the cute projects you could also make besides cards. Go check out this stamp set in the Online Store so you can make something like my Fable Friends Happy Spring Card With a Bunny.
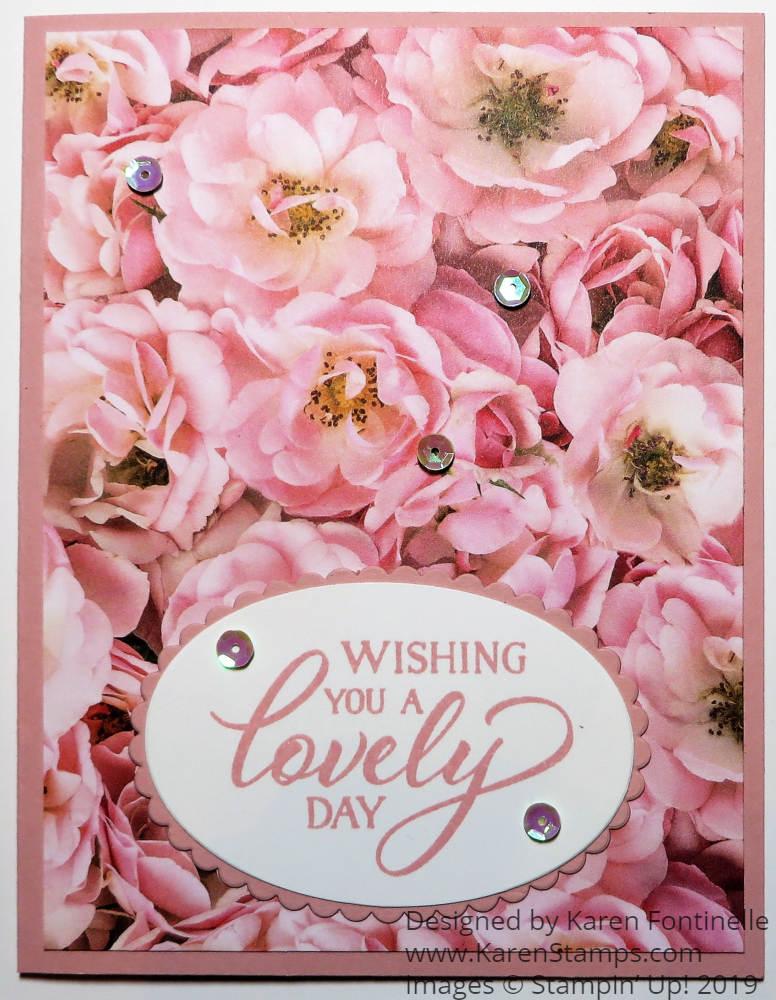
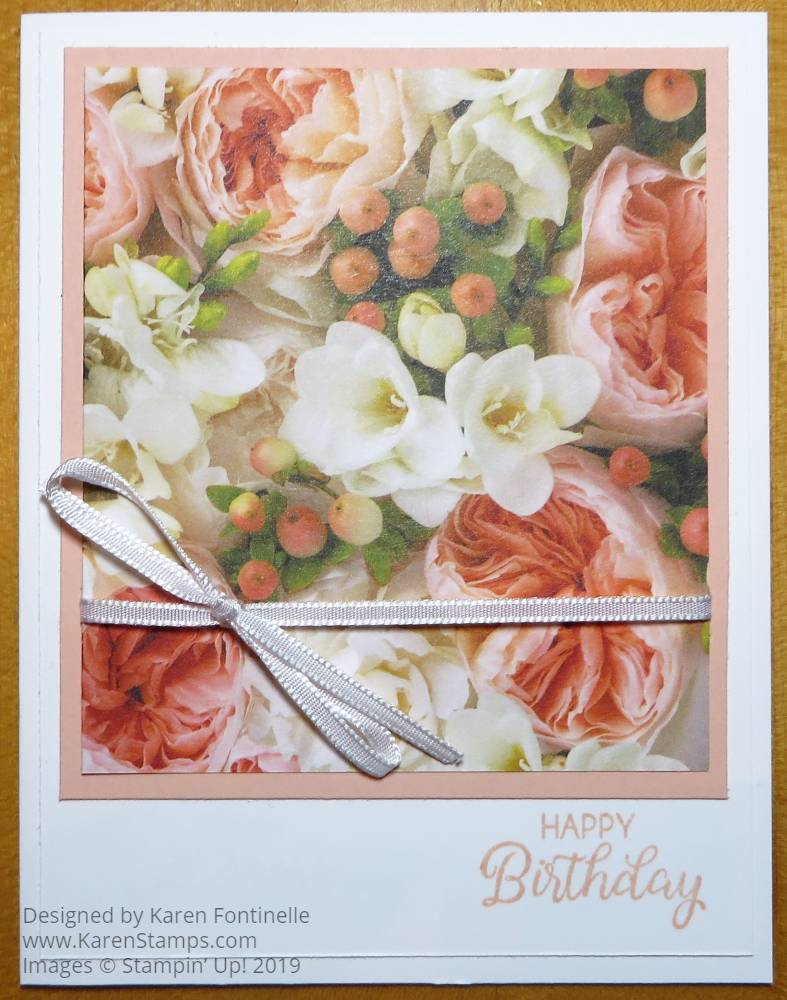
If you want a quick card to make, this Quick and Easy Petal Promenade Floral Birthday Card might be one you would like to make to give someone! It’s just designer paper, card stock, ribbon and a stamped greeting.
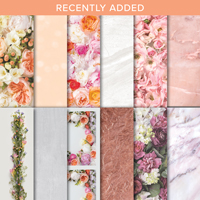
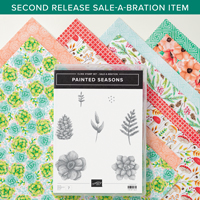
This beautiful Petal Promenade Designer Series Paper is one of the free items available during Sale-A-Bration with a $50 purchase. Remember, Sale-A-Bration comes to a screeching halt on March 31. Be sure to use the specific Sale-A-Bration product number for any of the Annual Catalog choices that were recently added to Sale-A-Bration.
This paper was designed by purchasing REAL flowers, bringing them into the Stampin’ Up! home office, photographing the flowers and then doing some photoshopping (like to omit little spiders on the flowers!) to design the actual sheets of paper. I always love finding out behind-the-scenes stories! And I have to say the paper is beautiful for making cards and other projects.
My card starts with a card base of Whisper White Card Stock with a layer of the same. The designer paper is cut 3 1/12″ x 4″ with a layer underneath of Petal Pink Card Stock. You could even make the designer paper piece a bit smaller. Before adhering, I tied the Whisper White 1/8″ Sheer Ribbon around the designer paper. The greeting is stamped from the Beautiful Bouquet Stamp Set, a beautiful set for the images AND the sayings that come with it. There’s almost no way to make an easier card than this!
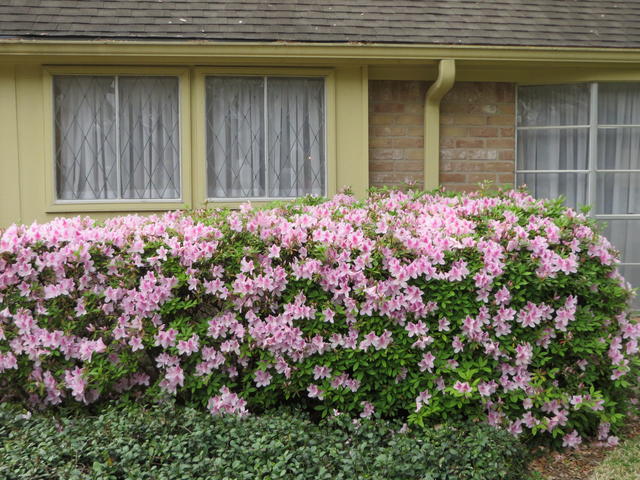
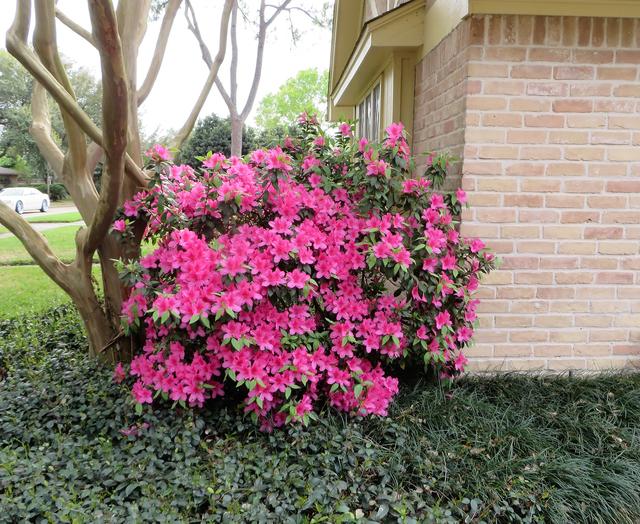
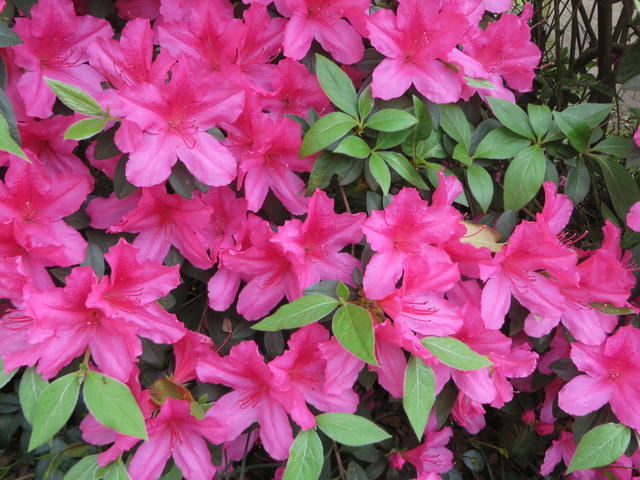
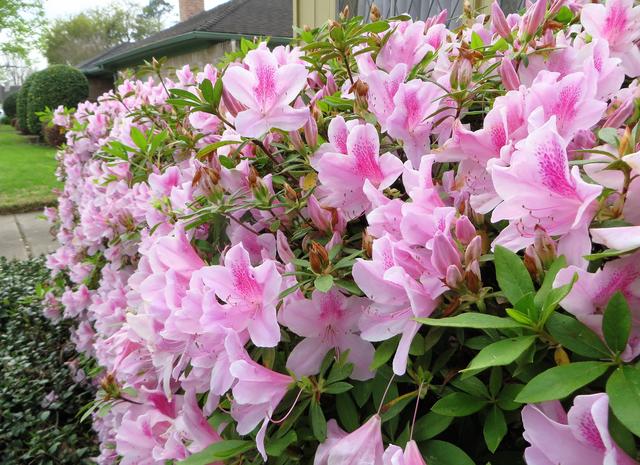
And while we are on the subject of flowers, I took these photos of our azaleas at our house in full bloom! They are amazing in person! I thought I better get some photos before a storm or heavy rain comes through! The deep pink azalea bush on the corner of the house by the crepe myrtle tree is just HUGE! The blossoms are gorgeous!
Spring is right around the corner and so is the end of Sale-A-Bration! The frog framelits and the cupcake framelits have sold out so get in the store and make sure you get what you want before the end of Sale-A-Bration!
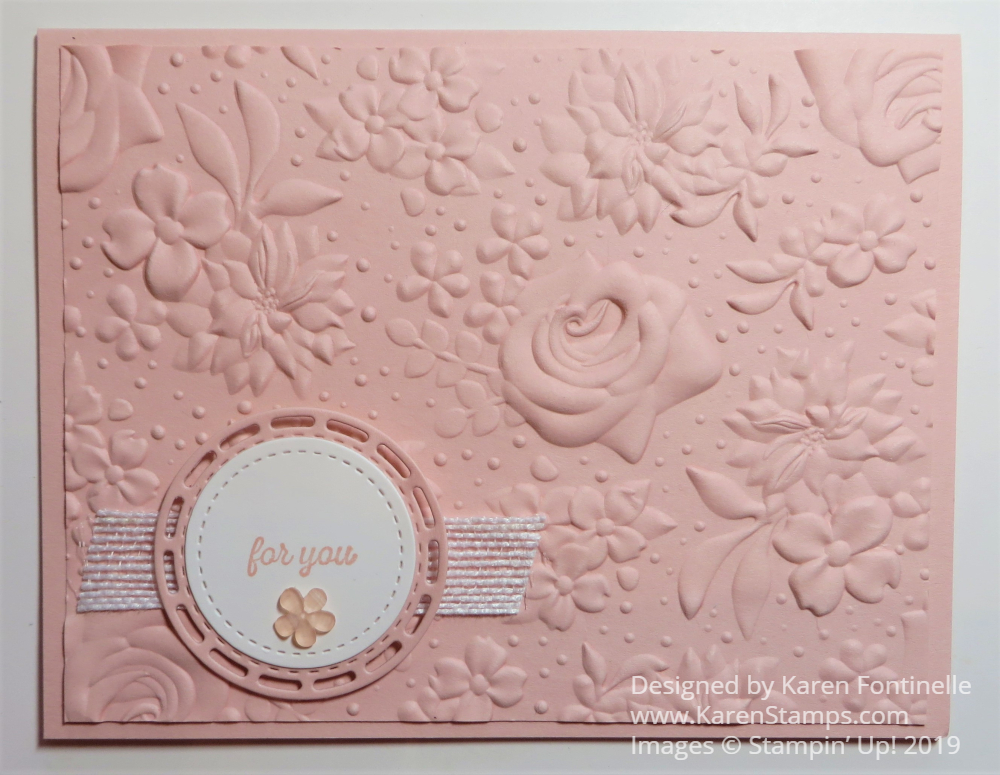
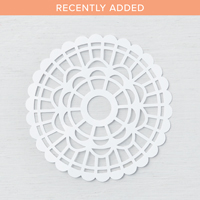
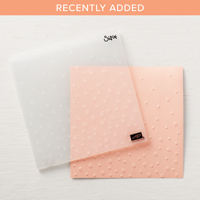
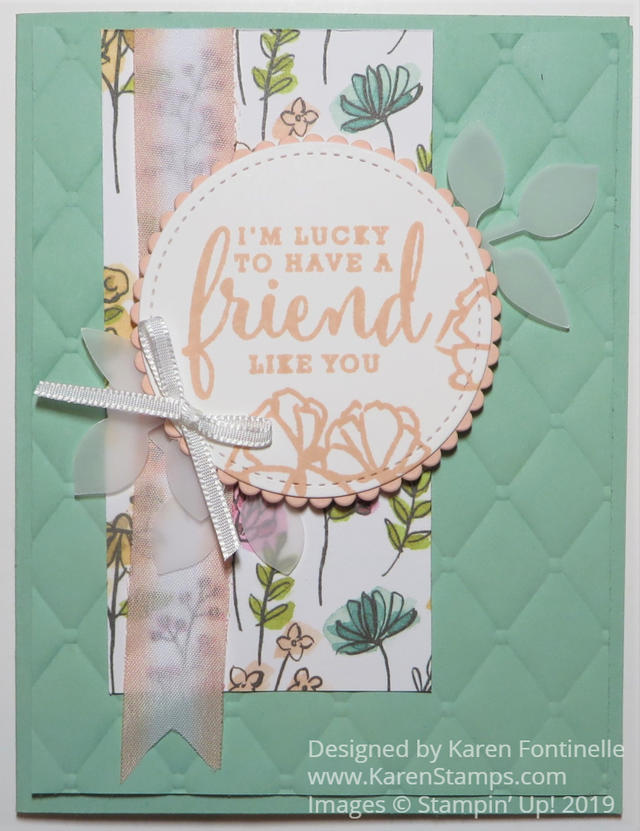
This Share What You Love Tufted Card For a Friend is one that I saw somewhere online and loved the look of it, especially the tufted background. I changed a few details of the card and you could change it up even more. Mostly I love the sentiment! What a great card to send to a friend with that stamp!
The card base is Mint Macaron, of course you could use any color that coordinates with the designer paper. Or you could use one color for the card and another color for the layer.
The tufted background is embossed with theTufted Dynamic Textured Impressions Embossing Folder. This is one of the “heavy-duty” embossing folders that makes such good impressions on the cardstock. It is suggested that you spritz the cardstock with a little water before you run it through the Big Shot. I have a small spray bottle that I have water in and keep by my Big Shot and then I just very lightly spritz the paper. Don’t go overboard with the water! Just a light spritz will make enough of a difference!
After stamping the sentiment and a few flowers from the Love What You Do Stamp Set I die-cut that with a large Stitched Shapes Framelits Dieand layered on a larger scalloped circle die. Next, I punched out some vellum pieces from the Leaf Punch, adhered those to the back of the greeting and then adhered that to the card with Stampin’ Dimensionals. For one more finishing touch, I added a small bow to the side with the Whisper White 1/8″ Sheer Ribbon. You could a few Rhinestones or Sequins if you liked.
Don’t forget to go back in the Stampin’ Up! Annual Catalog and look up some things you might not have looked at for awhile! The Tufted Embossing Folder really adds a nice background to your cards and the Share What You Love Designer Paper is very pretty as well!
Cardstock embossed with the Country Floral Dynamic Embossing Folder is perfectly beautiful “plain”, but I was anxious to see what it would be like to color the embossed floral images on this birthday card like I had seen done on some samples. I think it does make for a beautiful card, but I will tell you honestly that it takes some work and some patience! As much as I like coloring some outline images and find it very relaxing, coloring on embossed images I found to be a little less relaxing! But I love using the Stampin’ Blends markers every time so it wasn’t all hard work!
Here is what my desk (kitchen table) looked like as I colored the Country Floral embossed card layer! Always be sure you have something underneath what you are coloring with the Stampin’ Blends alcohol markers because it can bleed through the paper. In using the markers, I usually colored most areas with the light color first and then put in a few accents with the dark color. Then I went back in with the light color and blended. It’s really very easy!
The card base is Powder Pink Cardstock with a layer of Flirty Flamingo. Then the embossed layer is placed on top of the Flirty Flamingo. I decided to try the Whisper White 5/8″ Polka Dot Ribbon on the card to see if I liked it or if it was too “busy” with all the colored flowers. I decided I kind of liked it! It is there but really you barely see it so I think it adds something to the card.
For the greeting, I stamped a sentiment from the Beautiful Bouquet Stamp Set. I didn’t want to take up too much space on the card with the sentiment, so I used the new Rectangle Stitched Framelits Dies. I chose the smallest rectangle and didn’t add a layer. After I die-cut this, I really liked how it looked on the card!
You can get the Country Floral Embossing Folder FREE during Sale-A-Bration, only until the end of the month! Check out the choices in the Online Store today!
DON’T FORGET! TODAY IS THE LAST DAY! SIGN UP FOR PAPER PUMPKIN TO GET YOUR BIRTHDAY KIT AND GIFT IN MARCH!