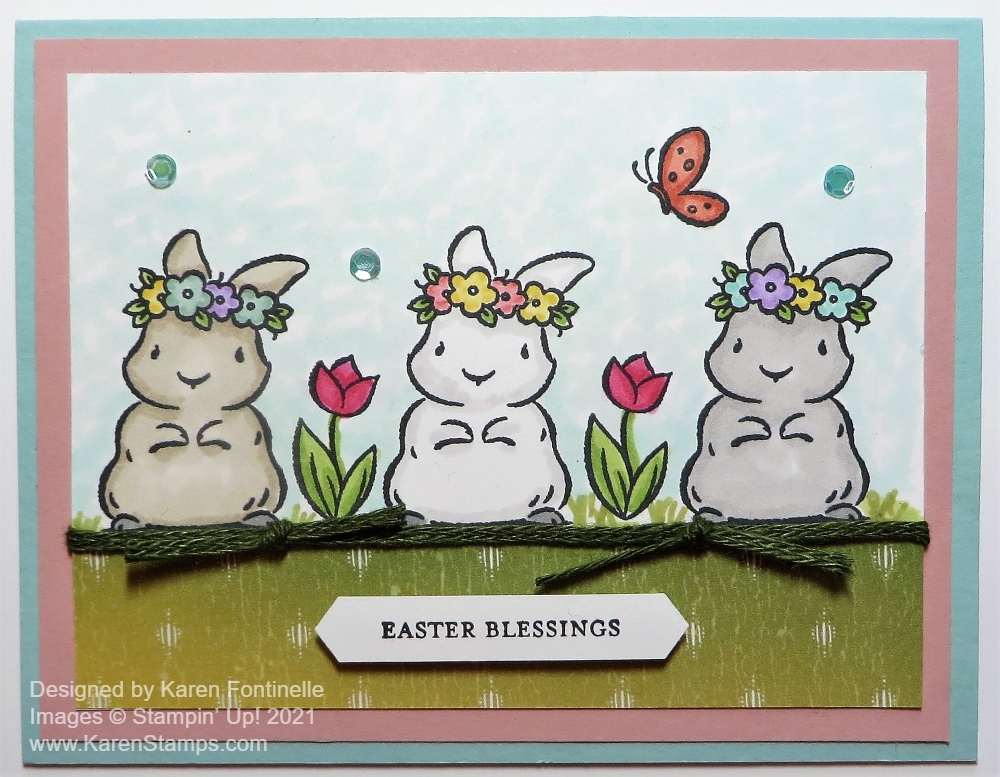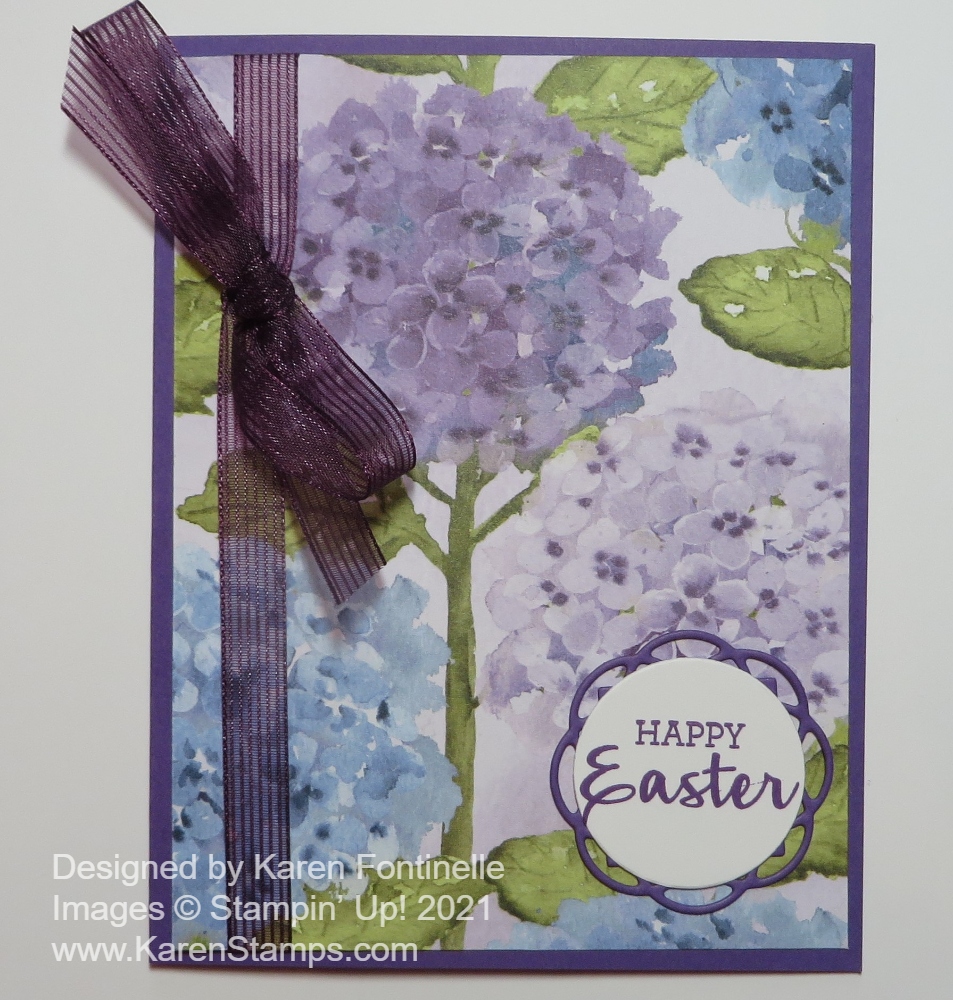
Easter is coming in just a few days, so if you wanted to have a few Easter cards to mail or hand out, this Hydrangea Hill Happy Easter Card is a super simple one to make! You can see it is just a basic, easy card design and one you can change up with different paper and greeting.
The Hydrangea Hill Designer Series Paper is a beautiful paper on it’s own so it works well with a simple card like this one. You wouldn’t want a lot of other embellishments or fancy greetings and die cuts that would take away from the beauty of the paper as it is.
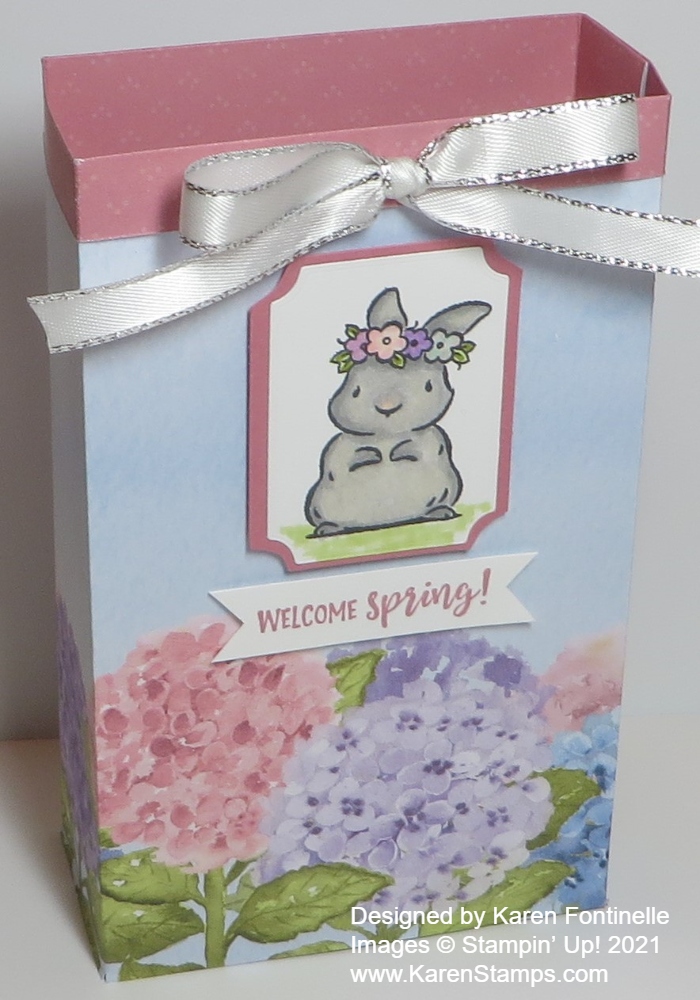
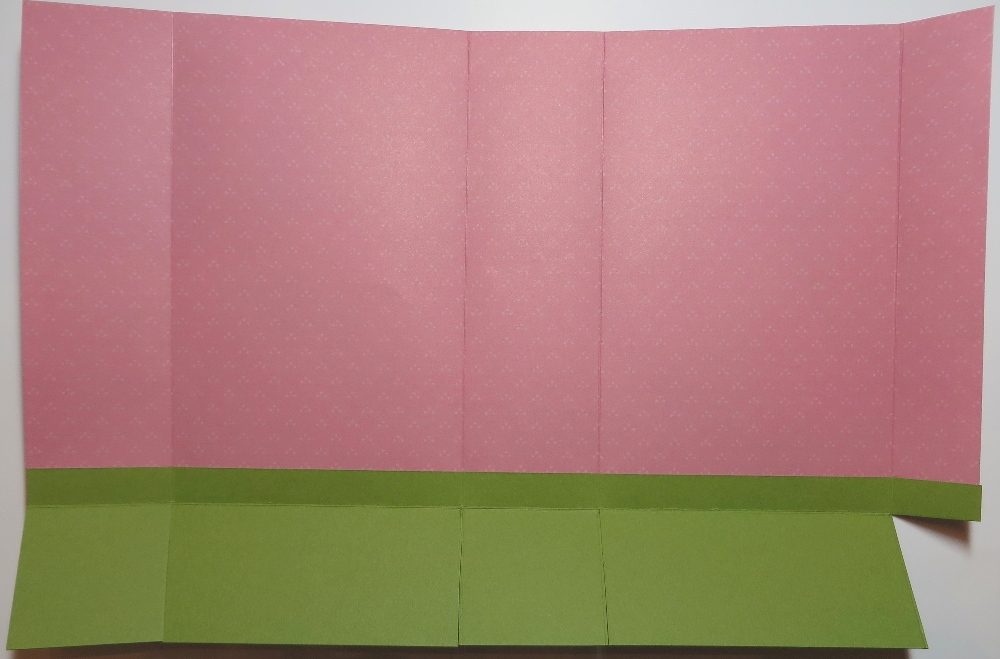
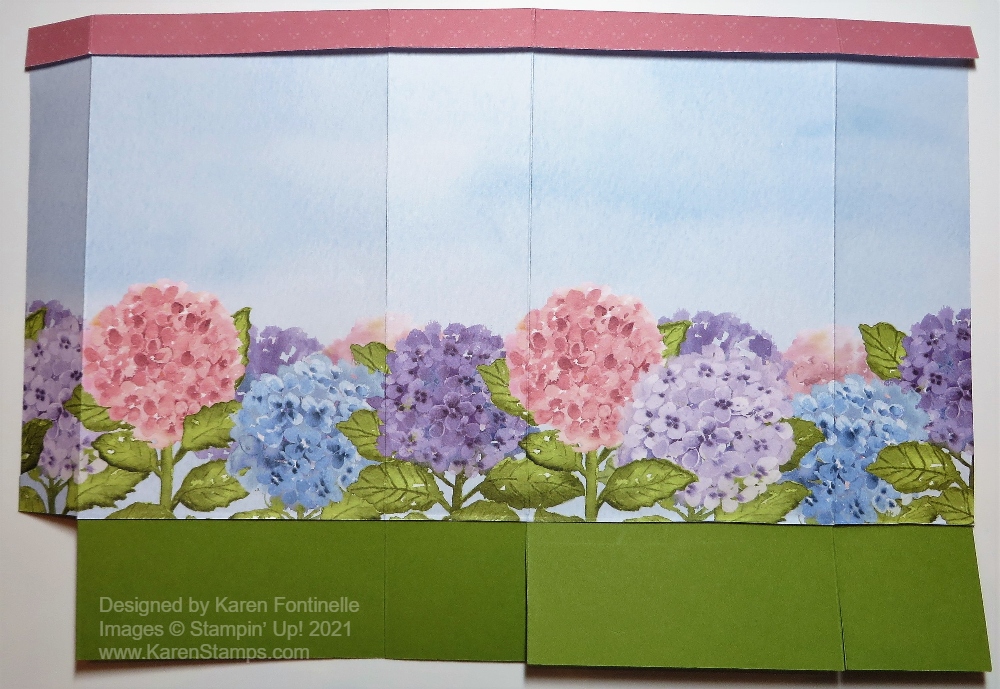
The card base of Gorgeous Grape Cardstock is one of the coordinating colors with the Hydrangea Hill Paper. A lighter shade of purple would be Highland Heather. I just cut a piece of the designer paper to the usual layer size of 4″ x 5 1/4″. When you have a design like this, with the larger hydrangea flowers, you might want to try to strategically cut the paper to get the best view of the flowers. On this particular paper, you can see how there is one hydrangea that is kind of the focal point because all of it is on the card. You might not have a choice depending on if you have already cut up your paper for other projects, but I still had enough of this paper to cut a 4″ wide strip the length of the paper. Then I could go back in and cut out just the portion that showed off the flower well. You might end up with not one full flower on your card front but it would likely still be pretty because that would just be a different look of all the colors of the various flowers.
Before adhering the designer paper to the card front, I added some Blackberry Bliss 3/8″ Striped Ribbon. Actually, I originally thought it was Gorgeous Grape but it still matches just fine! The sheerness and the pretty stripes of this ribbon are beautiful on this card. I tied the bow on separately.
The greeting is from the Arrange A Wreath Stamp Set and is stamped in Gorgeous Grape. I cut it out with one of the Layering Circles Dies and layered it on a pretty decorative circle in the Painted Labels Dies. You can see that you could put a birthday greeting, anniversary, thinking of you, sympathy, even a wedding sentiment on this same card and it would be perfect. I could have added some pretty sequins or rhinestones around on the card as well. But as I said, the paper is so pretty, you almost don’t want to add much because you want the recipient to focus on the beautiful paper design.
This Hydrangea Hill Designer Series Paper is in the January-June 2021 Mini Catalog so is not in danger of retiring right away as the Annual Catalog products are. However, usually all designer paper retires eventually to bring in new, so enjoy your hydrangea paper while we have it! The Arrange a Wreath Stamp Set is retiring from the Annual Catalog along with the Wreath Dies by May 3.
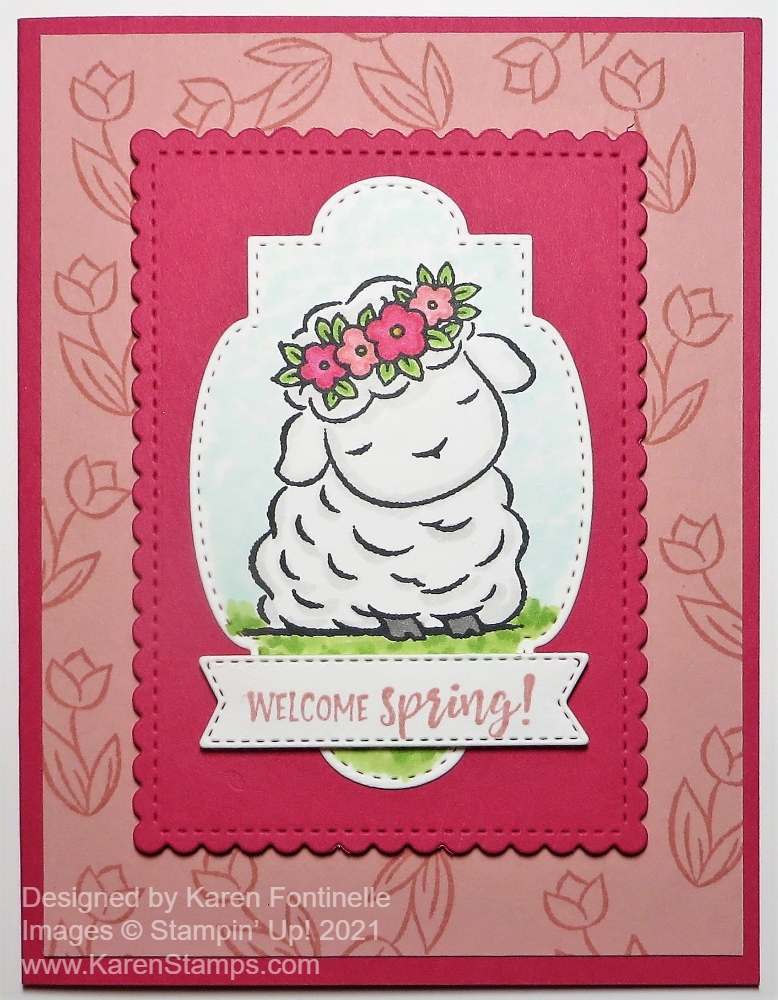
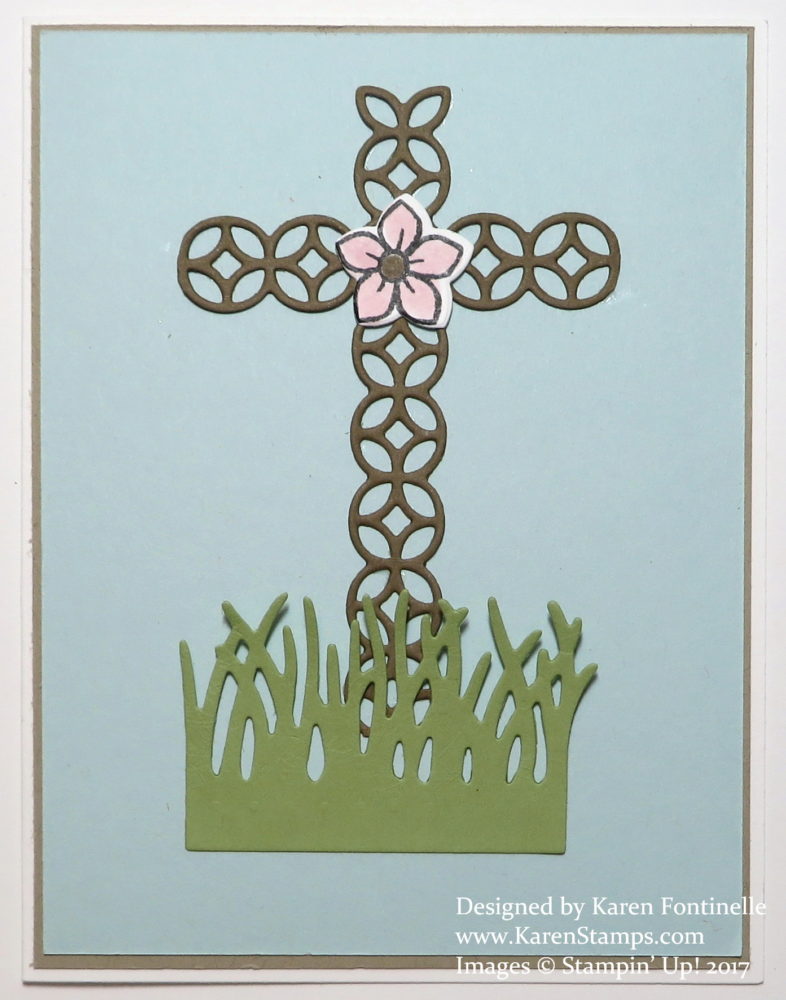
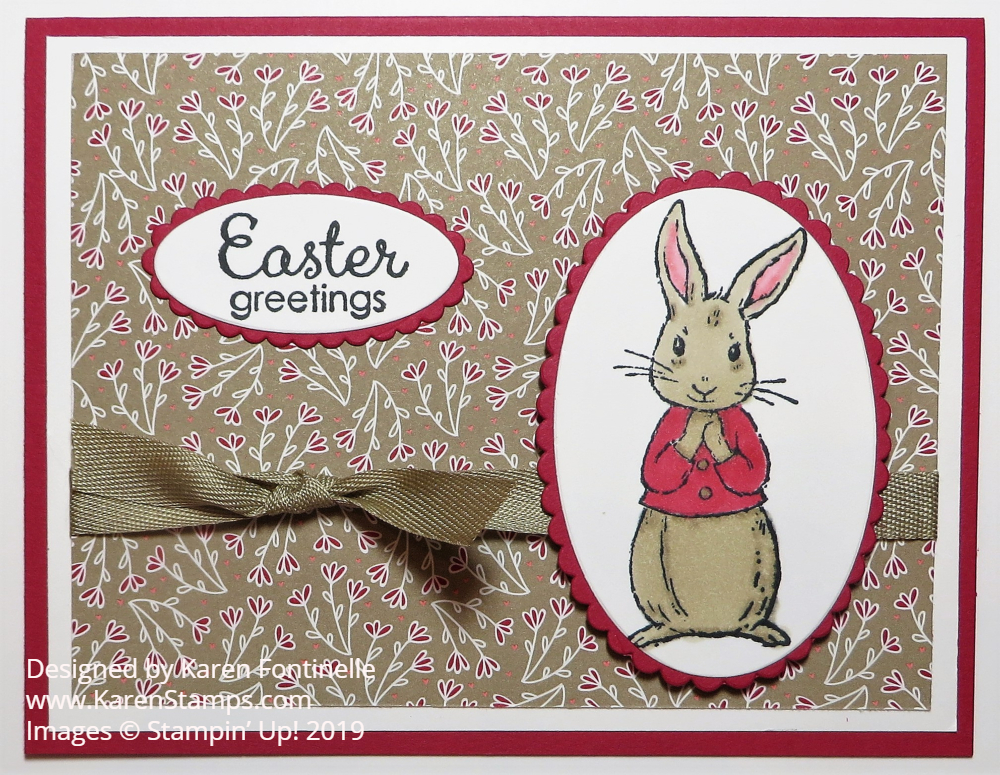
Here is another basic card design using the Hydrangea Hill Designer Paper, with a less busy design, but you could change it out using this floral pattern.
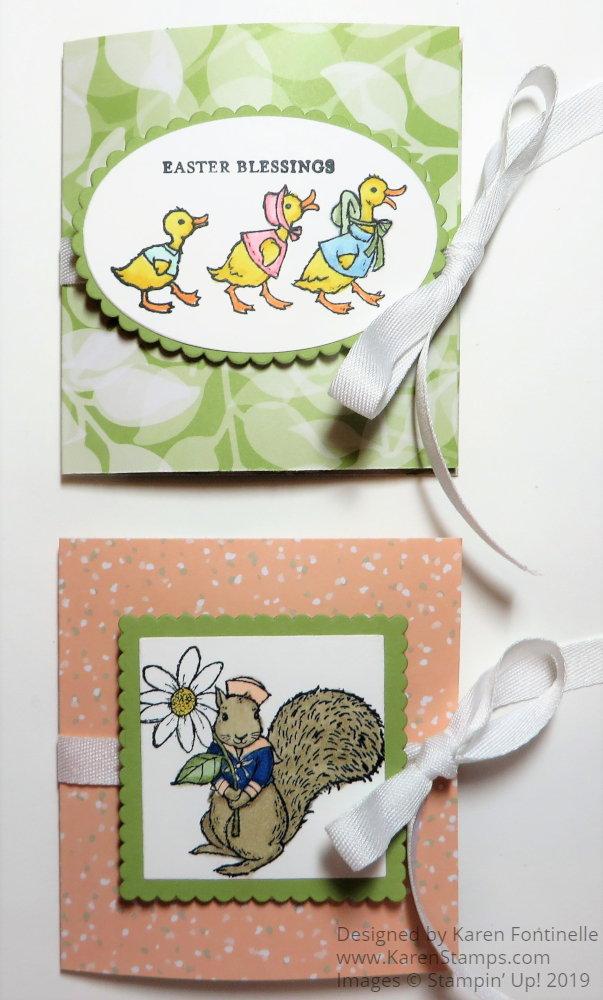
Finish up your Easter cards and projects, but you can also make this Hydrangea Hill Happy Easter Card card for any other occasion.