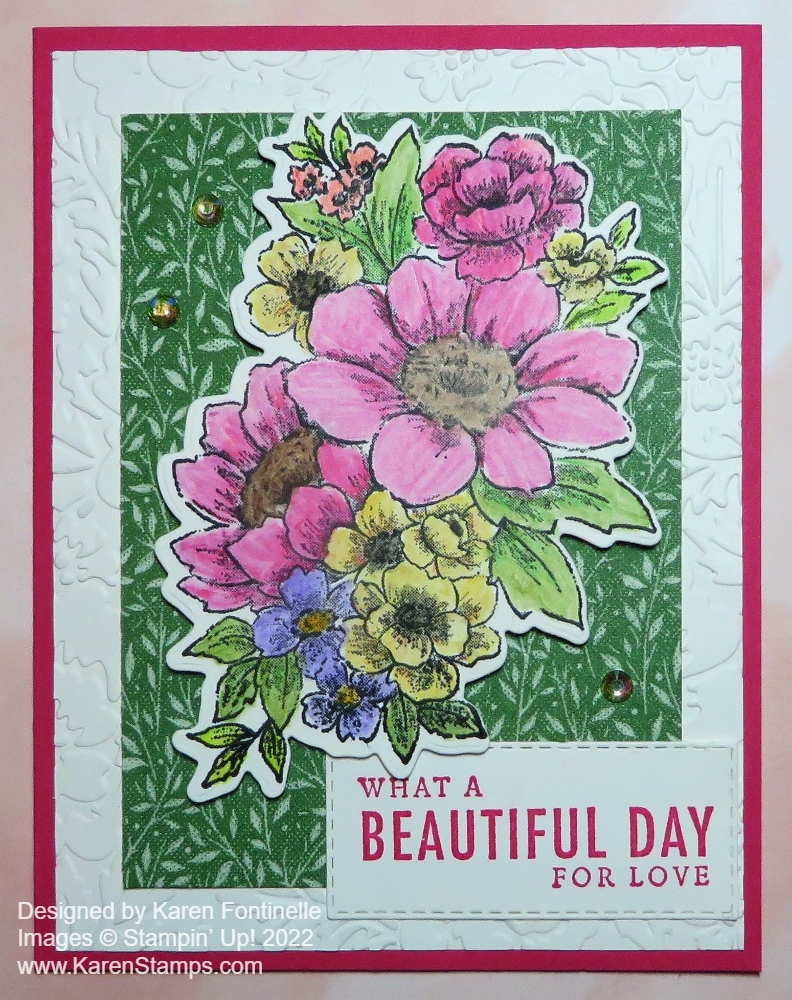
This Blessings of Home Watercolored Flowers Card card was intended to be a Fresh Freesia monochromatic card but took the step of coloring in the large flower with Fresh Freesia and then it was down the rabbit hole! I could have started over because it wasn’t turning out how I intended but I just kept going. I don’t know if that was a mistake or not!
Once I colored in the one flower even though it was purple it just didn’t seem right. So I thought I would color in the other flowers and leaves lightly. But that didn’t look good. Luckily, the paper held up well to my coloring/watercoloring so that was good.
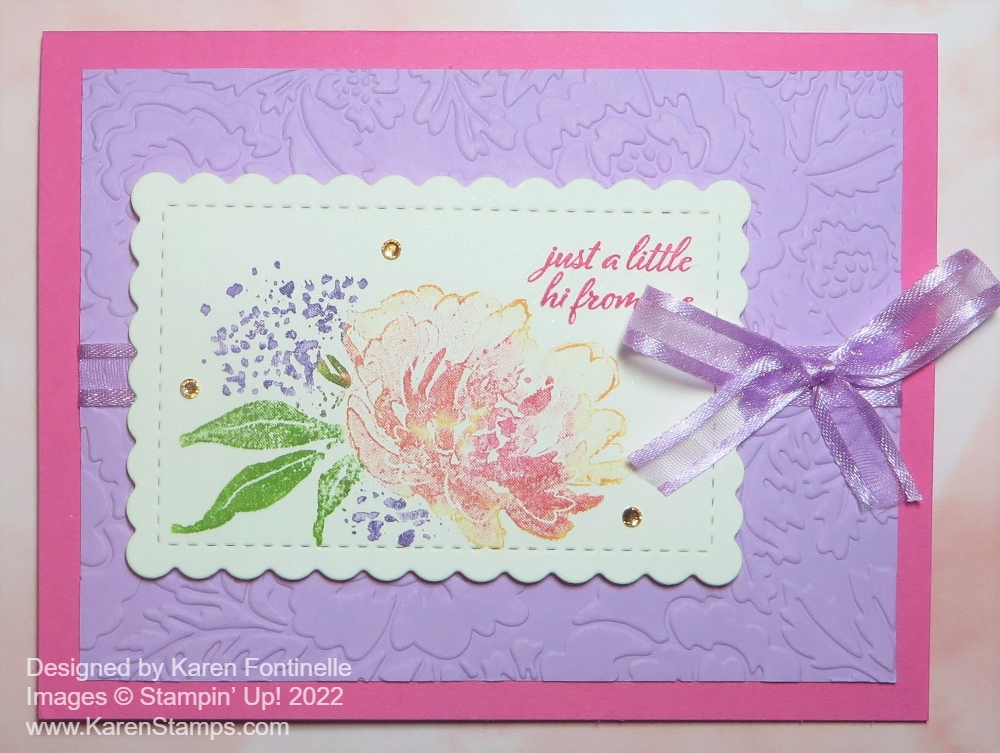
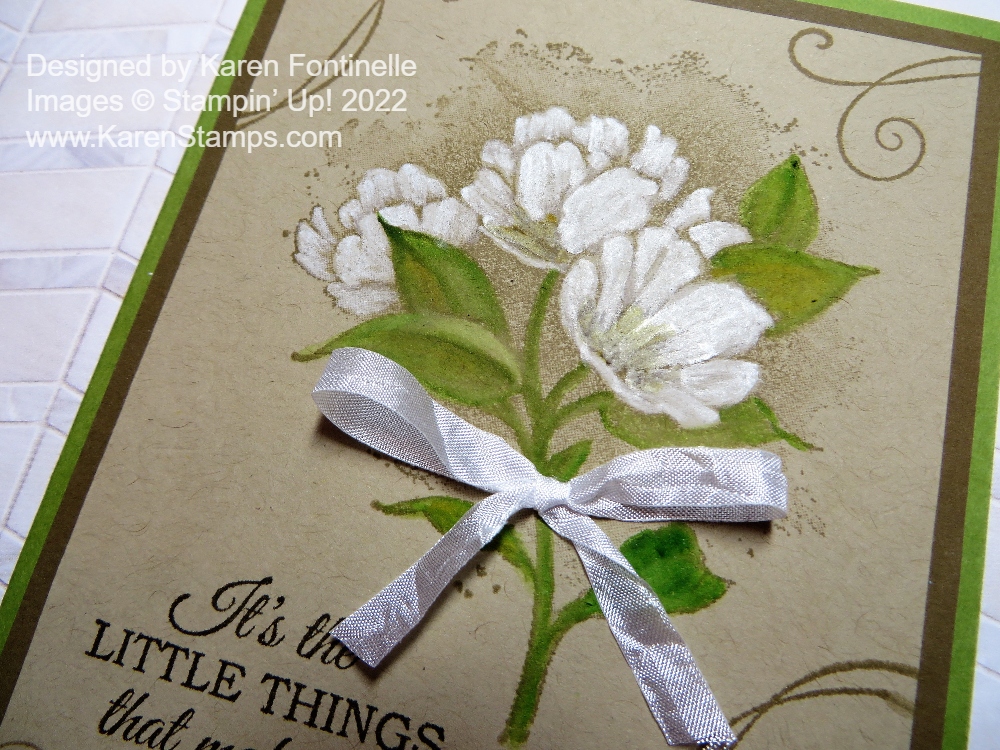
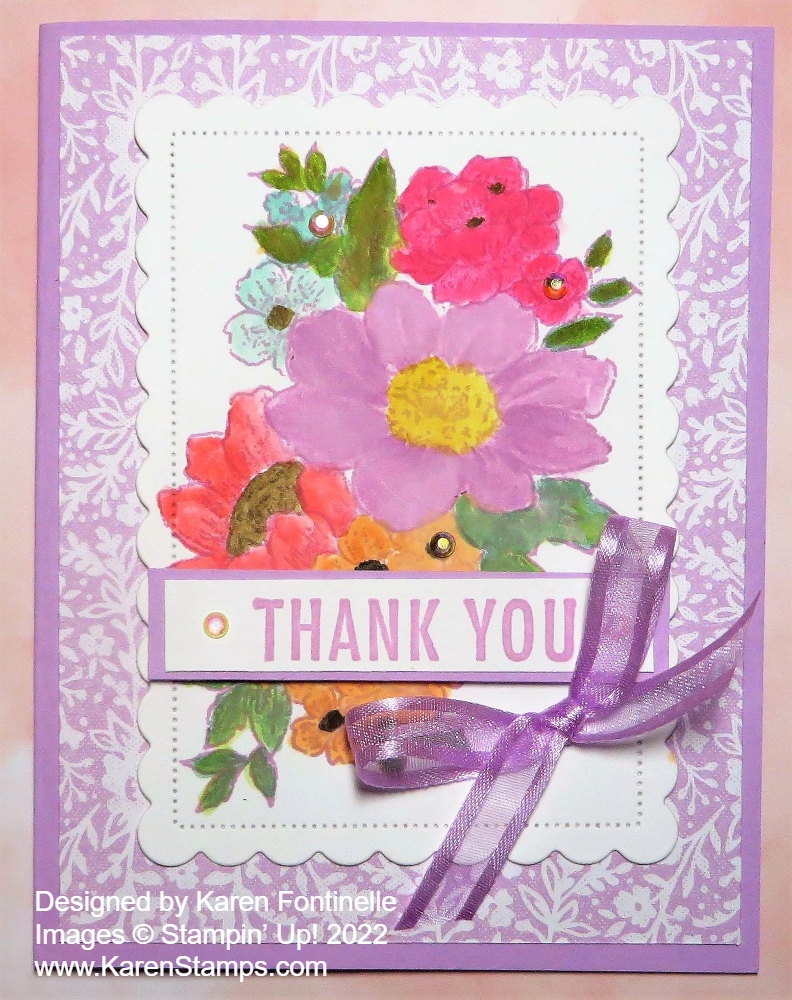
I stamped the flower bouquet in the Blessings of Home Stamp Set with Fresh Freesia ink and then die cut it with one of the Scalloped Contours Dies. To color in the bouquet, I used the Water Painter and picked up ink from the ink refills in the lid of the ink pads I used. Some of the colors I used were Polished Pink, Pool Party, Flirty Flamingo, Mango Melody, Soft Succulent, Daffodil Delight, Soft Suede, and Granny Apple Green.
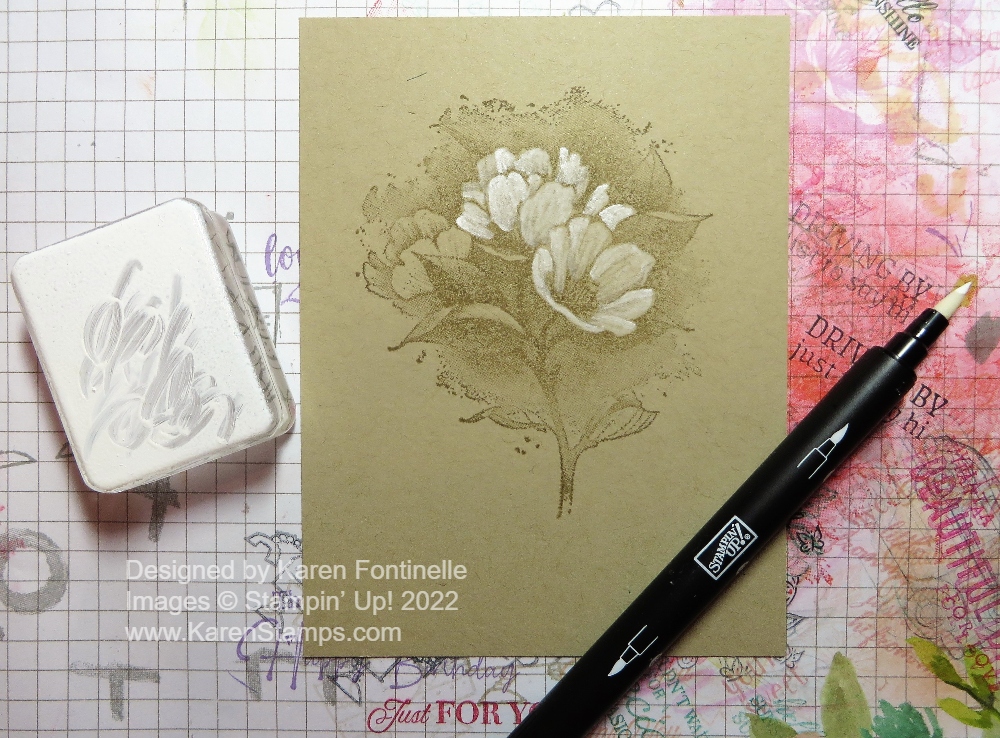
I realized the reason these flowers and leaves don’t look quite right is that the image is stamped in Fresh Freesia and not in Memento Black ink. With black ink, you see the outlines and the little texture lines in the images even though you color over them. Stamping in a light color of ink makes it look entirely different.
The card base is Fresh Freesia with a layer of the Heart & Home Designer Series Paper in a Fresh Freesia color. I just adhered the floral die cut flat on the card but you could pop it up. The greeting is in the Blessings of Home Stamp Set. However, I didn’t want to use the entire stamped greeting so I covered up the bottom line with a sticky note and inked up just the “Thank You”. Then I removed the sticky note and stamped it on a strip of Basic White. I layered that on a piece of Fresh Freesia and popped up the greeting with Dimensionals.
For embellishing, I tied a bow with the Fresh Freesia 3/8″ Open Weave Ribbon but I thought of putting it on an angle on the corner of the bouquet. Then….you guessed it…I added several Iridescent Rhinestone Basic Jewels on the ends of the greeting and here and there on the flowers!
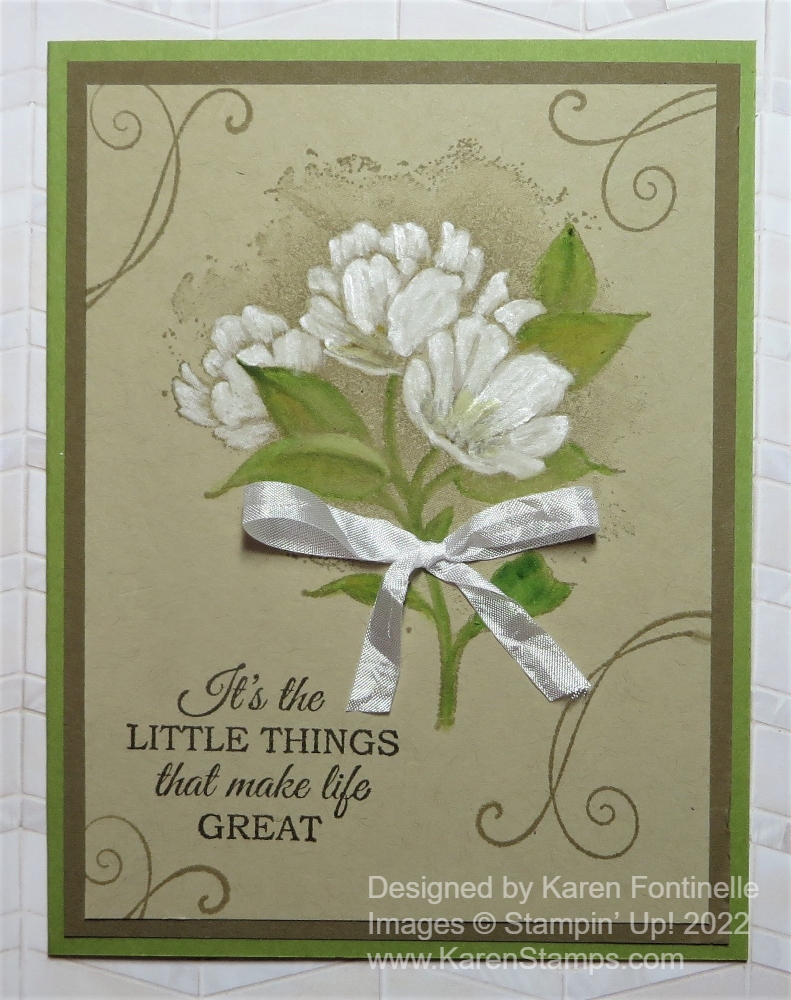
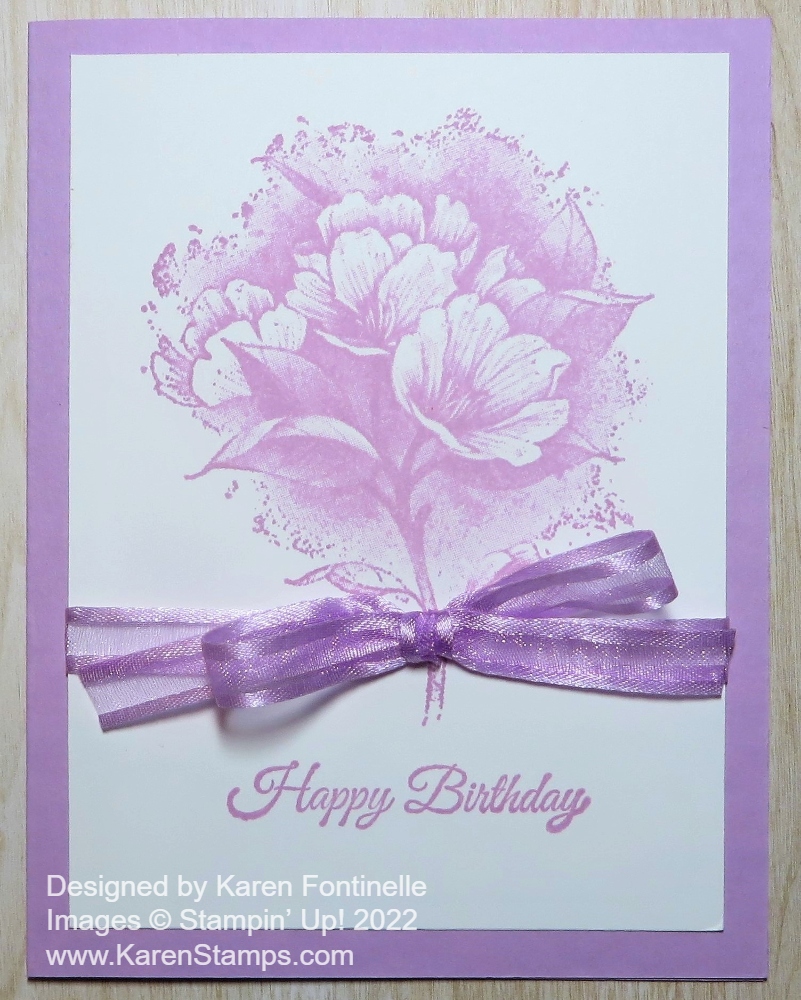
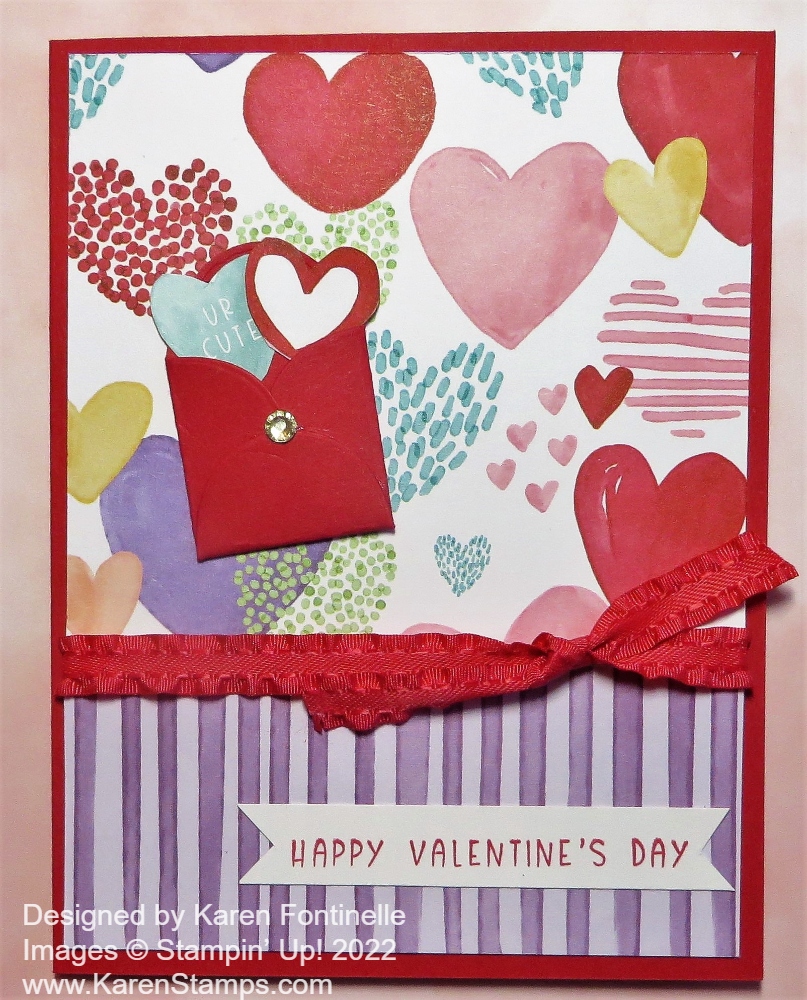
Here is another card I stamped with the same Blessings of Home Stamp Set and colored with Stampin’ Blends Markers and had stamped in Memento Black ink so it has a whole different look.
All in all, the card has a little different look and it wasn’t what I envisioned when I began! But there are no mistakes in stamping, so I think it turned out okay and I like it fine!