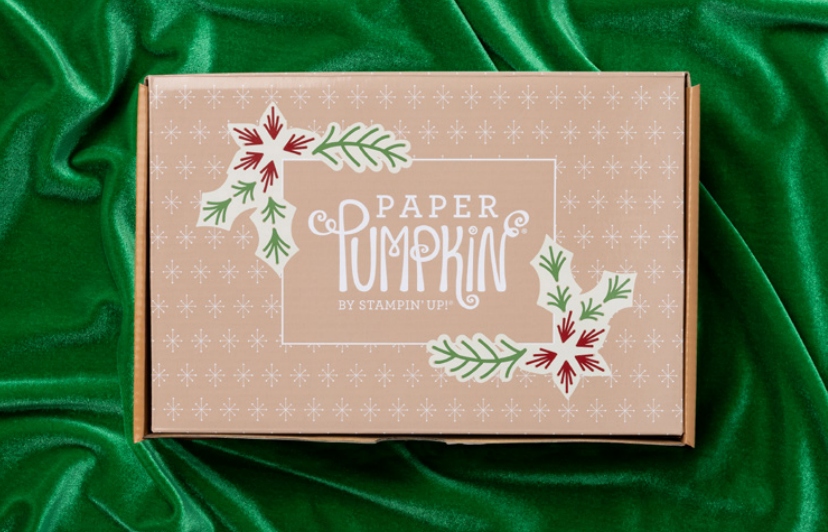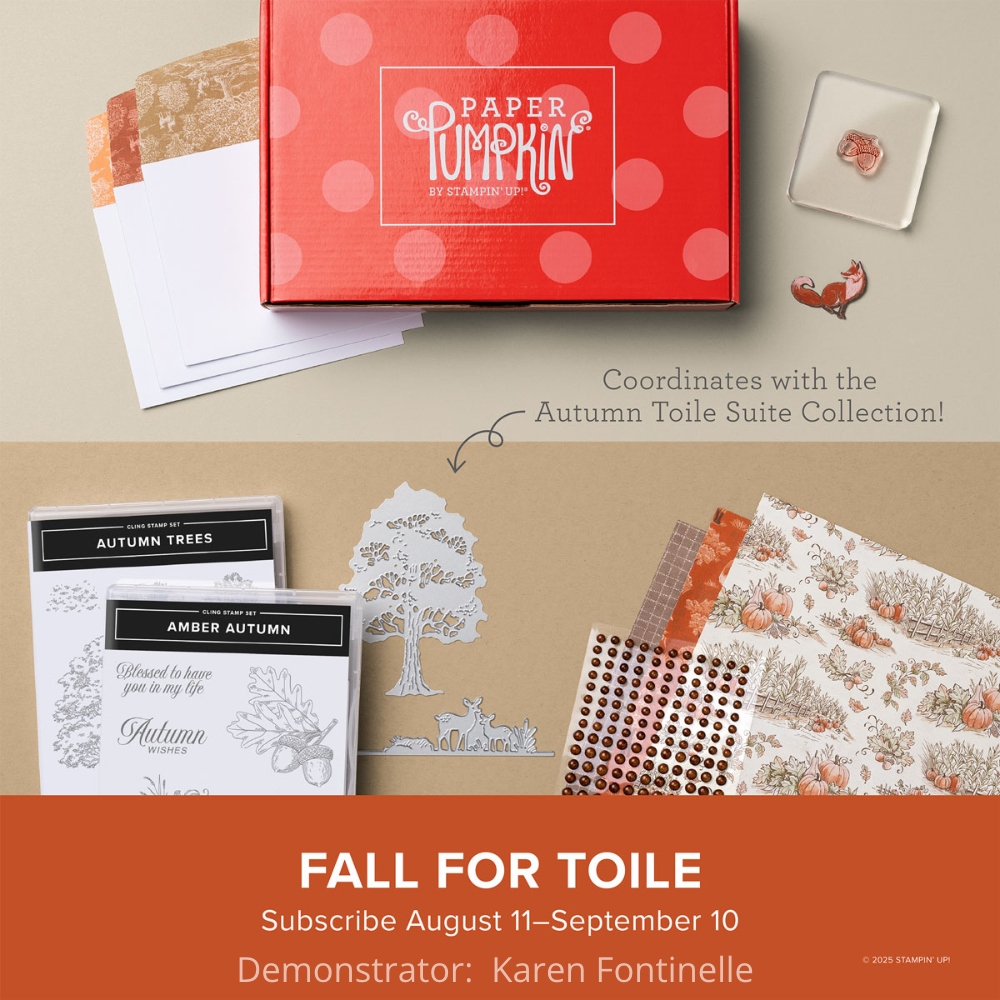
I always say having a Paper Pumpkin monthly subscription from Stampin’ Up! is a gift you give yourself! When I get my kit, it already looks like a gift when I open up the box and see the supplies wrapped up in colored tissue paper! Then I open up the supply package like it’s Christmas and see what all is included! In the photo above , you can see what I discovered when I opened everything for the September 2025 Kit, Fall For Toile! You get the card bases, envelopes with decorated flaps, diecuts, stamp set, ink spot, ribbon, and adhesives! I don’t think I even needed a scissors!
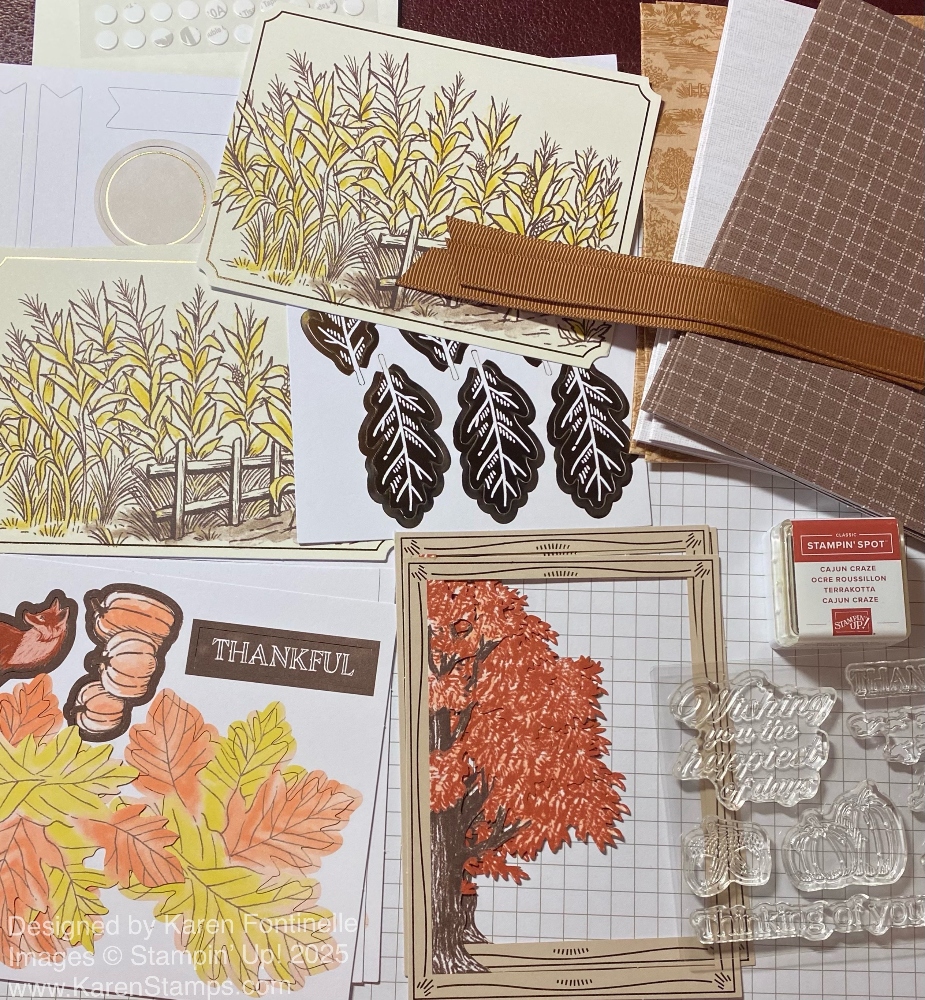
This was a set of nine cards for fall, 3 each of 3 designs. All the kits are easy enough for anyone to make. You get pictorial directions plus you can watch a video, which I usually like to do regardless. The directions show you where to put the adhesive on each piece and what kind of adhesive, which, again, is included in the kit. I would say this kit was really easy to make. Just some easy stamping on the diecut pieces for two of the greetings and some acorns for another decorative piece, a little ribbon to add to three of the cards, and the rest was just adhering the diecuts to each card. These are beautiful cards to send to friends and loved ones for fall or even Thanksgiving.
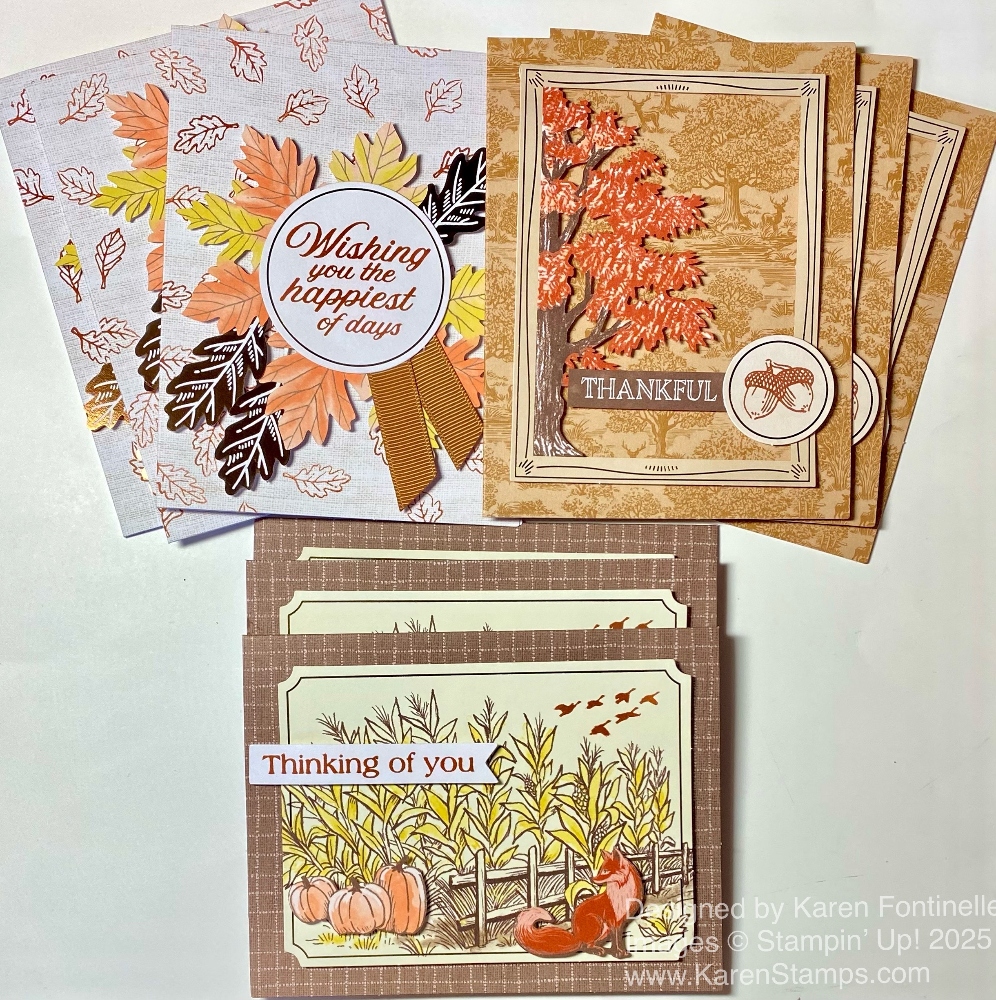
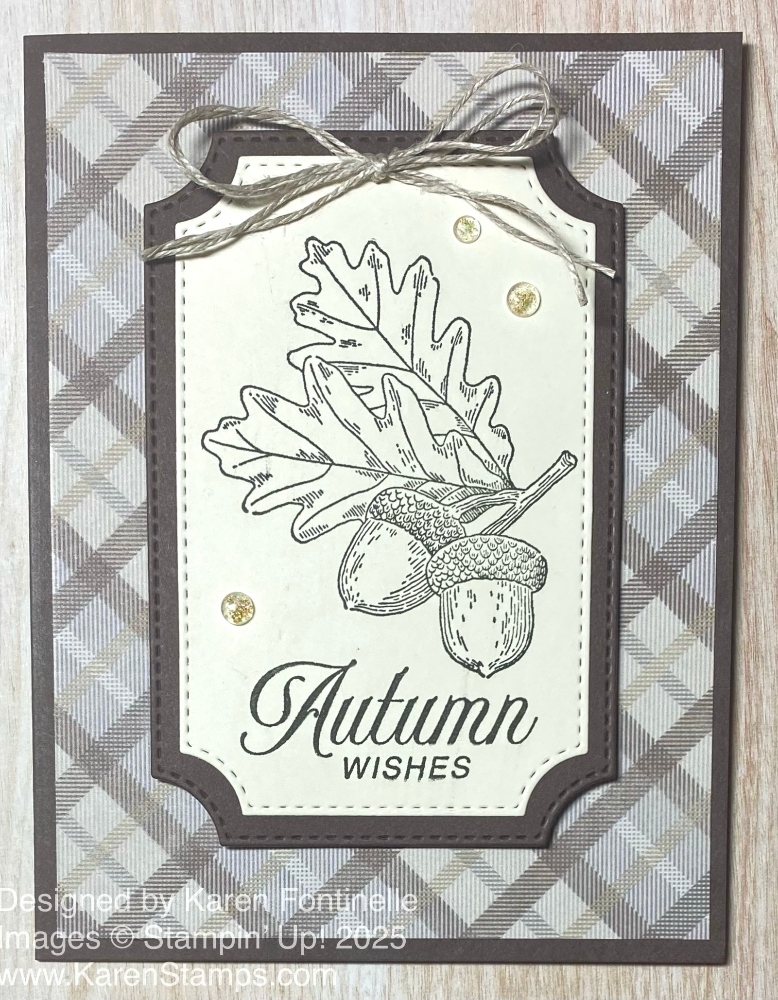
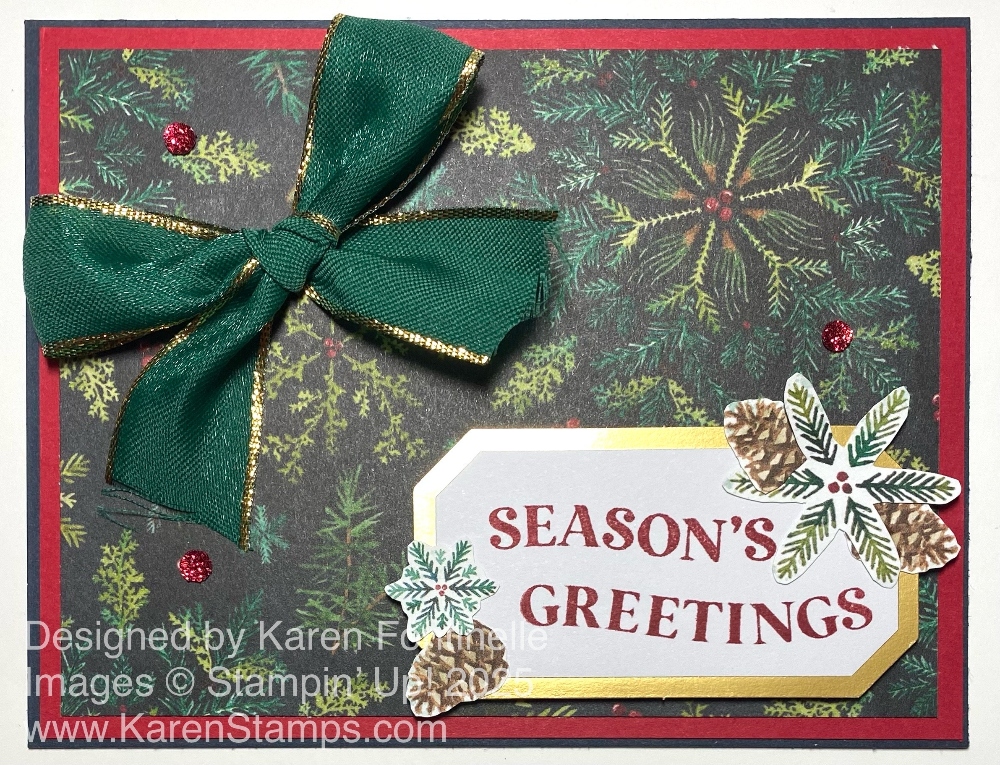
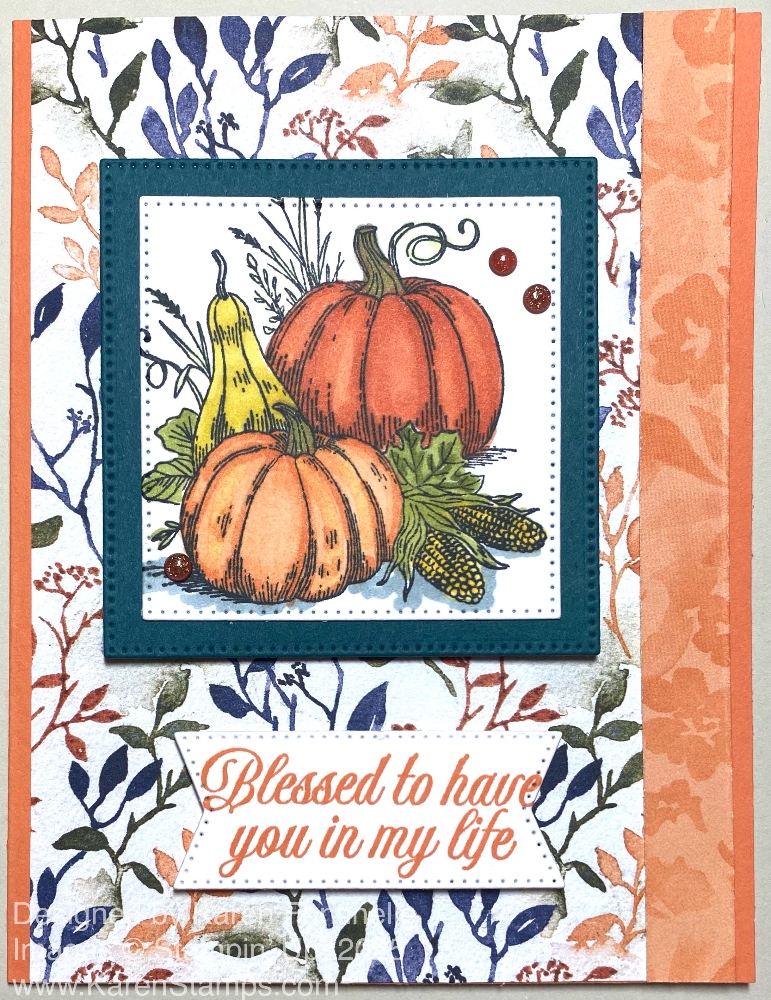
The top left card was the most “difficult”. It was fun stamping leaves around the edges of the card. I always like doing that random stamping! Then I had to placed the two diecut leaf groupings together, plus the foil-accented dark leaves on the card, all popped up on Dimensionals. Then the stamped greeting and ribbon adhered to the back was adhered over the intersection of the leaves.
The top right card is the first one I made. The card base already has that pretty toile background on it (also on the backside of the card!). The greeting was already printed, I only stamped the cute pair of acorns. The tree and frame are a diecut popped up on dimensionals.
The bottom card was the very easiest. I stamped the little birds in the corner of the cornfield and adhered it to the card base with Dimensionals. The pumpkins and fox are all diecuts and popped up also. The greeting is stamped and popped up. Nothing could be easier to make!
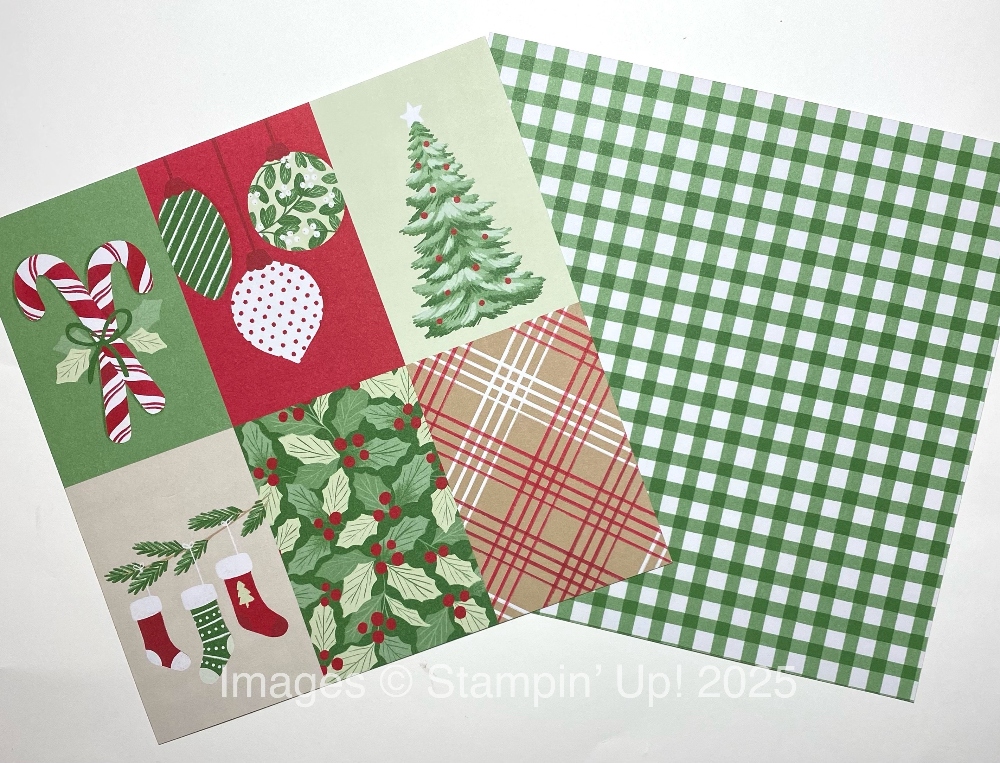
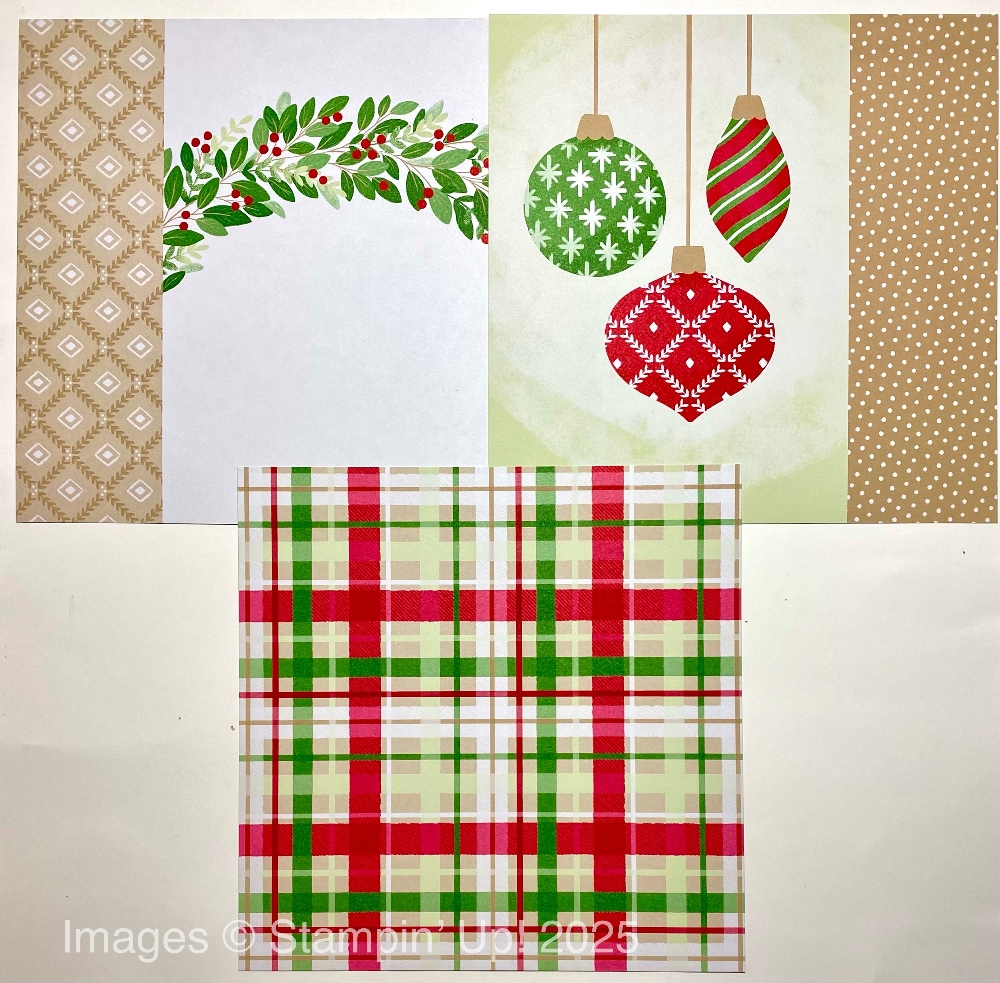
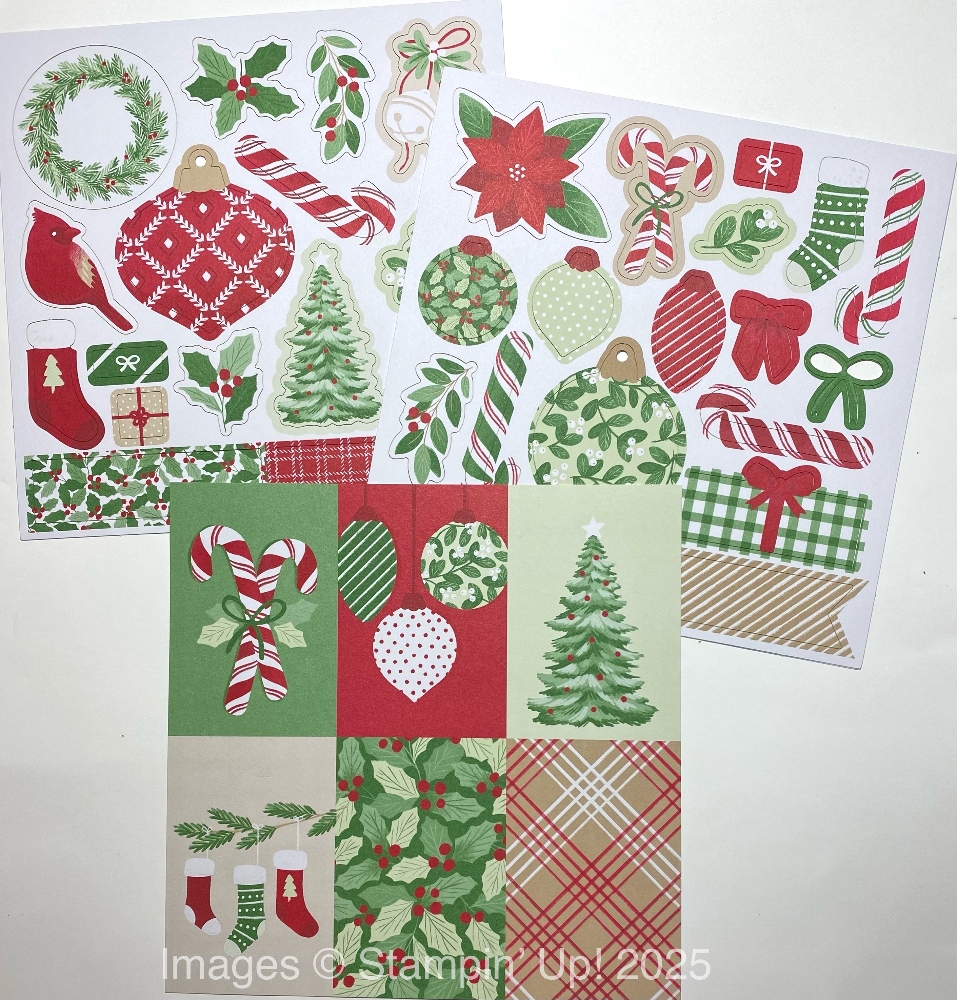
You, too, could get in on the fun of Paper Pumpkin Kits by subscribing before October 10th. For October you will receive a Kit to make Christmas cards that have flocked pieces to decorate the cards. For November, your Kit will make small goodie boxes perfect for the holidays to present a gift card or small gift or treat. Personally, I like the holiday kits the best, but then I love holidays of all kinds!
When you become a subscriber, besides getting the kit in the mail every month, you also have the option to purchase any past kits that are available, refills (which do not include the stamp set or ink spot, but otherwise have all the same supplies), and some add-ons like small dies that you can use to enhance your cards and projects or use any time. If you like a past kit but only see a refill, you can probably make use of that even without the stamp set and ink spot that would come in the full kit. For example, this fall kit I am showing has already been mailed out to subscribers, but once you subscribe, perhaps the “refill” kit will still be available, as it is as I write this, and you can just use some of your own stamps and ink to make the cards. Then your first kit will come in the mail, Cozy Christmas, right after October 10th.
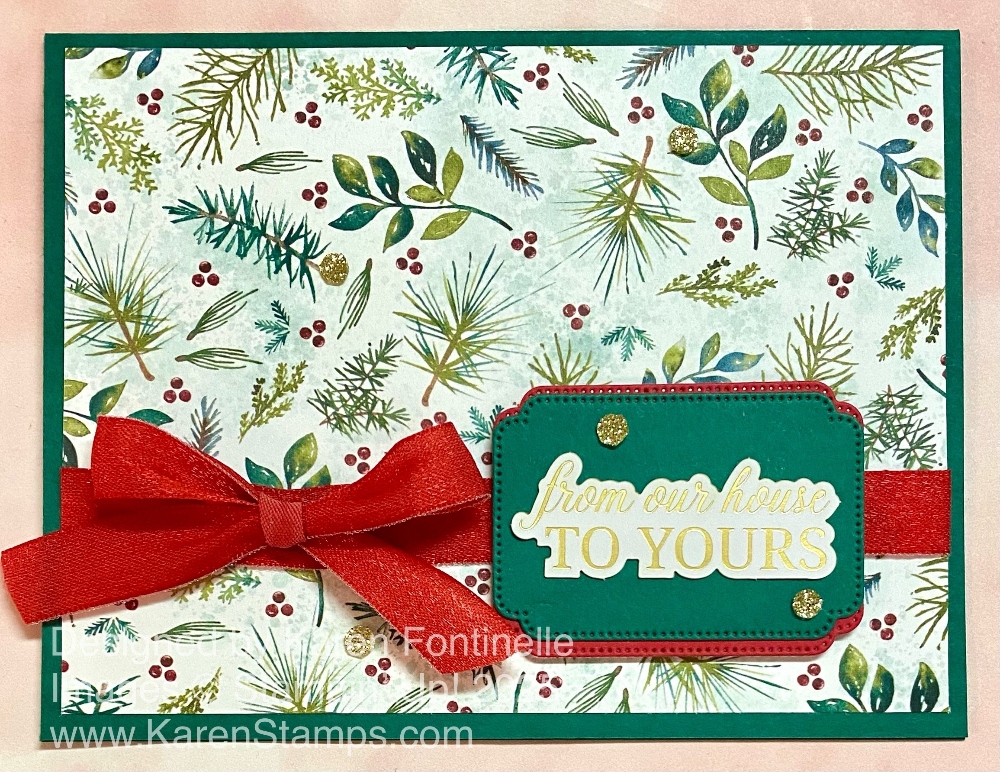
And you can always use your supplies any way you like! Lots of alternatives are always posted online as soon as people get their kits and start creating. For example, with this month’s kit, with the card bases printed on both the front and the back, you could cut the two sides apart and make twice as many cards by adhering the printed part of the kit card to your own cardstock base. You can change it up however you like. Sometimes I make some of the cards as designed and then make my own alternatives. It just depends on what you like to do. If you are a beginner, at first you will probably just want to follow the directions for the fun of crafting. As you get more experienced, you might like to make the projects a little bit different – maybe add your own greeting instead or add your own embellishments if you have some.
To join Paper Pumpkin, just click the link below. No risk, no obligation to continue for any length of time. Stampin’ Up! guarantees every kit, so if you have a problem, just let them know. You can even skip a month if necessary or if the hint of the upcoming project doesn’t appeal to you. It used to be a total surprise what would come in the kit, but now we get somewhat of a hint, which I am happy about. Subscriber or reactivate a previous account you had, by October 10th! The 10th of the month is the date to always remember if you want to make any changes to your account as that is the date the current subscription ends and on the 11th the new kit comes out. It’s easy to go into your account and skip a month, or heaven forbid, cancel! I hope you will try out Paper Pumpkin and enjoy some pre-planned crafting with all the supplies right there in your box! And wrapped up in tissue paper like a gift!!