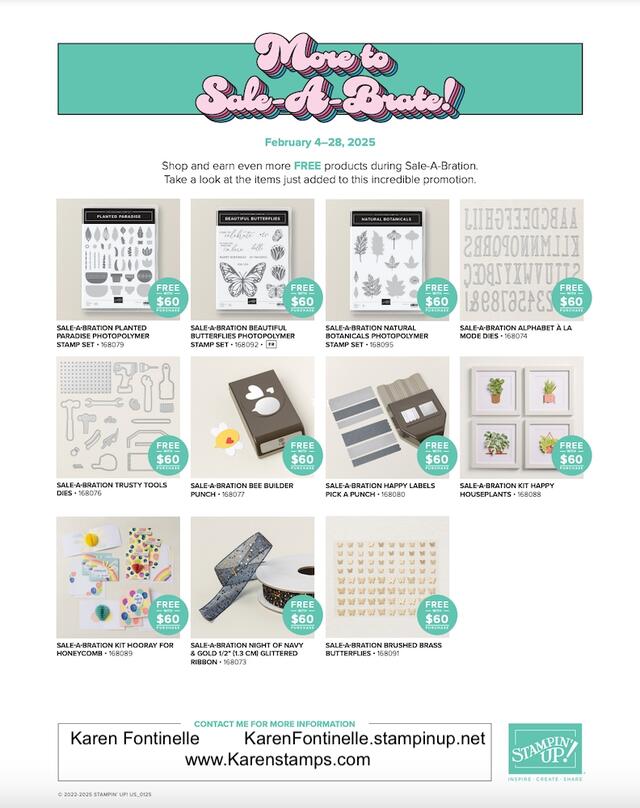
Today is the LAST DAY for the Stampin’ Up! Sale-A-Bration promotion! It has been around for years and years in Stampin’ Up! history and everyone loves earning FREE products! But it all comes to a screeching halt tonight after going on for two months! What a great way it always is to start the New Year! Just spend $60 in one order (or more) and earn one of the products shown below as your free gift! These products were still available as I am writing this but could become unavailable. The Alphabet a la Mode Dies are “currently unavailable” as are the Hooray For Honeycomb Kit and the Happy Houseplants Kit so I didn’t include those on my list here. If they get restocked at the last minute you’ll see them pop up as choices as you complete your online order.
There are a couple of additional choices available with an order of $120 or more or you can still choose two of these Level 1 $60 purchase.
SALE-A-BRATION PLANTED PARADISE PHOTOPOLYMER STAMP SET
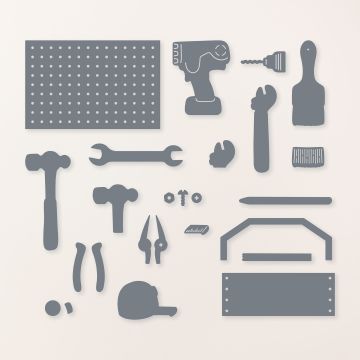
SALE-A-BRATION TRUSTY TOOLS DIES
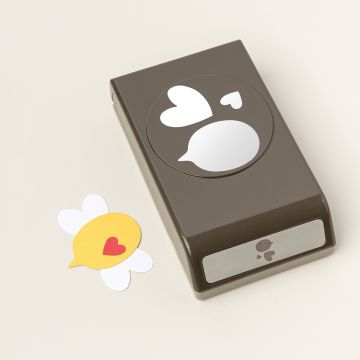
SALE-A-BRATION BEE BUILDER PUNCH
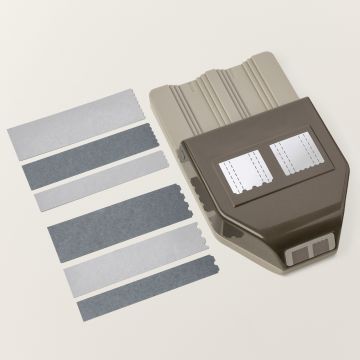
SALE-A-BRATION HAPPY LABELS PICK A PUNCH
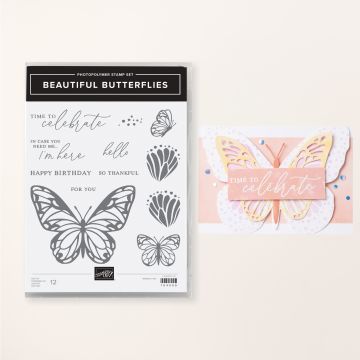
SALE-A-BRATION BEAUTIFUL BUTTERFLIES PHOTOPOLYMER STAMP SET (ENGLISH)
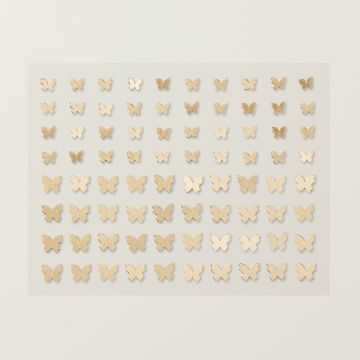
SALE-A-BRATION BRUSHED BRASS BUTTERFLIES
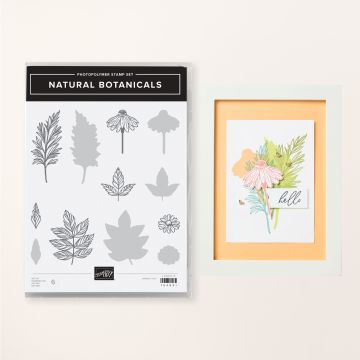
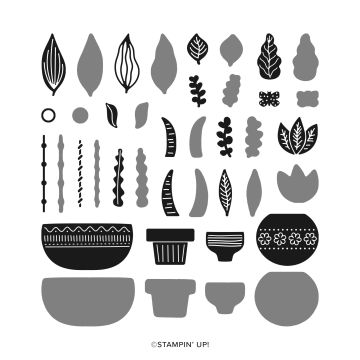
SALE-A-BRATION NATURAL BOTANICALS PHOTOPOLYMER STAMP SET
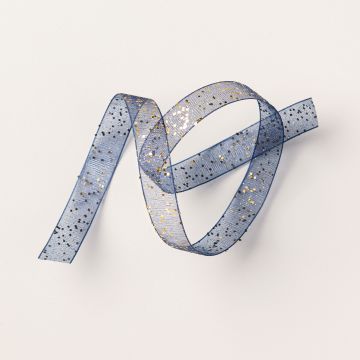
SALE-A-BRATION NIGHT OF NAVY & GOLD 1/2″ (1.3 CM) GLITTERED RIBBON

DOCUMENTING THE DAY PHOTOPOLYMER STAMP SET (ENGLISH)

FRIENDLY SEAGULLS PHOTOPOLYMER STAMP SET (ENGLISH)

BLOOM IMPRESSIONS 12″ X 12″ (30.5 X 30.5 CM) DESIGNER SERIES PAPER


PURPLE ADHESIVE-BACKED SEQUINS

DANCE WITH ME PHOTOPOLYMER STAMP SET

TOADSTOOL GARDENS 6″ X 6″ (15.2 X 15.2 CM) DESIGNER SERIES PAPER

FRUIT SALAD 6″ X 6″ (15.2 X 15.2 CM) DESIGNER SERIES PAPER
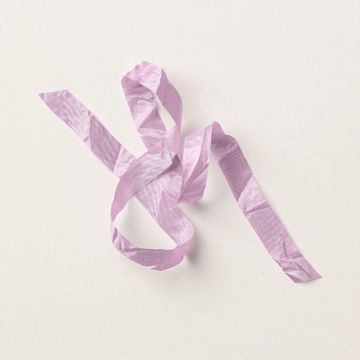
FRESH FREESIA 3/8″ (1 CM) SEAM BINDING RIBBON
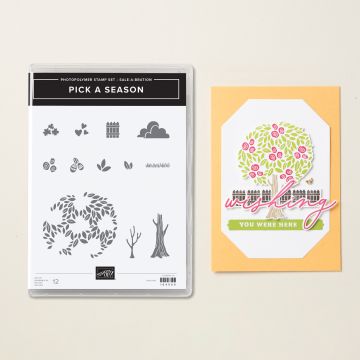
PICK A SEASON PHOTOPOLYMER STAMP SET
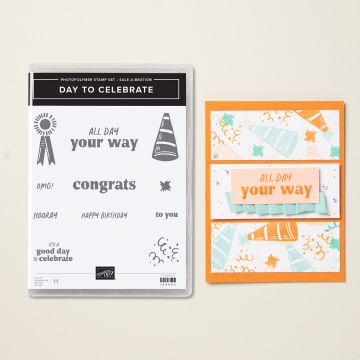
DAY TO CELEBRATE PHOTOPOLYMER STAMP SET (ENGLISH)
Sale-A-Bration Brochure Click HERE!
VIEW Sale-A-Bration FREE products HERE!
SHOP STAMPIN’ UP! ONLINE HERE!
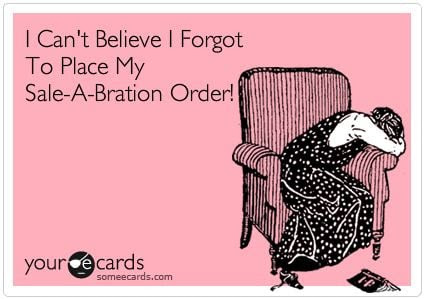
Don’t let this be YOU tomorrow!!