Author Archives: Karen Fontinelle

Easy Petal Promenade Card For Someone You Love

Easy Petal Promenade Card For Someone You Love

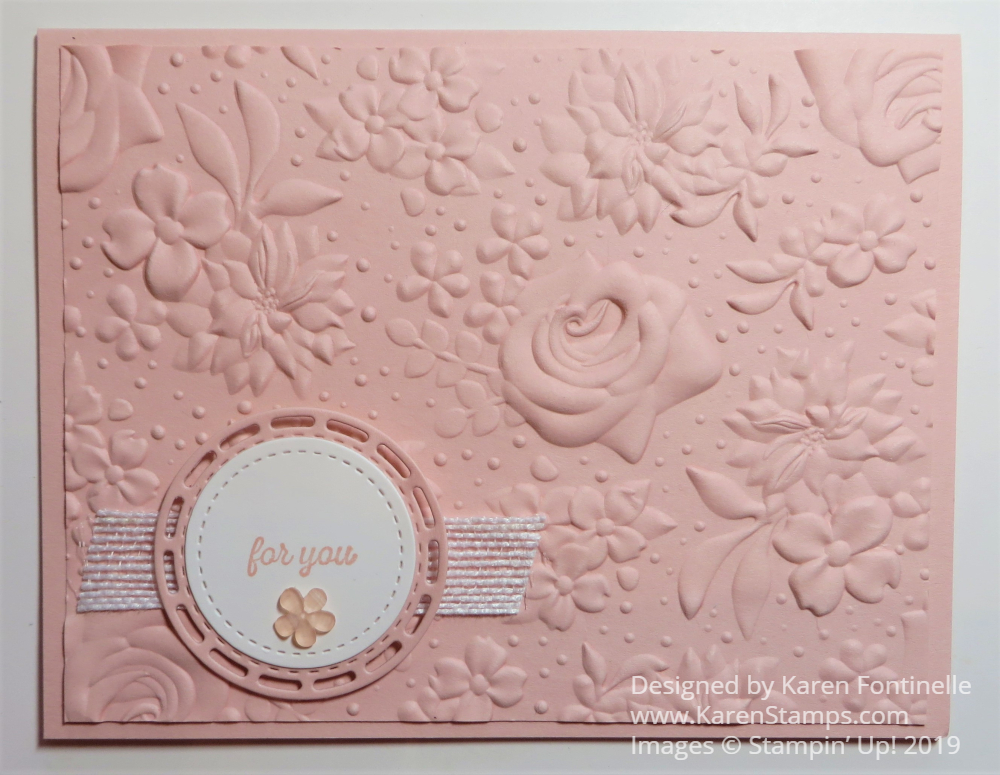
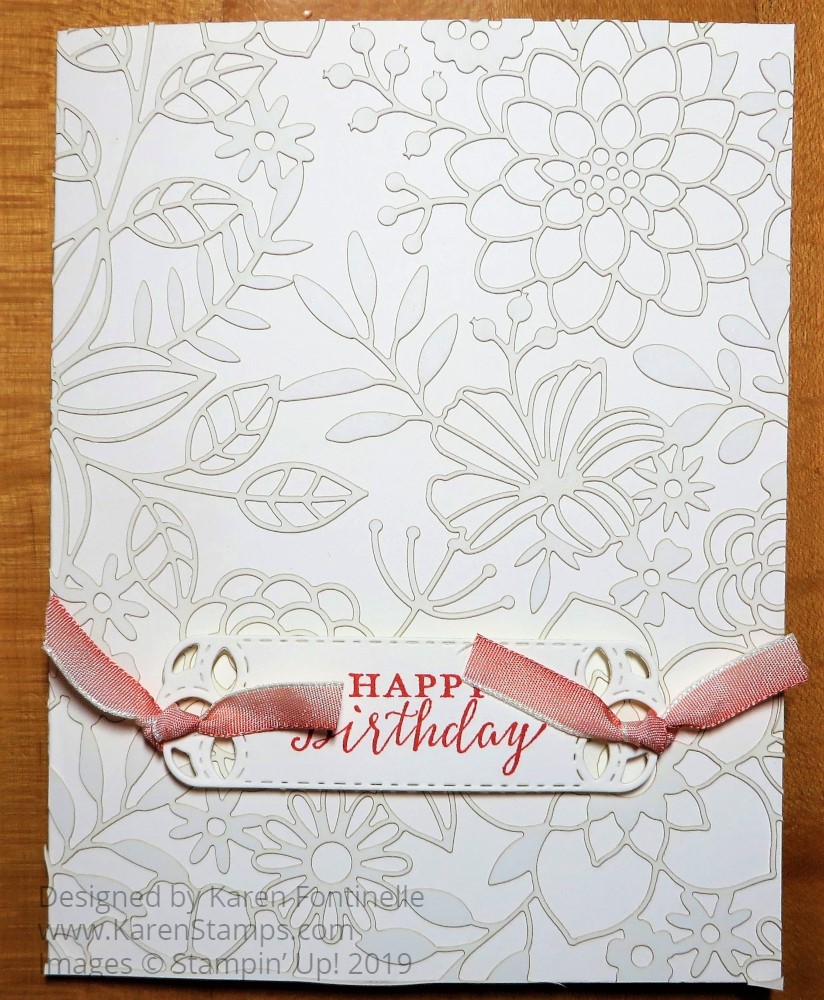
The Petal Promenade Designer Series Paper can be used to make lots of beautiful cards, like this Easy Petal Promenade Card For Someone You Love. Of course, all you have to do is change the greeting for another type of card to send someone.  You might think of the Petal Promenade Paper as only gorgeous flowers, but here is one sheet that has something a little different in it.  And the opposite sides of the paper look like marble, which I used as a layer on the Whisper White card base.

The best part of this beautiful paper right now is that is it FREE during Sale-A-Bration with a $50 purchase!  And we know how easily we can spend $50 at Stampin’ Up!  This Petal Promenade Paper was quite popular when it came out in the new Annual Catalog so if you already have or had a package, you might like to restock or get an extra for free!

Watch this video to see how this paper came about!  I love behind the scenes stories!

Petal Promenade Designer Paper Sheets

Get your Petal Promenade Paper FREE after you spend $50 at Stampin’ Up!  Lots of choices to make that easy!  Then sit down and I guarantee you won’t be able to stop making cards with this beautiful paper!   Here is another card I made for a friend in THIS POST.

To keep this card simple I just stamped the greeting from the Forever Lovely Stamp Set and die cut with the oval in the Stitched Shapes Framelits Dies.  I also used the 3/16-Inch Braided Linen Trim across the bottom portion of the card.  I love this linen trim anyway, but I really loved it on this card. It seems “earthy” to go with the plants so well! I just like it!  It’s a good staple to have in your stash along with the original Linen Thread that I always keep.

Share What You Love Floral Card

Share What You Love Floral Card

This Share What You Love Floral Card is made with the beautiful specialty designer paper called Share What You Love.  This is a “specialty” paper because four of the sheets have a  translucent pearlized finish.  That makes it a little difficult to photograph with a bit of glare.  Perhaps you can tell in the photo that the silvery look of the flowers and leaves is really the shimmer in the light from the paper.

I think sometimes we get so caught up in the current catalogs, whether the Holiday or the Occasions Catalog, and we almost forget about the Stampin’ Up! Annual Catalog!  It was like going home and finding some old friends to go back and work with this Share What You Love Designer Paper!

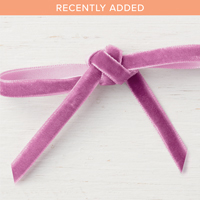
This card was made because the ribbon you see on the side is now available FREE as a Sale-A-Bration item during March.  Stampin’ Up! added several Annual Catalog products to the choices of things you can pick with every $50 purchase.  This Rich Razzleberry 1/4″ Velvet Ribbon is one of them!  It’s a very nice, quality ribbon and will add a richness to your cards or projects. It coordinates with the beautiful Share What You Love Paper.  Be sure to click on or use the number on the Sale-A-Bration page in the Online Store for it to come up as free. Don’t use the regular catalog number.

To make this card I used a base of Pear Pizzazz Cardstock with a layer of Rich Razzleberry Cardstock underneath the designer paper.  The greeting is stamped on Whisper White Cardstock in Rich Razzleberry Ink.  This was then die cut with the Layering Ovals Framelits Dies and layered on a Rich Razzleberry oval die cut with the oval in the Stitched Shapes Framelits Dies.  The velvet ribbon is adhered on the side of the card with just a separate piece of ribbon tied in a knot at the top. If you were going to mail this card a bow would probably be too thick.

Here is an easy thank you card I made using the Velvet Ribbon you might like to see.

If you haven’t looked recently, be sure to look at all the current Sale-A-Bration choices.  If you don’t see it in the Online Store, then it is not available at this time.  If you have any questions about what is backordered or not available at any point in time, just ask me.

SHOP STAMPIN’ UP! ONLINE HERE!

Make a Colorful Mardi Gras Card

Mardi Gras Card With Beads

Today is Mardi Gras, or Fat Tuesday, the end of the carnival season, so here is a colorful card to celebrate Mardi Gras along with some of my own Mardi Gras beads! I’ve never been to a real Mardi Gras but I’ve been to a few parties with some good food and beads! Everyone thinks of Mardi Gras in New Orleans, but it is celebrated in other cities as well. Galveston, Texas has a big celebration, about an hour from Houston.

I made this card pretty easily just using Mardi Gras colors…..purple, green and gold.  Strangely enough, I used the leafy stamp from the Sheltering Tree Stamp Set to make the background on the Shimmery White Cardstock.  I just wanted a “splattered” look of some kind with the Mardi Gras colors in the background.

To get this splattered look, I just colored the dots randomly with Stampin’ Write Markers in Gorgeous Grape, Daffodil Delight, and Garden Green. I couldn’t even see exactly which ones were colored but it didn’t matter.  After coloring on the dots with the markers, I spritzed the stamp with water from a small spray bottle (I use it by my Big Shot for the cardstock that goes in the Dynamic Embossing Folders (the big thick ones!) because it helps make a better impression in the paper.  I just left the stamp face up on the table and laid the Shimmery White Paper on top of the stamp.  After that, I inked up the stamp again with the markers, spritzed with water, and stamped some of the other areas that didn’t get any color.  Nothing had to be perfect because I just wanted that splattered, soft look.  The Shimmery White paper was good for this because it can stand up to a little water.

The card is layered with the Mardi Gras colors, same as the markers.  The greeting is stamped from the Detailed With Love Stamp Set. It is layered on a piece of Gold Foil. Then to get some real touches of gold on the card, I used the Gold Mini Sequin Trim and just placed it back and forth behind the greeting.  I like the way it turned out. Since I was thinking of Mardi Gras while making this card, I could be more “festive” than maybe you would normally be.  But I could still use this card for any kind of celebratory occasion!
Stampin’ Up! has the supplies to make cards for any occasions and other projects, too!  And if you shop now during March, you can take advantage of the Sale-A-Bration at Stampin’ Up!  It may not be Mardi Gras but with every $50 purchase, you get to choose a free product! And that in itself might be better than Mardi Gras for most of us!  Use this Colorful Card for Mardi Gras as inspiration to make a similar card for the occasion that you need and get your Stampin’ Up! supplies during Sale-A-Bration!
 

A Card Fit For the River Oaks Garden Club Azalea Trail 2019 in Houston

A Card Fit For the River Oaks Garden Club Azalea Trail 2019 in Houston

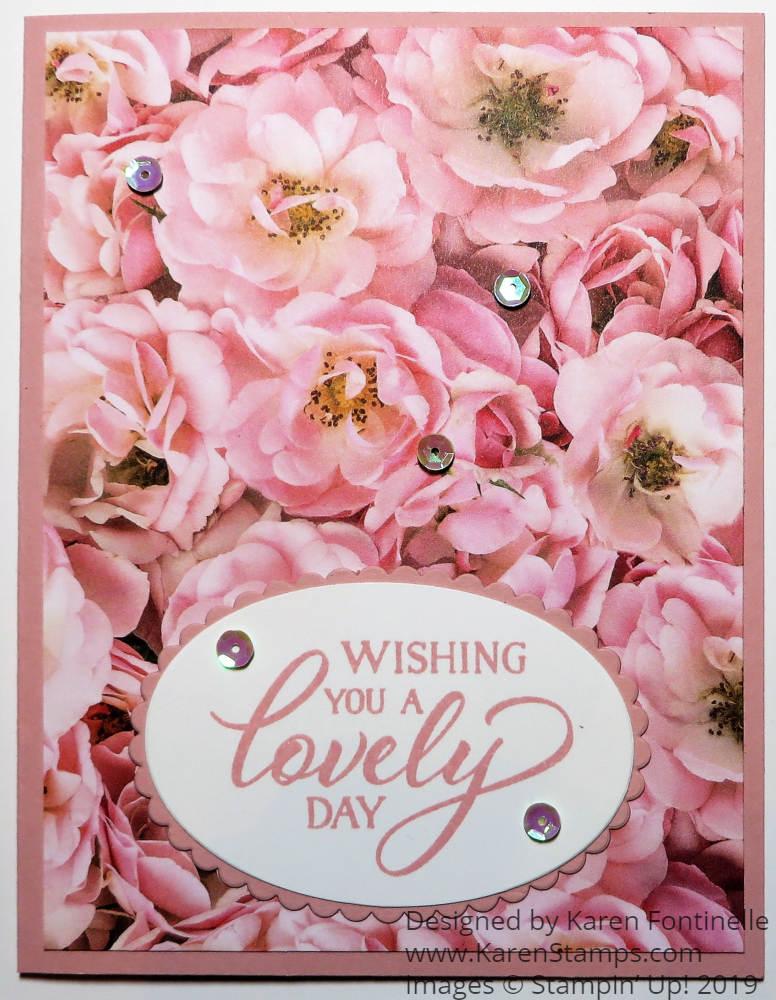
This Card Fit For the River Oaks Garden Club Azalea Trail 2019 in Houston was inspired by our annual visit to the Azalea Trail of homes and gardens this weekend!  My husband and I have gone to this every single year except one in all the years we have lived here in Houston.  There are a number of private homes that show off their gardens and sometimes even part of the inside of their house and every one has beautiful flower arrangements inside and out.  No photos are allowed inside the homes, unfortunately, but I take lots of them outdoors!  Yes, we do have flowers and azaleas blooming in Houston, Texas!  No snow!

I thought this Petal Promenade Designer Series Paper represented some of the beautiful flowers we saw on the Azalea Trail, not to mention some of our own azalea bushes at our house that are bursting into bloom!

You can get this Petal Promenade Paper FREE during this last month of Sale-A-Bration!  Stampin’ Up! added some Annual Catalog products to the Sale-A-Bration choices!  Just spend $50 or more and choose a free product from the Sale-A-Bration choices in the Stampin’ Up! Online Store.

This card was very quick and easy to make!  The card base is made from Blushing Bride Cardstock.  The greeting is from the Forever Lovely Stamp Set and is stamped with Blushing Bride Ink on Whisper White Cardstock.  Make sure your ink pad is well inked when using light colored inks like this one. Also, do a couple of practice stamps with the ink on scrap paper, especially with the photopolymer stamps.  It usually makes them stamp the image better.  And using the Stamparatus® is good, too, because you can stamp the image again over and over if necessary since the paper and stamp do not move in between!  Purchasing the Stamparatus plus “something else” will get you a FREE Sale-A-Bration item, too, once you reach $50!

After stamping, the greeting is die-cut with one of the large ovals in the Layering Ovals Framelits Dies and then layered on a die-cut scalloped oval in the same set.  I just adhered it flat on the card with Snail Adhesive, but you could also use to pop it up with Stampin’ Dimensionals.

I couldn’t leave well enough alone, I had to add some Basic Adhesive-Backed Sequins to the greeting and around on the card!  They are so fun, especially with the adhesive already on them, and I find that the Take Your Pick tool is helpful to use in moving the sequins over to the card.

Here are just a few photos from the Azalea Trail the other day!

Azalea Trail Flower Garden
Azalea Trail Home
Azalea Trail Pool
Azalea Trail FlowerAzalea Trail Garden in BackFloral Arrangement
Pink flower on Azalea TrailAzalea Trail Topiary Bunny with wheelbarrow

I hope you enjoyed these pictures of just one stop on the Houston Azalea Trail put on by the River Oaks Garden Club!  The homes, especially this one, are just amazing.  This one was worth the price of the whole ticket itself!  You just cannot imagine the size of the lot and the home.  I think we should move right in because they had doormats with an “F” printed on them!  Just for us!  Besides the main house, there is a guest cottage, a playhouse, a treehouse, an inground trampoline, a putting green, outdoor courtyards, and verandas – just spectacular!  The previous owner of the house had probably every celebrity and famous person come to a party or “houseguest” in her home, back in the day!  It was really interesting to tour this home and garden on the Azalea Trail.

Be sure to check out all the Sale-A-Bration choices before it ends March 31st!

Don’t Miss It! Celebrate Paper Pumpkin’s 6th Birthday!

Paper Pumpkin Birthday March 2019 Banner

Image © Stampin’ Up! 2019

Paper Pumpkin is turning SIX this month! Celebrate with the March 2019 Paper Pumpkin Kit, so be sure you are subscribed!  If you previously were a subscriber, you might want to sign up again! And if you sometimes skip a month, make sure you reactivate your account!  Don’t forget!  You have just ONE WEEK!

SIGN UP FOR PAPER PUMPKIN NOW!

(This is my personalized link to make it easy for you!)

Why should you want to celebrate with Paper Pumpkin in March??

(If you want to be surprised, don’t read any further!!)

Stampin’ Up! says they are pulling out all the stops for this kit!  You’ll get an adorable kit, a special box, and most importantly, you’ll get TWO stamp sets instead of one.  All for only $19.95 which includes shipping! TWO STAMP SETS!!

* Don’t look if you want to be surprised!!

*

*

*

Here’s a little bit about the March kit! Because it’s our birthday, we decided to create a kit that is perfect for making birthday cards!

  • The March kit features eight full-sized, mailable cards.
  • Coordinating colors are Basic Black, Bermuda Bay, Daffodil Delight, Flirty Flamingo, and Poppy Parade.
  • This kit has an element that is sure to “pop”!    ??????
  • The FREE stamp set is even bigger and better than your typical Paper Pumpkin stamp set and can be used on a variety of crafting projects.

You KNOW you want to get this Paper Pumpkin Birthday Kit in your mailbox next month!!

JOIN PAPER PUMPKIN TODAY!

You KNOW you want to have some crafting fun!

If you already have your own Demonstrator and want to sign up under her, just go to www.paperpumpkin.com and find her name.  Otherwise, I am HAPPY to have you!

No risk, no obligation!  Try out Paper Pumpkin for this great kit!  Stampin’ Up! guarantees every kit.

Sign up today so you don’t forget, but the deadline for sure is March 10, 2019.


Last Month of Sale-A-Bration & New Choices and Products For You!

SAB 3rd Release Banner

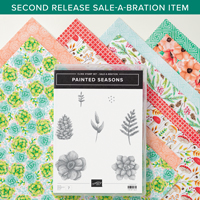
Surprise! It’s the last month of Sale-A-Bration and Stampin’ Up! has added some new choices from the Annual Catalog to choose as your FREE product with every $50 purchase! Additionally, Stampin’ Up! has taken apart the Bundle for a $100 purchase from last month of the Painted Seasons Designer Series Paper and the All Adorned Stamp Set and made them each available with a $50 purchase!  So if you just have a $50 purchase, you can get just the beautiful paper!

Here are the additional products you may choose as your FREE Sale-A-Bration product.

 NOTE:  The Sale-A-Bration item codes provided in this flyer must be used in order for the items to be redeemed for the Sale-A-Bration promotion. (click to view)

SAB 3rd Release New Products

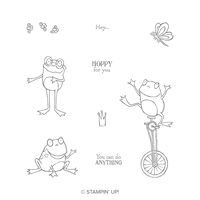
PLUS:  Beginning today, you can PURCHASE these products that coordinate with Sale-A-Bration products!  If you would like the framelits that cut out the frogs in the So Hoppy Together Stamp Set, now you can get them!  Just click the photo below or the link for the Sale-A-Bration Coordination Page in the Online Store!

SAB 2019 Coordinating Products March

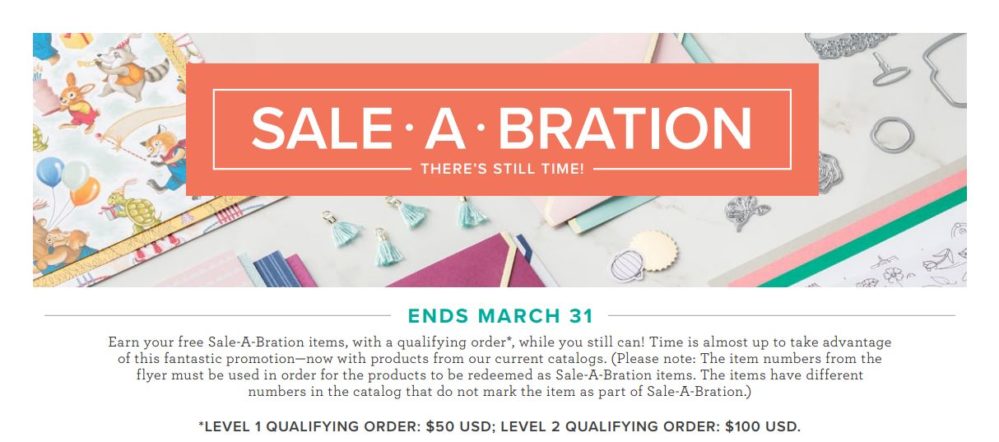
Check out these new products and Sale-A-Bration choices in the Stampin’ Up! Online Store today!  Available through March 31 or while supplies last.

Easy Botanical Butterfly Mini Gift Bag

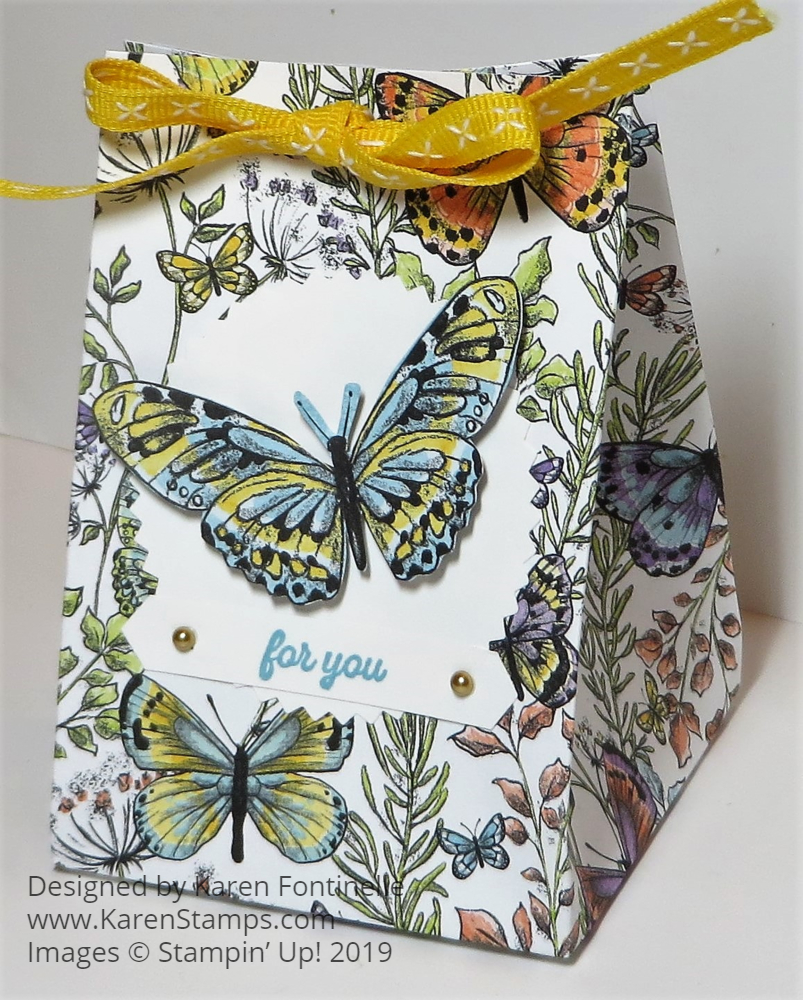
Easy Botanical Butterfly Mini Gift Bag

It was so fun making note cards in yesterday’s post with the Botanical Butterfly Designer Series Paper that I was inspired to try something else with the same paper which led to this Easy Botanical Butterfly Mini Gift Bag.

It’s really very easy to make little gift or treat bags like this one.  You can vary the measurements.  This bag starts with a 12″ x 6″ piece of the Botanical Butterfly Designer Series Paper.  With the paper placed in landscape position on the Stampin’ Trimmer or Simply Scored, score at 1″, 3 3/4″, 6 1/2″, and 9 1/4″.  Turn the paper and score at 2″ which will form the bottom flaps of the bag so make sure you have the pattern going the way you want it!  Then cut up on the scored lines from the bottom of the bag.  I like to cut each score line at a slight angle on each side just to make it a little easier to fold in the flaps.  Also, cut out the small little piece at the end of the paper at the bottom, as you see in the photo below.  This is the inside pattern.

Easy Botanical Butterfly Mini Gift Bag Cutting Diagram

When you assemble the bag, it will first look like a box!  If you wanted to, you could have it stay like this or even make a lid.

Easy Botanical Butterfly Mini Gift Bag Assembly

To make the bag, just pinch the top edges together while also pushing in on the sides.  I punched two holes in the top and ran a ribbon through to tie in a bow.  This is the Daffodil Delight 1/4″ Double-Stitched Ribbon.

To decorate the front of the bag (not that this beautiful paper needs very much embellishment), I punched a piece of Whisper White with the Starburst Punch and cut out a butterfly from the designer paper to pop up with Stampin’ Dimensionals.

The greeting is stamped in Balmy Blue Ink from the Itty Bitty Greetings Stamp Set.  This is one of those handy-to-have stamp sets with a ton of greetings.  They are “itty bitty” but you can punch them or die cut them and fit them almost anywhere.  I used the Classic Label Punch and glued the greeting at the bottom of the starburst.  To set it off a little bit on the busy paper, I adhered two little Gold Metallic Pearls.

Just be sure to put your gift or treat inside before you tie it shut with the ribbon when you make this Easy Botanical Butterfly Mini Gift Bag.

Choose this Botanical Butterfly Designer Series Paper as your FREE product when you spend $50 or more during Sale-A-Bration at Stampin’ Up!


Botanical Butterfly Note Cards

Botanical Butterfly Note Cards

I had so much fun making these Botanical Butterfly Note Cards that I almost couldn’t stop in order to do this blog post!  Best of all, this Botanical Butterfly Designer Series Paper is available FREE during Stampin’ Up! Sale-A-Bration with a $50 purchase. Honestly, I often go to look up this designer paper in the Occasions Catalog because it seems too “nice” to be given away free in the Sale-A-Bration Brochure.

The Stampin’ Up! Note Cards are probably some of the best products and maybe often overlooked products in the Annual Catalog.  You will find them on page 193 and come in both Whisper White and Very Vanilla.  In one package there are 20 note cards and envelopes.  The note cards are made out of thick cardstock and measure 5″ x 3 1/2″. They are very nice quality, so nice in fact that I used them to make the response cards for my daughter’s wedding invitations.  The envelopes are a mailable size, which is great!

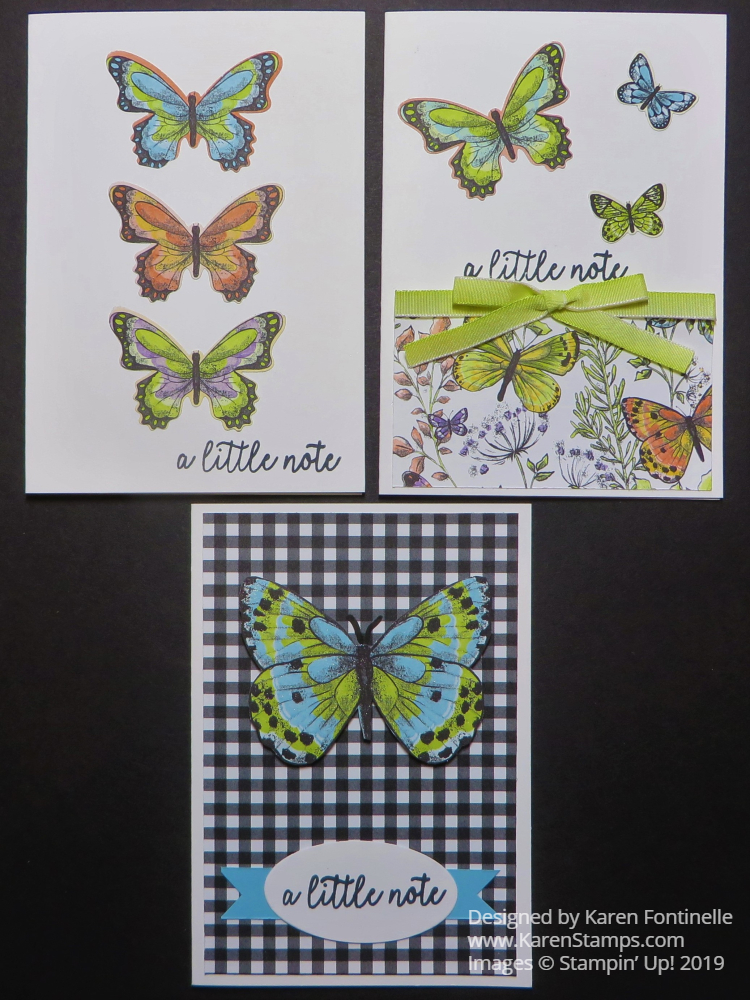
I took three note cards out of the package and folded them on the scored line to form the note cards.  They come already scored.  Then I used the Botanical Butterfly Paper to either punch out or cut by hand different butterflies with which to decorate the note cards.

The first card has three butterflies punched out of the designer paper with the Butterfly Duet Punch.  You can punch out certain butterflies on different sheets of the paper but almost always you need to cut into the paper in order to position the punch properly to reach the butterfly.  This punch is currently on backorder.

The second note card has a piece of designer paper (one of the really beautiful sheets, I think!) at the bottom with a bit of Lemon Lime Twist 1/4″ Ombre Ribbon tied around and a bow added separately.  The large and small butterflies are punched out with the Butterfly Duet Punch.

The third card uses a piece of the backside of the butterfly paper, so you can see many of the butterfly designs have a black and white design on the other side of the paper.  The large butterfly on this card is cut out with my Paper Snips (it is larger than the Butterfly punch), and the opposite side of the paper is this black and white check.

The greeting on all the cards is from the Butterfly Gala Stamp Set.  I love the font and the size of the greeting, as well as its usefulness when making cards!

The next time you pick up your Stampin’ Up! Catalog, please check out the Note Cards & Envelopes on page 193 and order some to have on hand.  Sometimes you may want to just make a quick and simple card or write a short note to someone and these are perfect!  And they might help you reach your $50 purchase in order to be able to choose a FREE Sale-A-Bration item, perhaps the Botanical Butterfly Designer Series Paper with which you could make Botanical Butterfly Note Cards.

SHOP STAMPIN’ UP! DURING SALE-A-BRATION!

Paper Pumpkin February 2019 Grown With Kindness Cards

Paper Pumpkin Grown With Kindness Cards

Many people got quite excited about the February 2019 Paper Pumpkin Kit because, for one thing, Stampin’ Up! gave us some hints and a preview, and for another, succulents seem to be a trendy thing nowadays.  These are the Paper Pumpkin Grown With Kindness Cards that I made pretty much like the directions with the kit.  I even stamped the envelope with an extra stamp in the set of a cup holding a succulent.

The Stampin’ Up! Paper Pumpkin design team actually went out and purchased succulents, then brought them back to the office and photographed them.  This is how the photographic images on the front of the cards came about.  I think it makes the cards even more interesting to know how they were created!  But I always like “behind the scenes” stories!

Paper Pumpkin Feb 2019 FB Photos SU

Images © Stampin’ Up! 2019

Paper Pumpkin Succulent Photography

The kit made nine cards and they were easy to assemble.  I left a couple of cards without sentiments so I could add my own when I need them.  Since I was on a roll, I just made all the cards as designed.  Sometimes I save a few for alternative ideas I might find other people posting on the internet.  But I liked these cards just fine, especially those photographic images, so I just made them as is.  The choice is completely up to you when you are making your kit!

Here’s the Stampin’ Up! video of how this kit goes together.

Of course, we are past this kit now, but the March 2019 Paper Pumpkin Kit is coming up!  You can get it if you subscribe to Paper Pumpkin by March 10. That will come up fast so go ahead and subscribe now so you won’t forget!  There’s no risk because you can always cancel or skip a month.  This kit is going to be about celebrating Paper Pumpkin’s 6th birthday so you know it is going to be special!  You will get an EXTRA stamp set in the kit!  I can’t wait!

Don’t miss out on another fun kit!  AND, as soon as you are a subscriber, you may purchase any past kits or refills (without the stamp set and ink spot) that happen to be available.

JOIN PAPER PUMPKIN TODAY!

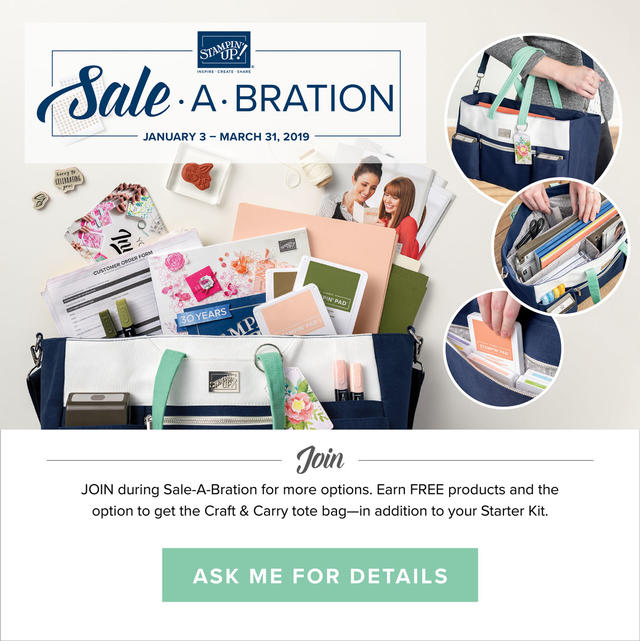
Join Stampin’ Up! During Sale-A-Bration For Extra Benefits!

Join Stampin' Up! Sale-A-Bration 2019

Have you ever thought about becoming a Stampin’ Up! Demonstrator and having your own stamping business? It’s always a good time to join Stampin’ Up! but if you like extra benefits, Sale-A-Bration is a really good time!

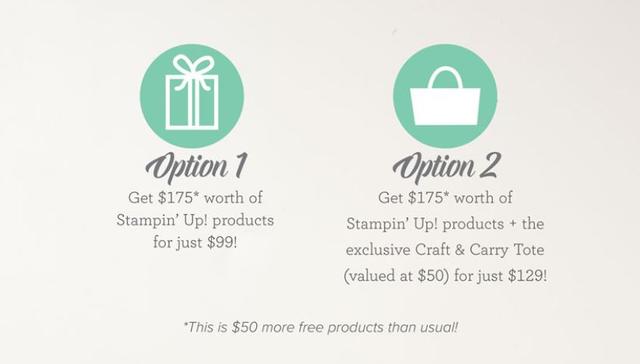
To become a Stampin’ Up! Demonstrator all you have to do is purchase the Starter Kit. During Sale-A-Bration (through March 31, 2019) you have two options;

Option 1:  Get $175 worth of Stampin’ Up! products for just $99!  This is $50 more free products than usual! And you get to choose what products you want in your Starter Kit!

Option 2:  Get $175 worth of Stampin’ Up! products PLUS the exclusive Craft & Carry Tote (valued at $50) for just $129!  The Craft & Carry Tote will be handy as a Demonstrator for carrying your supplies to classes and workshops that you may choose to do. Or use it for your own travels or visiting with friends for a stamping day.  The Craft & Carry Tote is only available to new Demonstrators who choose this option. You save $20 on what would be the value of the tote (not that you can purchase it any other way!).

Stampin’ Up! also gives you $50 in business supplies FREE in your Starter Kit plus there is no shipping, so that saves you 10%!

No obligation!  Purchase the Starter Kit, start your own stamping business in whatever form suits you, or start off being a “hobby Demo” using the 20% discount yourself.  Stampin’ Up! makes no distinction between “big” Demonstrators and “hobby” Demonstrators.  If you find none of this is for you, you can drop with no penalty (I don’t think you will want to!) and keep everything you received in your Starter Kit.

In some cases, some of the top Demonstrators started off just buying the Starter Kit for themselves, for their own discount, and one way or another turned it into a successful business.  You can do it too!

Note that Host sets and Sale-A-Bration products may not be added to Starter Kits.

While there is a minimum sales requirement to meet every quarter of $300, no matter what quarter in which you join, you get the following quarter to make your minimum. So if you joined now before the end of March, you would have until the end of June to make your minimum.  And even then if you didn’t, you would be in “pending” and would have another month to make it up.

Click HERE for more information about joining Stampin’ Up!

The sign-up process is easy!  It can be done online HERE.  Just have all your information at the ready because I don’t think the website allows you to stop and come back without starting over.

Mainly, contact me if you would like more information, would like to talk it over, and discuss your personal situation because it’s all about what is good for you!


Botanical Butterfly Thank You Card

Botanical Butterfly Thank You Card

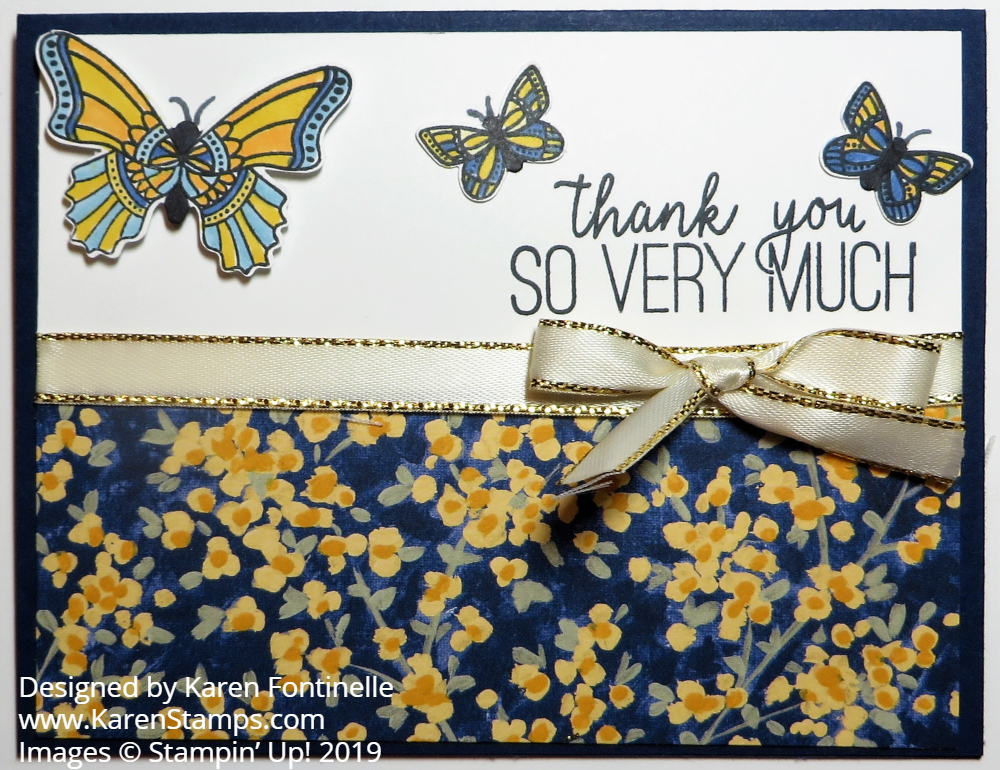
This card was made and sent to me by one of my dearest friends (and the person who got me into this Stampin’ Up! world many years ago!) as a thank you card for the birthday gifts I sent her. The card is made with the beautiful Botanical Butterfly Designer Series PaperIt is available only during Sale-A-Bration with a $50 purchase.  Honestly, I am surprised this paper is still available (knock on wood) with many products being so popular and selling out or being backordered.

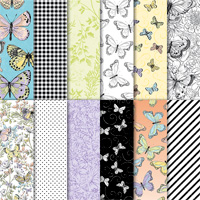
The interesting thing about this Botanical Butterfly paper is that one side is a colored print, mostly butterflies, but a couple sheets are just a monochromatic floral design.  All the other sides are black and white designs of one kind or another.  And it is FREE!  Some of the butterflies can be punched out with the Butterfly Duet Punch although unfortunately, this punch is backordered right now. Perhaps it will be back in stock in early April.

On this card, made by my friend Jan, she used one of the black and white paper designs of flowers and butterflies and colored in just the butterfly with Stampin’ Blends markers. There is some Wink of Stella glimmer added to the butterfly too, which you “might” be able to notice in the photo of the card now that you know it is there!  I just love using the Wink of Stella just for a little jazzing up!

Jan also said in her note that she was having a lot of fun with the new Rectangle Stitched Framelits Dies. On this card, you can see she used two rectangles, one black, and one Calypso Coral to frame the colored butterfly!  Then she added a greeting with the Itty Bitty Banners  Stamp Set (retired) and Bitty Banners Framelits Dies (retired).

It’s so fun to receive a real card in the mail, especially from a friend I don’t get to see very often. We should all be reminded to send more cards as we make them!  #makeacardsendacard  And this friend always makes beautiful cards that usually have that simple, elegant look to them!

If you don’t want to miss out on getting this Botanical Butterfly Designer Series Paper FREE during Sale-A-Bration, be sure to put in your Stampin’ Up! order of $50 or more soon!  Remember, a couple of new items were added to Sale-A-Bration from which to choose.  If you spend $100 or more, you can choose one of the higher value items instead of two $50 items.  Your choice!  They’re all good! Then get busy and send a beautiful card like this Botanical Butterfly Thank You Card to a special friend of yours!


Celebrate Paper Pumpkin’s 6th Birthday With the March 2019 Kit!

Paper Pumpkin Birthday March 2019 Banner

Image © Stampin’ Up! 2019

Paper Pumpkin is turning SIX and we want you to celebrate with the March 2019 Paper Pumpkin Kit, so be sure you are subscribed!  If you previously were a subscriber, you might want to sign up again! And if you sometimes skip a month, make sure you reactivate your account!  Don’t forget!

SIGN UP FOR PAPER PUMPKIN NOW!

(This is my personalized link to make it easy for you!)

Why should you want to celebrate with Paper Pumpkin in March??

(If you want to be surprised, don’t read any further!!)

Stampin’ Up! is pulling out all the stops for this kit!  You’ll get an adorable kit, a special box, and most importantly, you’ll get TWO stamp sets instead of one.  All for only $19.95 which includes shipping! TWO STAMP SETS!!

* Don’t look if you want to be surprised!!

*

*

*

Here’s a little bit about the March kit! Because it’s our birthday, we decided to create a kit that is perfect for making birthday cards!

  • The March kit features eight full-sized, mailable cards.
  • Coordinating colors are Basic Black, Bermuda Bay, Daffodil Delight, Flirty Flamingo, and Poppy Parade.
  • This kit has an element that is sure to “pop”!    ??????
  • The FREE stamp set is even bigger and better than your typical Paper Pumpkin stamp set and can be used on a variety of crafting projects.

You KNOW you want to get this Paper Pumpkin Birthday Kit in your mailbox next month!!

JOIN PAPER PUMPKIN TODAY!

You KNOW you want to have some crafting fun!

If you already have your own Demonstrator and want to sign up under her, just go to www.paperpumpkin.com and find her name.  Otherwise, I am HAPPY to have you!

No risk, no obligation!  Try out Paper Pumpkin for this great kit!  Stampin’ Up! guarantees every kit.

Sign up today so you don’t forget, but the deadline for sure is March 10, 2019.


Easy Floral Card For a Friend

Easy Floral Card For a Friend

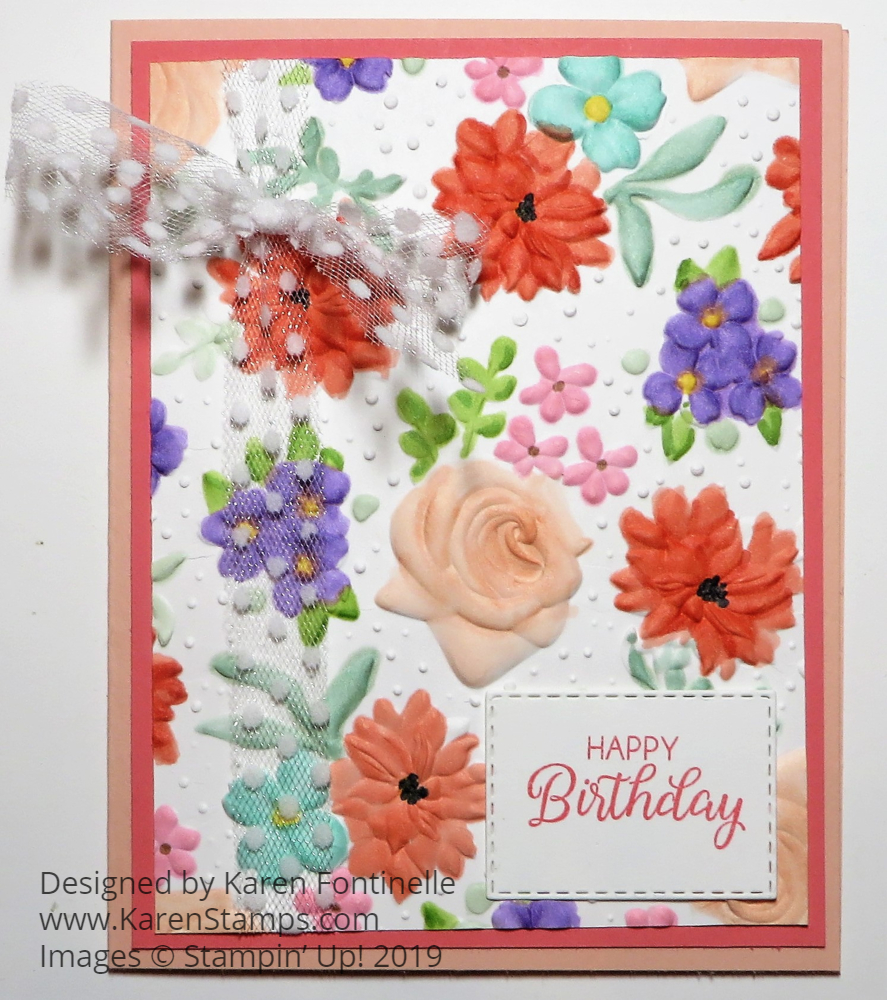
This Easy Floral Card For a Friend came about because I found the paper pieces already cut to the right sizes in my cardstock and designer paper packages!  I didn’t even have to think about it!  Sometimes scraps and pieces you didn’t use for another project all come in handy at another time.

The Rich Razzleberry card base was already cut to 4 1/4″ x 11″ so I just scored it at 5 1/2″ and it then became a card base with the fold at the top. There’s no reason not to make cards that open at the top sometimes instead of always at the side!

The Share What You Love Specialty Designer Series Paper is one of the prettiest we have ever had, I believe!  I love that paper with its shimmer and pretty patterns.  I found this designer paper already cut to almost the correct size for the card.  Then I took another scrap of Whisper White and stamped the greeting from the stamp set Detailed With Love in Petal Pink Ink.

I also love the Whisper White 5/8″ Polka Dot Tulle Ribbon and added it to this card with a bow. Even though the ribbon is “busy” with the polka dots and the paper is a floral print, since you can see through the ribbon it doesn’t interfere too much, I don’t think.  It adds a pretty embellishment to the flowers on the paper.

For the greeting,  I grabbed the leftover adhesive hearts from the January 2019 Paper Pumpkin Kit and stuck on a couple of those. That little sheet of heart embellishments is one of my favorite things I have gotten in a Paper Pumpkin Kit!  So cute!!  I also used them on my card yesterday with some other extra pieces from the kit.

Inside the card, I added a layer of Whisper White since the Rich Razzleberry is too dark to write on.  I also stamped one of the images that looks like a narrow scallop border in the Detailed With Love Stamp Set at the bottom of the Whisper White in Petal Pink Ink just to have a little something on that piece.

Sometimes take a look at your scraps and see what kind of card or project you can come up with.  The result may surprise you! I made this very simple Easy Floral Card For a Friend just by finding some pieces in my scraps that were already cut and ready to go!

SHOP STAMPIN’ UP! ONLINE TODAY!

A Kangaroo Card With Paper Pumpkin Extra Pieces

A Kangaroo Card With Paper Pumpkin Extra Pieces

This is what you can do when you have extra pieces leftover from a Paper Pumpkin Kit! Just make a card like this one I came up with, A Kangaroo Card With Paper Pumpkin Extra Pieces! It was a really easy card to make and one that I’m really happy with in the end.

I absolutely had no idea of what card I was going to make, but I just chose some designer paper.  It turned out to be this Floral Romance Specialty Designer Paper that has the printed vellum sheets, although I used this regular paper in the package.  When I saw all the leaves, I thought I would put a flower on it somewhere.  But it also reminded me of the Animal Expedition Suite and that reminded me that the January 2019 Paper Pumpkin Kit coordinated with that suite.  I pulled out the extra pieces I had left over after making all my pillow boxes for Valentine’s Day.

Valentine Treat Pillow Boxes Paper Pumpkin Jan 2019

I just die cut a large circle on which to place my leftover kangaroo and a larger scallop circle out of the Grapefruit Grove Foil Sheet (sadly, no longer available!).  I thought the Whisper White would be too stark so I used a Sponge Dauber to just apply a tiny bit of Balmy Blue ink for the sky and colored in a little ground with my Crumb Cake Light Stampin’ Blends Marker.

The greeting is stamped from the Itty Bitty Greetings Stamp Set in Pear Pizzazz Ink to match the card base.  I just stuck one end under the foil a little bit.  Then I remembered there were the little adhesive hearts left over in the Paper Pumpkin Kit and those were just what I needed to complete the card!  Sometimes it’s the little things!

Here’s my Animal Expedition Kangaroo Little Hello Card that actually is kind of similar to my card today.  I made that one out of the Animal Expedition Designer Series Paper.  What a great suite and fun to use with as inspiration with the Paper Pumpkin Kit in January!

Shop Stampin’ Up! for all your cardmaking needs!


How to Make a Daisy Card For a Friend

Daisy Card For a Friend

We had a pretty nice almost-spring type day here in Houston so I thought this Daisy Card For a Friend could exemplify that and give everyone hope that spring will arrive! Here is how to make this easy card.

I loved the fresh look of this pattern in the Happiness Blooms Designer Series Paper and I also thought the Daisy Punch would go well with it!  The card base is Night of Navy, but I wanted to add a layer of Whisper White in between the Night of Navy and the designer paper. I seldom think of doing this, but if you wanted to save some paper, use the area under a layer that will be hidden anyway to cut out a piece of paper that you need!  Here is a photo of how I punched out the two daisies from the Whisper White layer and I’m positive no one will get this card and say, “Why was she so chintzy punching out daisy shapes underneath this?!”  They won’t be able to tell and won’t even know your papercrafting secret.

Daisy Card For a Friend How to Make

I like to layer two daisy punches for more fullness.  I think it looks more realistic.  I also like to turn up the leaves at the ends a little bit.  For the flower center, I used the 1/2″ Circle Punch and even stuck it in an embossing folder to give it some texture!  Just for fun!

Daisy Card For a Friend

I thought I would like a ribbon on the card, and even though it is not the same green, I thought the 1/8″ Shaded Spruce Ribbon from the Metallic Ribbon Combo Pack.  Close enough! It’s fine.

I thought most greetings would be too big on the card with the daisy, so I stamped a greeting from the Itty Bitty Greetings Stamp Set and tied it on to the ribbon with a bit of Linen Thread for a different look.  I hadn’t done that in a long time!  I think Linen Thread is one of those staples everyone should have on hand just for things like this.  I have used it many times.  You can cheat and add a bit of adhesive or Stampin’ Dimensional underneath the little greeting tag to hold it in place.  Or you can leave it loose and hanging.

Easy and fresh card to make for a friend, for a birthday, for a just thinking of you card, whatever you like!  The Happiness Blooms Designer Series Paper is perfect for those bright and happy cards you want to make while we wait for spring to arrive!  Did you see my card I made yesterday HERE?

Dust off your Daisy Punch that you may have forgotten about and make a Daisy Card For a Friend!