
I hope you’re on Santa’s “Good” List!
Of course you are if you’re a stamper!
Merry Christmas!

I hope you’re on Santa’s “Good” List!
Of course you are if you’re a stamper!
Merry Christmas!
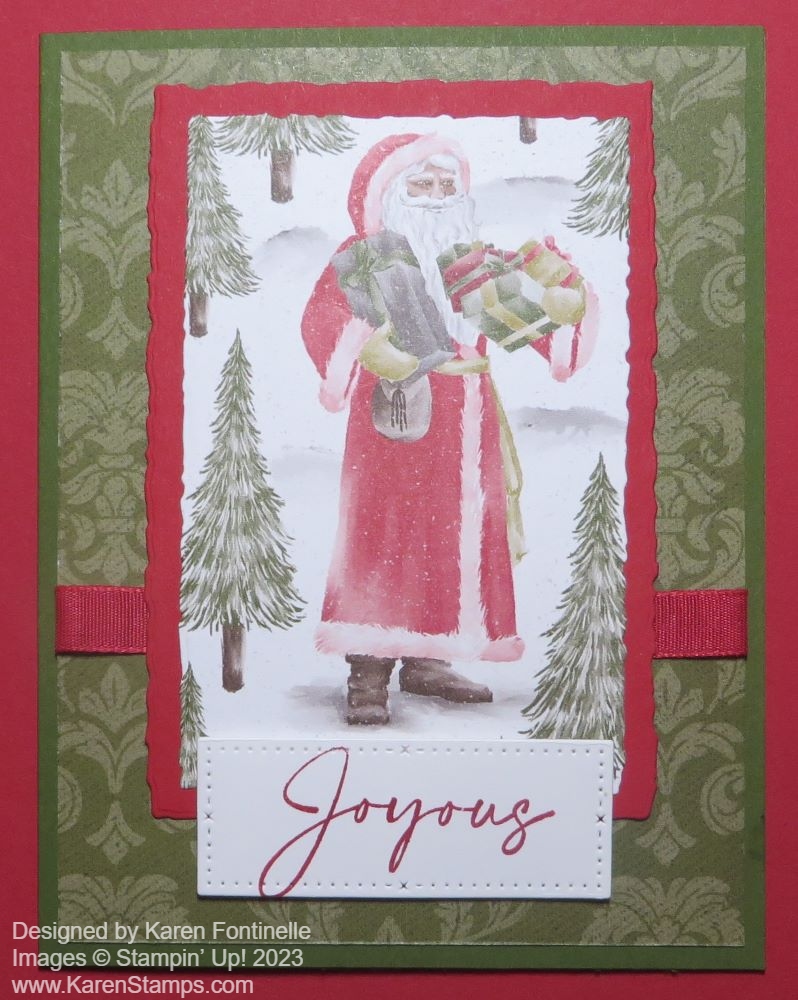
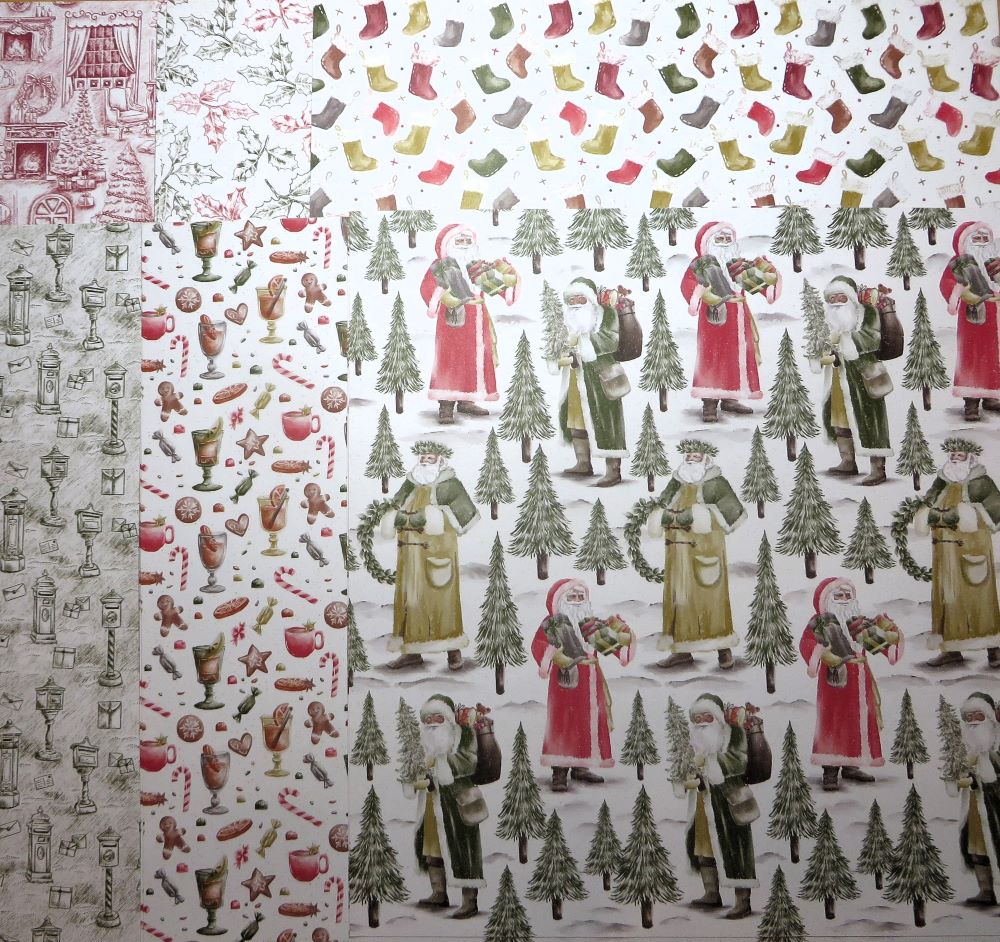
This week Stampin’ Up! released not only the September-December 2023 Mini Catalog but also five new designer series papers in the Online Exclusives! One of them I especially loved with these classic Santas as one of the paper patterns. As soon as my Holiday Mini order came with this Traditions of St. Nick Designer Series Paper I had to make a card with it and this Old-Fashioned Santa Christmas Card is what I came up with!
The card base is Mossy Meadow cardstock with a layer of the damask pattern of paper in the same Traditions of St. Nick paper. This damask pattern gives a really elegant look without taking away from the Santa. Before adhering the designer paper layer, I wrapped a piece of Real Red Ribbon around it.
The Santa is diecut using the Deckled Rectangles Dies. If you take the die that is the right size and place it on the designer paper, you can figure out where you have to cut out that area of the image from the designer paper. It’s a killer to cut into the paper the first time but it must be done! It seemed impossible to me to omit just the bottom of a couple of tree trunks in the area but you have to make the Santa fit plus some nice trees without bumping into part of another Santa. You could also just fussy cut a Santa if you don’t want a rectangle. Circles probably wouldn’t work. Then I cut another larger deckled rectangle in Real Red for a layer. You could pop up the Santa on Stampin’ Dimensionals but I just adhered it flat on the card.
The greeting is from the Joy of Noel Stamp Set that I just got. I stamped it in Real Red ink and diecut it with a stitched rectangle in the Timeless Arrangements Dies. The word just barely fit but it did! It is popped up with Dimensionals. There are other Christmas greetings that you could use as well.
I really like this paper and this card and plan to make more Santa cards! Remember, this Traditions of St. Nick Designer Series Paper is NOT in the Holiday Mini Catalog. You have to search under “Online Exclusives” which are new releases that Stampin’ Up! is going to bring out now and then so we don’t have to wait to see them in a catalog! That keeps life exciting! The only thing is Online Exclusives are not guaranteed to be around for any particular length of time. So if you see something you like a lot, don’t wait.
I hope you are enjoying the new mini catalog and getting ideas for your fall and holiday cards and projects!
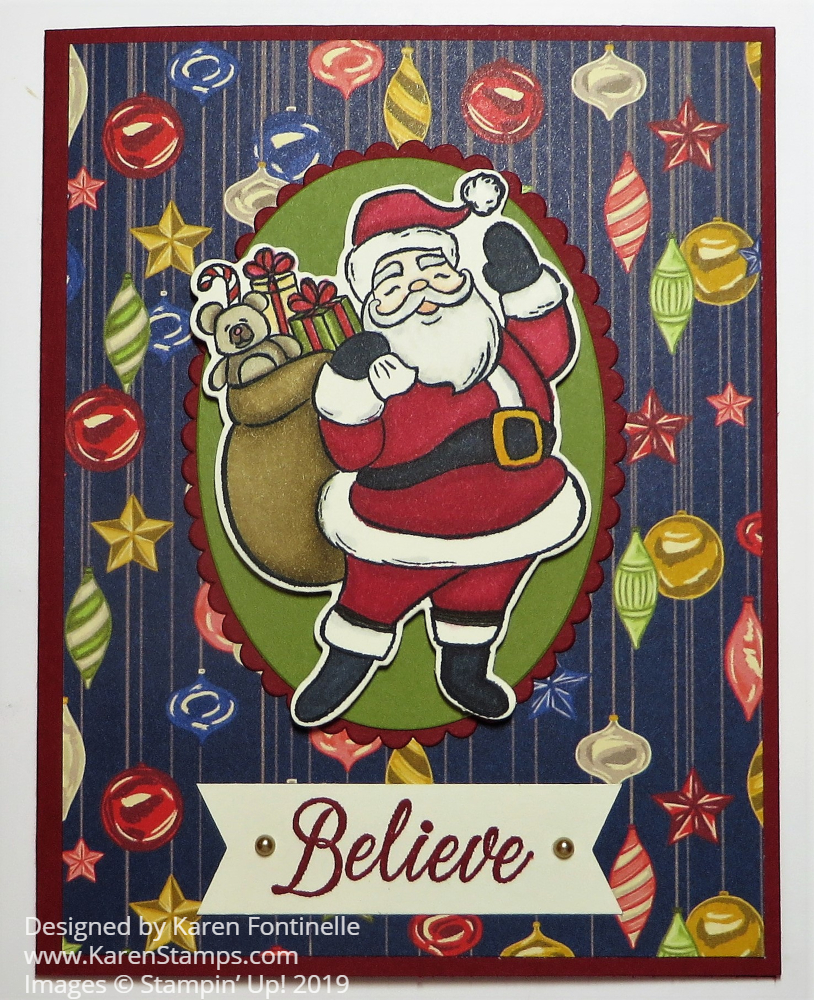
If I do say so myself, I am very happy with how this Holly Jolly Christmas Santa Card turned out! As I flipped through the package of Night Before Christmas paper, I saw this vintage ornament sheet and it jumped right out at me, reminding me of old-fashioned Christmas ornaments. I just had to use it on my first Christmas card with this Night Before Christmas Suite in the upcoming Stampin’ Up! Holiday Catalog! The Holiday Catalog goes live September 4, 2019.
Sometimes it is hard to know where to begin when you have so many new products you are dying to try! As I said, with that particular ornament design paper catching my eye in the Night Before Christmas 6″ x 6″ Designer Series Paper, that was the place to start. I also was inspired by another sample card in the catalog that used the Santa stamp in the Holly Jolly Stamp Set. I thought it would be fun to stamp the Santa, color him in and then die cut to use on the card.
I chose coordinating colors as listed on the designer paper to know what to use for my card. The card base is Cherry Cobbler Cardstock with a layer of Night Before Christmas designer paper. You could probably pick another design and make the same card and it would also turn out great!
After coloring the Santa with various Stampin’ Blends markers on Very Vanilla Cardstock, I die cut him with the Jolly Season Dies. With these new dies, just line them up along the stamped edge of the image and the die-cutting will leave a tiny margin around the image. This makes it easier to line up correctly.
To help Santa stamp out a little better, I played around with various colors of oval die-cuts to see what I liked best. Finally, I settled on an Old Olive oval with a Cherry Cobbler scalloped oval layer, using the Layering Ovals Dies. I popped the Santa up on Stampin’ Dimensionals®.
For the greeting I simply chose the “Believe” stamp in the Holly Jolly Stamp Set, stamped on Very Vanilla with Cherry Cobbler Ink. I used the Tailored Tag Punch to punch the banner ends. If you stick a strip in just the top of that punch, you can punch that banner end. Then turn the strip around and stick the other end in from the side. Do not stick the whole strip into the punch like you normally would or it won’t turn out right! For a final touch, I had to add two Gold Metallic Pearls. That’s it for the card front!
Since the Cherry Cobbler is a dark color, I added a Very Vanilla layer inside the card, stamped with a greeting from the same stamp set. Since I had a strip of designer paper laying on the table, I cut it narrower and used it along the inside Very Vanilla paper. I could have stopped there but decided to stamp the Christmas trees in the Holly Jolly Stamp Set and color those with Stampin’ Blends.
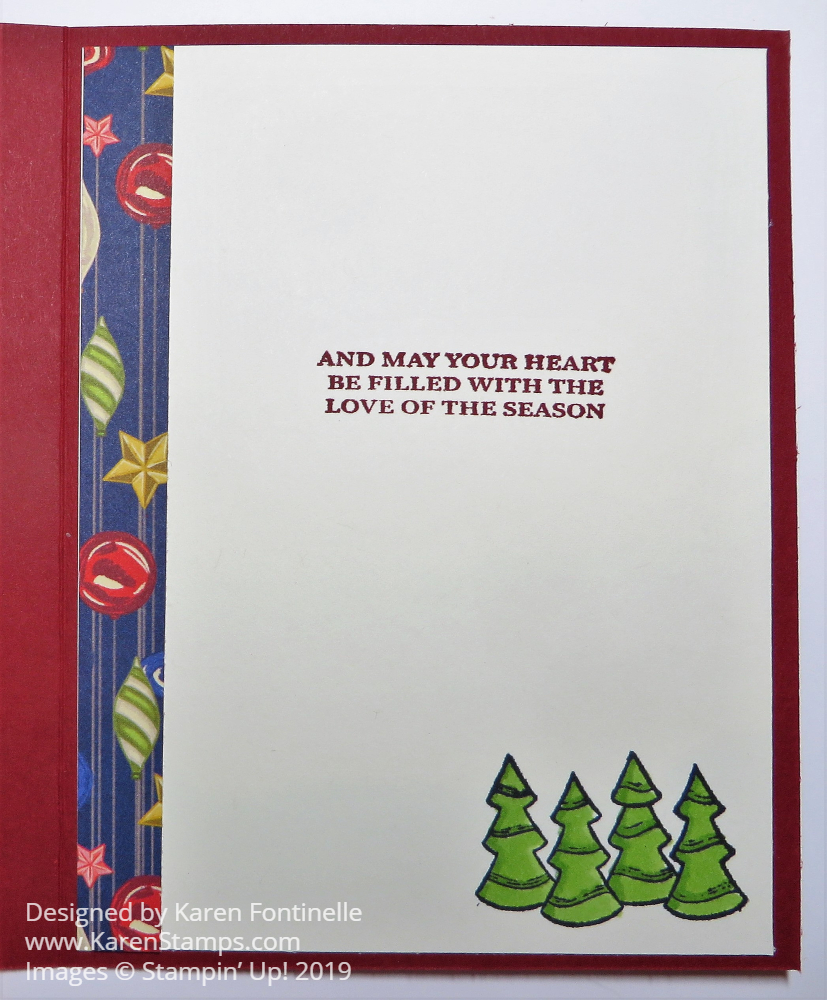
It would also be nice to stamp something like these little trees on the outside of the envelope to give the recipient a hint about the card inside! Keep in mind Stampin’ Blends might bleed through so maybe stick a piece of scrap paper inside the envelope while you color, then remove. It is time to be collecting ideas for Christmas cards that you like! I think I will make a few more cards like this Holly Jolly Christmas Santa Card!