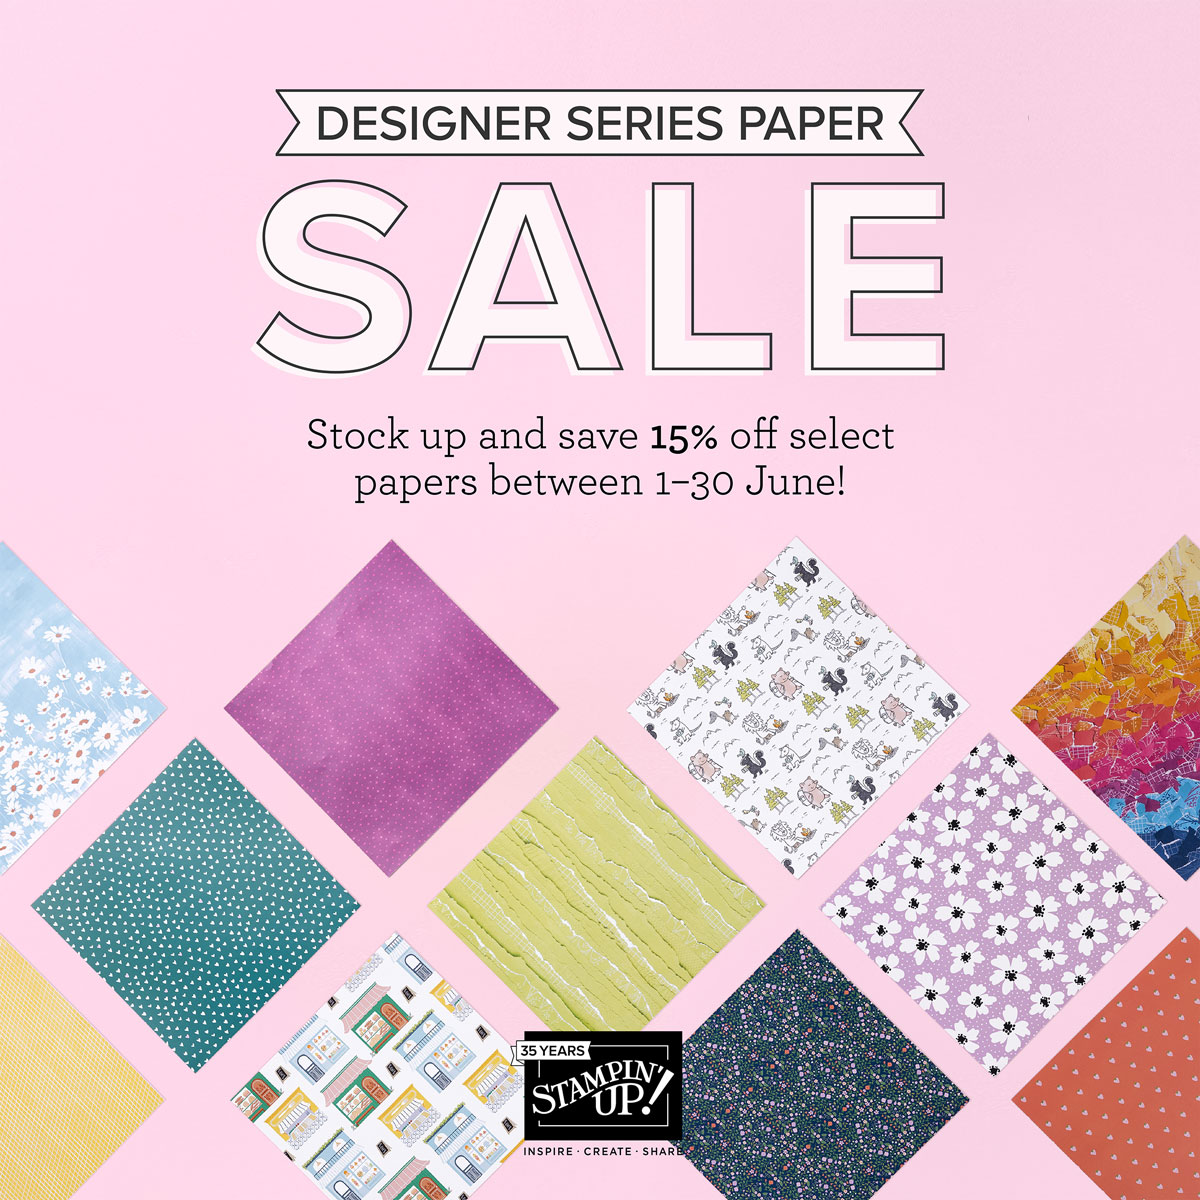
Stampin’ Up! is having a Designer Series Paper Sale beginning Thursday,
June 1, 2023, and lasting until June 30! All month!!
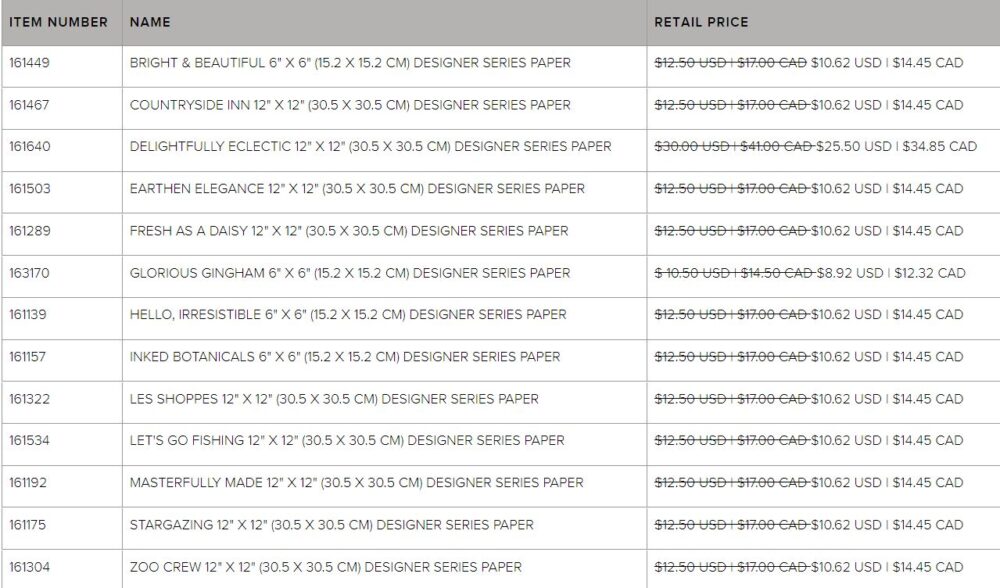
You can enjoy a 15% discount on select Designer Series Papers from our new 2023–2024 Annual Catalog and Online Exclusives. Whether you’re a scrapbooker, a card maker, or simply a paper lover, this is a great time to stock up and save on gorgeous paper so you have artistic and versatile paper designs on hand for your next projects! And we all need MORE paper, right?! Especially when it is on sale!!
It’s not ALL papers in the catalog so check the lists below! But there are plenty to choose from!
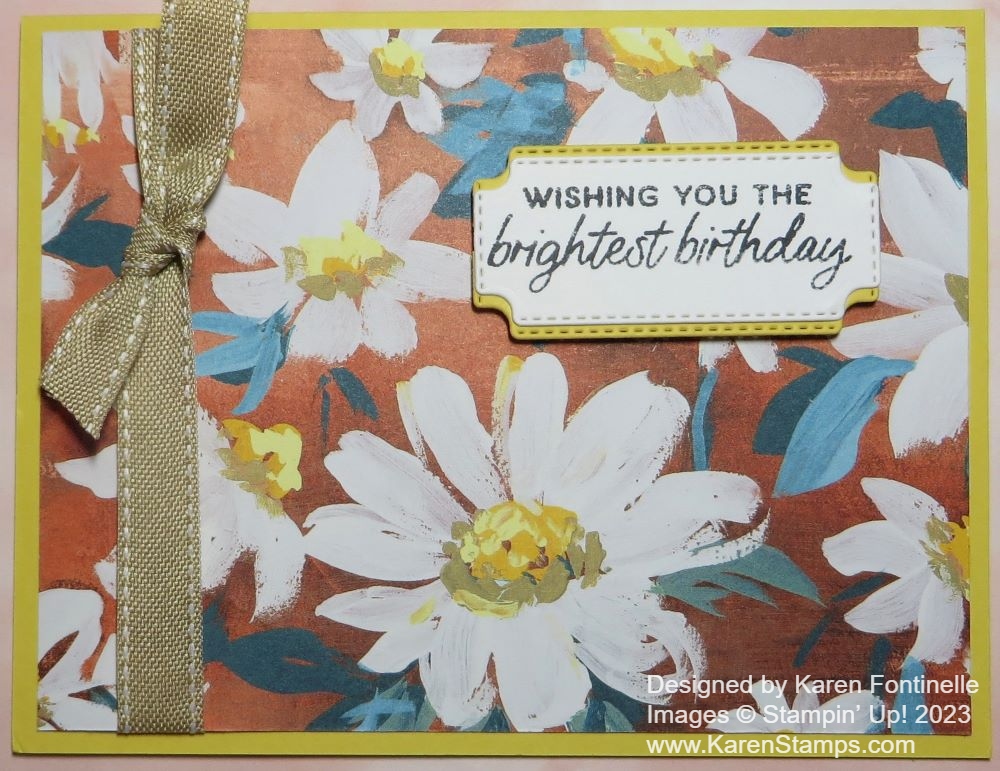
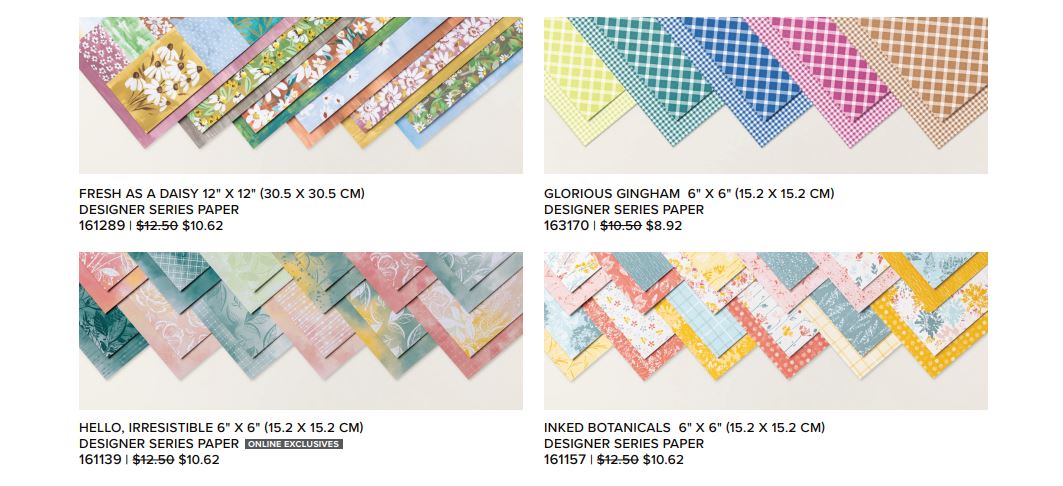
The Bright & Beautiful 6″ x 6″ paper is exactly that! Bright colors and designs for making colorful, happy cards!
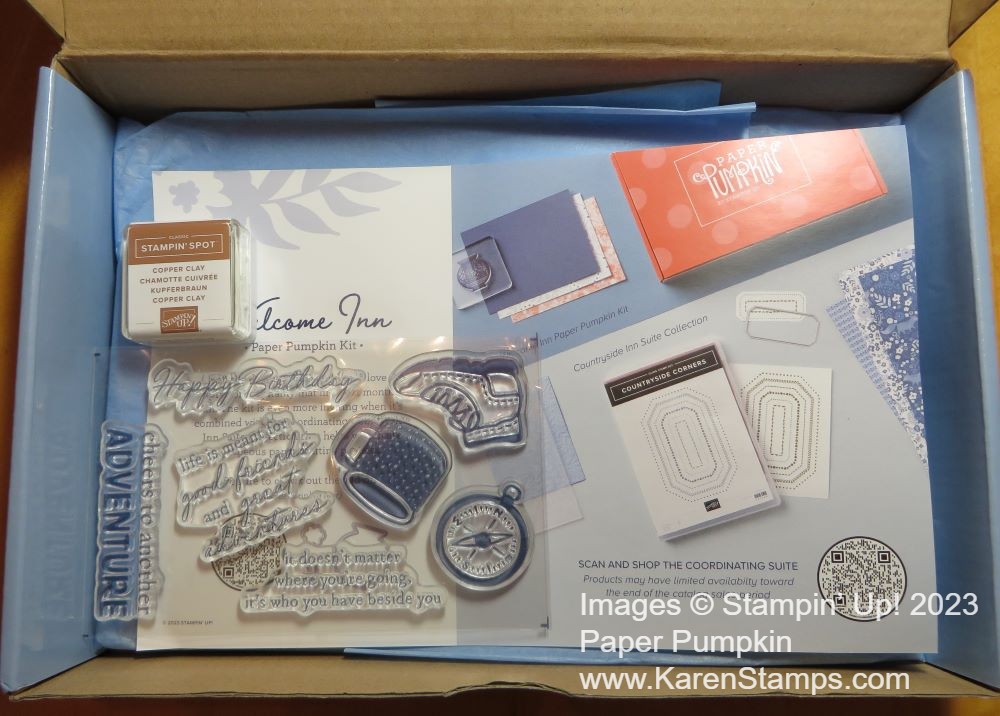
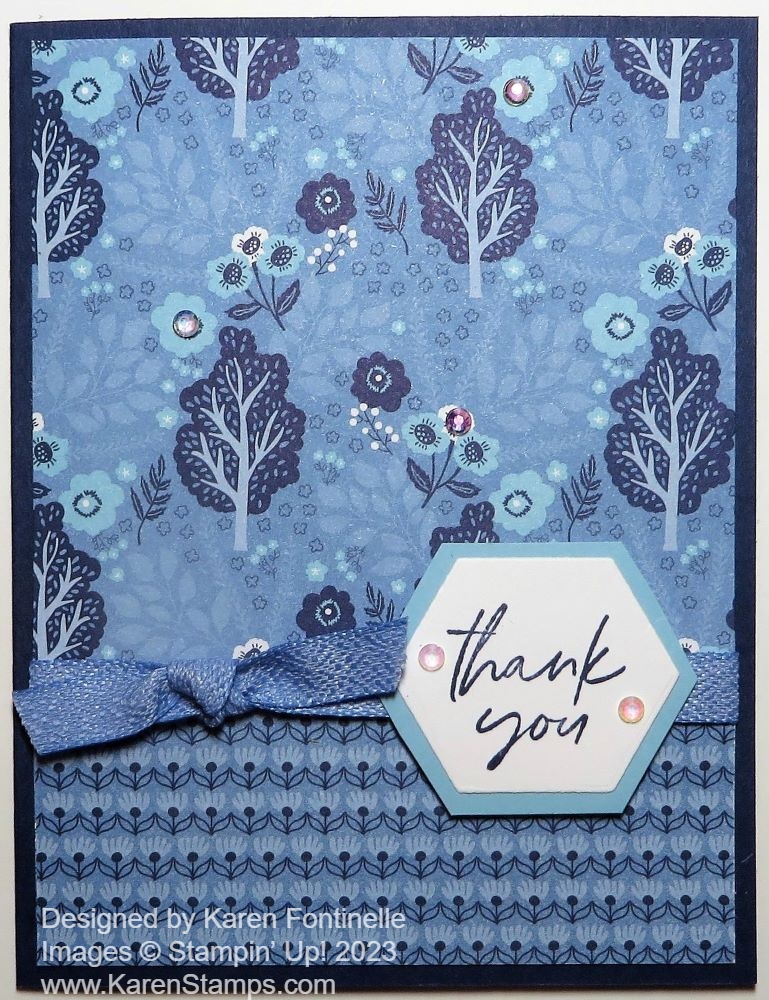
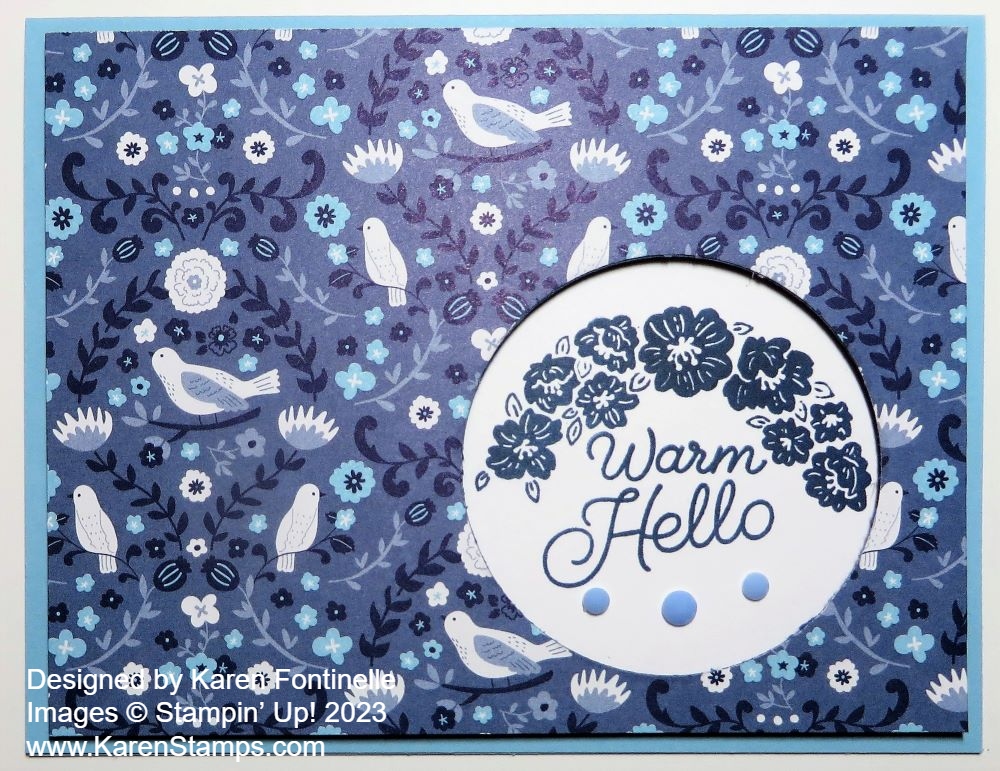
The Countryside Inn paper is for those who LOVE blue and little surprise animals on some of the papers! So cute!
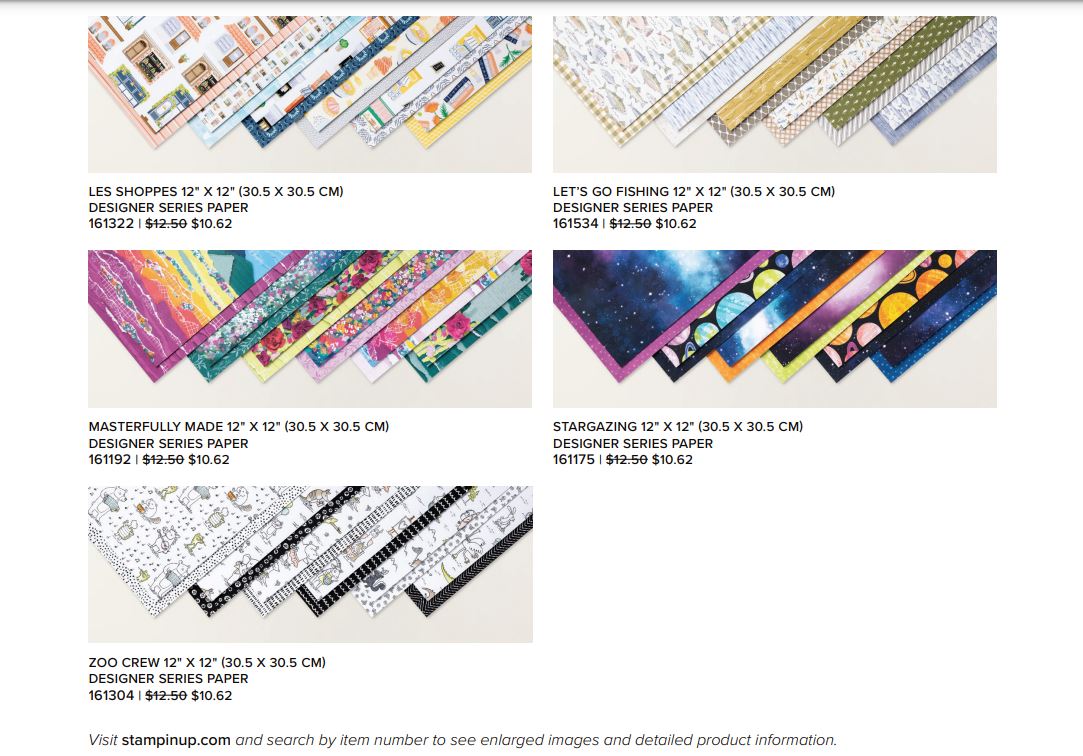
***Delightfully Eclectic***…. I really wanted to draw your attention to this pack of paper! This is where that 15% off really makes a difference! It’s a pack of 48 sheets of paper! And let me tell you, these large packs are really a boatload of paper! This one has some fun, unique designs, like pretzels!
Masterfully Made looks really interesting and different! Like torn paper, I think.
Stargazing! So colorful! Watch the Stampin’ Up! video HERE! You’ll want it!
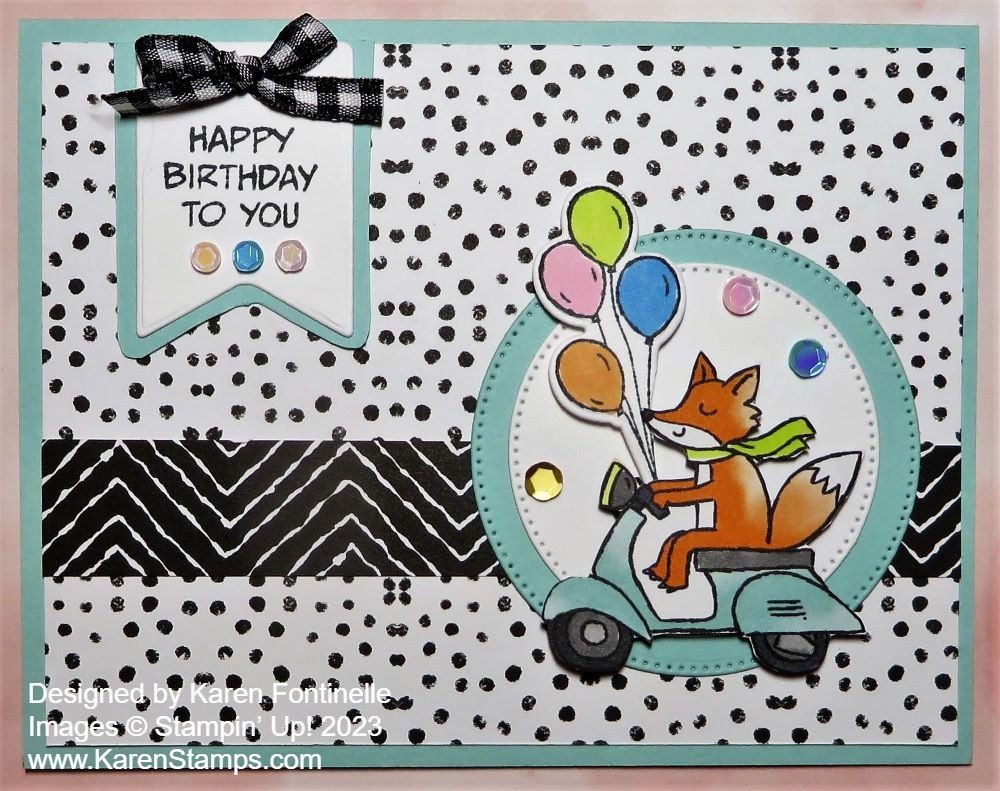
Zoo Crew Paper! If you like whimsical and cute, these darling characters are for you! Some you can diecut or just sit and fussy cut! Fun cards!

Click HERE to download or read the Flyer in its entirety.
This is the perfect time to get those NEW papers and maybe order another package of one you’ve almost used up!
SALES PERIOD: JUNE 1-30
- There is no limit to how many packages of Designer Series Paper may be purchased during this promotion.
- Only select Designer Series Papers are available at a 15% discount during this promotion. Please reference the table above or the flyer above to see the papers included in the sale.
- Orders must be placed—and closed—during the promotion period for the 15% discount to apply. Don’t start your order online early!
- Designer Series Paper ordered as part of a Starter Kit or with Stampin’ Rewards qualify for the 15% discount.
- Designer Series Papers are from the new 2023–2024 Annual Catalog (p. 129–132) and Online Exclusives.
This early announcement gives you time to make your list, plan your projects, and check your inventory! Then on June 1st, you will be ready to go!
SHOP STAMPIN’ UP! ONLINE HERE!
Thursday, June 1st, is the day!!