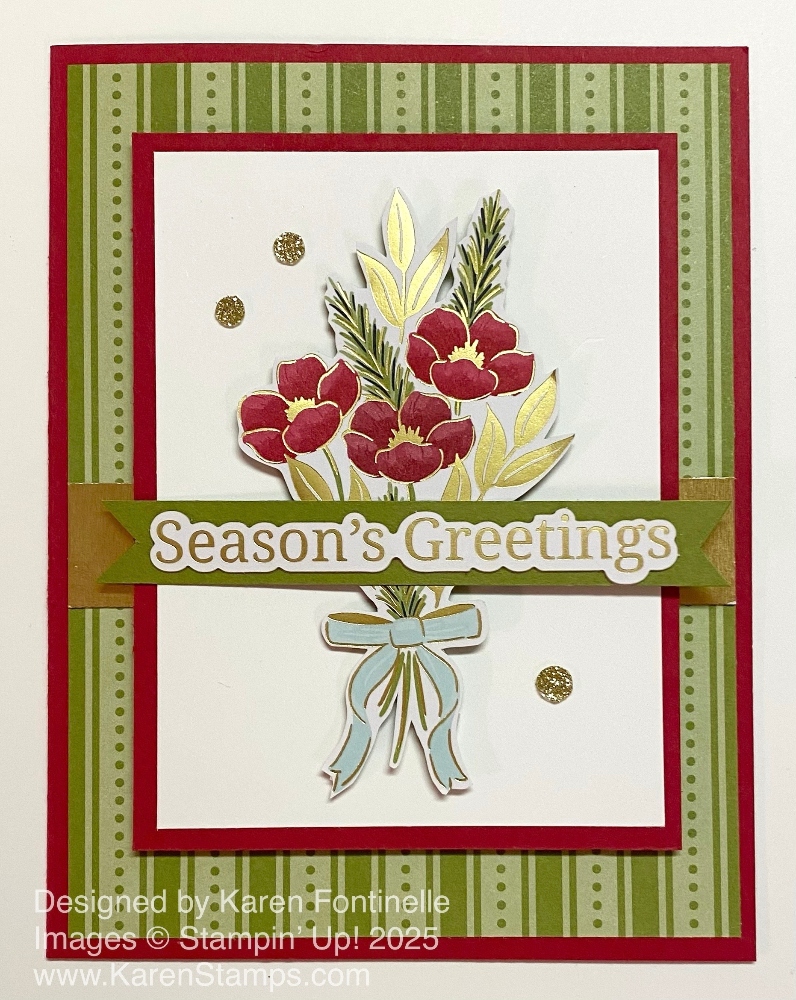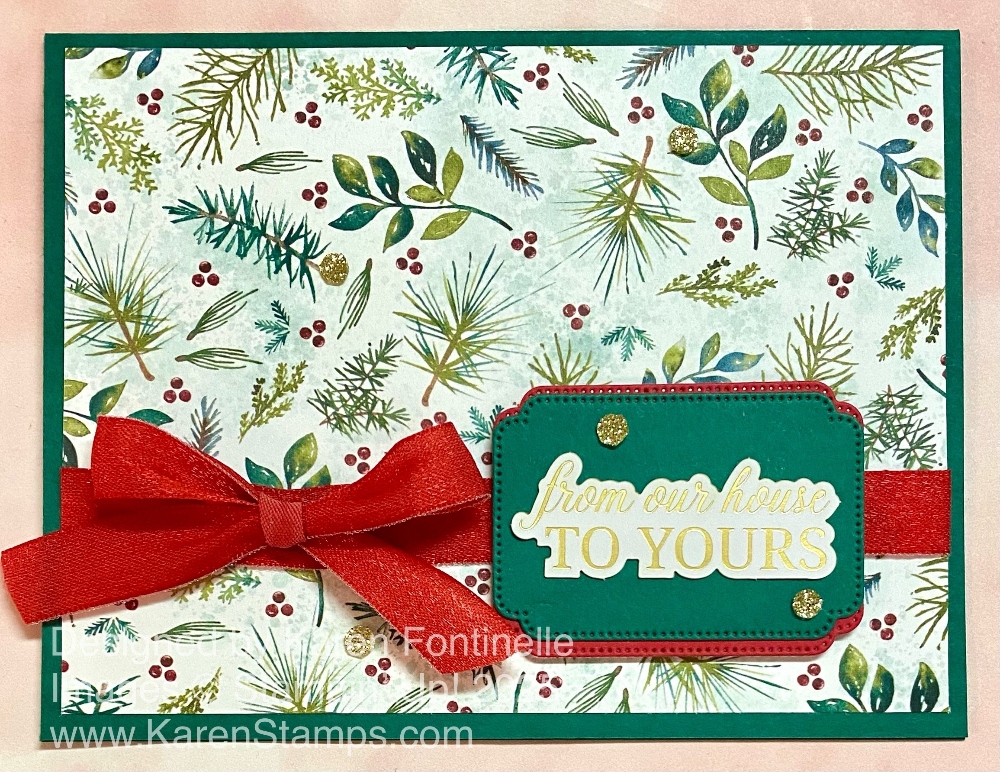
This Elegant Pine Snowflakes From Our House To Yours Card is an easy one to make. When you are making a lot of Christmas cards, you need to think of designs that make it easy to make multiples. Of course, you might also want to make some extra-special cards for extra-special people! That is what is so fun about cardmaking – you can make “easy” cards that don’t take a lot of time but still look lovely, or you can spend more time and use more products to make something “fancy”. It’s all fun and all creative!
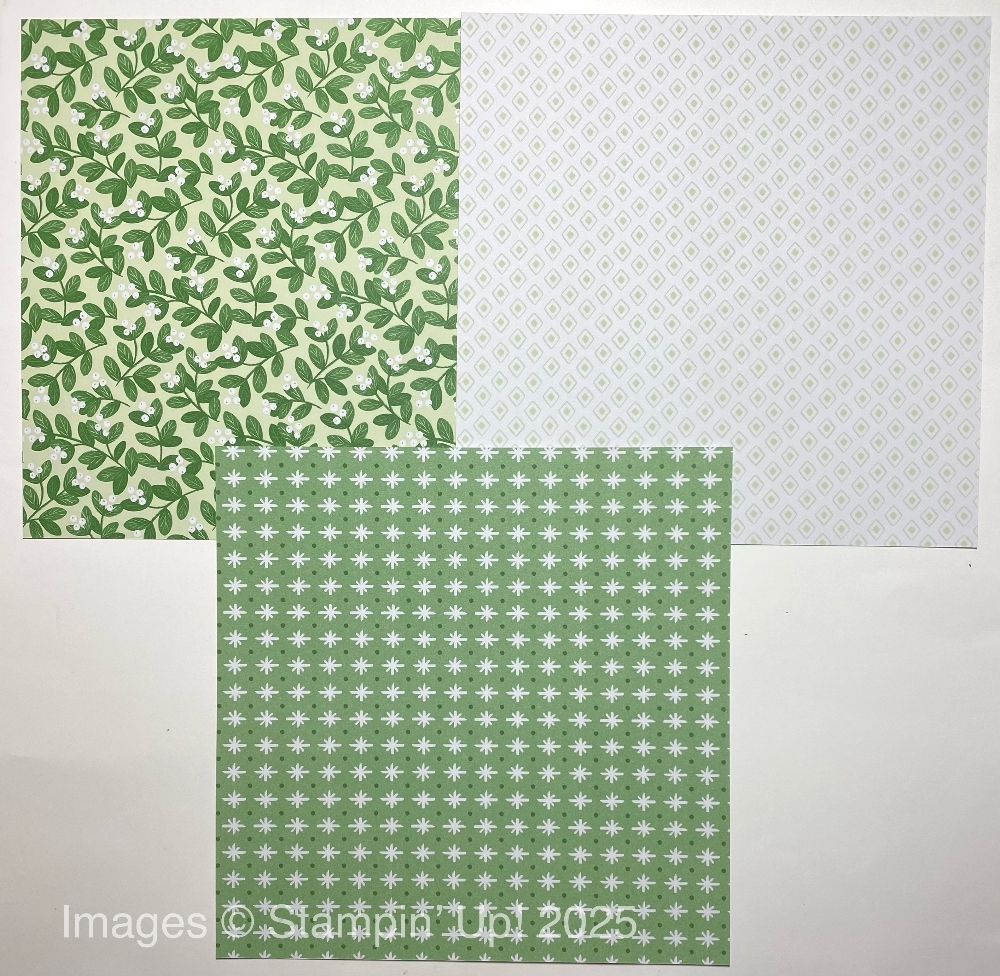
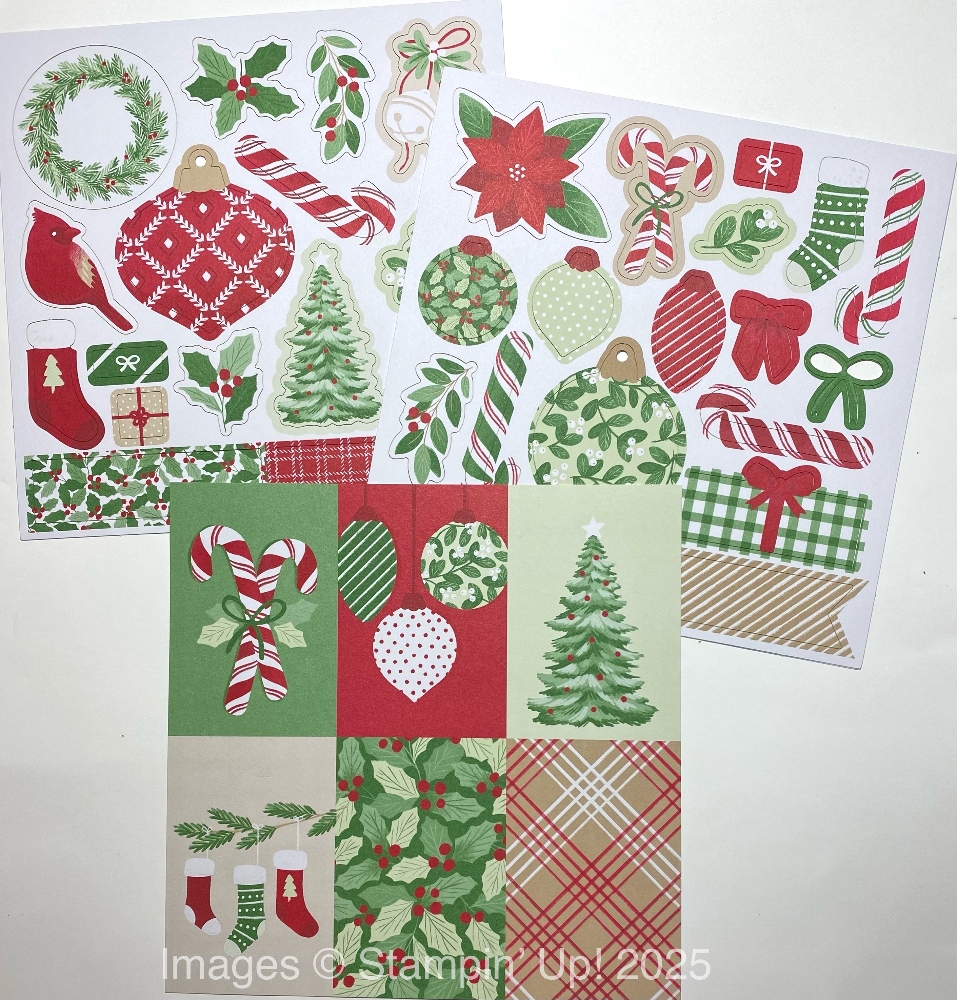
This card came about just because I was cutting up some designer series paper to send as little thank you samples to send to customers who had ordered from me. Since I just got this Elegant Pine Snowflakes Designer Series Paper in my order the other day, it was one I knew they didn’t have yet. Sometimes when you are just flipping through a package of designer series paper, maybe one pattern in particular will just jump out at you and you’ll want to use it next time you make a card. As I was cutting samples of this paper, this pattern just “spoke to me” and I wanted to use it for the next card I made.
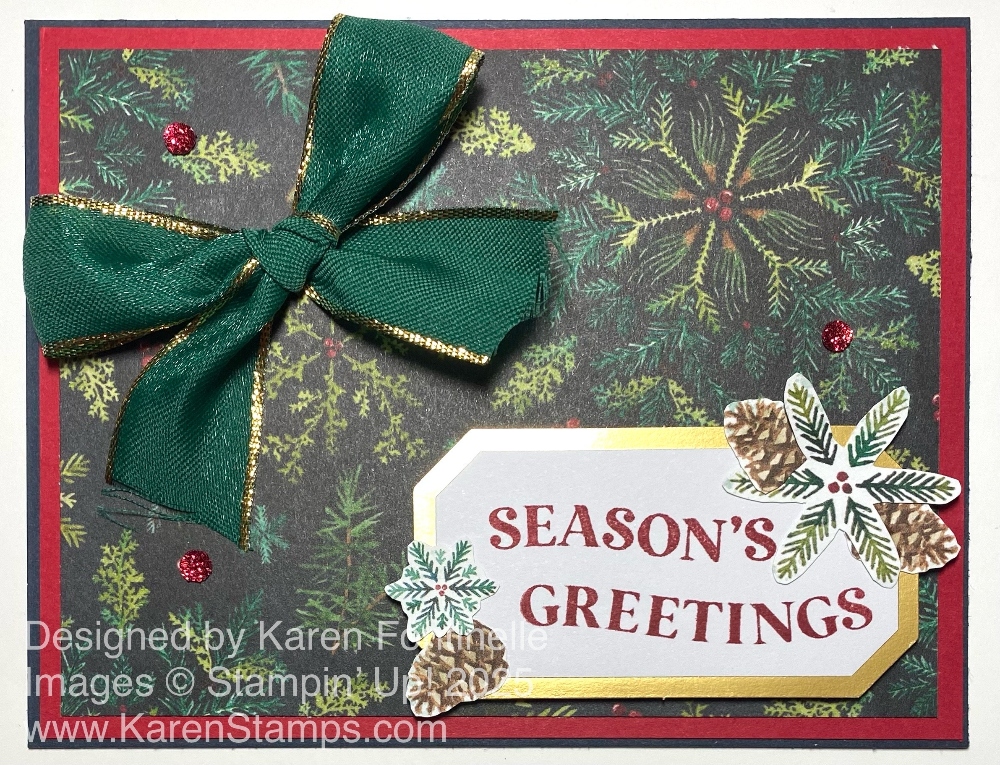
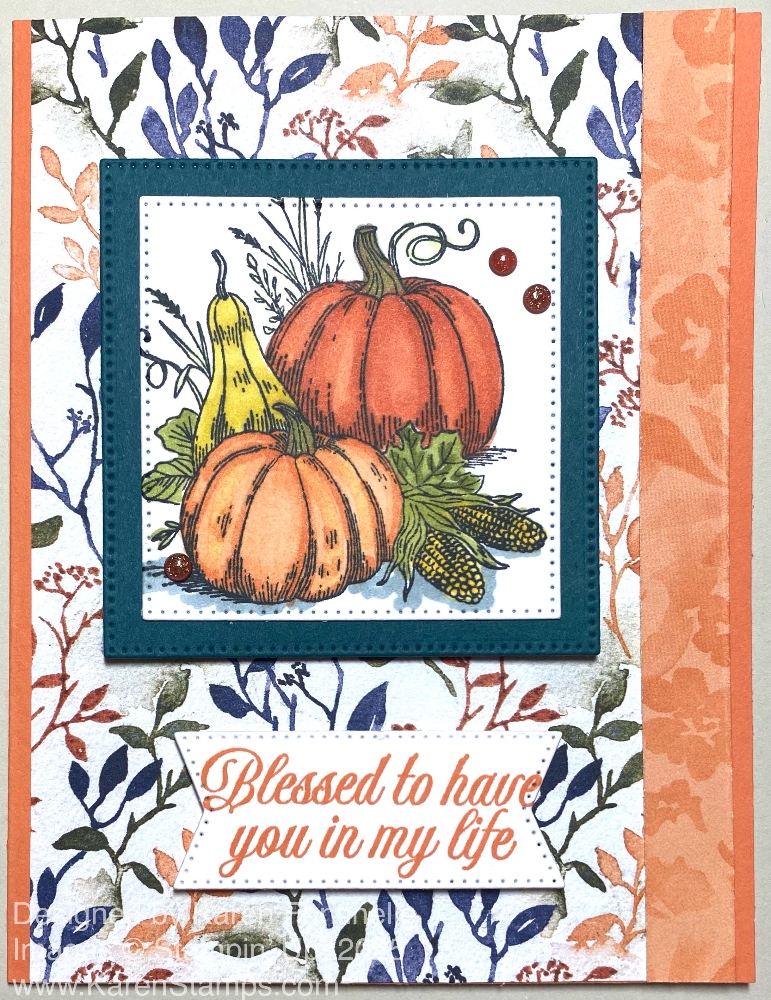
The card base is Shaded Spruce cardstock. It matches perfectly with the foliage in the designer paper. I liked the red berries in the paper, so I added the Real Red 1/2″ Shiny Ribbon. I just took enough ribbon to wrap across the front and around to the back a little bit on each side. This saves a couple inches of ribbon since you don’t wrap it completely around the card. After the ribbon was attached, I could adhere the designer paper to the card base.
For the greeting, I chose a greeting in the Greetings For You Ephemera Pack in the Holiday Mini on page 15 at the top. Stampin’ Up! has quite a few ephemera packs of all kinds and they are so handy and fun to use! These are peel-and-stick stickers of gold foil Christmas greetings, even multiples so you can make more than one card with each greeting. I’ve already ordered a second pack to have on hand. And you can use them on tags, gift bags, and other projects, not just cards. For a background, I diecut a label from the Unbounded Love Dies, now retired, but you can use something similar or simply cut a rectangle piece of cardstock. I used Shaded Spruce with a partial layer of Real Red. The way to “fake” another layer when you don’t have a larger die is to cut it out, then cut it in half, horizontally as I did here or vertically, if you want it to show on the sides. Then glue one half to the top just showing a little border and the other half to the bottom. On the back, there would be a space between the two halves. I do this a lot! The greeting is popped up with Stampin’ Dimensionals right over the ribbon.
To embellish the card, I tied a bow out of the ribbon and adhered it to the card with Mini Glue Dots. It is easier than trying to wrap the ribbon all around and tie a bow, but you could do that. I also added the beautiful Traditional Sparkling Sequins, the small gold ones, to the greeting and on the designer series paper. I’m telling you, these are gorgeous and I think you should order a package or two soon while they are in stock! They won’t only have to be for Christmas either. You will be able to use them on any cards and projects where you want some sparkle!
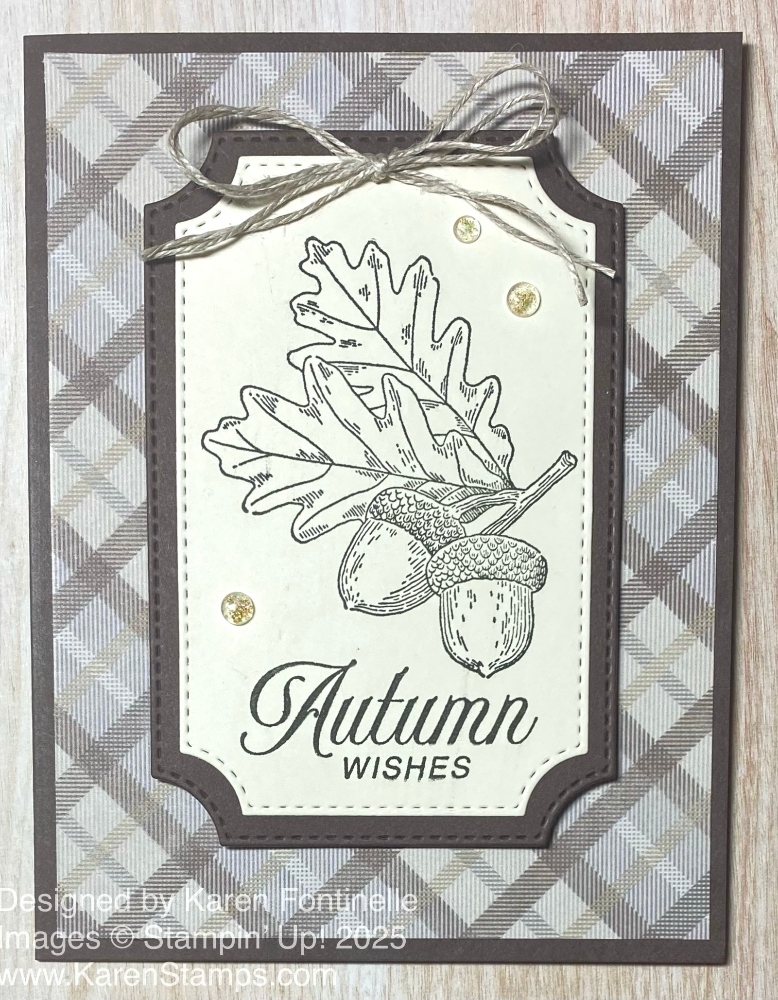
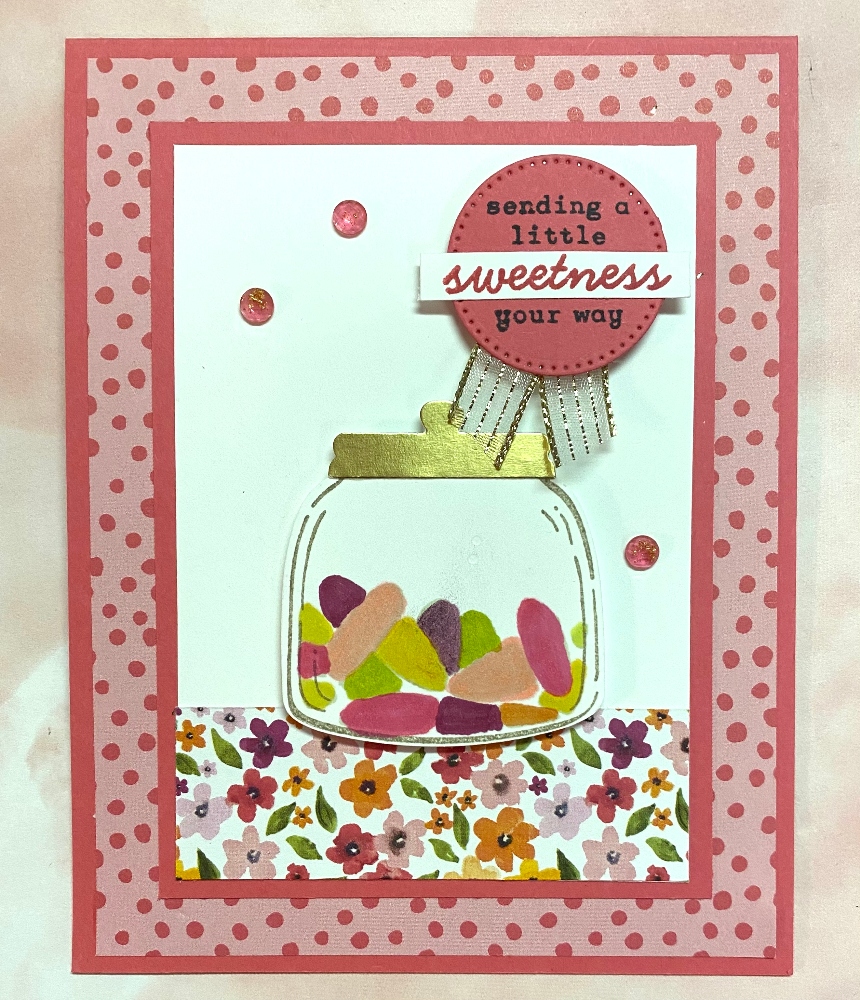
Here is another card, the first card, I made with the Elegant Pine Snowflakes Designer Series Paper. It comes in a Suite in the Online Exclusives if you would like ALL the things!
SHOP STAMPIN’ UP! ONLINE HERE!